
Your aloe vera probably gave you the signal already. There's a cluster of small offsets pushing up around the base, the pot looks crowded, and you're wondering whether to separate them now, wait longer, or try one of those leaf-cutting tricks that keep circulating online.
At this point, propagating aloe vera either leads to easy multiplication or wasted weeks on an unworkable method.
Aloe vera propagation is simple when you follow the biology of the plant instead of the myths. If you want the highest odds of success, divide pups. If you want to experiment with cuttings, understand that a leaf by itself won't become a new aloe. And if you want your new plants to survive, your watering habits matter just as much as your cutting technique.
Why Propagate Your Aloe Vera Plant
A mature aloe is generous. Once it settles in and reaches maturity, it begins producing offsets, usually called pups, around the base. That's not a problem to fix. It's your easiest chance to make more plants from one healthy parent.
For most growers, propagation starts for practical reasons. The pot gets tight. The mother plant starts competing with its own babies for space. Some pups lean outward and become awkward to water around. Separating them improves airflow, gives each plant room to root, and turns one crowded pot into several useful plants.
There's also the obvious benefit. You get more aloe without buying more aloe.
What most home growers actually need
Home growers aren't trying to run a nursery bench. They want a method that works, doesn't rot, and doesn't leave them guessing. In that sense, aloe vera propagation comes down to three routes:
- Pup division is the best method for almost everyone. It's the fastest and most reliable.
- Stem-attached cuttings can work, but only in specific situations.
- Seeds are for patient growers who don't mind a slower, fussier process.
If you're starting with a healthy mature plant, pups are the gold standard. Horticultural guidance consistently points in that direction, and if you want a broader background on the plant itself, this guide to Aloe vera basics and care is a useful companion.
Practical rule: If your plant is making pups, use them. Don't reach for a harder method just because it looks clever on social media.
Why this feels rewarding so quickly
Propagation gives quick feedback in a way many garden jobs don't. You separate a pup, let the cut dry, pot it correctly, then watch it settle into its own container. That shift from one crowded plant to several clean, independent starts is satisfying.
It's also one of the few propagation jobs where doing less usually gets you better results. Less water. Less fussing. Less improvising.
That's good news for beginners, because aloe rewards restraint.
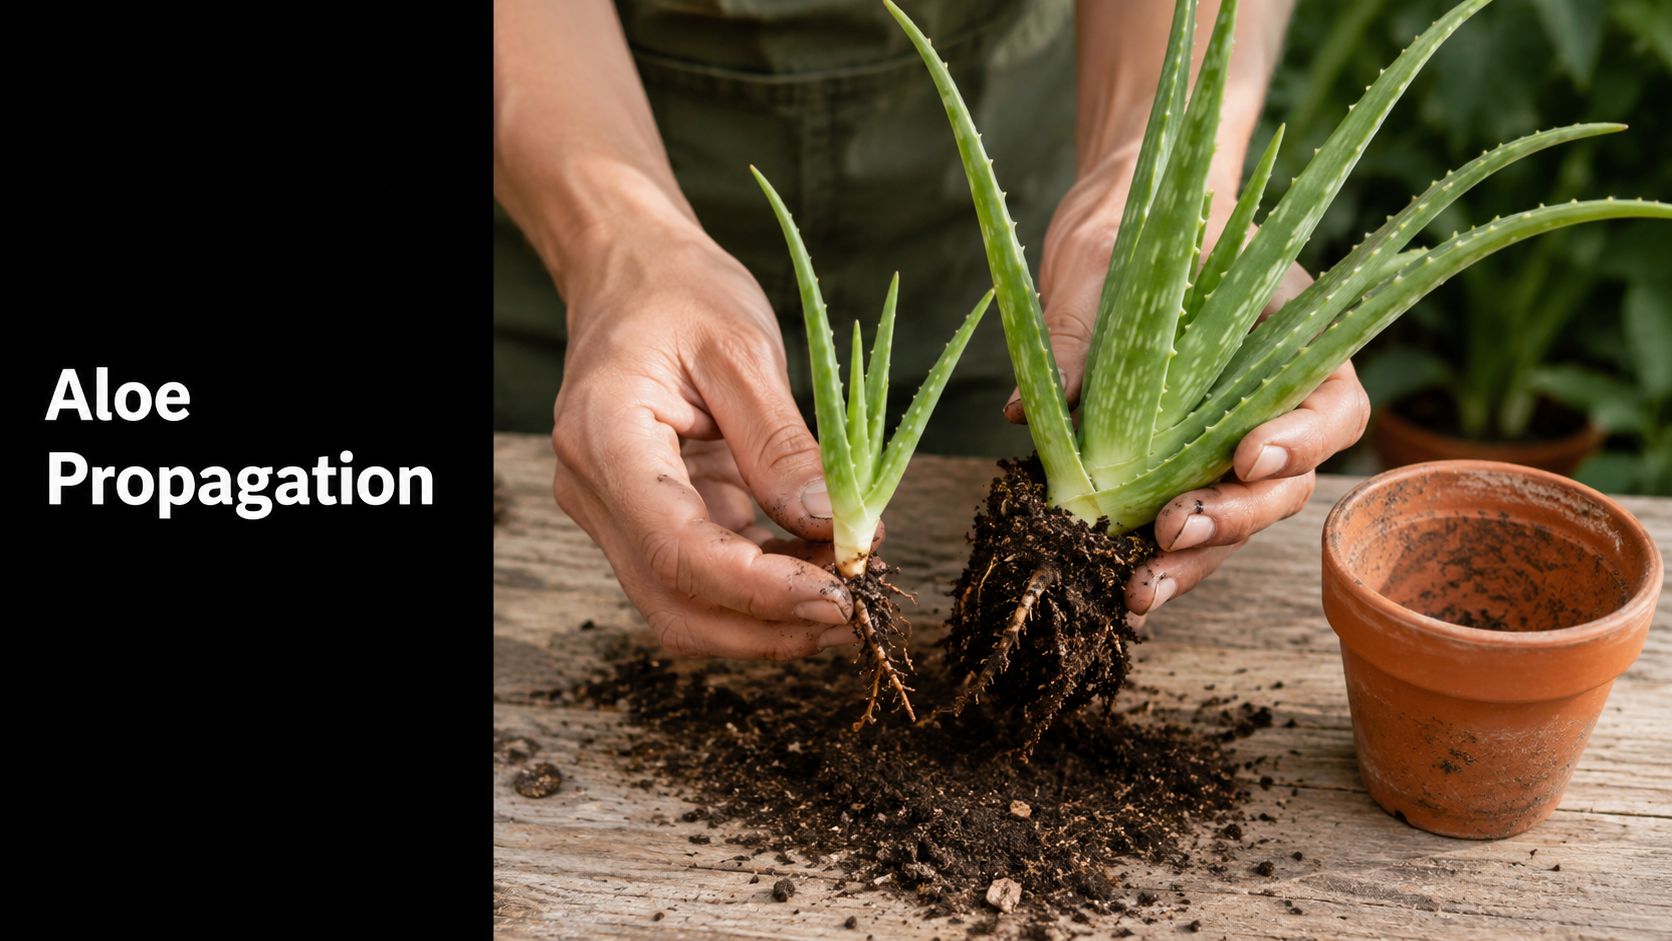
The Best Way to Propagate Aloe Vera Pups
If you want reliable results, divide the pups. Aloe vera propagation is most successful through offsets, with pup propagation showing a success rate exceeding 90% under proper conditions, and pups typically establish roots within 2 to 4 weeks, while seed propagation takes 2 to 4 weeks just to germinate according to horticultural guidance on aloe propagation.

The reason this method works so well is simple. A good pup is already a small plant. It has its own leaves, its own growing point, and often at least part of its own root system. You're not asking the plant to do something unnatural. You're helping it continue what it already started.
How to choose the right pup
Not every offset is ready on the day you notice it. I wait until a pup is clearly established and easy to handle. It should look firm, healthy, and distinct from the mother plant, not like a tiny nub pressed against the stem.
A ready pup usually has:
- Visible structure with several leaves of its own
- Firm tissue that doesn't flex or collapse when handled gently
- Some root attachment, if you're lucky, though aloe can still recover if roots are minimal
If the whole cluster is packed tightly, remove the mother plant from the pot first. That gives you a clear view of where each pup joins the base.
The separation process that avoids damage
Use a clean knife or pruning tool. Pulling pups loose by hand often tears tissue, and torn tissue invites rot.
Follow this sequence:
- Brush away soil around the base so you can see the connection point.
- Identify the pup's attachment to the mother plant.
- Cut cleanly so the pup keeps as much of its own root system as possible.
- Set the pup aside in a dry place out of harsh direct sun.
The cut needs time to dry and seal. A callusing period of 1 to 2 days helps prevent rot before planting. That short wait is one of the steps growers skip most often, and it's one of the reasons avoidable failures happen.
A more technical propagation demonstration is worth watching before you make your first cuts:
Potting the pup properly
Once the cut end has dried, plant the pup in a well-draining succulent or cactus mix. A gritty blend works best. Verified guidance allows a mix such as 70% mineral grit and 30% organic matter.
A few handling details matter:
| Step | What to do | Why it helps |
|---|---|---|
| Fill the pot | Use a small pot with drainage and dry mix | Wet, dense soil raises the risk of rot |
| Set the pup shallowly | Plant just deep enough to hold it upright | Deep planting traps moisture around the base |
| Backfill gently | Firm lightly without packing hard | Roots need air as much as contact |
| Hold watering back | Keep the medium on the dry side at first | Fresh cuts and damaged roots rot easily |
If you want the most stable setup, use a terracotta pot and keep the plant upright rather than burying it deep for support. If it wobbles, add a top dressing of grit or small stone around the base instead of planting deeper.
Propagating from Cuttings The Right Way
Here's the myth to drop: a single aloe vera leaf will not turn into a new plant.
That advice gets repeated because many succulents can regenerate from leaf pieces. Aloe vera isn't one of them. Scientific and horticultural guidance confirms that it's impossible to regenerate Aloe vera from a detached leaf without an attached stem base containing regenerative tissue, and successful propagation only happens when a small section of stem is retained and then allowed to callus for 1 to 2 days before planting, as explained in this aloe cutting guide.

Why leaf-only cuttings fail
The problem is biological, not procedural. A detached aloe leaf doesn't have the stem tissue and growth points needed to make a new plant. What usually happens is disappointing but predictable. The leaf may stay plump for a while because it stores moisture. Then the base discolors, softens, and collapses.
That's why so many “successful” online leaf experiments look fine for a short period and then fade away.
A healthy-looking detached leaf is not proof of propagation. It often means the leaf is slowly spending its stored water.
The only cutting method worth trying
If you don't have pups and need to propagate from a cutting, the cutting must include a small piece of stem. That stem tissue is what gives the cutting a chance to root and continue growth.
Use this method carefully:
- Choose a suitable piece that includes leaf growth plus attached stem tissue
- Make a clean cut with a sterile blade
- Let the cut surface callus before it ever touches soil
- Plant into a dry, gritty mix and keep conditions bright but not harsh
This is one of the few times I'll tell a grower to be strict with themselves. If the cutting is leaf only, don't pot it and hope. That's wasted bench space.
If you work with other succulent types and want to compare how true cutting propagation differs across plants, this overview of propagating succulents from cuttings helps put aloe's limitations in context.
Set realistic expectations
This method can work, but it is less reliable than pup division. Even when done correctly, it asks more from the plant and more from the grower. You need a proper stem section, a clean wound, a good callus, and disciplined aftercare.
If your aloe already has offsets, there is no practical reason to choose stem-attached cuttings first.
Essential Care for Newly Potted Propagations
Most propagation failures don't happen at the moment of cutting. They happen afterward, when the new plant is sitting in a pot and the grower gets nervous.
That nervous watering is what ruins a lot of promising starts.

Build a dry, stable rooting environment
Start with a snug pot, not an oversized one. Too much extra soil holds moisture longer than the new roots can use it. A drainage hole is mandatory, and a gritty cactus or succulent mix is the right medium.
Keep the plant in bright, indirect light while it settles. Strong direct sun can stress a fresh propagation before it has anchored. Warm, airy conditions help more than high humidity or heavy watering.
If you want a fuller general growing reference after propagation, this guide on how to cultivate aloe vera is worth keeping nearby.
The watering cadence beginners get wrong
This is the point that needs the least sugarcoating. A newly propagated, rootless aloe should not be watered on the usual houseplant schedule.
Verified guidance specifies a 2-week water-free period for rootless cuttings to prevent rot, with watering beginning only when the soil is completely dry, according to this recent propagation guidance.
That sounds harsh until you remember what the plant is. Aloe stores water. Fresh cuts and damaged bases are vulnerable. Wet soil around unrooted tissue is exactly what you don't want.
A simple aftercare routine
Use this sequence instead of improvising:
- After potting leave the plant alone in dry mix
- During the waiting period check firmness and light exposure, not soil moisture every few hours
- At first watering keep it modest rather than soaking the whole pot
- Later on water only when the mix has dried fully
Aftercare rule: If you're torn between watering today or waiting, wait.
You're trying to encourage roots to form safely, not keep the pot feeling active. Aloe propagation rewards patience more than intervention.
Troubleshooting Common Propagation Problems
Even careful growers lose a few starts. The useful question isn't “Why am I bad at this?” It's “What is the plant telling me?”
The most common aloe vera propagation problems are easy to read once you stop treating every symptom the same way.

Soft base or mushy tissue
If the base turns brown, wet-looking, or soft to the touch, think rot first. Verified guidance notes that bacterial soft rot is a primary cause of failure and occurs in up to 85% of failed leaf propagation attempts when new plants are buried too deep or overwatered, as described in this soft rot reference.
That number lines up with what many growers learn the hard way. The plant wasn't thirsty. It was drowning.
What to do
- Remove it from the pot
- Cut away any soft or discolored tissue with a clean blade
- Let the cleaned base dry again
- Repot in fresh, dry mix and correct the moisture problem
If you're seeing this on an established aloe, this guide to aloe vera root rot symptoms and recovery can help you diagnose the parent plant too.
Shriveled leaves but no rot
A newly potted pup sometimes looks thin or wrinkled before it roots well. That doesn't always mean it needs water immediately. It often means the plant is using its stored moisture while roots catch up.
Look at the base before you react. If the base is firm and the tissue is dry rather than mushy, patience is usually the right move.
Don't confuse temporary dehydration with a green light to soak unrooted aloe.
No visible growth
Sometimes the cutting or pup just sits there. No new leaf movement. No obvious rooting. No drama either.
In that case, review the conditions:
| Symptom | Likely cause | Best response |
|---|---|---|
| No rooting progress | Light is too weak | Move to brighter indirect light |
| Plant keeps wobbling | It was potted too loosely or too deep | Reset it at the correct shallow depth |
| Fungus gnats in the pot | Mix is staying too damp | Let the medium dry more thoroughly |
The good news is that aloe often fails slowly enough for you to intervene. The bad news is that people usually intervene in the wrong direction by adding more water.
Aloe Propagation FAQ and Advanced Insights
How long does it take for an aloe plant to make pups?
A young aloe vera usually doesn't produce pups until it matures, often after 1 to 3 years of growth. Once established, a healthy plant can produce multiple pups annually. That's why immature plants shouldn't be pushed into propagation too early.
Can I use rooting hormone?
Yes, some growers do. Verified guidance notes a light dusting of IBA powder can be used on a callused base during pup propagation. It's optional, not magic. Good cutting technique, dry planting conditions, and careful watering matter more.
Do all cuttings need to callus?
For stem-attached cuttings, callusing is the safe standard. There is also nuanced guidance suggesting callusing is not always strictly required if soil moisture is controlled, based on this recent video discussion on aloe callusing. For most home growers, I still favor a dry healing period because it reduces avoidable mistakes.
Is seed propagation worth trying?
It's worth trying if you're patient and want the experience. Seeds can take 2 to 4 weeks to germinate, and they develop far more slowly than pups. Seed-grown aloe is more delicate early on, so it's not the method I recommend for a first attempt.
What should I read after my new aloe is established?
Once your propagation is rooted and growing, long-term maintenance matters more than propagation technique. A practical next read is this guide on caring for aloe vera plants.
The short version is this: start with healthy pups when you can, ignore leaf-only propagation advice, and stay conservative with water. Those three decisions prevent most failures before they start.
If you're ready to add established aloe and other standout succulents to your collection, visit The Cactus Outlet. They offer a wide selection for home growers, collectors, and garden project buyers who want healthy plants shipped with care.