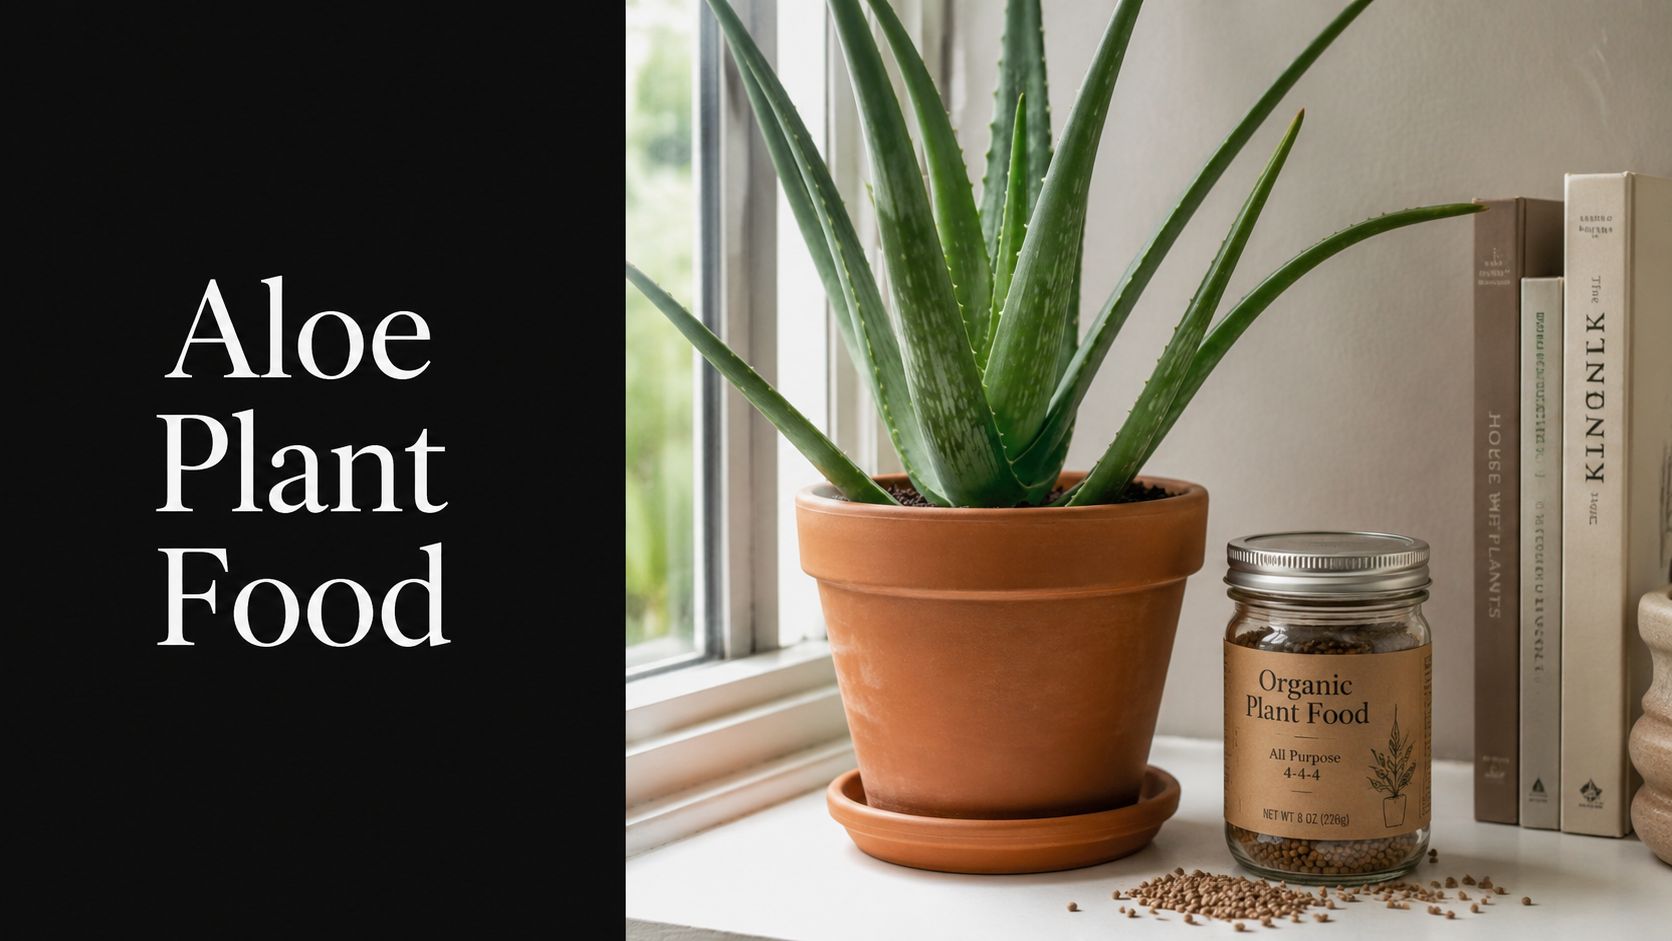
Want to multiply your succulent collection for free? Propagating from cuttings is one of the most satisfying and budget-friendly ways to do just that. At its simplest, you're just taking a healthy leaf or a piece of stem from a plant you already have, letting it dry out a bit, and then planting it to grow a whole new succulent. It's a surprisingly simple trick that gives you an endless supply of favorites like Echeverias and Sedums.
Why Propagating Succulents Is Easier Than You Think
If you've ever felt intimidated by gardening terms, don't be. Propagating succulents taps directly into the plant's incredible natural ability to regenerate. These plants are built for survival, and a single leaf or stem segment holds all the genetic material needed to clone itself. Think of it as your personal launchpad for creating a lush collection from the plants you already know and love.
This isn't just a fun hobby; it’s the backbone of the entire horticulture industry. The global succulent market was valued at a staggering USD 4.1 billion in 2023 and is expected to hit USD 7.6 billion by 2032. This boom is fueled by their reputation as stylish, low-maintenance plants, and propagation by cutting is the primary method used to grow popular species like the classic jade plant. It's just that efficient and reliable.
At its core, succulent propagation is about giving the plant a chance to do what it does best: grow. Your job is simply to create the right conditions and then have a little patience.
Your Essential Toolkit
Getting started with succulent cuttings doesn’t require a ton of fancy gear. Honestly, having the right tools and a good setup is what really makes the process smooth and successful. It’s less about complicated equipment and more about providing a clean, prepared environment for your new plant babies.
For example, knowing a little about where your succulents come from can be a big help. Many popular varieties are desert natives, so mimicking those conditions is key. You can learn more about these hardy types in this guide to Arizona succulent plants.
Your Succulent Propagation Toolkit
This table gives a quick overview of the essential tools and ideal environmental conditions you'll need to successfully propagate succulents from cuttings.
| Item | Specification | Why It Matters |
|---|---|---|
| Sharp, Sterile Tool | Clean knife, pruning shears, or razor blade | A clean cut prevents jagged wounds, which reduces the risk of infection and helps the cutting heal faster. |
| Healthy Parent Plant | A mature, well-hydrated succulent | A healthy cutting has enough stored water and nutrients to survive and sprout new roots. |
| Well-Draining Soil | Specialized cactus or succulent potting mix | Standard soil holds too much moisture, which will cause the new, delicate cutting to rot before it can root. |
| Shallow Container | A tray or pot with good drainage holes | Good drainage is non-negotiable. A shallow container also helps the soil dry out more evenly between waterings. |
With just these simple items, you're ready to start multiplying your succulents. The fundamental principles are surprisingly universal across many types of houseplants. In fact, if you want to see how these core ideas apply elsewhere, this fantastic guide to propagating snake plants is a great read.
How to Select and Prepare Your Cuttings
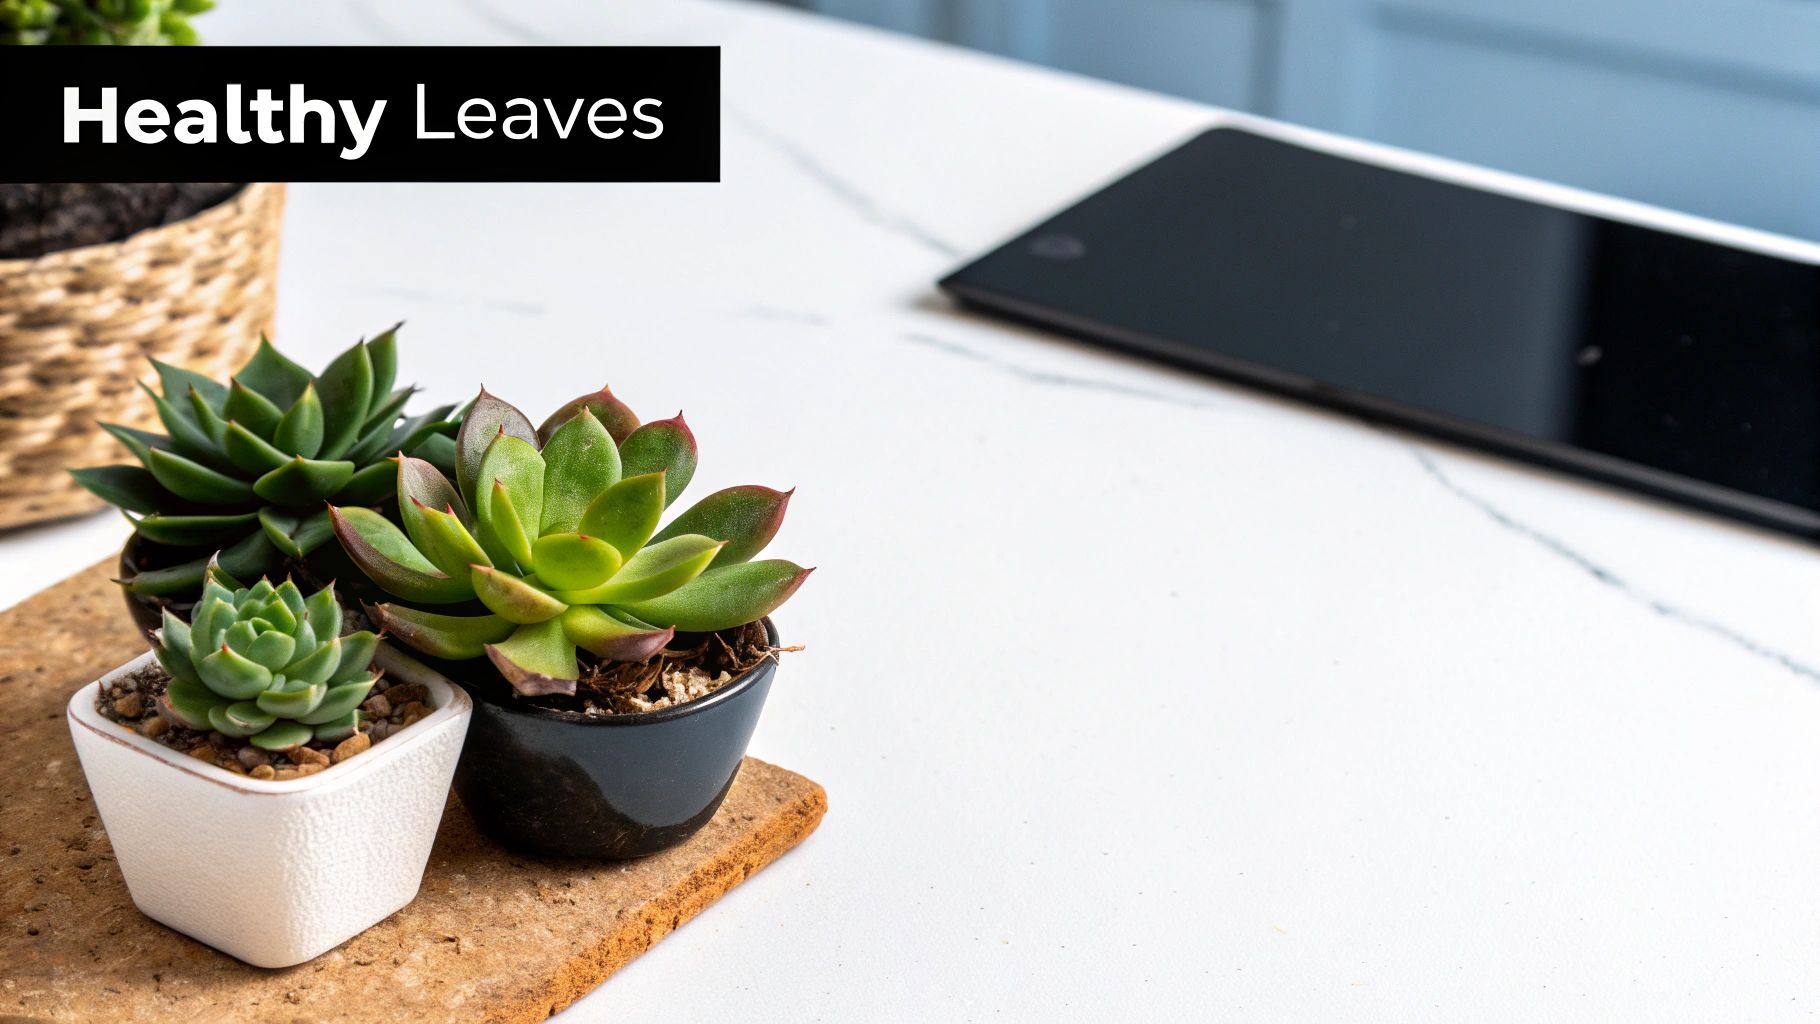
The real secret to multiplying your succulents isn't some complicated gardening magic. It all starts with one simple thing: choosing a healthy, happy parent plant. A strong start gives your new cutting the best possible shot at life, packing it with the stored energy it needs to sprout roots and take off.
When you're looking for a candidate, pick a mature, well-hydrated succulent that’s vibrant and looks full of life. Skip over anything that looks stressed, wrinkled, or discolored. Think of it this way: a cutting from a struggling plant is starting a marathon with a twisted ankle. A cutting from a flourishing one is already warmed up and ready to go.
Finding the Prime Candidates for Cuttings
Not every piece of a succulent is a great candidate for propagation. What you take really depends on the plant’s growth style. For rosette-forming succulents like Echeveria or Graptopetalum, a single leaf works wonders. But for branching types, like many Aeonium or Sedum species, a stem cutting is a much better bet.
When you're picking leaves to propagate, look for ones that are:
- Full and Plump: Grab leaves from the middle or lower part of the rosette. These are the most mature and have the most water and nutrients stored up.
- Firm: Give it a gentle squeeze. You want a leaf that feels firm, not soft, flimsy, or yellowed.
- Securely Attached: If a leaf is already wiggling or falling off, it’s probably past its prime.
For stem cuttings, your goal is a piece of the plant that can stand on its own pretty quickly. Look for a healthy side shoot or the top few inches of a main stem that shows new growth. I've found that an ideal stem cutting is usually 2-4 inches long with a few leaves still attached. This gives you enough stem to plant securely while leaving the foliage to handle the important job of photosynthesis.
Making a Clean, Healthy Cut
How you take the cutting is just as crucial as which one you pick. You need a clean, precise break to prevent disease and help the wound heal over properly—a process called callusing. A jagged, torn wound is an open invitation for bacteria and fungi, which can rot your cutting before it ever gets a chance to root.
The whole point of a clean cut is to create a wound that the plant can easily seal. This "scab," or callus, is a protective barrier that forms over the cut, stopping moisture loss and blocking infection.
For leaf cuttings, a gentle twist-and-pull is the best method. Hold the leaf right where it meets the stem and give it a little wiggle side-to-side until it pops off cleanly. It is absolutely critical to get the entire base of the leaf. That little nub where it connected to the stem is where the new roots and baby plant will emerge. If part of the leaf tears off and stays on the stem, it's a dud.
When you're taking stem cuttings, precision is everything. Always use a sterile, sharp tool—pruning shears, a knife, or even a fresh razor blade will do the trick. A quick wipe with rubbing alcohol before you cut prevents you from spreading any nasty pathogens between your plants. Snip the stem at a slight angle. This creates a clean surface that will callus over nicely, setting you up for rooting success.
The Waiting Game: Callusing and Rooting Your Cuttings
You’ve made the cut. Now comes the part that truly tests your patience, but it’s arguably the most important step for getting new succulents for free: callusing. This is a non-negotiable part of the process where the raw, open wound on your cutting dries out and forms a protective seal.
Think of it like a scab. It's the plant's natural defense, walling off the vulnerable inner tissue from moisture and rot-causing bacteria that live in the soil. Jumping the gun and planting a fresh cutting is a classic beginner's mistake, and it almost always ends with a sad, mushy mess.
To let your cuttings callus properly, just lay them out on a dry surface. A paper towel, an empty tray, or even just a clean countertop will do the trick. Find a spot with good air circulation and bright, indirect light—a windowsill that doesn't get blasted by the afternoon sun is perfect. Then, just leave them alone.
This simple technique is the engine of a huge industry. The succulent market was valued at an impressive USD 2.1 billion in 2024 and is expected to climb to nearly USD 3.8 billion by 2033. Commercial growers rely on propagation methods like this one to produce millions of healthy plants efficiently.
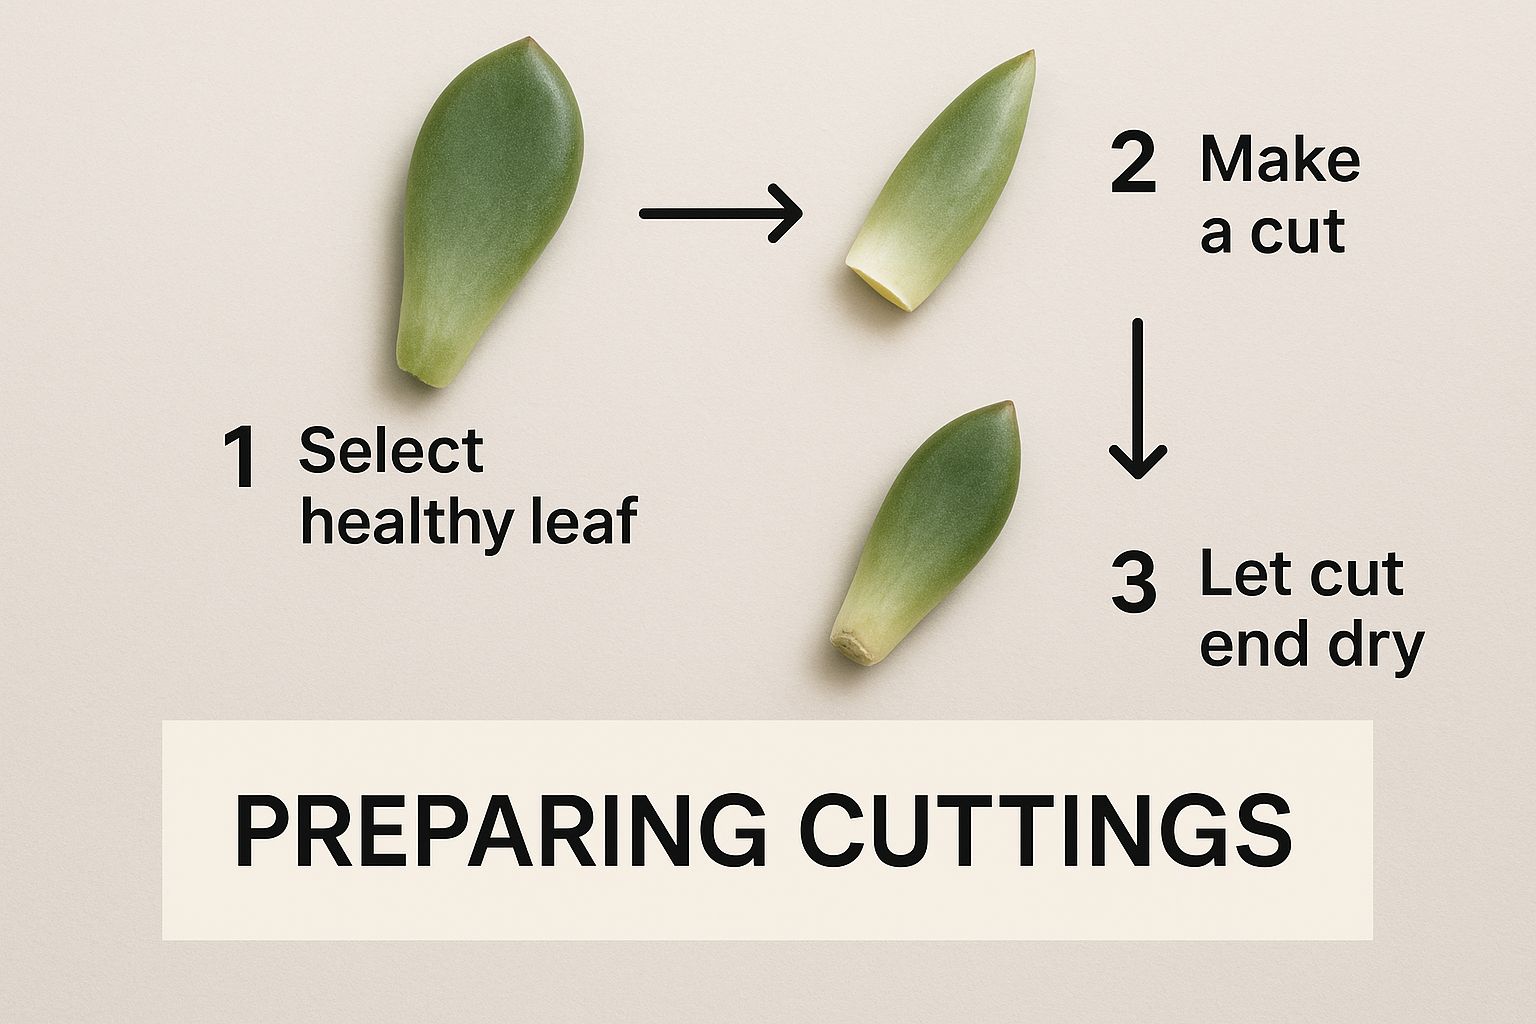
The image above really drives home how simple the setup is. A clean cut and a dry, sterile environment are your best friends at this stage.
Getting Those First Roots to Sprout
After about 3-7 days, check the cut end. If it's dry to the touch and has formed a pale, hardened seal, your cutting is callused and ready for the next step. Now you have a couple of solid options for encouraging those first roots to appear.
Your choice really depends on what kind of cutting you have.
For Leaf Cuttings
If you're working with individual leaves, especially from rosette-formers like Echeveria or Graptopetalum, laying them flat on top of the soil works like a charm.
- Grab a shallow tray and fill it with a well-draining succulent and cactus mix.
- Carefully arrange the callused leaves right on top of the dry soil. Don’t bury them; just let them make contact.
- Set the tray in a spot with plenty of bright, indirect light and—this is crucial—don't water them yet. The leaf has all the water and nutrients it needs to start producing roots and even a tiny new plantlet.
For Stem Cuttings
For stem cuttings from branching succulents like Sedum, Crassula, or Senecio, planting them upright is the way to go. It gives them stability right from the start. Just gently push the callused end about an inch or so deep into a pot of dry, gritty soil. That's it.
My Two Cents: Resist the temptation to water. I know it feels wrong, but watering before roots have formed is the number one cause of rot. You can check for roots by giving the cutting a very gentle tug after a couple of weeks. If you feel resistance, you have roots!
What About Rooting Hormone?
I get asked about rooting hormone all the time. Is it a must-have? Honestly, for most common succulents, not really. These plants are survivors and are already programmed to grow roots from almost any part of the plant.
That said, rooting hormone can definitely give them a boost. If you're trying to propagate a trickier or more valuable variety, dipping the callused end in a little rooting powder can speed things up and improve your odds. Think of it as a helpful tool, not a magic fix.
The real magic is in providing the right dry, bright conditions and having a bit of patience. Once those roots are established and it's time to start a watering routine, getting the frequency right is key. For more on that, you can check out our detailed guide on how to water succulent plants.
Planting and Nurturing Your New Succulents
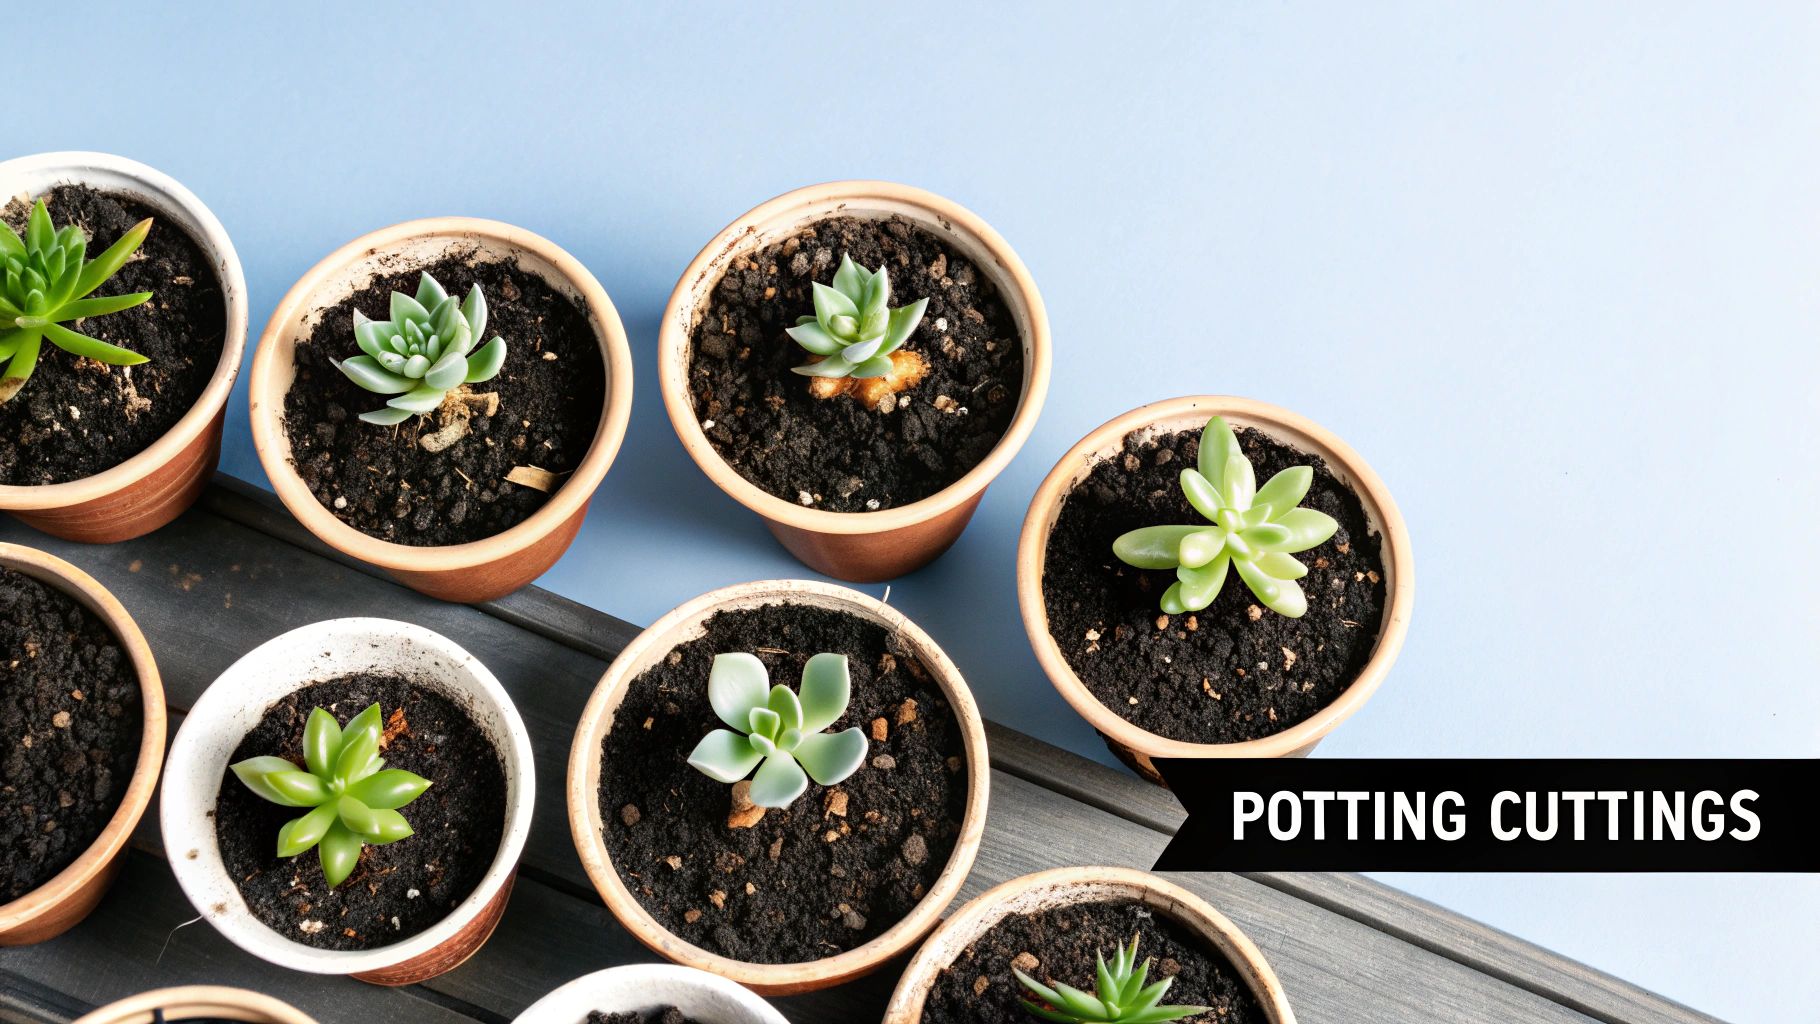
Seeing those first few roots pop out is a fantastic feeling, but the real work is just beginning. Your tiny new succulents are ready to leave the nest—or propagation tray—and move into their very own pots. This next phase is all about giving them the right environment to grow from fragile babies into robust, established plants.
First things first, let's talk pots. You'll want to start with something small, around 2-3 inches in diameter. It might seem counterintuitive, but a pot that’s too big is a death sentence for a young succulent. It holds way too much moisture, creating the perfect conditions for root rot, which is public enemy number one. And here’s a non-negotiable rule I live by: the pot must have a drainage hole. No exceptions.
Crafting the Perfect Soil Foundation
Next up: soil. Succulents are desert natives, so they need soil that drains like a sieve. Your standard, all-purpose potting soil from the garden center is far too dense and holds onto water for way too long. What you're after is a gritty, airy mix that lets water rush through and gives the roots room to breathe.
You can grab a bag of pre-made cactus and succulent mix, which works great, or you can easily mix your own. I often just whip up a batch myself. A really simple, foolproof recipe is:
- Two parts standard potting soil
- One part perlite (those little white rocks that add aeration)
- One part coarse sand or pumice (for that all-important drainage)
This blend gives the plant just enough organic material to get nutrients without ever getting waterlogged. If you really want to get into the nitty-gritty of soil science, we have a complete guide covering everything you need to know about cactus and succulent soil.
Planting Your Rooted Cuttings
Planting your new cuttings requires a gentle touch. The goal is to get them settled without snapping any of those brand-new, delicate roots. The method varies slightly depending on what you’ve propagated.
For leaf propagations, you’ll know it’s time when the original "mother" leaf has shriveled up and the new rosette is about the size of a dime. Just make a tiny dent in the soil surface and gently place the little root ball inside, dusting a bit of soil over it. The new plantlet should be sitting right on top of the soil, not buried in it.
Stem cuttings are even simpler. Once you see a healthy root system that's at least an inch long, you're good to go. I just use a pencil or my finger to poke a hole in the soil. Then, carefully guide the rooted end of the stem into the hole and lightly press the soil around it to hold it steady.
A common mistake is planting too deep. For stem cuttings, about an inch of the stem in the soil is plenty for stability. With leaf props, keeping the rosette above the soil line is crucial to prevent rot and help it grow properly.
Mastering Aftercare: Watering and Light
Now for the part where most people go wrong: watering. After you get your new succulent planted, your instinct might be to give it a good drink. Resist the urge! You need to wait at least a week before watering. This pause gives any roots that might have been bruised or broken during planting a chance to heal over. Watering too soon can invite rot.
When it's finally time to water, use the "soak and dry" method. Give the soil a complete drenching until you see water flowing freely from the drainage hole. Then, let it dry out completely before you even think about watering again. For these new plants, that might mean watering only every 10-14 days, but this will vary based on your home's temperature and humidity.
Light is the final piece of the puzzle. Newly planted succulents are sensitive and will burn to a crisp if you blast them with direct sun right away. Start them somewhere with bright, indirect light. After a few weeks, you can slowly introduce them to a spot with some gentle morning sun. This slow and steady acclimation will help them develop strong roots and beautiful, compact growth for a long and happy life.
It's this careful propagation process that helps meet the huge demand for indoor plants. In fact, North America alone accounted for over 40% of the global market share in 2024.
Care Guide for New vs Established Succulents
To really drive the point home, it's helpful to see just how different the needs of a new cutting are compared to a mature plant. Their care requirements aren't the same, especially in the first month or so. This table breaks down the key differences in watering and light.
| Care Aspect | Newly Rooted Cutting (First 4-6 Weeks) | Established Plant |
|---|---|---|
| Watering Frequency | Water sparingly, only when soil is bone dry. Roughly every 10-14 days. | Water deeply but infrequently. Allow soil to dry out completely between waterings. |
| Watering Method | Gentle watering around the base or bottom watering to encourage root growth. | "Soak and dry" method; drench the soil until water runs out the drainage hole. |
| Light Exposure | Bright, indirect light. Avoid direct sun, which can cause sunburn. | Can handle several hours of direct sunlight, especially morning sun. |
| Signs of Thirst | Wait for soil to dry; leaves may look slightly less plump. | Look for wrinkled or puckering leaves as a clear sign it's time to water. |
Understanding these distinctions is the key to successfully transitioning your cuttings from fragile new starts into thriving, independent plants. Once they're established, they become the low-maintenance beauties we all love.
Troubleshooting Common Propagation Issues
https://www.youtube.com/embed/Nb0cDx5s7Ow
Even with the best care, propagating succulents doesn't always go perfectly. Don't get discouraged—every single succulent lover has faced a tray of cuttings that just won't cooperate. Learning to spot the early warning signs is the real skill.
Most of the time, when a propagation project goes sideways, it comes down to a handful of common issues, usually involving water, light, or the condition of the cutting itself. Let's walk through how to diagnose and fix the most common problems you'll run into.
Why Are My Cuttings Turning Mushy?
This is, without a doubt, the number one problem people face. If your cutting feels soft, turns translucent, or goes brown or black, you're dealing with rot.
Nine times out of ten, rot means the cutting got too much moisture before it had a chance to grow roots. This usually happens for one of two reasons: either the cutting wasn't allowed to callus over completely, or the soil was watered far too early. A fresh, open wound on a plant cutting will just soak up water and start to decay.
If you catch it early, you might be able to save it. Using a clean, sharp knife, carefully cut away the rotted part, making sure you're back to healthy, green tissue. Then, you have to let the "new" cutting dry and callus over again—give it even more time than you did before—and start over in completely dry soil.
What if the Leaves Shrivel Up?
Another common sight is a leaf cutting that wrinkles up and turns into a crispy, dry husk before it ever sprouts roots or a new pup. This is a sign that the leaf exhausted all of its stored water and energy before it could get a new plant going.
So, what causes this? A few things could be at play:
- A Weak Start: The leaf might have come from a parent plant that was already dehydrated or stressed.
- Too Much Sun: Direct, intense sunlight will bake a delicate leaf cutting, sucking the moisture right out of it.
- Stale Air: Sometimes, a lack of good air circulation can cause leaves to dry out too quickly.
Unfortunately, once a leaf is completely dry and brittle, there's no bringing it back. Next time, make sure you choose the plumpest, most robust leaves from a well-watered plant. Keep your propagation tray in a spot with plenty of bright, indirect light to prevent scorching.
The trick is to encourage the leaf to slowly use its internal resources. You want that energy going into making new roots, not just desperately trying to survive harsh conditions. Too much heat or direct sun kicks it into survival mode, and propagation is the first thing it abandons.
Help! Nothing Is Happening at All
Then there are the cuttings that just... sit there. For weeks. Maybe even months. They aren't rotting, and they aren't shriveling, but they certainly aren't growing. This frustrating state of suspended animation usually means the conditions just aren't quite right to signal "it's time to grow."
This is almost always an environmental issue. It could be too cold—many succulents slow down or go dormant in the winter and are less inclined to root. Or, it might not be getting enough bright, indirect light to kickstart the process.
To give them a little push, try moving your tray to a spot that's a bit warmer or gets more ambient light. In very dry climates, a tiny bit of humidity can help. Try lightly misting the surface of the soil (never the cuttings themselves) once every 10-14 days. Sometimes that subtle change is all it takes to coax those first tiny roots out. Above all, be patient; succulents operate on their own timeline.
Common Questions About Propagating Succulents
Even with the best guide, you're bound to have questions when you're snipping away at your favorite plants. It's totally normal. Propagating succulents is pretty simple once you get the hang of it, but a few common sticking points can trip up beginners. Let's clear up some of the most frequent questions I get asked.
How Long Until My Succulent Cuttings Actually Grow Roots?
This is the big one, and the honest answer is: it depends. Patience is a must-have tool for this job.
As a general rule, you can expect to see the first little pinkish roots emerging from leaf cuttings in about 2 to 4 weeks. For stem cuttings, which have a bit more work to do, you’re usually looking at a 4 to 6-week wait.
But don't treat those numbers as gospel. Several things can speed up or slow down the process:
- Time of Year: Things happen much faster in the spring and summer when succulents are actively growing. Winter propagation is possible, but it’s a much slower game.
- Light & Heat: Bright, indirect sunlight and warmer temperatures provide the energy and environment roots need to get going. Low light and cold will put the brakes on everything.
If a few weeks have passed and you see zero action, don't give up! Some succulents are just notoriously slow. As long as the cutting isn't rotting or completely dried out, just give it more time.
Can I Just Stick My Cuttings in Water?
You sure can! Water propagation is a really popular and fun way to go, particularly for stem cuttings. The best part is getting a front-row seat to watch the roots develop right before your eyes.
The trick is to suspend the callused stem so it’s hovering just above or barely touching the surface of the water in a small jar or bottle. You don't want to submerge the whole thing.
One thing I always tell people: remember that "water roots" and "soil roots" are not the same. Water roots are finer and more fragile. When you eventually move your rooted cutting into a pot, it has to transition and grow a whole new, tougher set of soil roots. Be gentle and go easy on the watering during that adjustment period to avoid root rot.
Help! Why Are My Succulent Leaves Shriveling Up?
It's a huge bummer when a perfectly good leaf cutting just wrinkles up and dies. This almost always comes down to one of a few common issues.
First, the leaf might not have had enough juice to begin with. Always start with a plump, healthy, and firm leaf from a well-watered mother plant. A thin, flimsy leaf just doesn't have the energy reserves.
Too much direct sun is another common culprit. It'll bake a little leaf cutting, sucking all the moisture out before it even has a chance to sprout roots.
Finally, while you don’t want to water them, a bone-dry environment can sometimes be too much. If you live in a very arid climate, a super light mist on the soil surface (never on the leaf itself!) once a week can provide just enough humidity to keep it from shriveling.
Ready to expand your collection with mature, healthy plants? The Cactus Outlet has a stunning selection of cacti and succulents ready to thrive in your home or garden. Explore our collection.