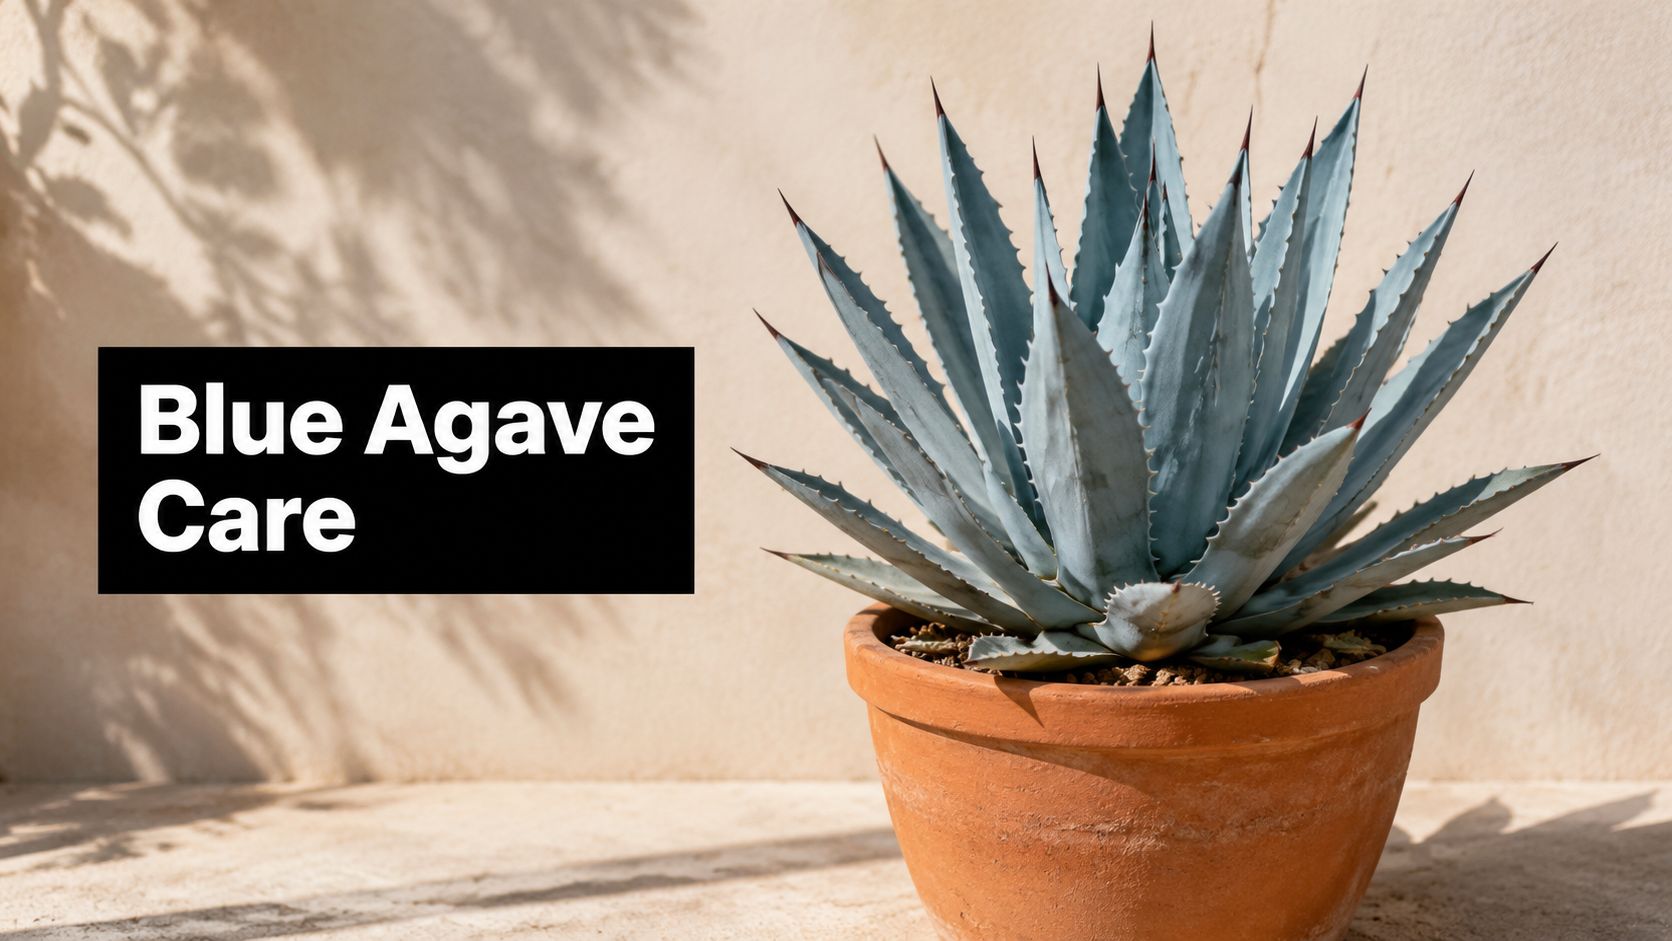

Upon encountering a blue agave in a pot or an outdoor setting, one often has the same impression. It looks indestructible. Thick silvery leaves, strong symmetry, zero fuss.
Then it comes home, and the trouble starts. A lower leaf yellows. Tips turn brown. Winter arrives, the plant comes indoors, and somebody says to water it once a month. That's where a lot of blue agave plant care goes wrong.
Blue agave is tough, but it isn't forgiving about the wrong kind of care. Most failures come from two mistakes: soil that stays wet, and winter watering that ignores light and humidity. If you learn to diagnose what the plant is telling you, you stop guessing. That's when blue agave becomes easy.
Your Guide to Growing Stunning Blue Agave
A blue agave can look fine for weeks while the roots are already in trouble. That is why growers get blindsided. The plant stays firm, keeps its shape, and then suddenly drops a lower leaf, spots at the base, or stalls hard after being brought indoors for winter.
Blue agave does best with strong light, sharp drainage, and dry time around the roots. Miss one of those, and the plant usually declines slowly enough to invite the wrong fix. Beginners often respond to stress by watering. That helps an underwatered plant and finishes off an overwatered one.
The job is not just keeping it alive. It is learning how to read it.
The three rules that matter most
-
Keep the roots breathing
Blue agave fails from wet soil far more often than from drought. If the mix stays damp deep in the pot, root loss starts before the leaves show much change. -
Water by evidence, not by schedule
A thirsty agave usually has dry soil from top to bottom, lighter weight in the pot, and leaves that lose a bit of tension. An overwatered agave often has softening at the base, lingering moisture, and yellowing lower leaves that do not perk up after more water. -
Handle winter as a separate care routine
Indoor overwintering is where many healthy plants are lost. Light drops, air movement drops, soil stays wet longer, and the old summer watering habit becomes a problem fast.
That last point gets missed constantly.
A blue agave on a blazing patio in July and the same plant near a cold window in January are living under two different sets of rules. I have seen growers do everything right through summer, then lose the plant indoors because they kept watering on the same timetable. In winter, the question is not “When did I water last?” It is “How fast is this pot drying in this room, under this light, at this temperature?”
Good blue agave care comes from that kind of diagnosis. If you want extra background on species and general culture, this guide on how to grow agave plants is a useful companion. The main thing to remember is simple. Blue agave is not high-maintenance, but it is exacting about the conditions around its roots and crown.
The Right Foundation Potting and Soil
A blue agave can look firm and healthy up top while the root zone is already failing. I see that a lot after people repot into regular potting soil. The leaves stay presentable for a while, so the underlying problem gets missed until the base softens or the plant starts to lean.
Roots need fast air exchange as much as they need water. If the mix stays dense, cool, and damp, the plant cannot dry at the pace blue agave expects. That is why soil choice is not a small detail. It decides how forgiving the rest of your care routine will be.

The mix that works
For containers, use a gritty mineral-heavy mix instead of a standard houseplant blend. A simple starting point is cactus soil cut with extra drainage material, usually perlite, pumice, coarse sand, or a combination of the three. The goal is a mix that wets quickly, drains quickly, and does not stay soggy around the crown.
I usually tell growers to test the mix in their hand before they ever pot the plant. Wet it, squeeze it, then open your palm. If it holds a tight muddy clump, it is too fine. If it breaks apart with light pressure and leaves very little paste on your skin, you are much closer.
Each ingredient has a job:
- Cactus soil gives the roots some body and a little organic matter without turning the pot into a sponge.
- Perlite or pumice creates air pockets, which is what keeps roots from sitting in stale moisture.
- Coarse sand improves flow, but only if it is coarse. Fine builder's sand often makes the mix worse.
If you want to refine your recipe, this guide to cactus and succulent soil mix is useful for dialing in drainage and texture.
Pot choice changes how much room for error you get
Pot material matters. So does size.
Unglazed terracotta dries faster than plastic or heavy glazed ceramic, so it gives beginners a wider safety margin. The trade-off is that terracotta can dry so fast outdoors in peak heat that a newly potted agave may need closer watching while it establishes. Indoors, especially in winter, that faster drying is usually an advantage.
Keep the pot only a little wider than the root mass. A pot that looks nicely "sized up" in the store often holds too much unused soil, and unused soil stays wet. That is one of the quiet causes of rot.
Here's a quick comparison:
| Pot feature | What works | What causes trouble |
|---|---|---|
| Material | Terracotta for faster drying | Decorative glazed pots that stay wet longer |
| Size | Slightly larger than the root ball | Oversized pots with excess damp soil |
| Drainage | Open holes that drain freely | Pots with poor or blocked drainage |
Drainage holes are required. One good hole is acceptable. Several are better. A cachepot without a drain hole is fine only if the agave stays in a separate nursery pot that can be removed for watering and fully drained before it goes back.
How to spot a soil problem before the plant collapses
Beginners often blame watering frequency when the underlying issue is a slow, heavy mix. The symptoms overlap, but the root zone gives it away.
If the soil is still cool and moist several inches down days after watering, the mix is too retentive for blue agave. If the lower leaves yellow while the center still looks stiff, check for trapped moisture near the base. If the plant feels loose in the pot, smells sour, or shows darkening where the stem meets the soil, treat that as early root trouble, not "thirst stress."
A plant in the right mix recovers faster from small mistakes. A plant in the wrong mix punishes every extra splash of water.
What does not work
Heavy clay soil causes trouble unless you change the site aggressively. Rich potting blends marketed for tropical houseplants also cause trouble because they stay wet too long. Pebbles in the bottom of a pot do not improve drainage in the root zone above them. They raise the saturated layer instead.
Skip moisture-control soils, self-watering pots, and containers with saucers that stay full after watering. Those setups fight the plant's natural rhythm, especially once it moves indoors for winter and drying slows down.
Blue agave handles short dryness better than stale, airless roots. Build the potting system around that fact.
Mastering Light and Water A Delicate Balance
You set a blue agave in a sunny room, give it a drink every weekend, and a month later the lower leaves yellow while the center still looks firm. Many beginners call that drought stress. In my experience, it is usually the opposite. The plant is sitting in light that looks bright to us but is too weak to drive growth, so the root zone stays wet longer than expected.
Light and water have to be read together. If one changes, the other has to change with it.
Blue agave takes strong sun outdoors once it has adjusted and rooted in well. Indoors, the common mistake is overestimating window light, especially in winter. A south or west window is usually the best spot, but even there the plant may use water slowly during short days. Leaves can stay rigid for a long time while roots are already in trouble, so do not use a stiff rosette as proof that watering frequency is fine.

Outdoor light versus indoor light
Outdoor sun is broad, strong, and lasts for hours. Indoor light is filtered by glass, shortened by walls and rooflines, and much weaker a few feet back from the window. That difference explains a lot of failed watering routines.
A blue agave growing outside in a hot, fast-draining bed can handle far more water than the same plant in a pot near a cold winter window. Beginners often keep the watering habit the same after bringing the plant inside for the season. That is where they lose it.
Use these light rules in practice:
- Outdoor plants can take the brightest exposure available after they have been acclimated to full sun.
- Indoor plants should sit as close to the brightest window as possible, without being pressed against glass that traps heat by day and chills leaves at night.
- Plants moved from shade to sun need a gradual shift or the leaves can scar and bleach.
- Plants overwintered indoors almost always need less water than their owners expect because drying slows down sharply.
How to water without guessing
Water thoroughly, then let the mix dry well before you water again. A shallow splash only wets the top layer and trains roots to stay near the surface, which makes the plant less stable and harder to judge.
The better method is simple. Drench the root ball until water runs through, then leave the plant alone until the mix has dried much farther down than the surface. For in-ground agave, give a full soaking and then wait for the soil to dry before repeating. Weather, container size, and season matter more than the calendar.
How to tell overwatering from underwatering
This is the part growers miss.
An underwatered blue agave usually stays dry all the way through the pot. The leaves may look slightly thinner or less full, and the plant may seem lighter when you lift the container. It often perks up after a proper soaking.
An overwatered agave gives mixed signals. Lower leaves yellow first. The base may soften. The pot still feels heavy days later. Soil below the surface stays cool, and in bad cases the stem area starts to darken. Watering again at that stage speeds up root loss.
Use this quick check before every watering:
- Push a finger deeper than the surface layer. Dry crust on top does not mean the root zone is dry.
- Lift the pot. A heavy pot means stored moisture, even if the top inch looks dusty.
- Check the base of the plant. Firm tissue is good. Softness near the crown points to excess moisture.
- Consider the season carefully. Bright summer growth and dull winter maintenance are not watered the same way.
A healthy blue agave forgives a missed watering. It rarely forgives a wet root zone that stays wet indoors. That trade-off matters most in fall and winter, when weak light slows growth and every extra watering lasts longer than you think.
Encouraging Healthy Growth Pruning and Propagation
A blue agave that looked tight and symmetrical in June can turn ragged by late summer if dead lower leaves are left packed against the stem. That is not just a cosmetic issue. Old foliage traps moisture, gives pests a place to hide, and makes it harder to spot the early signs of rot or scale.
Good growth comes from restraint. Blue agave responds better to clean conditions and patient timing than to frequent feeding or heavy-handed pruning. I see more damage from owners trying to improve the plant than from neglect.
Fertilizer is a good example. According to Dry Oasis Plants' agave care guidance, apply a balanced 5-10-5 NPK fertilizer diluted to half-strength once per year in spring, and avoid fertilizing during dormancy because over-fertilization can burn roots and weaken vigor.
How to prune without damaging the plant
Pruning on agave is maintenance. You are removing tissue that is already finished, not shaping the plant into something it is not. Dry Oasis Plants also notes that dead foliage should be pruned annually in spring to help prevent pest nesting by scale insects and aphids.
Use a clean, sharp knife or pruners. Cut dead lower leaves close to the base without slicing into green tissue. Leave healthy leaves alone, even if they angle downward more than you like. Those older leaves still shield the stem and crown.

While you prune, use the time to inspect the plant like a grower would:
- Look between the leaf bases for cottony residue, shell-like scale, or sticky buildup.
- Check the crown for trapped debris or any soft spots.
- Inspect the oldest leaves near the base for blackened tissue that suggests moisture sat too long.
- Stop if live tissue looks wet or mushy. That is a diagnosis problem, not a pruning job.
That last point matters. Beginners often cut away yellowing leaves and assume they fixed the issue. They did not. If leaves are yellowing because the base stayed wet, the actual problem is below or inside the plant, and more trimming only opens fresh wounds.
Feeding less keeps the plant stronger
Agaves grow best with modest nutrition. Push them too hard and the leaves can stretch softer and weaker than they should. One light spring feeding is enough for a healthy container plant in a gritty mix.
If the plant already has firm leaves, strong color, and compact form, skip extra fertilizer. Save your attention for observation instead. Careful inspection prevents bigger problems than plant food ever solves.
Propagating pups the right way
Blue agave is usually propagated from offsets, or pups, once they have enough size to survive on their own. Spring and early summer are the easiest seasons for separation because the plant is active and wounds dry faster.
Use a sterile blade and keep attached roots if you can. Then let the cut surface dry and callous before potting the pup into a fast-draining mix. The same sharp drainage that protects a mature plant protects a fresh offset even more.
The biggest mistake comes right after potting. New growers see a fresh pup and water it like a transplant from the garden center. Fresh cuts plus damp soil is a bad combination. Let the offset sit dry long enough to seal, then water lightly only after it is set in its mix.
If you grow agaves outdoors year-round or want to compare your plant with tougher relatives, this guide to cold hardy agaves helps put blue agave's limits in perspective.
This walkthrough can help if you want a visual reference:
One more practical point. Do not propagate from a struggling parent plant. If the main agave shows soft tissue, unexplained yellowing, or weak root hold in the pot, solve that first. Healthy pups come from healthy stock, and that diagnostic discipline matters even more once winter forces the plant indoors.
Seasonal Care and Overwintering Your Agave
Winter is where confidence goes to die for a lot of agave owners. The plant looked perfect outdoors. Then cold weather came, the pot moved inside, and normal care kept going as if nothing had changed.
Everything changed.
The biggest winter myth is that every indoor agave should be watered once a month. That advice is too blunt to be safe. According to an overwintering tutorial on YouTube, in high-humidity indoor spaces with low light, many blue agaves may need zero water for 4 to 6 weeks, and root rot occurs 3x faster when watered monthly versus dry-stored under those conditions.
Why indoor winter care fails
Outdoors, heat, airflow, and strong light help a pot dry. Indoors, the same plant often sits in lower light with slower evaporation. The roots stay damp far longer than the owner realizes.
That's why winter blue agave plant care has to account for these variables:
| Winter condition | What it means for watering |
|---|---|
| Low light | The plant uses less water |
| Higher indoor humidity | Soil dries more slowly |
| Cool indoor placement | Root activity slows |
| Poor airflow | Moisture lingers around the crown and mix |
The YouTube source also notes that in conditions with less than 6 hours of light and indoor temperatures of 65 to 70°F, symptoms such as blackened roots may not appear until after 2+ weeks of excess moisture. That delay tricks people into watering again before the plant has even recovered from the last mistake.
A safer winter routine
I'd rather see a blue agave kept too dry indoors than kept slightly wet “just in case.” During overwintering, use a stricter checklist before watering:
-
Check the depth of dryness
Don't stop at the surface. The whole root zone should be dry. -
Consider light first
If the plant is getting weak winter light, cut water further. -
Watch humidity in the room
Bathrooms, crowded plant rooms, and closed spaces raise risk. -
Ignore guilt watering
Owners often water because the plant looks “too dry” for their comfort, not because it needs it.
Winter agaves often die from kindness, not neglect.
If you grow outdoors in a colder area and need broader context on hardiness and seasonal handling, this article on cold hardy agaves is worth reading.
What works better than a calendar
Use a dry-storage mindset in winter. That doesn't mean permanent neglect. It means the burden of proof shifts. Instead of asking whether enough time has passed, ask whether the environment supports safe watering at all.
For many indoor setups, the honest answer is no. Not yet.
Troubleshooting Common Blue Agave Problems
When a blue agave starts looking rough, individuals often jump to treatment before they've made a diagnosis. That's backwards. Agave problems are easier to solve when you identify where the damage started and what kind of tissue changed first.
The most common confusion is overwatering versus low light or dryness stress. They don't present the same way, but they get mistaken for each other all the time. According to Desert Steel's guide to agave care and challenges, overwatering causes soft, blackening basal leaves and root discoloration, while low light causes dry, crispy tips on upper leaves without root damage. The same source says only 12% of care pages mention checking root color, even though black roots indicate rot and white roots indicate healthy roots.

The first place to look
Start low, not high.
If the oldest leaves at the base are turning soft, yellowing, darkening, or collapsing, suspect excess moisture first. If upper leaves show dry, crisp tip damage while the base stays firm, suspect light stress or dryness issues before you assume rot.
Use this quick diagnostic table:
| Symptom | Most likely issue | What to check next |
|---|---|---|
| Soft, blackening lower leaves | Overwatering | Root color and firmness |
| Dry, crispy upper tips | Low light or dryness stress | Overall firmness and root health |
| Plant feels loose in pot | Root damage or rot | Crown and root condition |
| Cosmetic tip burn only | Stress, not necessarily fatal | Whether roots are still white and firm |
The definitive test
If you're unsure, unpot the plant. Gently. Don't keep guessing from the leaves alone.
Healthy roots are white. Rotted roots are black, often mushy, and clearly compromised. That root check tells you more in a minute than two weeks of internet searching.
Here's the practical sequence:
-
Remove the plant carefully
Support the base and tip the pot, rather than yanking on leaves. -
Inspect root color
White means healthy. Black means rot. -
Check texture
Firm roots can recover. Mushy roots need action. -
Respond based on evidence
Don't repot a healthy-rooted plant just because tips are ugly.
When not to overreact
Brown tips don't always justify major intervention. If the roots are healthy and the issue is cosmetic, trim damaged tips cleanly and correct the underlying condition. That's much better than unnecessary repotting stress.
For pests, keep your eye on sheltered leaf bases and old foliage. Scale and aphids like protected spots, which is one reason spring cleanup helps. A clean plant is easier to inspect and easier to keep clean.
If the roots are white and firm, the plant still has a future, even if the leaves look rough right now.
Most blue agave plant care problems aren't mysterious. They just need a calm diagnosis. Look at leaf position, tissue texture, and root color before you do anything else. That discipline saves plants.
If you're ready to add a healthy agave to your collection or want a reliable source for large cacti and succulents, The Cactus Outlet offers a wide selection backed by detailed plant information and strong customer support.