
Of all the things that can go wrong with an aloe vera, root rot is probably the most common and the most frustrating. It’s a sneaky problem because it starts underground, completely out of sight. At its core, root rot is what happens when good intentions—like making sure your plant has enough water—go a little too far.
Understanding the Enemy Below the Soil

Imagine your aloe’s roots as its lungs and stomach combined. They need to "breathe" oxygen from tiny air pockets in the soil and absorb water and nutrients to feed the rest of the plant. When the soil becomes waterlogged, those air pockets disappear. The roots are left drowning, unable to get the oxygen they need to survive.
This soggy, low-oxygen environment is a paradise for opportunistic fungi and bacteria that are always hanging around in the soil. Normally, they're harmless. But when the roots become weak and start to die off, these pathogens pounce, feasting on the decaying tissue. This is the essence of aloe vera plant root rot.
From Overwatering to Full-Blown Infection
It doesn't take much to tip the scales from a healthy plant to one in crisis. The real culprits are frequency and poor drainage, not just a single heavy watering. If the soil never gets a chance to dry out, the delicate, hair-like roots die off first. This cripples the plant's ability to take up water and nutrients, even though it's sitting in a pool of it.
As the rot progresses, the bigger, tougher roots go next. They'll transform from a healthy, firm white or light tan to a sickly brown, mushy mess. You might even notice a distinct, unpleasant smell. At this point, the plant is effectively being starved and poisoned from the ground up. This isn't just a challenge for houseplant owners; it's a huge problem in commercial settings, too.
Root rot is a widespread disease that seriously impacts aloe vera and other medicinal plants globally. Incidence rates often range from 30% to 50%, and in severe cases, can surpass 70%, causing major economic losses for crops used in pharmaceutical and cosmetic industries. You can explore more about the impact of this soilborne disease in recent studies.
This just goes to show how sensitive these succulents are. Their entire biology is built for drought, with fleshy leaves designed to store water. That's precisely what makes them so vulnerable to having constantly "wet feet."
Root Rot Quick Diagnostic Summary
Getting a handle on the key signs is your best defense. The table below breaks down what causes root rot, what symptoms to watch for, and what to do the moment you suspect trouble. Think of it as a quick cheat sheet for a speedy diagnosis.
| Key Factor | Description | What to Look For |
|---|---|---|
| Primary Cause | Soil stays wet for too long from overwatering or poor drainage. | Soil that feels constantly damp, heavy, or soggy to the touch. |
| Main Symptoms | Yellowing or browning leaves, a mushy stem base, and slowed growth. | Roots that are soft, brown or black, and may have a foul, rotten odor. |
| Immediate Action | Stop watering right away and prepare to inspect the root system. | Gently remove the plant from its pot to assess the damage. |
By understanding that aloe vera plant root rot is fundamentally a disease of suffocation and decay, you’ve already taken the most important step. Now you can focus on not just fixing the problem, but creating a healthy environment where your aloe can truly thrive.
How to Spot the Signs of Root Rot
Catching root rot early is a bit like playing detective with your aloe. The most obvious clues—the ones you can see right on the leaves and stem—are often the last to show up. By the time your aloe’s leaves turn yellow or the base feels squishy, the problem brewing under the soil has likely been going on for weeks.
The very first signs are usually pretty subtle. You might notice your plant's growth has completely stopped, or the lower leaves start to look a little deflated and sad. While these things can point to other issues, like thirst or even discoloration on aloe leaves from sun stress, they become major red flags when you know the soil has been staying damp.
The Above-Ground Symptoms
When the roots can no longer pull up water and nutrients, the rest of the plant starts to show it. Think of these visual cues as your aloe’s cry for help, signaling that something is seriously wrong with its foundation.
Here are the key warning signs to watch for:
- Yellowing or Browning Leaves: This usually starts at the bottom of the plant and slowly creeps upward.
- A Mushy Stem Base: The spot where the plant meets the soil will feel soft, almost like a rotten vegetable.
- Wilting or Drooping: The normally stiff, proud leaves suddenly look limp and lose their structure.
- Stunted Growth: You can't remember the last time you saw a new leaf emerge.
These symptoms love to pop up when a plant has been stuck in cold temperatures with too much water. That combination is the perfect storm for fungal growth, leading to those soft, blackened roots and, often, an unpleasant smell.
The Definitive Root Inspection
Honestly, the only way to be 100% certain you're dealing with root rot is to take a look at the roots. Don't be shy about it; this is a critical step if you want to save your plant.
Gently slide the aloe out of its pot. If it's being stubborn, give the sides of the pot a few firm taps or run a butter knife around the inner edge to loosen things up. Shake off as much of the old soil as you can so you can get a good, clear view of the entire root system.
Healthy aloe roots should be firm, plump, and a white or light tan color. They feel strong when you touch them. Rotted roots, on the other hand, are a completely different story—they'll be brown or black, feel mushy, and might even fall apart in your hands. A foul, swampy odor is another dead giveaway that you've got a serious infection.
This hands-on inspection is the most important diagnostic you can do. It takes all the guesswork out of the equation and tells you exactly what you're up against, so you can move forward with the right plan of attack.
Your Step-by-Step Treatment Plan
So, you've confirmed it's root rot. Don't panic. Think of yourself as a plant surgeon about to perform a life-saving operation. With a bit of care and the right steps, you can give your aloe a real shot at a comeback.
Our goal is simple: get rid of all the diseased tissue and give the plant a completely fresh, sterile home to recover in. This stops the rot in its tracks and encourages healthy new roots to grow. Let's scrub in and get started.
Step 1: Unpot and Clean the Roots
First things first, you need to get the plant out of its pot. Gently tip the container on its side and ease the aloe out—try not to yank it by the stem. Once it's free, carefully crumble away as much of that old, soggy soil as you can.
Now, head to the sink. Rinse the entire root ball under lukewarm water. You want to wash away every last bit of the old soil, which is likely contaminated with the very fungus or bacteria causing all this trouble. This gives you a clear, unobstructed view of the damage you're dealing with.
This quick visual check is your guide to what stays and what goes.

It’s pretty clear once you see it. Healthy roots are firm and whitish, while rotted ones are dark, mushy, and just look sick.
Step 2: Trim Away the Rot
This is the most crucial part of the whole operation. Grab a pair of sharp, clean scissors or pruning shears. And I mean clean—wipe the blades down with rubbing alcohol to sterilize them before you make a single cut.
Look closely at the roots and start snipping off anything that looks unhealthy. Every single brown, black, mushy, or stringy root has to go. You have to be ruthless here. Leaving even a tiny piece of infected root behind can let the aloe vera plant root rot creep back in. If the rot has traveled up to the base of the plant, you might have to sacrifice a few of the lowest leaves, too.
Step 3: Sanitize and Allow to Callus
After you’ve amputated all the rotted material, it's wise to add a layer of protection. A great natural trick is to dust the remaining healthy roots with a bit of cinnamon powder from your kitchen cabinet. It’s a natural antifungal and helps shield the fresh cuts from new pathogens.
Next, lay the plant out on a paper towel in a dry spot with good air circulation, but out of direct sun. You need to let the cut ends of the roots dry out and form a callus. It's just like a scab forming over a wound, and it's a vital part of the healing process.
Let the plant air-dry for at least 24 to 48 hours. Don't skip this. Repotting a plant with fresh, open wounds is like inviting the rot right back for round two.
Step 4: Repot in a Fresh Environment
While your aloe is callusing over, get its new home ready. You can either grab a brand-new pot or thoroughly sterilize the old one. A soak in a solution of one part bleach to nine parts water will do the trick, just be sure to rinse it completely afterward. Terracotta pots are fantastic because the porous clay helps pull excess moisture out of the soil.
Fill your clean pot with a fresh, sterile, and very well-draining succulent or cactus mix. Whatever you do, do not reuse the old soil. While you can technically sterilize soil by baking it at around 150°C (302°F) for 30 minutes, it's far easier and safer for most people to just start with a fresh bag. For a deeper dive into this, check out this guide on soil sterilization and aloe recovery.
Once the roots have formed a nice callus, it's time to replant. Settle your aloe into its new pot, but hold off on watering. The plant needs time to settle in, and those newly healed roots are still very vulnerable. We’ll get to the post-op care in just a bit.
Creating the Perfect Environment to Prevent Rot
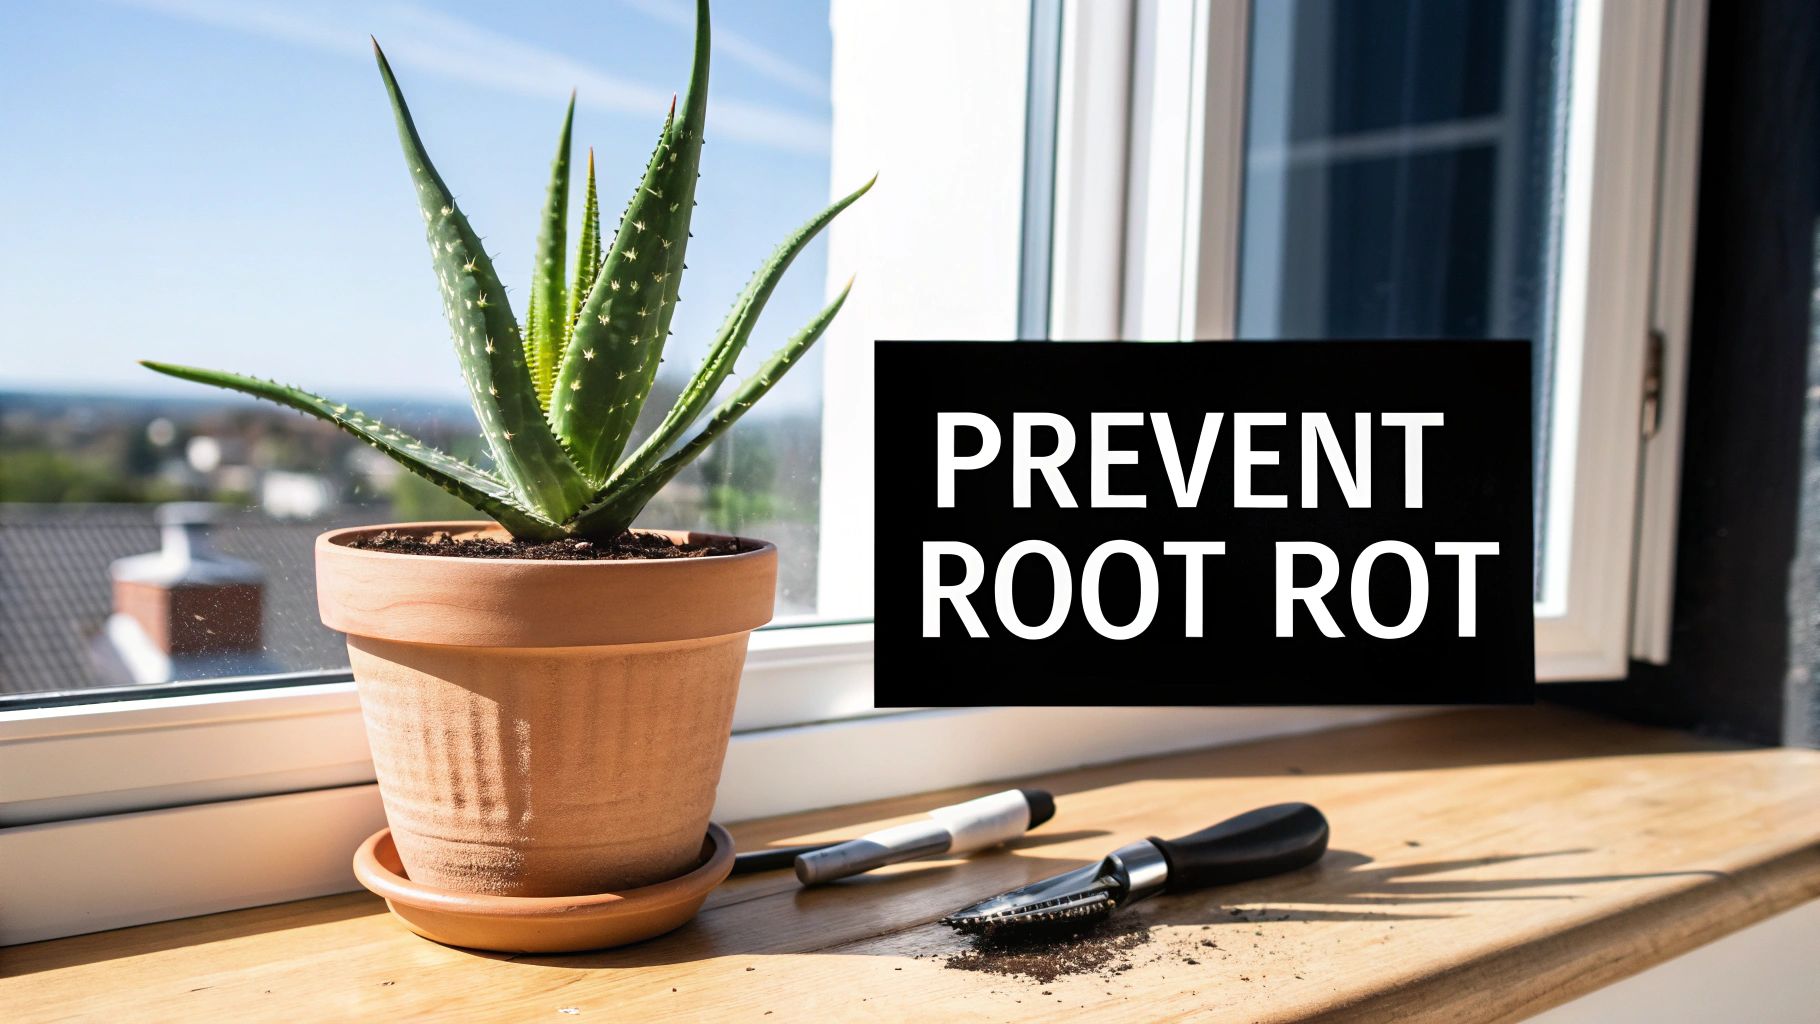
Honestly, the best way to beat aloe vera plant root rot is to never let it get started in the first place. Prevention is so much easier than performing plant surgery later. It all comes down to getting three things right: the soil, the pot, and your watering habits.
To get this right, you have to think like an aloe. Picture its native home on the Arabian Peninsula—it’s hot, sandy, and doesn't see a lot of rain. Your goal is to replicate that environment. You need a setup where water drains away almost as fast as you pour it in, ensuring the roots never stay soggy.
Building the Ideal Soil Foundation
This is where most people go wrong. Standard, all-purpose potting soil is a killer for aloes. It’s basically a sponge, designed to hold moisture, which is the exact opposite of what your aloe needs to thrive.
You want a soil that’s gritty, loose, and airy. Something that lets water rush right through and allows the roots to breathe.
You can grab a bag of pre-made cactus and succulent mix from any garden center, and that’s a decent start. But if you really want to nail it, mixing your own is the way to go. It gives you total control over drainage and aeration.
A fantastic, can't-fail DIY mix is one part potting soil, one part coarse sand (like builder's sand, not the fine stuff from a playground), and one part perlite or pumice. This blend creates a lightweight medium that dries out fast, dramatically cutting your risk of root rot.
Creating your own soil mix allows you to tailor the environment perfectly for your aloe vera. Here are a few reliable recipes to get you started.
Table: Ideal Soil Mix Recipes for Aloe Vera
| Mixture Type | Component 1 | Component 2 | Component 3 |
|---|---|---|---|
| Basic Beginner Mix | 1 Part Potting Soil | 1 Part Perlite | 1 Part Coarse Sand |
| Grittier Pro Mix | 1 Part Potting Soil | 2 Parts Pumice | 1 Part Coarse Sand |
| Soil-Free Blend | 2 Parts Pumice | 2 Parts Coarse Sand | 1 Part Coco Coir |
Experimenting with these ratios will help you find the perfect balance for your home's humidity and your specific plant's needs. For a deeper dive, check out these other great cactus and succulent soil mix recipes to fine-tune your blend.
Choosing the Right Pot for Your Aloe
The pot you choose is just as important as the soil inside it. Those pretty glazed ceramic or plastic pots might look great, but they’re water traps. They don’t breathe, keeping the soil damp for far too long.
When it comes to aloes, the undisputed champion is the classic, unglazed terracotta pot.
Terracotta is porous, which is a huge advantage. The material itself wicks moisture away from the soil and allows it to evaporate right through the pot's walls. Think of it as an extra layer of protection against overwatering. And this should go without saying, but make sure your pot has at least one large drainage hole. No drainage hole, no aloe. Period.
Mastering the Art of Watering
Throw your weekly watering schedule out the window. For aloes, it’s all about the "soak and dry" method. This approach perfectly mimics the infrequent, heavy downpours of their desert home.
Here's how to do it right:
- Check the Soil First. Before you even grab the watering can, stick your finger about two inches into the soil. If you feel even a hint of moisture, put the can down and walk away. The soil needs to be bone dry before you water again.
- Soak it Good. When it's finally time, don't be shy. Water the plant thoroughly until you see it pouring freely out of the drainage hole. You want to drench the entire root ball.
- Let it Drain Completely. After a good soak, make sure all the excess water has drained away. Never, ever let your aloe sit in a saucer full of water—that’s a one-way ticket to rot.
This method gives the roots the hydration they need without ever leaving them to suffocate in a swamp. In the summer, you might end up watering every two or three weeks. In the winter, it could be a month or even longer. Your plant will tell you when it's thirsty; you just have to listen.
When to Propagate from a Dying Plant
Sometimes, you do everything right, but the battle against aloe vera plant root rot is already lost. It’s a gut-wrenching moment for any plant parent, but knowing when to stop fighting and start fresh is a crucial skill. If the rot has destroyed most of the roots or, worse, has crept into the plant's core—turning the base into a black, mushy mess—it’s game over for the mother plant.
At this stage, the plant's foundation is compromised beyond repair. No amount of trimming or fresh soil can bring it back from the brink. It's time to shift your focus from rescue to renewal. But this isn't the end of the line for your aloe. Think of it as a chance to start a new chapter.
Turning Loss into New Growth
Even as the main plant succumbs, it may have put its last energy into producing healthy offsets, which we lovingly call "pups." These little clones are your plant's legacy and your best shot at a do-over. They’re genetically identical but are their own separate plants, often with their own tiny root systems already starting. As long as the rot hasn't reached them, these pups are your ticket to a new beginning.
Pivoting from saving a dying plant to nurturing its offspring is one of the most rewarding parts of gardening. It transforms a moment of failure into a powerful lesson in resilience.
Your goal now is simple: harvest those healthy pups before the decay has a chance to spread. Speed is key. You want to separate them while they are still vibrant and completely untouched by the infection that took down the parent plant.
How to Harvest and Replant Aloe Pups
The process is refreshingly straightforward and gives you a direct path to a new, healthy collection of aloes. It’s a clean slate, free from the problems that plagued the original.
Here’s your step-by-step game plan:
- Gently Unearth: Carefully slide the entire root ball, pups and all, out of the pot. Gently brush away the old soil so you can clearly see where the pups connect to the mother plant.
- Make a Clean Cut: Using a sterilized, sharp knife, carefully slice the pups away from the parent. It’s a huge plus if a pup already has a few of its own roots, no matter how small.
- Let Them Heal: Just as you would with a trimmed root, let the cut ends of the pups air-dry for a day or two. This allows a protective callus to form, which is essential for preventing rot in their new home.
- Pot Up the New Generation: Plant each pup in its own small container filled with fresh, fast-draining succulent mix.
This simple technique gives your aloe a second chance at life. If you want a more in-depth walkthrough, check out this excellent guide on how to grow aloe vera from cutting and offsets, which covers all the essentials for successful propagation.
Common Questions About Aloe Vera Root Rot
After wrestling with a case of aloe vera plant root rot, it's totally normal to have some questions nagging at you. The recovery period can feel just as nerve-wracking as the initial "surgery," and you want to make sure you're doing everything right.
Think of this as your post-op guide. We'll walk through the most common concerns to help you get your aloe back on its feet and keep it from ever getting sick again.
Can I Reuse the Pot After Root Rot?
This is a great question, and the short answer is yes—but you absolutely must sterilize it first. The fungi and bacteria that caused the rot can hang around in the tiny, invisible pores of the pot, just waiting to attack the next plant. A quick rinse just won't cut it.
To make that pot safe again, you need to give it a proper deep-clean.
- Scrub It Out: Start by scrubbing the pot with soap and hot water to get rid of any lingering soil, gunk, and mineral buildup.
- Give It a Bleach Bath: Next, soak the pot for at least 30 minutes in a solution of one part regular household bleach to nine parts water. This is the crucial step that kills off the bad stuff.
- Rinse and Dry: Finally, rinse the pot thoroughly with fresh, clean water and let it air dry completely before you even think about putting a plant in it.
This little bit of effort ensures your repotted aloe gets a truly clean slate.
How Soon Should I Water My Aloe After Repotting?
This is where your patience really comes into play. After you've repotted your recovering aloe, hold off on watering for at least a full week. I know it feels wrong, especially after all that work, but this is one of the most critical steps for success.
The roots, particularly where you made cuts, are like open wounds. They're incredibly fragile and susceptible to infection. Watering right away can shock the plant and reintroduce the same soggy environment that caused the rot in the first place. A week in dry soil gives those roots time to callous over, heal, and start spreading out in search of water, which is exactly what you want for a strong new root system.
What Are the Early Signs of Overwatering?
Learning to spot the early warning signs of overwatering is your best defense against future root rot. The first clues usually show up in the leaves. Keep an eye out for leaves that look a bit puffy, swollen, or almost translucent. Yellowing that starts with the lowest leaves is another classic sign.
Don't forget to check the soil. If you stick your finger in and it still feels damp several days after you last watered, that’s a big red flag. Consistently wet soil is the perfect breeding ground for the pathogens that cause rot.
Are There Other Aloe Diseases That Mimic Root Rot?
Yes, and this is why checking the roots is so important. While root rot is the usual suspect when you see a mushy base and yellowing leaves, other fungal and bacterial problems can look strikingly similar. Fungal diseases are a major threat to aloes, both in our homes and out in commercial fields.
For example, basal stem rot, often caused by fungi like Geotrichum candidum, creates decay right at the soil line, which can look identical to advanced root rot. Recent studies have highlighted how serious these threats are, with some fungal infections like Alternaria leaf spot showing disease index rates over 73% in some environments. You can learn more about recent findings on aloe fungal diseases to dig deeper. When in doubt, always unpot the plant and inspect the roots to get a definitive diagnosis.
At The Cactus Outlet, we know a healthy plant from the start makes all the difference. Explore our collection of happy, thriving succulents and cacti to find the perfect new friend for your home. Shop our premium selection today!