
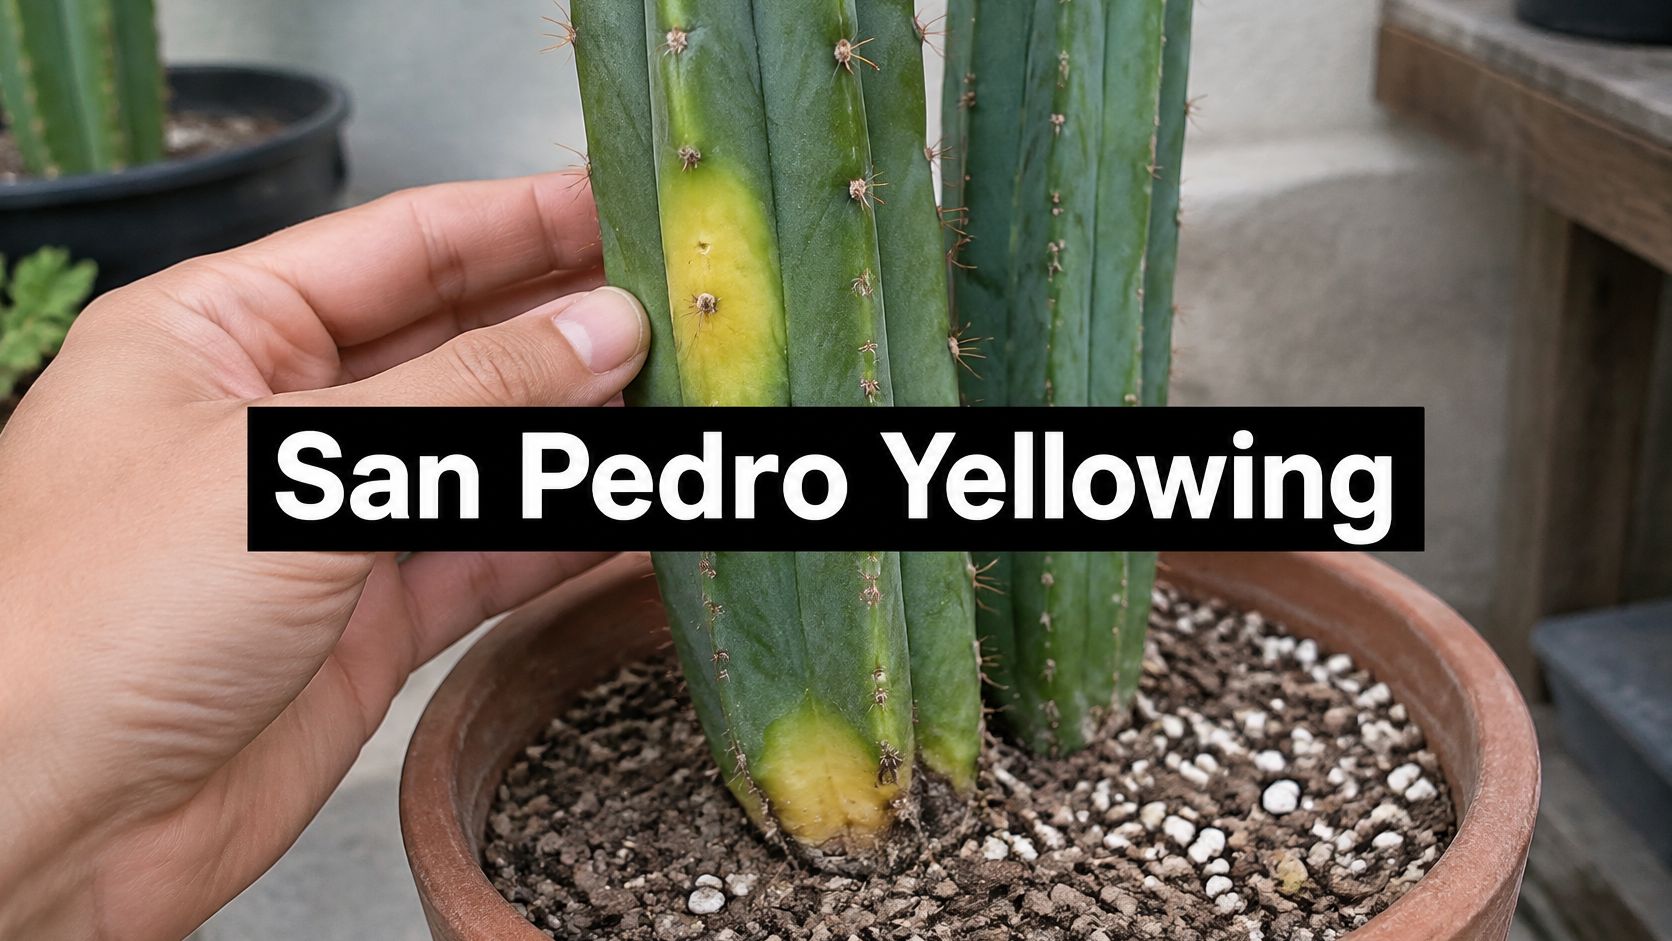

Your San Pedro looked green when you planted it, but now one side is pale yellow. Or the discoloration is creeping up from the soil line, and you're wondering whether another watering would help or finish it off.
Before reaching for fertilizer, check where the yellowing starts and whether the tissue is firm or soft. San Pedro cactus yellowing is a symptom, not a diagnosis. A sun-scorched column and a rotting base need almost opposite treatment.
Match the Yellowing Pattern to Its Cause
| Pattern | Where It Shows | Tissue Texture | Likely Cause | First Action |
|---|---|---|---|---|
| Pale or bleached patch after a sudden light change | Sun-facing side | Firm, dry, tan or yellow | Sun stress | Move to bright shade, then raise light gradually |
| Yellow starting at the base | Lower column near the soil line | Soft or mushy | Root or stem rot from saturated soil | Stop watering and inspect the root zone |
| Uniform paling on newer growth | Newest areas of the column | Firm | Nutrient chlorosis or water-quality issue | Check roots and irrigation water before feeding |
| Yellow with ribs shrunken between | Whole column | Firm, slightly wrinkled | Drought stress | Soak thoroughly after confirming dry soil and healthy roots, then let the root zone dry |
| Yellow after repotting, shipping or relocation | Whole plant or areas exposed to change | Firm to slightly soft | Transplant or acclimation stress | Hold conditions steady, avoid extra water, acclimate light |
| Yellow after cold nights in wet soil | Lower or exposed side | Soft, watery spots | Cold injury combined with saturation | Keep dry and check for rot |
Treat these patterns as starting points, not verdicts. The Alibaba cactus-yellowing guide describes environmental stress, including saturation, drainage problems and abrupt sunlight exposure, as common causes of yellowing in San Pedro (Echinopsis pachanoi). The moisture test matters because unrelated problems can produce similar colors.
The patterns that need opposite responses
A dry, firm patch on the side facing afternoon sun usually calls for less exposure, not more water. Say you move a sheltered patio specimen beside a reflective wall: the newly exposed side pales while the shaded side stays green. Move it into bright shade without disturbing healthy roots.
Yellowing at the base deserves a different response when the tissue yields under gentle pressure. Saturated soil fills the pores that normally supply roots with oxygen, so adding water can worsen root failure. Stop irrigation and examine the base rather than assuming a yellow cactus is thirsty.
For irrigated garden beds, Prestonwood Commercial Services offers a useful broader checklist to spot overwatering in commercial landscapes. Use it to assess irrigation and site conditions, but let the cactus's tissue and root-zone moisture determine treatment.
New growth gives another clue
Uniformly pale new growth raises nutrient and irrigation-water questions, but color alone doesn't establish a deficiency. Healthy-looking roots and a consistent paling pattern warrant further investigation before feeding.
A recently moved plant may also look washed out without being beyond recovery. Don't change its soil, fertilizer, water and exposure simultaneously, because you'll lose track of which adjustment helped.
Soft tissue means stop watering first. Firm tissue means check light and temperature history before changing irrigation.
How to Test Moisture and Inspect the Root Zone
Gather a wooden skewer, clean gloves, a flashlight and a phone for photographs. The initial checks can be quick, but don't rush unpotting a large column just to finish within a particular time.
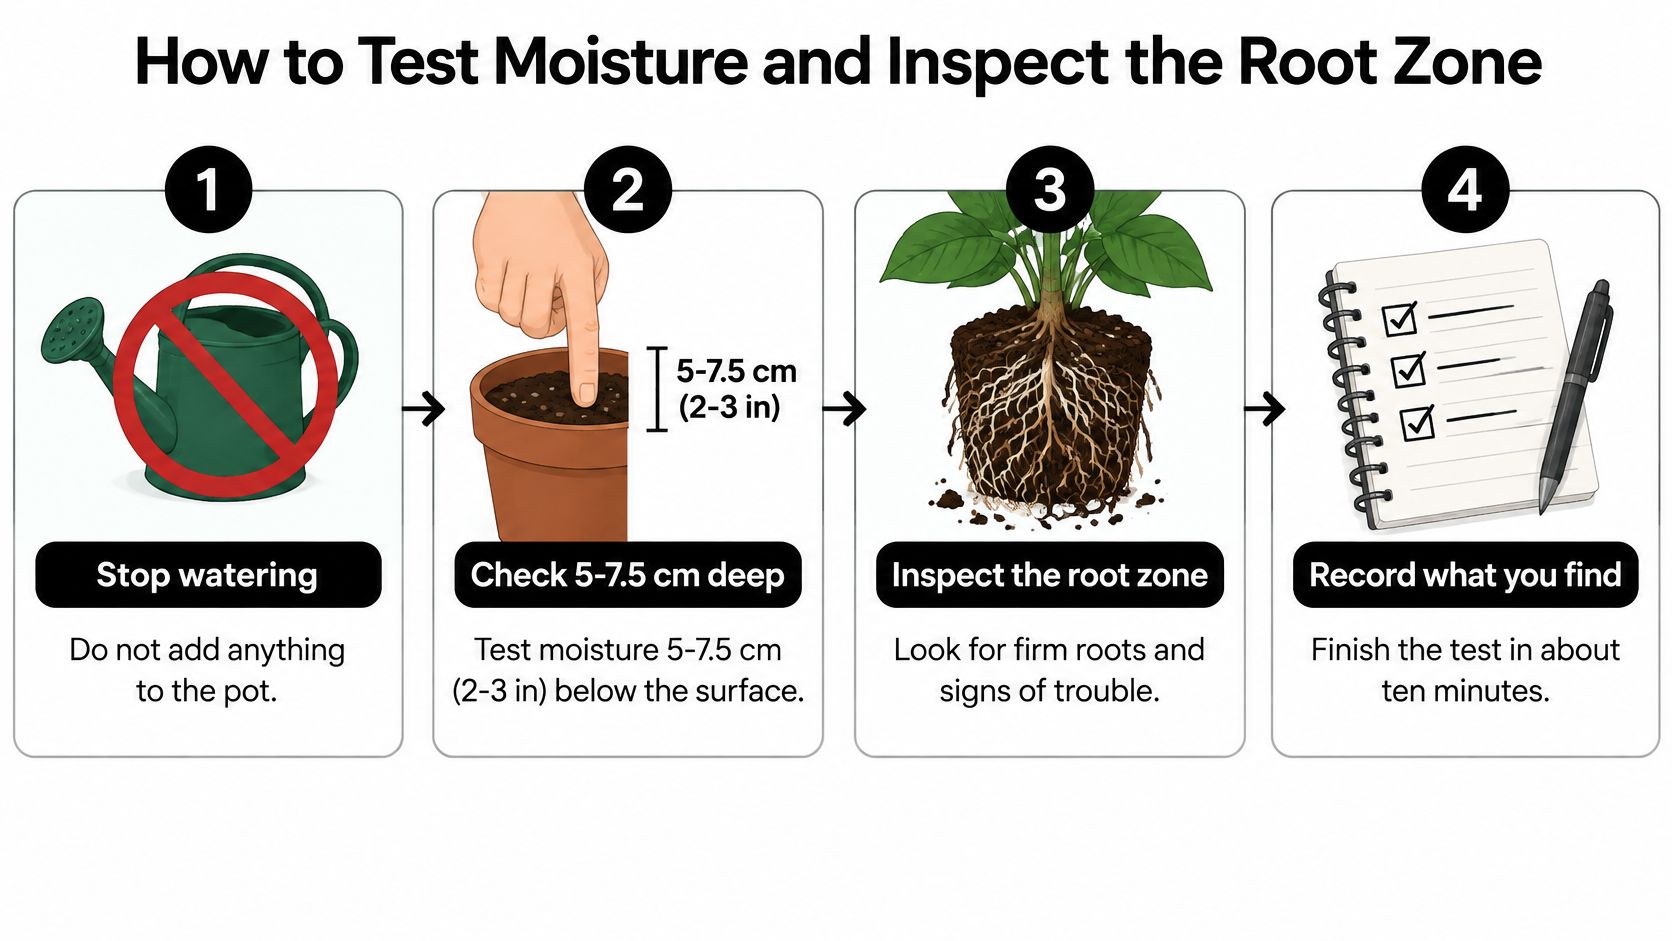
Check before disturbing roots
- Pause irrigation and additives. Don't add fertilizer, rooting products or a precautionary splash of water. You need to assess the existing conditions without changing them.
- Test below the surface. Check moisture 5–7.5 cm (2–3 in) below the surface, consistent with the University of Arizona cactus-care guidance, using a wooden skewer or a finger where safe. The surface dries first, so a dusty top layer doesn't prove the root zone is dry.
- Inspect the drainage route. Confirm that the hole isn't blocked and empty any saucer or decorative sleeve. Water that leaves the soil but remains trapped around the container hasn't meaningfully drained away.
- Decide whether unpotting is justified. If moisture persists, especially alongside a soft base or worsening discoloration, carefully lift the plant and inspect its roots and stem base. Look for black, slimy, collapsing or foul-smelling tissue; an otherwise firm plant with ordinary residual moisture usually needs observation rather than immediate root disturbance.
- Check firmness gently. Wearing gloves and avoiding spines, apply light thumb pressure to an accessible rib without puncturing the skin. Firm tissue with shrunken ribs supports thirst, while localized yielding or mushiness raises concern for decay.
- Record the context. Note pot weight, the last irrigation, recent light changes and cold nights, and photograph the discolored area. These details help distinguish a stable blemish from an expanding problem.
- Choose a response from the findings. Wait if the soil is still damp and the plant remains sound, reduce exposure when the pattern matches sun injury, or treat confirmed rot. Don't select an action because the cactus looks yellow.
Why a calendar can mislead you
A large container can remain wet beneath a dry crust, particularly in cool weather or a sheltered patio corner. Watering on a fixed weekday ignores that stored moisture and can repeatedly wet roots that haven't recovered from the previous irrigation.
After shipping or transplanting, injured roots may deteriorate before the column visibly collapses. Support a heavy specimen with a helper during inspection; don't pull it out by the growing tip or wrestle with an unstable container.
Diagnostic rule: Dry soil plus firm, wrinkled tissue supports thirst. Damp soil plus soft, weakening tissue calls for action on rot.
Dry soil alone isn't a command to irrigate. A firm, unwrinkled cactus with a localized sun-facing patch may need shade rather than water.
How to Treat Root or Stem Rot Safely
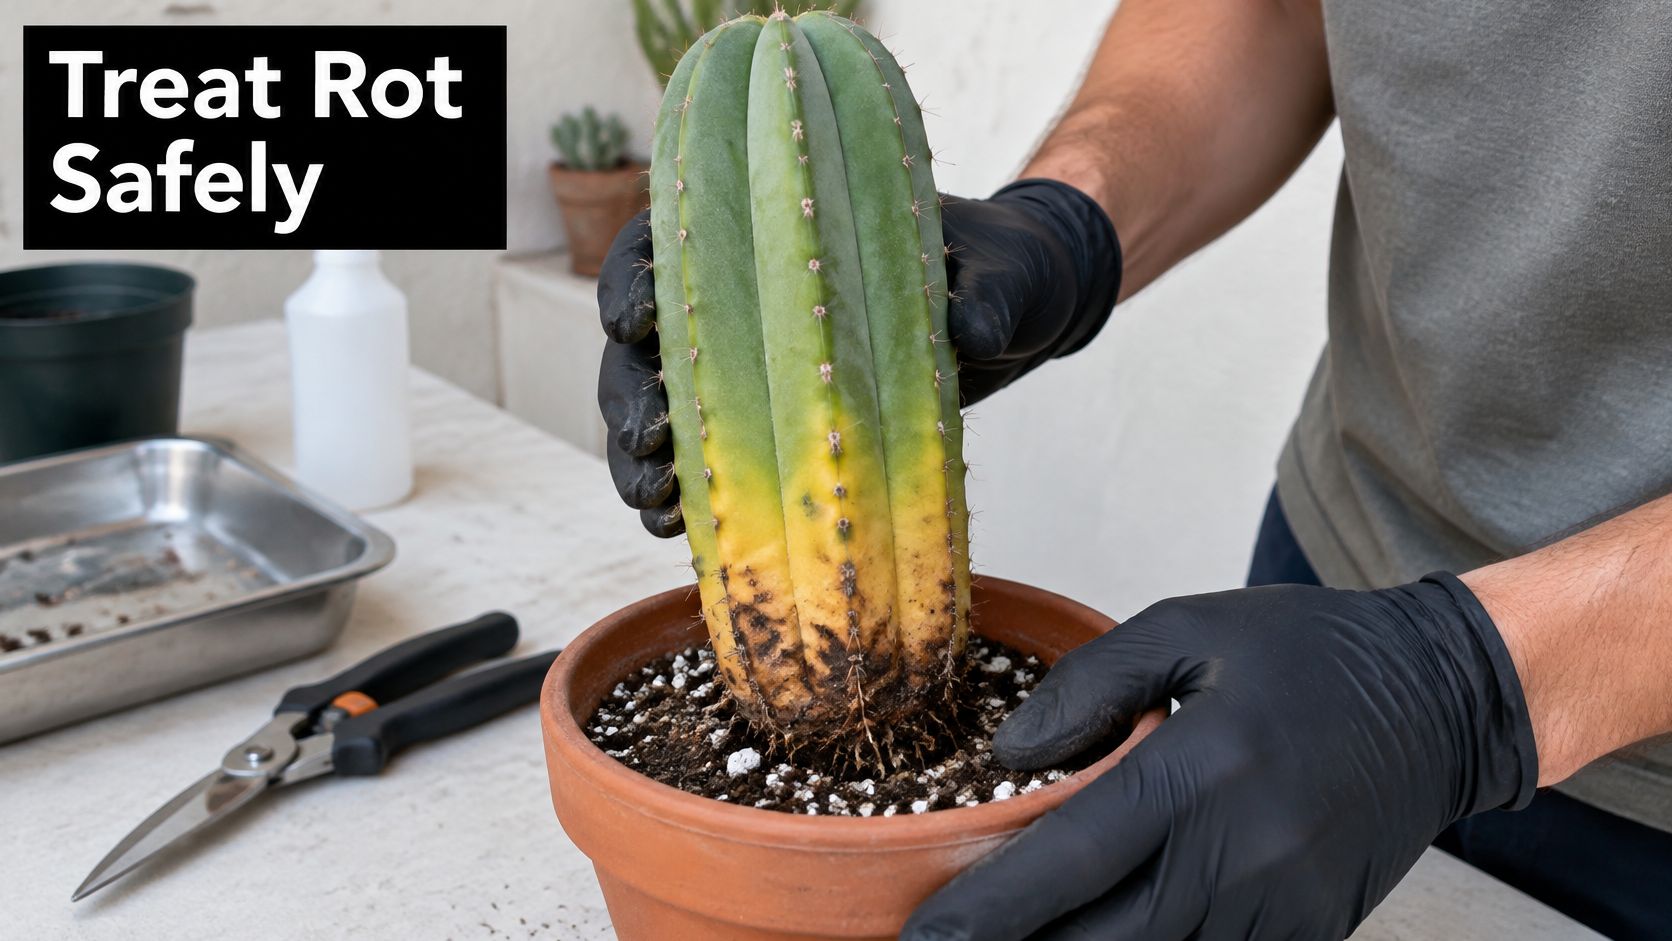
Cutting is appropriate for confirmed decay, not for every yellow mark. The San Pedro growing guide distinguishes a thirsty, slightly shrunken cactus from one with soft, mushy or rapidly worsening tissue, and recommends removing rot back to healthy tissue before callusing.
Remove decay without sacrificing sound tissue
- Prepare a clean work area. Put on clean protective gloves and use a sharp, sterilized knife or pruning blade. Support the column on a clean surface so it can't roll, fall or tear while you're cutting.
- Remove affected stem tissue. Cut away black, soft, slimy or foul-smelling material until the exposed tissue is firm and clean. A healthy cut face should look pale and sound, without watery breakdown, dark streaking or suspicious pockets; freshly cut healthy cactus flesh can still be naturally moist.
- Trim rotten roots. Remove collapsing roots back to healthy, pale tissue and clean the blade between contaminated cuts. Keeping dead roots attached doesn't preserve useful root capacity and can leave decaying material against the plant.
- Let the wound callus. Place the salvaged section somewhere dry, shaded and ventilated, protected from rain and irrigation. Allow several days to weeks as needed for the cut size and humidity, but judge readiness by a hardened, dry surface rather than elapsed time.
- Reset into clean conditions. Once damaged tissue is removed and the wound is dry, repot the surviving rooted plant or position a salvage cutting in clean, rapidly draining medium. Use a container with an open drainage hole and support the column without burying extra stem merely to hold it upright.
- Restart watering cautiously. Do not water an unrooted salvage cutting just because its potting mix is dry; wait for rooting and a sound callus. For a plant with healthy roots, resume watering only when the medium is dry at depth and no fresh softness appears.
What fungicide can and can't do
A fungicide labeled for the plant and disease may be considered after rot is confirmed and affected tissue has been removed. Follow its application and safety instructions, but don't expect it to restore dead tissue or compensate for a waterlogged planting site.
The cactus root rot treatment guide provides additional context for assessing and salvaging affected plants. For a large specimen, get qualified help if the column can't be supported safely.
Stop cutting once you reach clean, firm tissue. Removing more healthy column doesn't make the plant safer.
Recovery Timelines After Sun, Cold and Rot Treatment
| Corrective Step | What Improves First | Expected Timeline | Stop and Reassess Signal |
|---|---|---|---|
| Stop watering and let the root zone dry | Moisture decreases below the surface | Several days to weeks, according to pot size and climate | Soft tissue keeps spreading |
| Cut back rot and let the cut callus | Cut face hardens and dries | Several days to weeks, judged by wound condition | Rot appears at the new cut edge |
| Gradual light acclimation after sun scorch | Scorched area stops spreading | About two weeks of gradual exposure is one guideline in the Azarius care guide; assess color in subsequent growth | Pale area widens or new growth stays pale |
| Dry, sheltered recovery after cold injury | No new softening at the base | Damaged areas may stay scarred; watch new growth | Soft, watery spots spread |
| Feeding after confirmed nutrient chlorosis | New growth greens up | Next active growing period | Salt crust forms or paling continues |
These are observation windows, not promises. Container volume, soil composition, climate and season affect recovery, and a plant that's resting won't immediately produce new growth to confirm your diagnosis.
Sun damage needs stability, not cosmetic repair
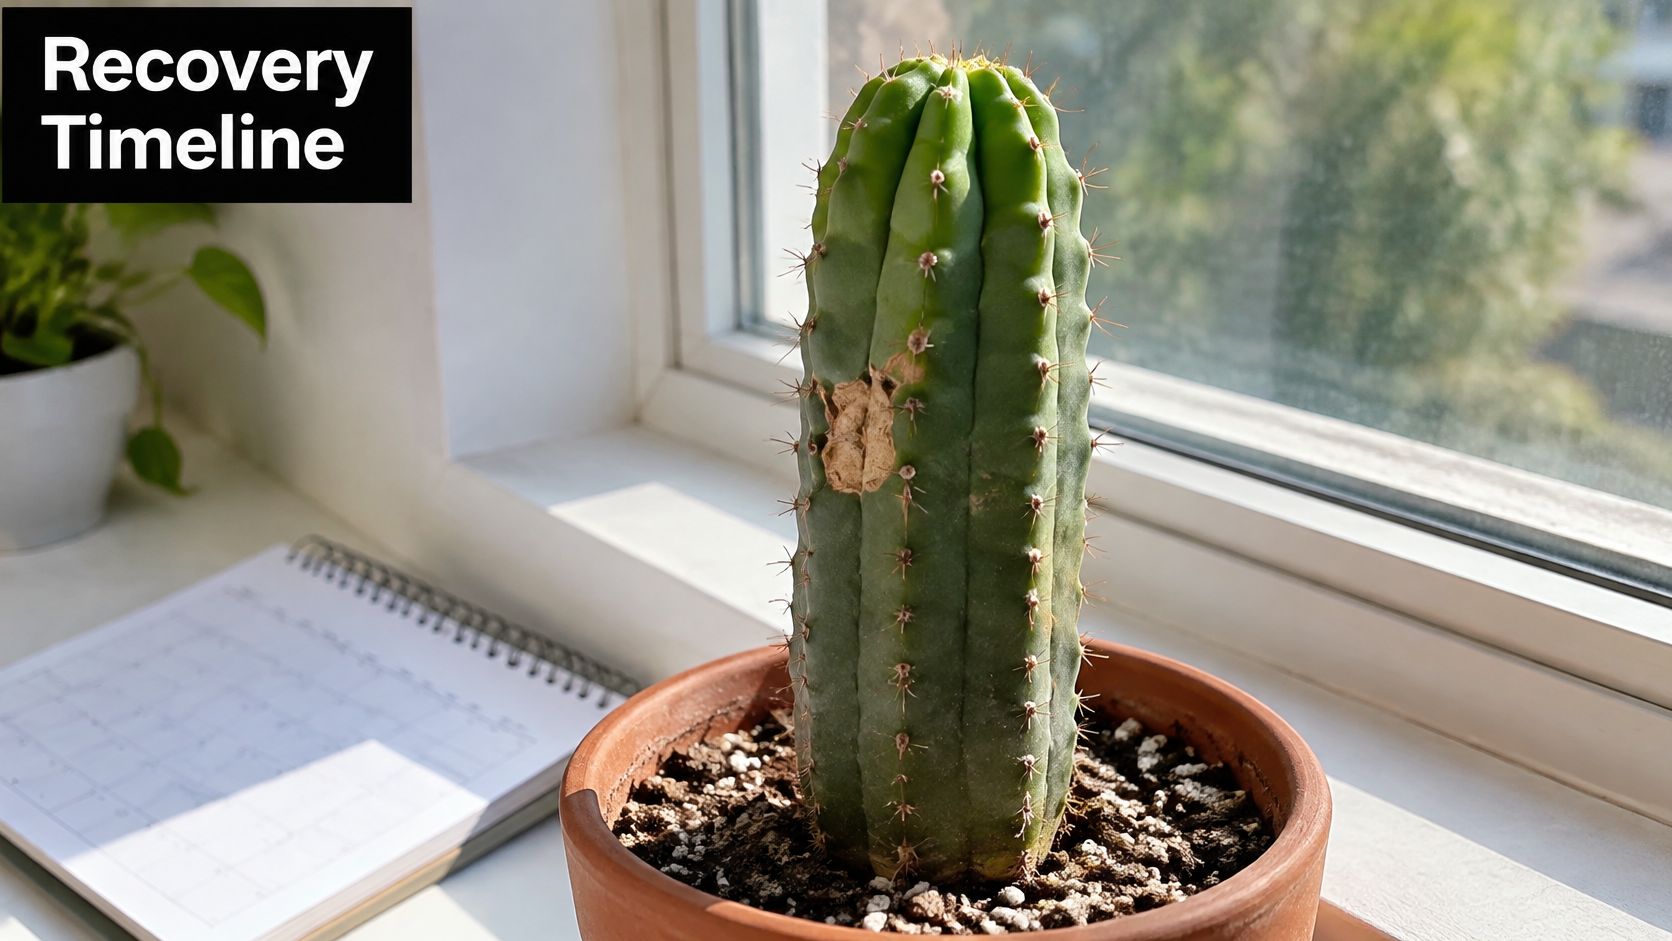
After moving a scorched plant into bright shade, watch the edges of the pale patch. A stable boundary is more useful evidence than whether the old skin becomes green again, because burned tissue may remain permanently tan or yellow.
Increase exposure only while the plant stays stable. Gentle morning exposure is easier to control than reflected afternoon heat beside paving or masonry, and you shouldn't increase light just because a calendar reminder says it's time.
Use the cactus sunburn guide to compare exposure-related damage with your plant's pattern. Don't keep moving the cactus between deep shade and strong sun in an attempt to restore its original color.
Cold and rot recovery need different checks
For cold injury, inspect whether watery areas become larger or begin collapsing. Keep the plant sheltered and the root zone dry through the cold spell; don't interpret a cold-stressed appearance as an automatic request for irrigation.
For a salvaged section, inspect the callus edge rather than repeatedly lifting it to search for roots. A dry, hardening wound is encouraging, while fresh softness, odor or darkening calls for reassessment before planting or watering.
Soak-and-dry care resumes when the plant has functional roots and is ready to use water. Soak an established cactus thoroughly when the root zone is dry and firm, shrunken tissue indicates thirst, then allow substantial drying before the next irrigation.
Fertilizer belongs late in the diagnosis
Feeding is reasonable only after root health and growing conditions support a nutrient-deficiency diagnosis. The San Pedro Source problem guide treats yellowing as a response to several possible stressors rather than proof that fertilizer is needed.
If pale new growth continues, review irrigation-water quality and fertilizer history, and consider testing the water and growing medium. Guessing at deficiencies by adding several products can create a salt problem without resolving the original cause.
Don't feed a saturated root zone to force greener skin. Judge recovery by firm tissue, no expanding soft areas and healthy green new growth during the next active growing period, not by the disappearance of every old blemish.
Prevent Yellowing and Decide Your Next Step
A yellow patch means different things depending on where it appears and how the tissue feels. Check its position and firmness before changing care: firm, sun-facing discoloration calls for shade and observation, while soft or spreading tissue needs a rot assessment.
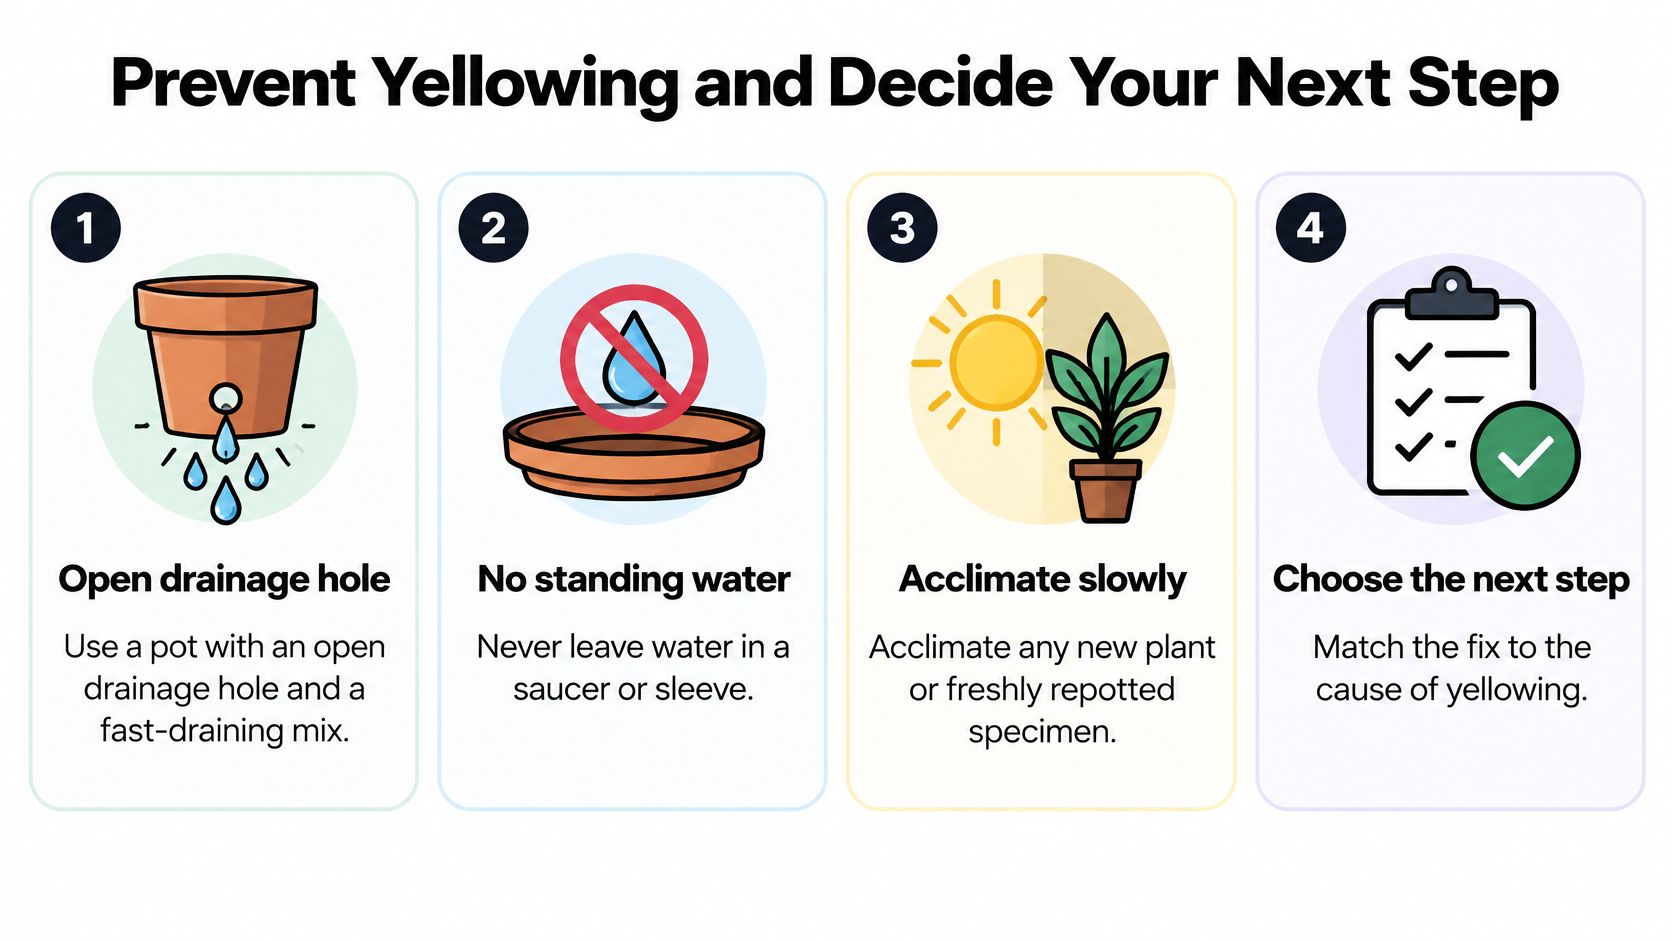
Prevent repeat stress with a fast-draining mix in a pot with an open drainage hole. Empty runoff from any saucer or sleeve. For an in-ground plant, choose soil that sheds excess water, away from low spots where roof runoff or lawn irrigation collects. A gravel top dressing will not fix a root zone that holds water.
Prepare the site before the plant arrives
Large cacti from The Cactus Outlet are well-packaged for delivery, so prepare a drained container or planting site before arrival, then unpack and inspect the plant and acclimate it gradually instead of placing a newly delivered column straight into intense sun.
For establishment advice, use the San Pedro cactus care guide. Keep the planting arrangement simple enough to check drainage and inspect the base without dismantling a heavy decorative enclosure.
Protect against cold and choose the next step
The San Pedro care guide recommends keeping temperatures above 40°F (4°C) and soil dry during cold periods, since freezing water can damage plant cells. Treat this as care guidance, not a guaranteed hardiness rating.
Check tissue texture first. Firm and soft yellowing require different responses.
- Firm tissue with a sun-facing patch: Provide bright shade and observe. Check for shrunken ribs before deciding whether the plant is thirsty.
- Soft or spreading damage: Assess for rot and follow the appropriate removal steps. Fertilizer will not resolve damaged tissue.
- Pale old tissue with green new growth: Leave stable discoloration alone. Old marks may persist even as the plant grows normally.
The Cactus Outlet offers large outdoor cacti, agaves, aloes and selected succulent specimens for containers and gardens. Browse The Cactus Outlet and plan drainage, cold protection and gradual acclimation before planting.