It’s a sinking feeling, seeing your once-vibrant green aloe vera start to show brown spots. But don't panic—this isn't a death sentence. It's your plant's way of sending up an SOS flare, and the cause is usually something simple, like too much water or the wrong kind of sunlight. The first step to getting things back on track is figuring out exactly what your aloe is trying to tell you.
Decoding Brown Aloe Leaves
When your aloe starts to turn brown, it's easy to assume the worst. But this color change is one of the main ways your plant communicates that something is off in its environment. With a little detective work, you can almost always get to the root of the problem and nurse your succulent back to full health.
The real clue is in how the plant is turning brown. Are the leaves soft and mushy near the soil? Are the tips just dry and crispy? Or maybe the whole plant has taken on a reddish-brown blush after a sunny spell? Each of these signs points to a completely different issue.
Quick Diagnosis Guide for Brown Aloe Leaves
Before we get into the nitty-gritty of fixing things, let's narrow down the possibilities. This table will help you quickly match your aloe's symptoms to the most likely cause, then jump to the relevant section for a detailed fix.
| Symptom (What the Brown Looks Like) | Most Likely Cause | Where to Find the Fix |
|---|---|---|
| Leaves are soft, mushy, and brown, especially at the base. | Overwatering / Root Rot | How to Fix an Overwatered Aloe Vera |
| A reddish-brown or bronze color appears after intense sun exposure. | Sunburn | How to Treat Sunburned Aloe Vera |
| Leaf tips are brown, dry, and crispy. | Underwatering | How to Revive an Underwatered Aloe |
| Leaves are turning pale brown or yellow, with weak growth. | Nutrient Deficiency | Fixing Nutrient Imbalances in Aloe Vera |
| Scattered brown spots or streaks, sometimes with a sticky residue. | Pests | How to Get Rid of Pests on Your Aloe |
| Leaves turn brown and mushy after a cold snap. | Frost Damage | How to Save an Aloe from Frost Damage |
Hopefully, this chart points you in the right direction. For a more visual approach to diagnosis, a decision tree can be a great help.
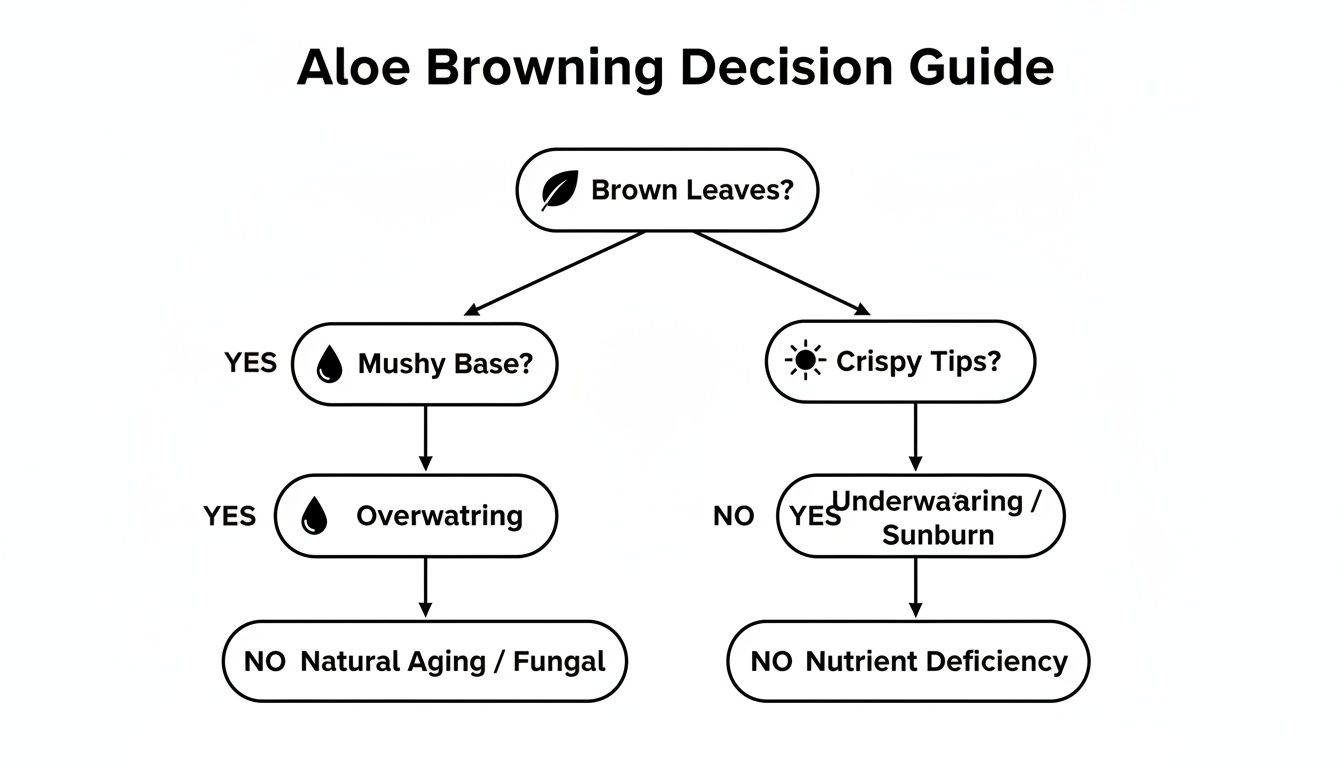
This kind of flowchart is perfect for simplifying the process. By answering a few simple questions about how your plant looks and feels, you can quickly follow the path to the most likely culprit. For example, if you've got brown, mushy leaves, the chart immediately guides you toward overwatering, so you know exactly where to focus your attention.
The Hidden Danger of Too Much Water
When you see your aloe turning brown, it’s natural to think it’s thirsty and reach for the watering can. But more often than not, you're looking at a plant that's actually drowning. Overwatering is, without a doubt, the most common mistake I see people make with their succulents. It’s a classic case of killing with kindness.
These plants come from arid climates where they’ve evolved to thrive in drought, not downpours. Their roots are designed for sandy, gritty soils that dry out almost instantly. When they're stuck in dense, soggy potting mix, their roots can't breathe, creating the perfect storm for a nasty fungal disease we all dread: root rot.
Identifying the Signs of Overwatering
An overwatered aloe looks very different from one that’s just sunburnt or thirsty. Instead of dry, crispy tips, you’ll start to see mushy, almost translucent brown spots on the leaves. This decay typically starts at the base of the plant and slowly works its way up.
A few other clues will give it away:
- A Funky Smell: Healthy soil has a clean, earthy scent. When root rot sets in, you’ll likely notice a sour, swampy odor coming from the pot. That’s the smell of decay.
- A Wobbly Plant: Give the aloe a gentle nudge. If it feels loose or unstable in its pot, it’s a bad sign. The rotted roots have lost their ability to anchor the plant.
- No New Growth: A suffering plant will stop producing new leaves from its center. All its energy is going into just trying to stay alive.
Experience shows that overwatering is the primary suspect in up to 70% of browning cases in succulents. Once roots sit in waterlogged soil for too long, they start to suffocate, and root rot isn't far behind—it strikes an estimated 40-50% of overwatered aloes within just a few weeks. You can learn more about these overwatering statistics and how to prevent them in your succulents.
Your Step-by-Step Rescue Plan
If you think overwatering is the problem, you need to act fast. Don't panic, though. An aloe can often be saved if you catch the rot before it takes over the whole root system.
Gently Unpot the Plant First things first, carefully ease the entire plant out of its pot. I like to do this over some old newspaper to keep the mess contained. Gently work the soggy soil away from the roots so you can get a good, clear look at what’s going on.
Inspect and Trim the Roots Now, it's time for some plant surgery. Healthy roots should be firm, plump, and a whitish-tan color. What you’re looking for are the unhealthy ones—they’ll be black or dark brown, feel mushy to the touch, and might even fall apart as you handle them. Using a pair of clean, sharp scissors, you have to meticulously trim away every last bit of rotted root. Don't be shy here; leaving even a small piece of decay behind can let the infection spread all over again.
For a deeper dive with helpful visuals, this guide on treating https://www.cactusoutlet.com/blogs/blog/aloe-vera-plant-root-rot is an excellent resource.
Pro Tip: After you’ve finished trimming, let the entire aloe plant sit out in a dry, shady spot for a day or two. This lets the fresh cuts on the roots callus over, forming a protective seal that helps fend off new infections when you repot.
Repot in a Healthier Home The final step is giving your aloe a fresh start. Grab a clean pot (terracotta is fantastic because its porous clay helps pull moisture from the soil) and fill it with a completely dry, fast-draining succulent or cactus mix. Standard potting soil holds way too much water and will just land you back in the same situation.
After settling the plant into its new home, the most important part is this: do not water it. Let it sit dry for at least a full week. This rest period is absolutely critical. It gives the trimmed roots time to heal and settle in without the immediate stress of moisture. Remember, a poor-draining setup is often the accomplice in overwatering, so improving soil drainage by using the right kind of mix is your best defense for the future.
Decoding Your Aloe's Light Needs
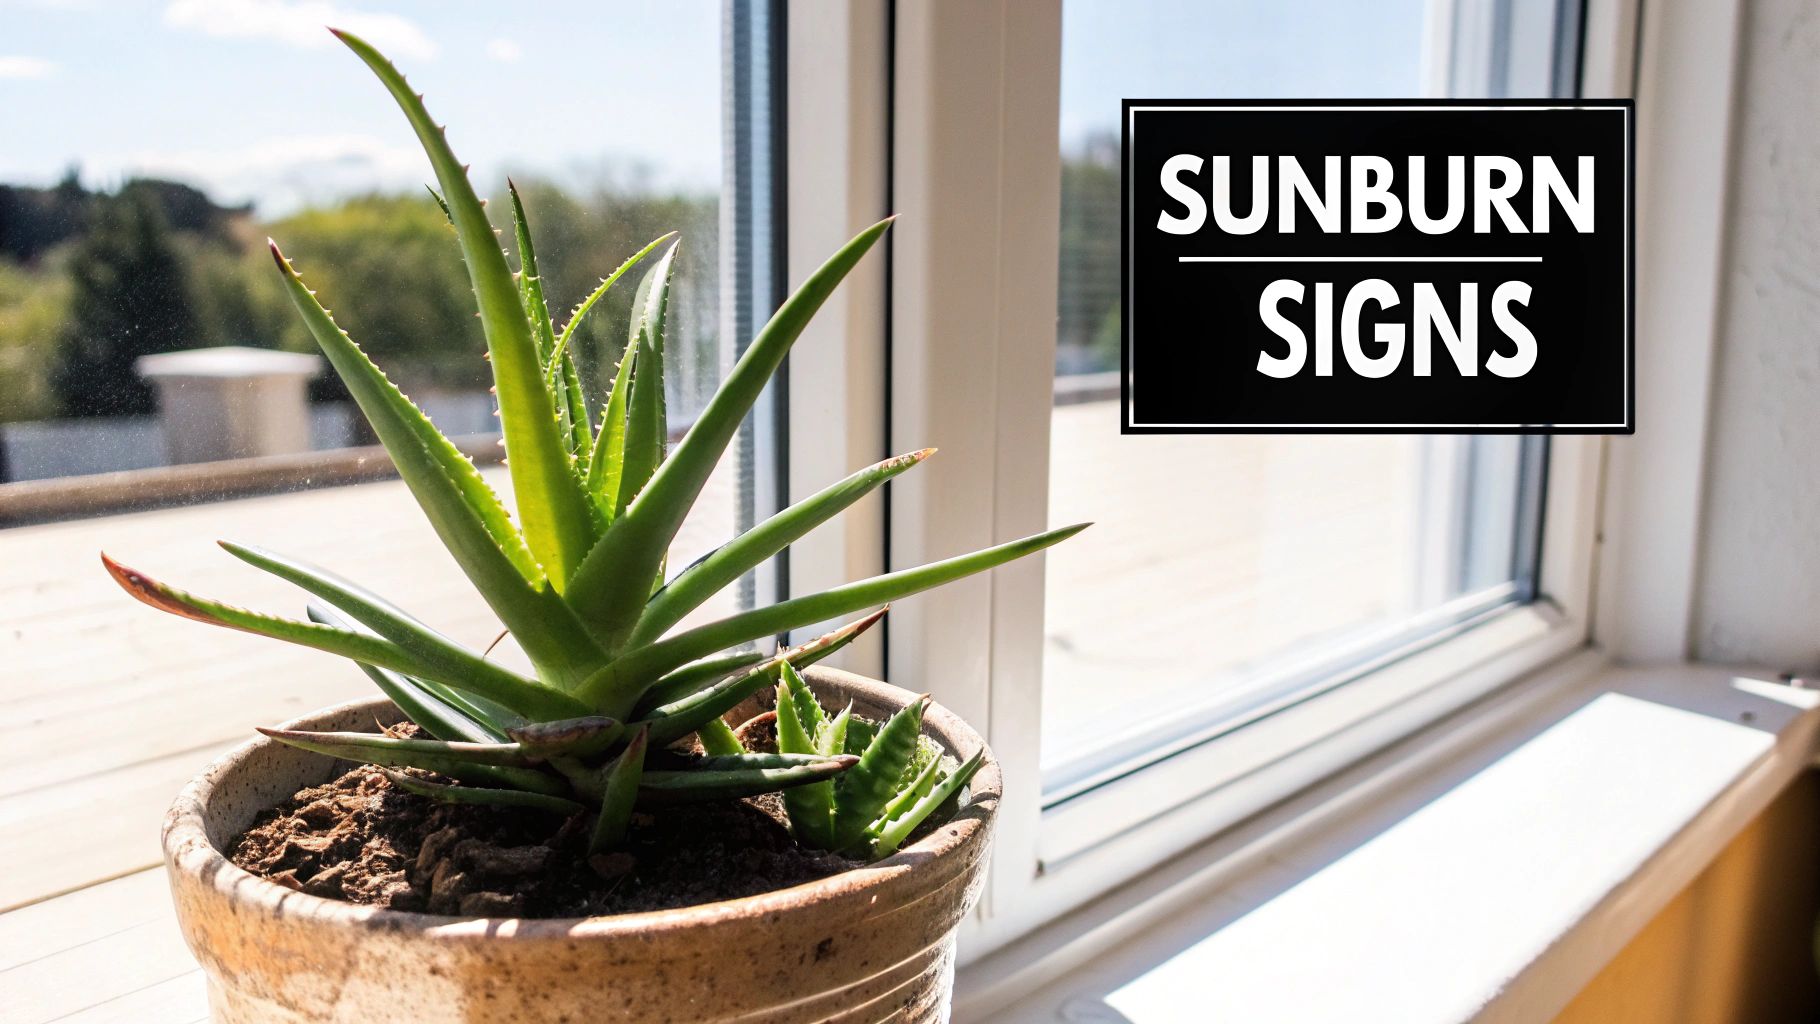
It’s one of the most common myths I hear: because aloes are desert plants, they must love the most intense, direct sun you can throw at them. But in reality, blasting your aloe with scorching afternoon sun is a fast track to watching those vibrant green leaves turn a stressed, reddish-brown. This isn't a healthy tan; it's your plant's version of a bad sunburn.
The browning you see from too much sun looks completely different from the mushy, sad decay of overwatering. Sun-stressed leaves often get a bronze or reddish tint and can feel dry and almost crispy when you touch them. It’s the plant’s natural defense mechanism, working overtime to shield itself from harsh UV rays.
Sun Stress Versus Sunburn
There's a subtle but important difference between mild sun stress and actual damage. A slight, temporary blush of red on the leaves isn't necessarily a cause for alarm, especially if the plant is otherwise healthy. However, if the leaves turn a deep, angry brown, become brittle, or start looking bleached and washed-out, your aloe is definitely suffering from a severe sunburn.
To avoid this, you need to find that perfect sweet spot: bright, indirect light. An east-facing window is often ideal, as it provides gentle morning sun that won't fry the leaves. If your only options are south or west-facing windows, don't worry. Just pull the plant back a few feet from the glass or hang a sheer curtain to filter and soften those intense afternoon rays.
Excessive sunlight scorches aloe vera leaves brown in 30% of exposure-related complaints. While aloes crave bright light—needing at least 6 hours daily—they originally grew in the shaded understories of African landscapes, not the full desert blaze. Direct summer sun triggers photooxidative damage, causing leaves to shift from green to reddish-brown in as little as 7-10 days. Discover more insights about aloe light needs on mars-hydro.com.
Acclimating Your Aloe to New Light
Making a sudden change is the easiest way to shock your plant. If you're moving your aloe to a brighter spot—especially from inside to outside for the summer—you have to do it gradually.
Here's how to acclimate it without causing a meltdown:
- Start with full shade. For the first few days, just let it get used to being outdoors in a completely shaded spot.
- Introduce morning sun. Next, slowly move it somewhere it can catch an hour or two of gentle morning light. Every few days, increase that time by about an hour.
- Watch it like a hawk. Keep a close eye on the leaves. Are they turning brown or looking pale? That’s your cue to slow down.
This slow-and-steady approach gives the plant time to build up its protective pigments without getting overwhelmed. Getting a feel for your aloe plant's sunlight requirements is truly the key to keeping it green and thriving. By simply paying attention to how your plant responds, you can find that perfect spot in your home where it gets all the energy it needs without getting burned.
What Else Could Be Wrong? Investigating Other Stressors
So, you’ve checked your watering habits and you're pretty sure it's not sunburn. What's next? While water and light are the usual suspects when an aloe turns brown, there are a few other culprits to investigate. Things like underwatering, temperature shock, nutrient problems, and even pesky insects can cause those leaves to lose their healthy green color.
Sometimes, in our fear of overwatering, we swing too far the other way. An underwatered aloe has a distinct look. Instead of mushy, waterlogged leaves, you'll see them get thin, start to curl inward, and develop brown, crispy tips. The plant is literally pulling water from its leaves to survive.
Temperature Swings and Feeding Mishaps
Aloes are pretty tough, but they do have their limits when it comes to temperature. They thrive between 55°F and 80°F (13°C and 27°C). A sudden cold draft from a window or leaving it outside when the temperature plummets can shock the plant, causing the leaves to turn brown and almost mushy overnight.
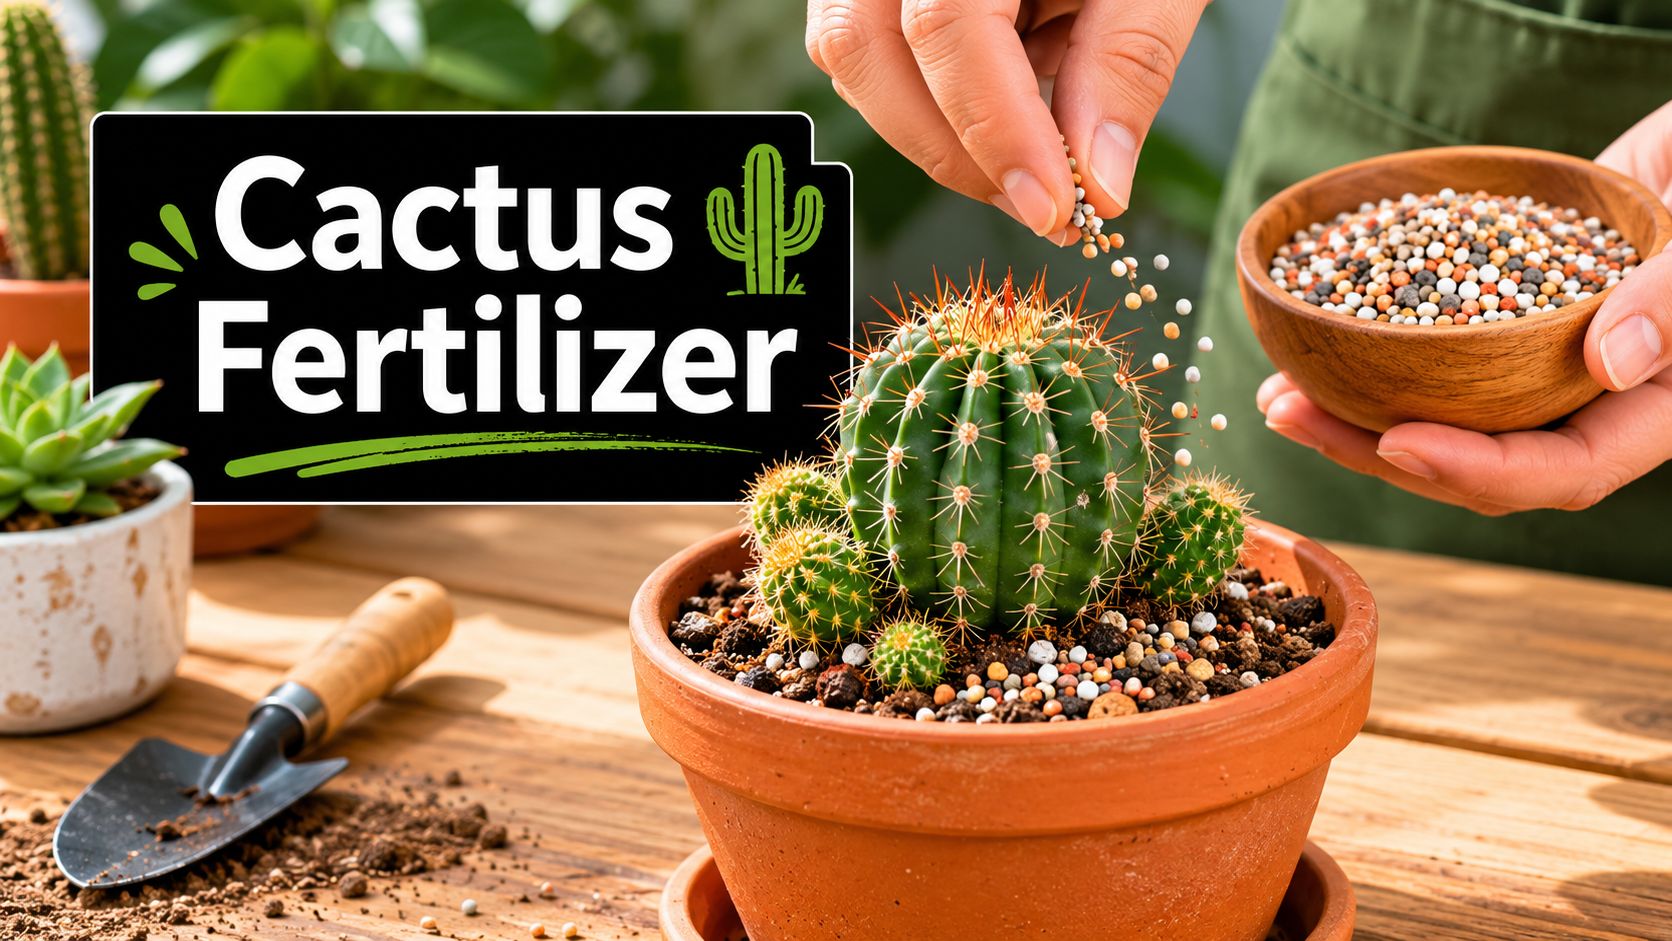
On the flip side, sometimes our best intentions can backfire. Fertilizer burn is a classic example. Eager to help our plant grow, we might give it a little too much food. This overwhelms the roots, essentially causing a chemical burn that shows up as those dreaded brown, crispy leaf edges.
Key Takeaway: If it's not water or sun, think about neglect, temperature extremes, or even too much kindness in the form of fertilizer. These silent stressors can do real damage if you don't catch them.
These "other" issues are more common than you might think. For example, fertilizer overload can scorch aloe roots in about 25% of nutrient-mismanaged cases, while pests and diseases are behind another 15% of browning problems. And that sudden cold snap? A dip below 50°F (10°C) can brown the tips of 10% of exposed aloes. You can dig deeper into these varied stressors with the aloe plant care experts at Greenway Biotech.
Unwelcome Guests: Pests and Diseases
Finally, don't forget to play detective and look for tiny intruders. While aloes are pretty hardy, they can fall victim to common houseplant pests that cause browning.
- Mealybugs: Look for tiny, white, cotton-like specks, usually clustered where the leaves meet the stem. They suck the sap out of your plant, leaving yellow and brown spots behind.
- Scale: These look like small, brown bumps that don't move. Just like mealybugs, they feed on plant sap and will slowly weaken your aloe.
- Fungal Diseases: Things like anthracnose can cause dark, sunken brown spots on the leaves, especially if your plant is in a very humid spot. This particular disease is a problem for around 20% of aloes kept in high-humidity conditions.
Getting rid of pests is often straightforward. For a small problem, a cotton swab dipped in 70% isopropyl alcohol and dabbed directly on the bugs works wonders. For a bigger infestation, a good spray-down with insecticidal soap or neem oil should do the trick. To combat fungal issues, it's all about improving air circulation and keeping the leaves dry. Pruning off the affected leaves is also a good idea to stop the spread.
By systematically going through these other potential causes, you'll be able to figure out exactly what’s bothering your aloe and get it back on the road to recovery.
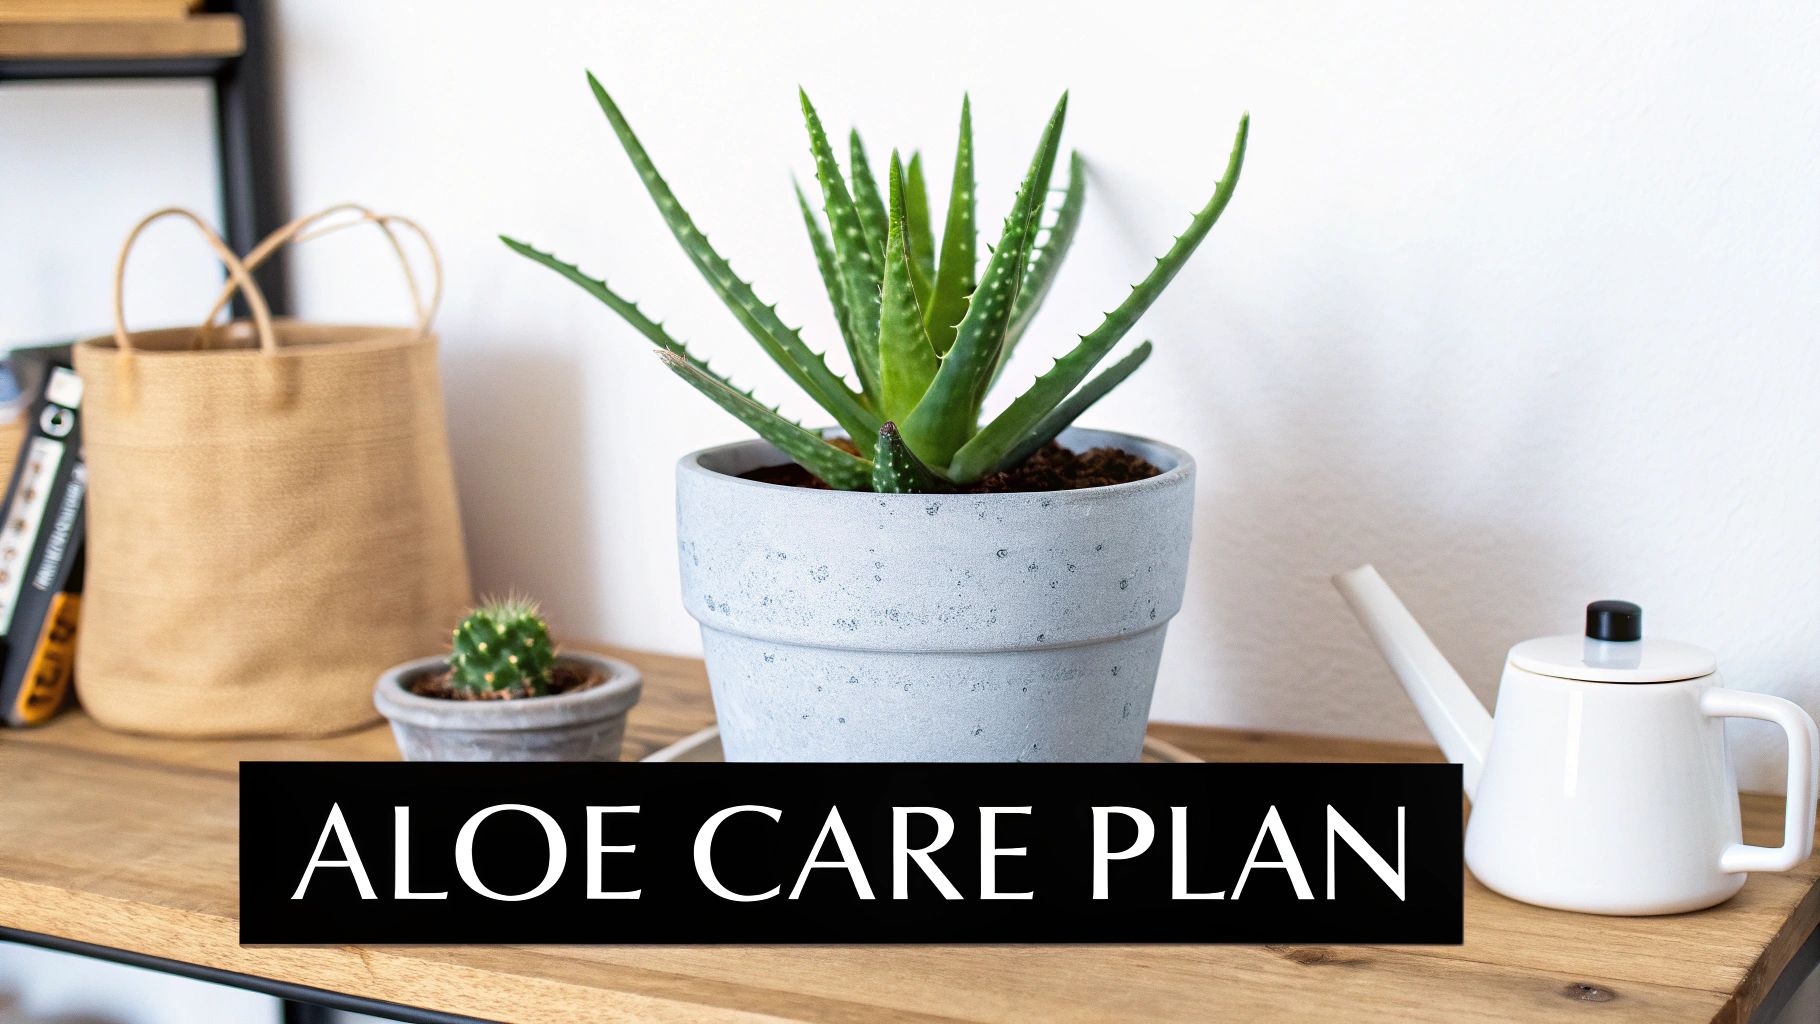
Your Proactive Aloe Vera Care Plan
Once you've brought your aloe back from the brink, the last thing you want is a repeat performance. The goal now is to shift from emergency rescue to a simple, proactive care routine. Keeping your aloe vera from turning brown again is easier than you think—it really just boils down to getting the basics right: watering, light, and soil.
If you get those three things dialed in, your aloe won't just hang on; it will genuinely flourish. The trick is to be consistent and remember that aloes are succulents—they thrive on a bit of healthy neglect, not constant fussing.
Mastering The Soak and Dry Method
If you take only one piece of advice away from this, let it be this: master the "soak and dry" watering method. This is the single most important habit for any succulent owner. You’re essentially mimicking how these plants get water in their natural desert habitat—a rare but heavy downpour, followed by a long, dry spell. It's the polar opposite of giving your plant little sips every few days, which is a surefire way to create damp soil and invite root rot.
Here’s how to get it right every time:
- Water Deeply: When the soil is completely dry, give your plant a thorough drenching. Pour water over the soil until it runs freely out the bottom drainage hole. This ensures every last root gets access to moisture.
- Let It Get Bone-Dry: This is the non-negotiable part. After that deep soak, you have to let the soil dry out completely before you even think about watering again. For an aloe kept indoors, this might mean watering once every 2-4 weeks during the summer growing season, and even less often in the winter.
- Do the Finger Test: Don't just water on a schedule. The only real way to know if your aloe is thirsty is to check the soil. Stick your finger about two inches deep. If you feel even a hint of moisture, hold off for a few more days.
This technique is your best defense against overwatering, which is hands-down the most common reason I see an aloe vera plant is turning brown.
Choosing The Right Pot and Soil
Your plant’s home is just as critical as your watering habits. The right pot and soil work together to create an environment where roots can breathe and excess water can escape quickly, heading off the soggy conditions that cause browning from the roots up.
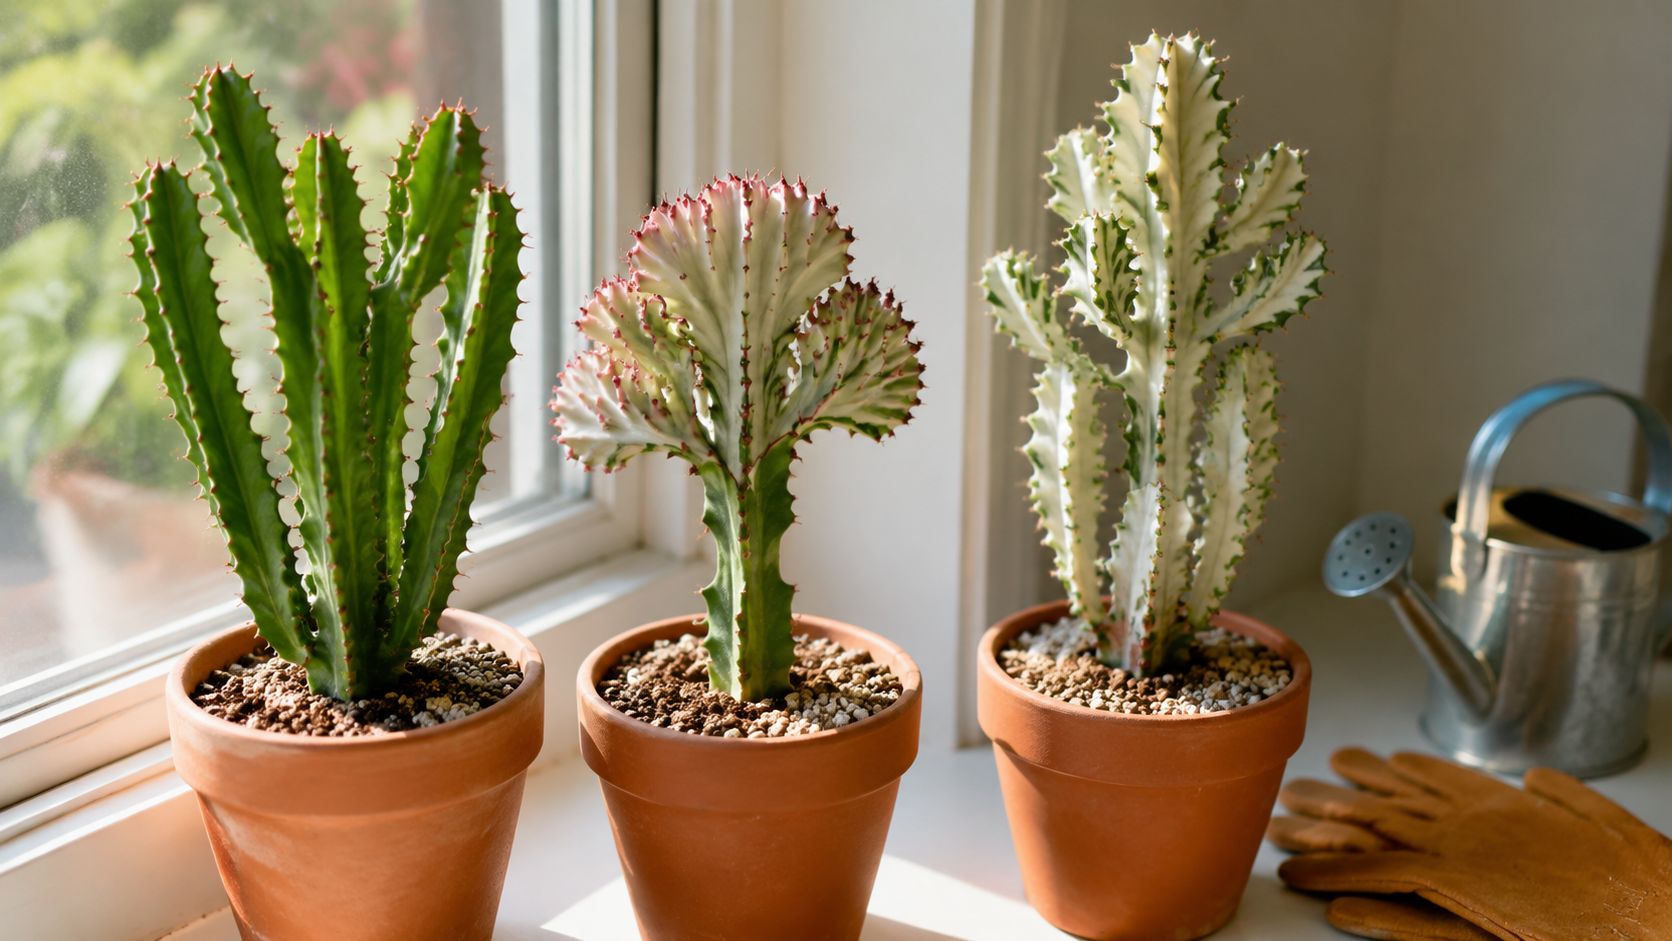
I always recommend a terracotta pot for aloes. It’s their best friend. The porous clay actually pulls moisture out of the soil, helping the whole thing dry out much faster than a plastic or glazed ceramic pot ever could. It’s like a built-in safety net against overwatering. But no matter what material you choose, the pot must have a drainage hole. That part is absolutely not up for debate.
Your potting mix is your greatest ally in the fight against root rot. Standard, all-purpose potting soil is a disaster for aloes—it’s far too dense and holds onto water like a sponge. You need a gritty, fast-draining mix.
You can find pre-made cactus and succulent soils at most garden centers, but mixing your own is easy and often better. A simple, foolproof recipe is one part potting soil, one part coarse sand, and one part perlite or pumice. For a deeper dive into soil options, you can find the best potting soil for aloe right here in our detailed guide.
Getting these fundamentals in place from the start builds a resilient foundation for your plant. For more great tips on keeping your plant healthy for the long haul, this ultimate guide to growing a thriving Aloe Vera plant is another fantastic resource.
Common Questions About Brown Aloe Plants
After you’ve nursed your plant back from the brink, you're bound to have a few questions. It’s totally normal to want to get your care routine just right and understand the little details of aloe recovery. Let’s walk through some of the most common things people ask when they're figuring out why their aloe vera plant turned brown.
Can Brown Aloe Leaves Turn Green Again?
This is the big one, isn't it? The answer is... it depends on why it turned brown. If a leaf is mushy and dark from rot, or completely dry and crispy, that part of the plant is gone for good. Unfortunately, that tissue will not turn green again.
But there's a silver lining. If the browning is more of a reddish-bronze hue from "sun stress"—basically, a plant sunburn—it can absolutely go back to green. You just need to move it to a spot with less intense, direct light.
For any leaves that are permanently damaged, your best bet is to prune them. Grab a clean, sharp knife and snip the entire leaf off right at the base. This tidies up the plant’s appearance and, more importantly, lets it focus its energy on growing healthy new leaves instead of trying to save a lost cause.
How Do I Know if My Brown Aloe Is Still Alive?
It can be hard to tell if your aloe is a goner, especially when it looks really grim. The best place to look for a sign of life is right in the center of the plant, in the crown. If you see any new green growth poking out—no matter how tiny—your aloe has a fighting chance.
The next step is to check below the soil. Carefully ease the plant out of its pot and take a look at the roots.
- Good Signs: A plant you can save will have at least a few firm, white, or light-colored roots.
- Bad Signs: If the base is mushy and all the roots are black, slimy, and fall apart when you touch them, the rot has likely won.
Key Takeaway: Always check for green in the middle and firm roots down below. As long as you have a bit of both, you've got something to work with.
What Is The Best Pot and Soil to Prevent Browning?
Choosing the right pot and soil is probably the single best thing you can do to prevent browning, especially the kind caused by overwatering. The goal is to create a home that feels like an aloe’s natural arid environment.
When it comes to pots, terracotta is the undisputed champion. The porous clay breathes, wicking moisture out of the soil so it dries faster and more evenly than it would in plastic or glazed ceramic. Whatever you choose, make sure it has at least one large drainage hole at the bottom. No exceptions.
As for the soil, always use a specialized cactus and succulent mix. This stuff is gritty and drains quickly, which is exactly what you want. Regular potting soil is far too dense; it holds onto water for way too long and practically invites the root rot that causes so many browning problems in the first place.
At The Cactus Outlet, we know a healthy plant starts with a solid foundation. We have a huge selection of cacti and succulents, plus the perfect pots and soil mixes to help them flourish. Come see what we have for you at https://www.cactusoutlet.com.