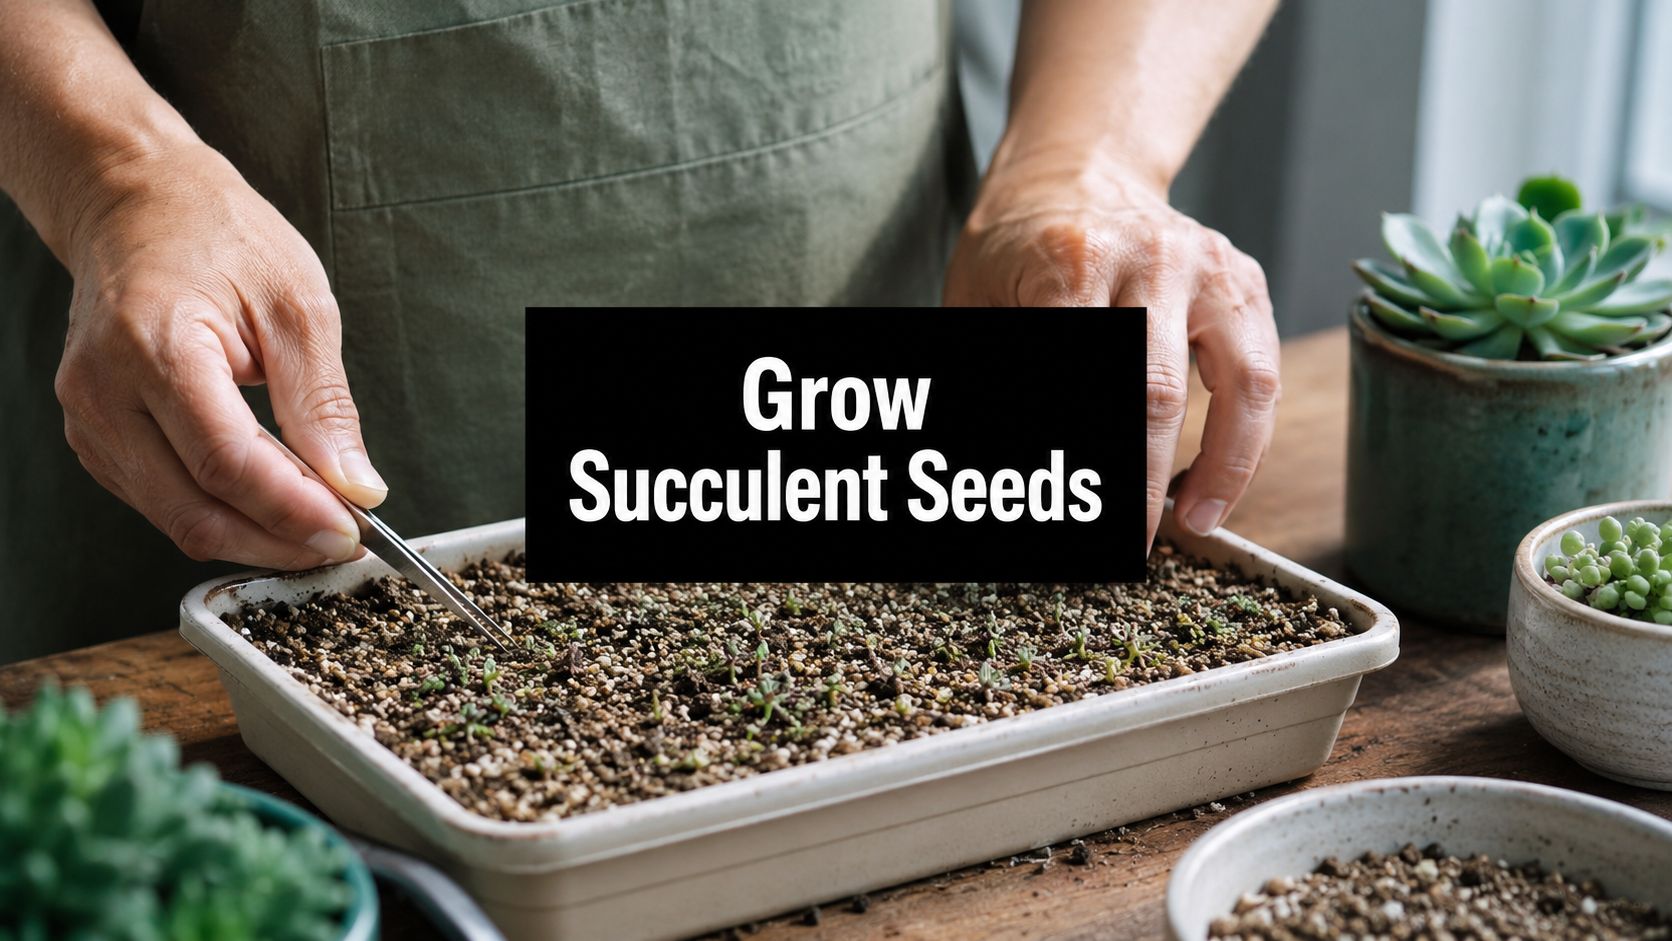

You open the packet and the first surprise hits immediately. Succulent seeds barely look like seeds at all. They look like dust, ground pepper, or the crumbs left in the corner of an envelope.
That's the moment most beginners get nervous, and for good reason. Growing succulents from seed is slower and less forgiving than taking cuttings or planting established starts. But it's also one of the most satisfying ways to grow them, especially if you want unusual species or you enjoy watching every stage from the very beginning.
The mistake that wipes out most trays doesn't usually happen on sowing day. It happens after germination, when growers keep the tray sealed and wet for too long because every guide told them humidity was good. Humidity is good at first. Later, it can become the reason seedlings collapse.
If you want to learn how to grow succulent seeds successfully, think in two phases. First, create a stable, humid environment that helps seeds wake up. Then change your approach the moment those tiny green specks appear. That shift is often what determines whether a tray is kept alive or the whole batch is lost.
Gathering Your Seed Starting Supplies
Holding succulent seed for the first time can make anyone feel clumsy. The seeds are so small that every choice around them matters more than it would with larger, easier crops. The setup doesn't need to be fancy, but it does need to make sense.

Choose containers that stay shallow and drain well
Deep pots encourage beginners to use too much mix and too much water. For seed sowing, shallow trays, propagation cells, or small nursery pots usually work better because you can keep moisture more even and watch the surface closely.
What matters most is drainage. If a container doesn't let excess water leave, it turns your seed tray into a rot chamber. Even before seedlings emerge, stagnant moisture creates problems.
A simple setup often includes:
- A shallow tray or small pot with drainage holes for the seed mix
- A second tray underneath if you want to water from the bottom later
- A clear cover, dome, or plastic wrap to hold humidity during germination
- Plant labels because tiny seedlings all look alike at first
Use a gritty seed-starting mix, not regular potting soil
Many trays go wrong before the seeds even touch the surface. Standard potting soil is usually too dense, too water-retentive, and too coarse for tiny succulent seed. It stays wet in patches, compacts easily, and can bury seeds in cracks and clumps.
You want a mix that feels fine-textured but still airy. It should hold moisture without turning slick or muddy. A gritty succulent blend or a seed-starting mix amended for extra drainage is usually safer than a bag of all-purpose potting soil. If you want a better sense of what makes that kind of medium work, this guide to a cactus and succulent soil mix is a useful reference point.
Practical rule: If the mix turns into a crust on top or stays swampy underneath, it's wrong for succulent seed.
Some growers also like to sift their mix so the surface is finer than the lower layer. That helps the seeds make contact with moisture without dropping into big air gaps.
Buy seed you trust
Bad seed wastes months, not days. When germination is naturally slow and uneven, you need confidence that the seed itself is worth the wait.
Look for sellers known for succulent seed specifically, with accurate naming and fresh stock. Avoid mystery assortments if your goal is learning rather than gambling. Correct identification matters because succulent seedlings can look nearly identical at first, and old or mispacked seed can leave you wondering whether the problem was your technique.
Clean tools, labeled trays, a free-draining mix, and seed from a reputable seller give you a fair start. Without that, the rest of the process becomes guesswork.
The Art of Sowing Succulent Seeds
Sowing succulent seeds is more like seasoning food than planting beans. You're placing tiny particles on the surface, not digging holes and tucking seeds underground.

Wet the mix before the seeds go down
Always moisten the growing medium first. That one step prevents a common disaster. If you sow onto dry mix and then water from above, even a careful spray can float the seed into corners, pile it along the edges, or bury it deeper than intended.
The mix should be evenly moist, not soupy. When you press it lightly, it should feel settled and damp, not glossy and waterlogged. If it's dripping, it's too wet.
Surface sow with a light hand
Most succulent seeds do best when they're sown on the surface. Don't bury them. Don't poke them in with force. Scatter them as evenly as you can, like a thin pinch of salt.
If the seed is especially fine, tap a little from the packet onto a folded piece of paper and use that as a chute. Tweezers can help with larger seed, but for dust-like seed they can slow you down and crush more than they place.
A good sowing pattern looks like this:
- Level the moist surface so seeds don't roll into low spots.
- Scatter thinly because crowding makes later airflow and transplanting harder.
- Press very gently if needed so the seed touches the surface.
- Leave them uncovered in most cases rather than topping them with heavy mix.
If you're still looking for species to try, browsing cacti seeds for sale can help you get a feel for the range of seed types and sizes you may encounter.
Fine top dressing can help, but only if it stays fine
Some growers add an extremely thin layer of very fine sand or grit over the sowed surface. Done well, that can keep seed from shifting and may discourage a slick green film from forming on the top. Done badly, it smothers the seed.
That trade-off matters. If you use a top dressing, think dusting, not covering.
A quick way to judge it:
| Approach | What it helps | What can go wrong |
|---|---|---|
| Bare surface | Best light exposure, easy to monitor sprouting | Seeds can shift if watered roughly |
| Very fine dusting of grit | Adds stability, tidier surface | Too much blocks light and slows emergence |
This visual walkthrough is useful if you want to see how gentle the process should look in practice.
The best sowing jobs often look almost unfinished. That's usually a sign you didn't bury the seed too deeply.
Creating the Perfect Germination Environment
A lot of succulent seed trays fail in a predictable way. The surface starts out evenly moist, the cover goes on, and everything looks fine for days. Then the tray stays too wet, the air stays stale, and the same humidity that helps germination starts setting up fungal trouble.
Good germination conditions are steady, not stuffy.
Light, warmth, and controlled humidity
Keep the tray in bright light out of direct sun. A covered tray heats up fast on a sunny windowsill, and tiny seeds can be damaged long before the compost looks dry. Bright indirect light or a consistent grow-light shelf is safer.
Warmth helps, but steady warmth matters more than chasing high temperatures. The Royal Horticultural Society advises sowing in spring, keeping trays in a bright spot out of direct sun, maintaining about 21°C, ventilating daily, and keeping the compost moist rather than waterlogged. The same guide notes germination can happen in 3 days to 1 year, depending on species, and seedlings may need many months before they are large enough to pot on in the RHS growing guide for cacti and succulents.
That wide timeline catches new growers off guard. A tray is not failing because nothing has appeared after a week.
Use a clear lid, loose plastic cover, or bagged tray to hold humidity, but treat it as a temporary tool. The goal is to stop the surface from drying between checks, not to seal the tray into a swamp. If condensation is constantly dripping from the cover, conditions are too wet.
Keep moisture even, not soggy
The surface should stay lightly moist from edge to edge. It should not glisten with standing water, smell sour, or look muddy. Those are early warnings that the mix is holding more water than the seeds need.
If you are unsure what “lightly moist” looks like, it helps to review how to water succulent plants without keeping the mix saturated. Seed trays follow the same principle, but with less room for error because the root zone is shallow and the seedlings are fragile.
I prefer brief daily checks over constant misting. Misting can keep the top looking damp while the tray underneath stays overly wet for too long. If the cover is doing its job, you should not need to fuss with the tray every few hours.
Your job during germination
Focus on a few repeatable habits:
- Keep the surface evenly moist with no pooling water
- Open the cover briefly each day to refresh the air
- Protect the tray from direct sun while it is covered
- Leave the seeds undisturbed instead of scratching around to inspect them
- Watch for heavy condensation or sour smells and correct those early
Patience matters here, but patience does not mean neglect. The best results come from small, consistent checks and a tray that stays humid without turning stagnant.
For germination, aim for moist air and a fresh surface, not a sealed, wet box. That balance is what carries seedlings to the sprouting stage in good shape.
Navigating the Critical Post-Germination Phase
The first green dots are exciting, but they also mark the point where your care routine needs to change. A setup that was ideal for germination can become dangerous once seedlings have emerged.
Many growers run into the same contradiction. High humidity helps seeds germinate, but after sprouting that same sealed, wet environment can push seedlings toward fungal trouble. As noted in this discussion of post-sprouting ventilation and damping-off risk, sealed domes and bags become a liability if they stay closed too long.

Start opening the tray gradually
Don't rip the cover off the same day the first seedling appears. Fresh sprouts still appreciate humidity. But don't keep the tray sealed for weeks after visible germination either.
A practical transition looks like this:
- At first sprouting crack the lid or open one corner of the cover a little
- Over the next stretch of growth increase that opening gradually
- When seedlings are established and upright remove the cover for longer periods until they're living in normal room airflow
This gradual approach does two jobs at once. It keeps seedlings from drying too abruptly, and it reduces the stagnant moisture that encourages damping-off.
Learn the difference between humid and stagnant
Beginners often think more humidity always means better results. It doesn't. At the seed stage, humidity preserves moisture at the surface. After sprouting, trapped air becomes the bigger issue.
You want the medium to remain lightly moist while the air above it moves more freely. That's a very different environment from a sealed tray dripping with condensation. If the inside of the cover stays soaked and the surface never has a chance to breathe, you're moving toward trouble.
Watch for the handoff: Germination needs moisture retention. Seedlings need a careful increase in airflow.
If watering is part of the problem, revise the method before blaming the seed. A tray that gets blasted from above can flatten delicate sprouts and keep the crown too wet. Bottom watering, or a very gentle mist used sparingly, is usually safer. For a fuller look at moisture control, this guide on how to water succulent plants helps clarify the difference between healthy hydration and chronic overwatering.
What damping-off tends to look like
Damping-off usually doesn't announce itself dramatically at first. Seedlings may look fine one day and collapsed the next. The stems near the surface can seem pinched, soft, or water-soaked, and once the process starts, recovery is rare.
That's why prevention matters more than treatment. The best defense is earlier ventilation, less stagnant moisture, and careful watering before the tray turns sour.
A useful habit is to inspect daily without interfering. Look closely at the surface. If seedlings are standing, color is good, and the top doesn't look swampy, leave them alone. If the tray smells stale or the cover stays dripping wet, increase airflow sooner.
Troubleshooting Common Seedling Setbacks
Even careful growers run into ugly trays. The key is reading the surface correctly before making changes. Most seedling problems come from a mismatch between moisture, light, and airflow.
Quick diagnosis guide
| Problem | What you see | Likely cause | What to do |
|---|---|---|---|
| Green film or mossy surface | Bright green coating on top of the mix | Surface staying wet too long, often with still air | Vent more, let the surface breathe a bit between waterings, scrape away the worst patch if needed |
| White fuzzy mold | Cottony growth on the surface or around debris | Poor airflow and trapped humidity | Increase ventilation, remove dead material, reduce prolonged wetness at the surface |
| Leggy seedlings | Thin, stretched growth that leans or falls | Not enough light | Move to brighter indirect light and avoid overcrowding |
| No germination | Bare tray long after sowing | Old seed, incorrect moisture, unstable conditions, or simply slow species | Keep conditions steady and give it time before declaring failure |
When mold is cosmetic and when it's serious
A little surface growth doesn't always mean the tray is doomed. Sometimes mold stays on bits of organic matter and never reaches the seedlings themselves. That still tells you the setup is too closed, but it isn't the same as a collapsing tray.
A serious warning sign is seedling tissue softening at the base or small sprouts toppling over for no clear mechanical reason. Once that starts, the environment needs to change fast.
The fix is usually subtraction, not addition
Beginners often respond to problems by adding products, extra sprays, or more watering. Most of the time the better fix is simpler.
- Remove trapped humidity by opening the cover more
- Reduce surface saturation instead of adding another misting routine
- Improve light quality if seedlings are stretching
- Stop disturbing the tray if seeds may still be dormant
If a tray looks stressed, ask what should be reduced first. Water, humidity, crowding, and heat cause more problems than under-care in the early stages.
The hardest issue emotionally is no germination. Succulent seeds can test your patience, and some species take far longer than expected. A tray that appears empty may still be in progress. Don't dump it too early.
From Seedling to Independent Plant
The handoff from protected seedling to stand-alone plant is where a lot of trays stall. Seeds needed a stable, humid environment at the beginning. Young transplants need something different. They still dry out faster than mature succulents, but they also rot faster if they stay too closed and wet.
Wait until the seedlings have real substance. They should look like small plants, not green dots, and they should hold together well enough to lift without collapsing. Crowding matters too. If leaves are touching and roots are starting to tangle, transplanting usually does less damage than leaving them packed together.

Handle roots less than you think you need to
Seedling roots tear easily, and they do not bounce back on command. I like to moisten the tray a little first so the mix releases cleanly, then loosen from underneath with a toothpick, narrow dibber, or fine tweezers. Pulling upward by the leaves is what turns a healthy seedling into compost.
Work in a prepared pot or cell tray so the roots are exposed for the shortest time possible.
- Loosen the mix around the seedling
- Lift from below
- Set it into a small pre-made hole
- Press the mix in lightly around the roots
A broken root tip is usually survivable. A seedling torn free with no roots attached rarely recovers.
Pot size and aftercare
Small containers are safer. Oversized pots stay wet in the unused areas, and that is exactly how a healthy transplant slides back into fungal trouble. Small nursery pots, plug trays, or community pots give you better control over moisture and airflow.
Use a gritty succulent mix that drains faster than standard potting soil but still holds a bit more moisture than a harsh cactus blend meant for mature plants. Fresh transplants need bright light, good air movement, and protection from hard afternoon sun while they re-establish. The goal is steady rooting, not fast top growth.
This stage is where the humidity trade-off shows up again. Do not put newly transplanted seedlings back under a sealed cover. If your room is very dry, give them a short easing-in period with slightly more frequent light watering, then stretch the interval as they root in. That shift matters. It teaches the plant to live without the mini-greenhouse conditions that helped it germinate.
Treat them like juveniles, not adults and not fresh sprouts.
Once they resume growth and the leaves stay firm between waterings, care can move closer to a normal succulent routine. That is the point where the tray phase is over, and the plants start earning their own space on the bench.
If you're ready to add established specimens to your collection while your seedlings grow at their own pace, The Cactus Outlet is a great place to explore quality cacti and succulents shipped directly to your door.