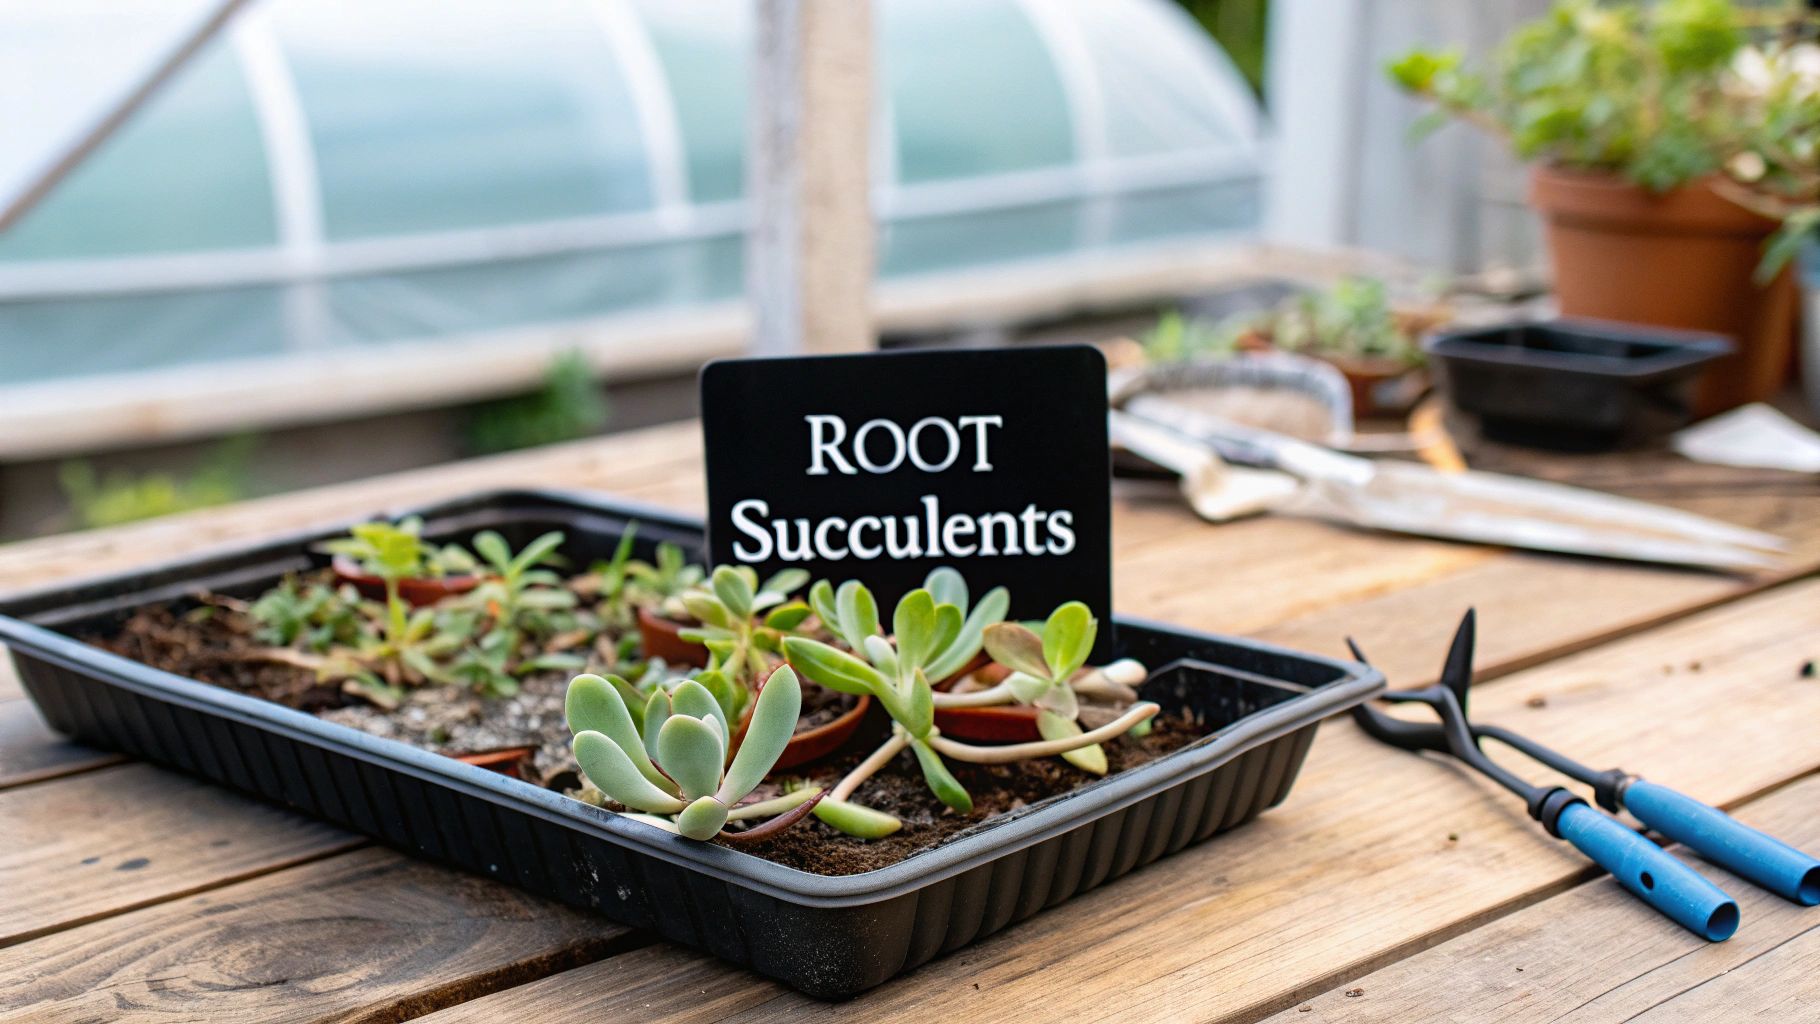

Rooting a succulent is really just what it sounds like: taking a piece of a healthy plant—a leaf, a bit of stem, you name it—and giving it a chance to grow its own roots. The trick is to let the cut end callous over for a few days before setting it on some well-draining soil in a spot with bright, indirect light. It’s a simple, patient process that lets you multiply your plant collection for free.
Your Succulent Propagation Starter Guide
Welcome to the incredibly rewarding world of succulent propagation. Honestly, learning how to root your own succulents is one of the most satisfying skills you can develop as a plant lover. It’s how you can easily multiply your absolute favorites, save a piece that accidentally broke off, or share your leafy friends with others.
The whole idea is beautifully simple. You're just providing a piece of a plant with the right conditions to become its own independent, rooted plant. Think of it as plant cloning, but without any fancy lab gear needed. We'll walk through all the common methods, from plucking off leaves and snipping stems to dividing the little offsets (or "pups") that pop up. Consider this your roadmap to getting started.
The Basics of New Growth
Before we get into the nitty-gritty of each method, there are a few core principles you need to nail down. Getting these right from the start is what makes the difference between success and a mushy failure.
- Start with a Healthy Parent: Always take your cuttings from a plant that's well-hydrated and free of any pests or diseases. A strong, healthy cutting has a much better shot at survival.
- The All-Important Callousing Step: This part is non-negotiable. After you take a cutting, you have to let the raw, open wound dry out and form a callus. This usually takes anywhere from 2 to 7 days and is crucial for preventing the cutting from sucking up too much water and simply rotting.
- Get the Soil Right: Succulents need soil that water can rush through. Your standard potting mix holds onto way too much moisture, which is the number one enemy of new cuttings. A gritty, fast-draining mix is an absolute must.
It's no surprise this hobby is exploding. The global market for succulents is projected to reach nearly USD 22 billion by 2032, with home growers making up about 58% of that. With so much great information online, more people than ever are learning to successfully propagate their plants. You can find more interesting stats on this trend over at Cognitive Market Research.
If there's one mistake I see beginners make over and over, it's overwatering. You have to remember: until a cutting grows roots, it has no way to drink water from the soil. Misting or watering too soon is the fastest way to get rot.
Choosing Your Propagation Method
Not all succulents are created equal, and neither are the ways we can make more of them. Your success in rooting new plants often comes down to picking the right method for the specific succulent you’re working with. Learning to spot which technique to use is a fundamental skill that turns good intentions into a thriving collection.
There are five main ways to go about it: taking leaf cuttings, stem cuttings, separating offsets, dividing clumps, or growing from seed. While some succulents are pretty versatile, many have a clear preference. For example, rosette-formers like Echeverias are famous for their ability to sprout from just a single leaf, while branching types like a ‘String of Pearls’ will only root from a piece of their stem.
Let's break down which method to use and when.
Leaf Propagation: The Classic Technique
When most people think about rooting succulents, they probably picture a tray of plump leaves sprouting tiny new plants. That’s leaf propagation, and it's perfect for succulents with fleshy leaves that pop off easily. Echeverias, Sedums, and Graptopetalums are the all-stars of this method.
The secret here is a clean break. You need to gently twist a healthy, mature leaf from the main stem, making absolutely sure you get the entire base where it connects. That little spot contains all the magic tissue needed for new growth. If you accidentally tear the leaf and leave a piece behind on the stem, it almost certainly won't sprout.
Stem Cuttings: For Branching Varieties
For succulents that grow on longer, woodier, or branching stems, cuttings are the way to go. This method works wonders for Aeoniums, many Crassula varieties (like the classic Jade Plant), and trailing Senecios. It's also a fantastic trick for fixing a succulent that’s gotten tall and "leggy" from not getting enough light—just snip the top off and replant it.
To take a stem cutting, grab a clean, sharp blade and snip off a few inches of a healthy stem. You’ll want to leave a few leaves on the cutting, but pull off the lowest ones to expose a bare section of stem. That’s the part you’ll eventually plant once the cut end has dried and calloused over. For a deeper dive, our guide on propagating succulents from cuttings has even more detail.
This visual guide can help you decide whether to start with a leaf or a stem.
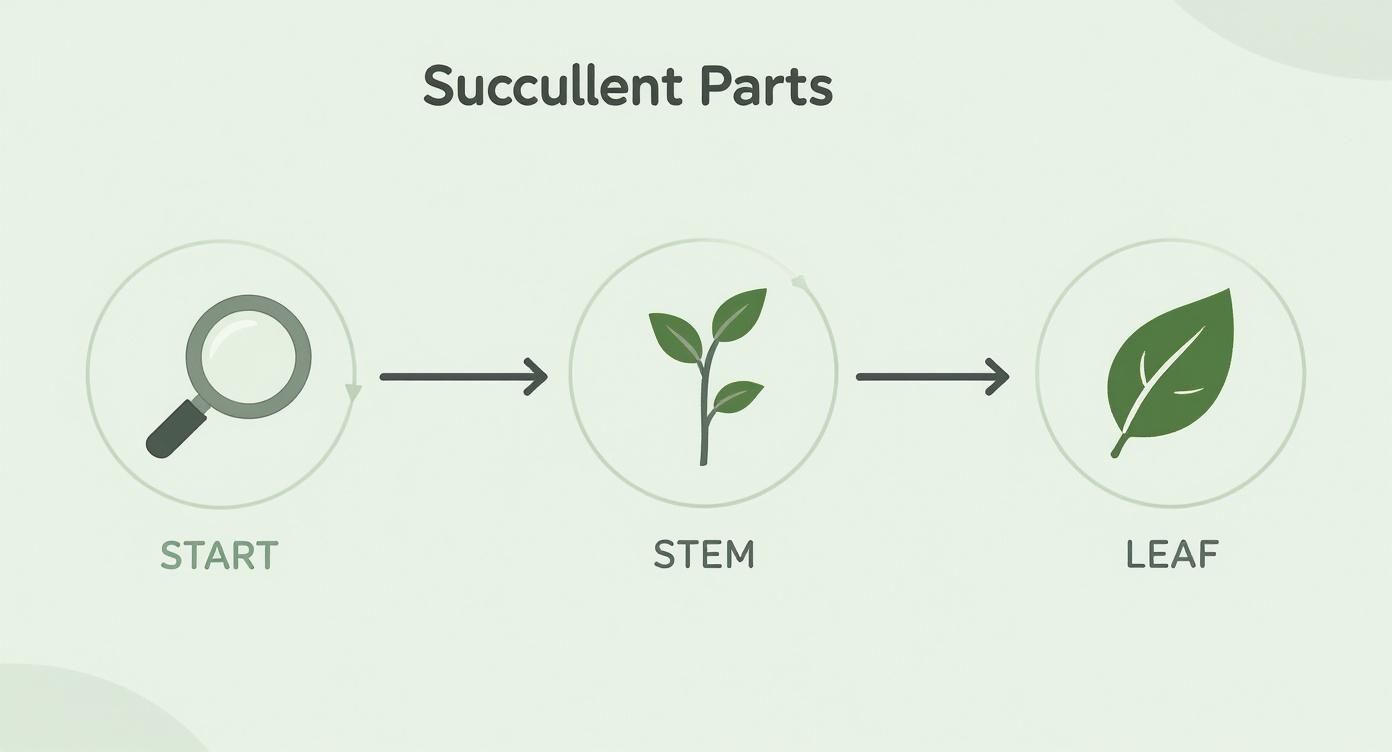
As you can see, figuring out your plant's basic structure—is it defined by individual leaves or a clear stem?—is the first step in picking your rooting strategy.
Offsets And Pups: The Easiest Wins
Many succulents do the hard work for you by producing miniature clones of themselves, often called offsets or "pups." These little baby plants pop up around the base of the mother plant and are a surefire way to get a new, perfectly formed succulent in no time. This is the go-to method for Hens and Chicks (Sempervivum), many Haworthias, and Aloes.
Just wait until an offset is a decent size—about one-third the size of the parent is a good rule of thumb. Then, you can gently separate it, using a clean knife if needed to slice through the connecting root or stem. More often than not, these pups will already have their own tiny root system, making them incredibly easy to pot up right away.
Division: For Clump-Forming Succulents
Some succulents, like many groundcover Sedums and Sempervivums, grow in dense clumps that are perfect for division. This method is exactly what it sounds like: you gently separate a large clump into smaller sections, each with its own root system already intact. It’s a great way to manage an overgrown plant while getting several new ones for your effort.
To divide a plant, carefully slide it out of its pot and brush away the soil to get a good look at the roots. You should see natural separation points in the root ball. Gently tease the clumps apart with your hands. If the roots are really tangled, a sterile knife can help you make a few clean cuts. Each new section is an independent plant, ready to be repotted immediately.
Seeds: For The Patient Gardener
Finally, there’s growing from seed. This isn't the most common method for hobbyists because it requires a ton of patience and can be a bit tricky. It’s the propagation method of choice for hybridizers creating new cultivars or for growing rare species that don't produce offsets or propagate well from cuttings.
Growing from seed gives you a huge number of plants and ensures genetic diversity, which is crucial for collectors and commercial growers. But be warned: it can take months, or even years, to get a recognizable plant. It’s a rewarding process, but definitely a long-term project.
Succulent Propagation Method Comparison
To make it easier, here's a quick rundown of which method to choose for common succulent types, how hard it is, and how long you can expect to wait for roots.
| Method | Best For (Examples) | Difficulty | Average Time to Root |
|---|---|---|---|
| Leaf Propagation | Echeveria, Sedum, Graptopetalum, Pachyphytum | Easy | 3-6 weeks |
| Stem Cuttings | Crassula (Jade), Senecio, Aeonium, Kalanchoe | Easy | 2-5 weeks |
| Offsets (Pups) | Sempervivum, Haworthia, Aloe, Agave | Easiest | 1-2 weeks (often pre-rooted) |
| Division | Clump-forming Sedum, Sansevieria, some Sempervivum | Easy | Immediate (already rooted) |
| Seeds | Rare species, hybrids, cacti (e.g., Lithops, Conophytum) | Hard | 2 weeks to 6+ months |
Ultimately, picking the right method comes down to observing your plant. See how it grows naturally—does it send out pups, form a dense mat, or have plump, easily detached leaves? The plant itself will usually give you the best clue.
Setting Up Your Cuttings for Success
Getting your setup right from the start is half the battle when rooting succulents. Before you even think about taking a cutting, spending a few minutes gathering the right supplies and mixing the perfect soil will make a world of difference. It's all about creating a welcoming environment for those new roots to grow.
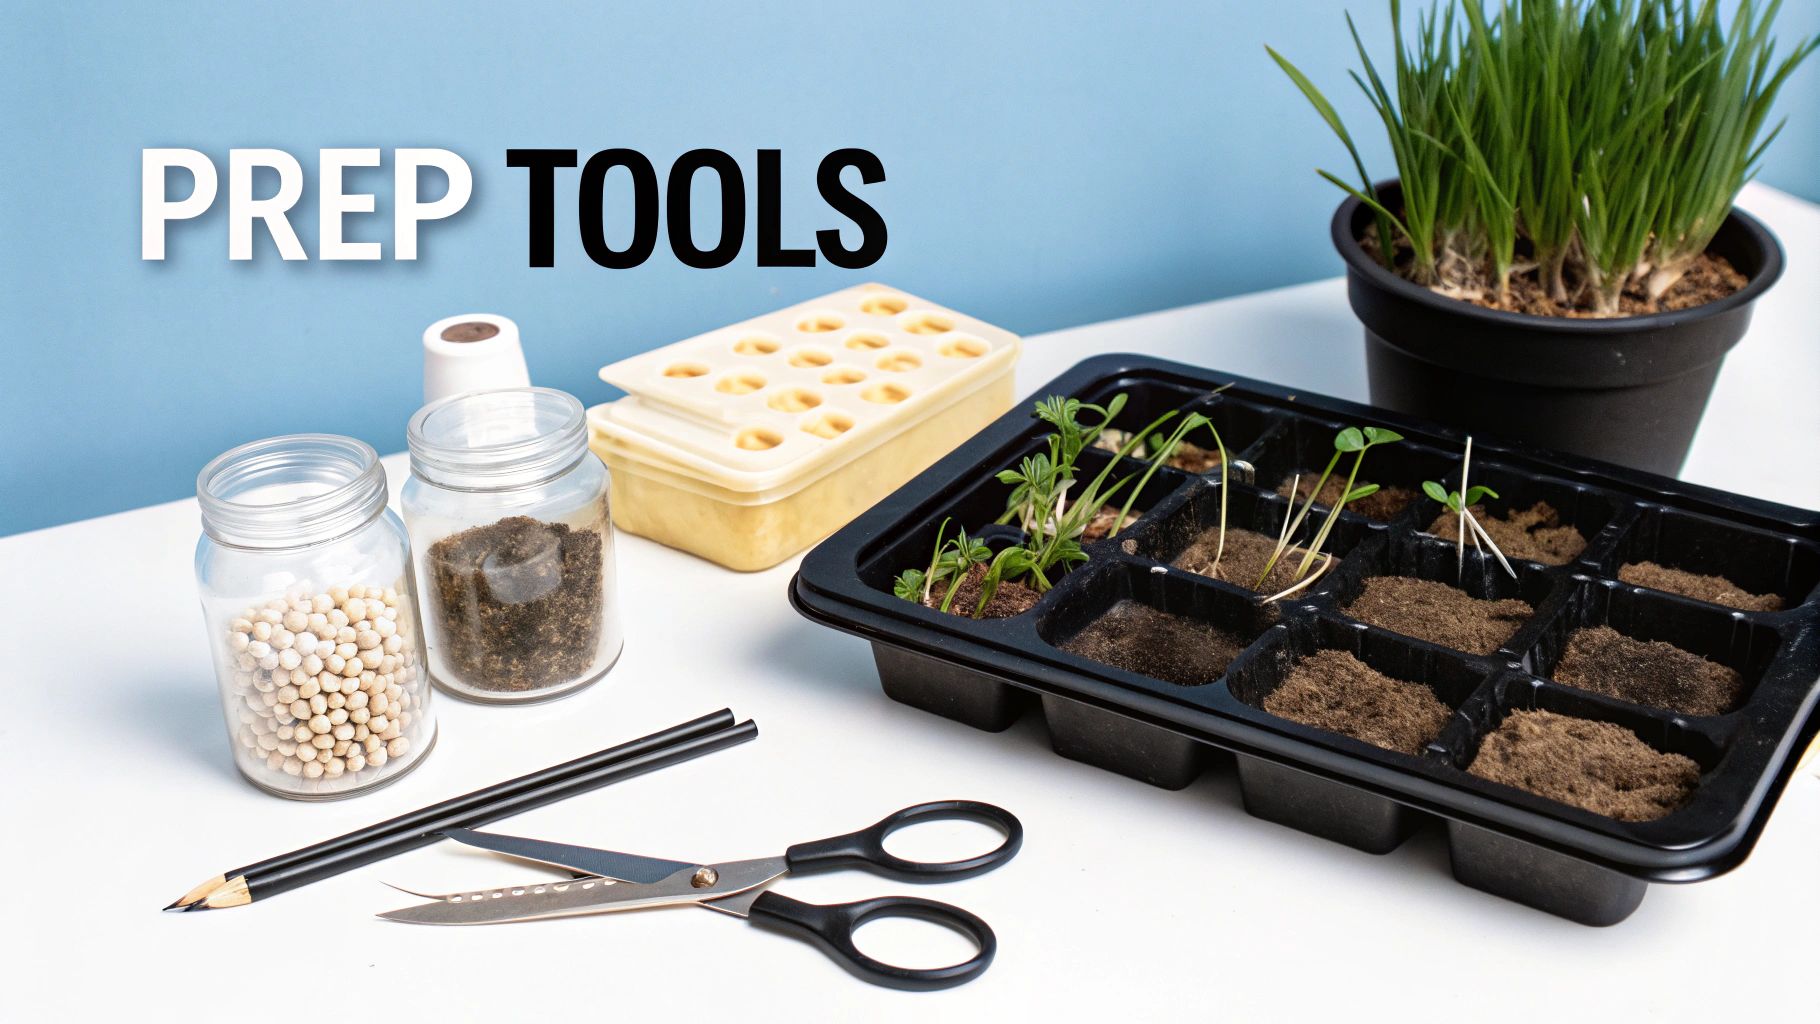
You don’t need much, but what you do need is important. Grab a sharp, clean tool—a pair of scissors, some pruning snips, or even a knife will do the trick. A clean cut is crucial because it prevents crushing the plant's tissue. You'll also want a shallow tray or pot with plenty of drainage holes. Standing water is the enemy here.
Crafting the Ideal Soil Mix
If there's one thing you can't afford to get wrong, it's the soil. Never, ever use standard potting mix on its own. It’s a death sentence for most succulent cuttings, holding onto way too much water and practically guaranteeing rot. You're looking for something gritty and airy that lets water drain right through.
You can always buy a pre-made cactus and succulent mix, but I find that making my own is cheaper and gives me better results. Here are a couple of my go-to recipes:
- Basic Gritty Mix: Just combine one part regular potting soil with one part perlite or pumice. This is a solid, all-purpose mix that works for most common succulents.
- Super-Drainage Mix: For varieties that are particularly sensitive to moisture, I'll mix one part potting soil, one part coarse sand (make sure it's not fine play sand), and one part perlite. This blend is about as porous as it gets.
The whole point is to give the cutting something to anchor into without suffocating it in moisture. We dive even deeper into this in our guide on potting succulent cuttings.
The Role of Rooting Hormone
Now, for the big debate: to use rooting hormone or not? Honestly, it depends. This powder, which contains hormones that encourage root development, can definitely be a big help, but it's not always a must-have. Many succulents, like most Echeverias and Sedums, are so eager to root they'll do it without any encouragement.
For slower or more finicky plants, though, a little dusting of rooting hormone on the calloused end can really speed things up and increase your chances of success. A little goes a very long way—just dip the dry, calloused tip into the powder, tap off the excess, and you're good to go.
My personal rule of thumb is this: if it's a common, fast-growing succulent, I skip the hormone. If it's a more valuable or slow-to-propagate plant, I use it as an insurance policy. It rarely hurts, but it often helps.
Your setup is everything. Studies have shown that with the right conditions, species like Crassula and Aloe can root in just 14 to 21 days with survival rates clearing 85%. And consider this: about 70% of propagation failures come down to too much moisture. A proper, well-draining soil mix is your best defense against that. Get the soil and temperature right, and your success rate will soar. Once your tools are clean and your soil is mixed, you're ready to start propagating.
The Waiting Game: Nurturing New Roots
You’ve prepped your cuttings and set them on the soil. Now comes the hardest part of the whole process: being patient. It’s so tempting to poke, prod, and water them, but your main job now is to simply provide the right environment and then step back.
During this delicate phase, everything hinges on light and water. If you get these two things right, you’ll be rewarded with those tell-tale pink roots and the first signs of brand-new growth.
Mastering Light and Water
First up, let's talk about light. Mature succulents can handle a lot of sun, but your new cuttings are incredibly sensitive. Putting them in direct, harsh sunlight will fry them before they even have a chance to root.
Instead, find a spot for your propagation tray that gets plenty of bright, indirect light throughout the day. Near a sunny window but just out of the direct sunbeams is usually the perfect place.
Now for the most important rule of rooting: no roots, no water. A cutting has no way to absorb moisture from the soil until it grows roots. Dousing it with water is useless at best and, more often than not, a one-way ticket to rot. Seriously, keep the soil bone dry until you see proof of life.
One of the biggest mistakes I see beginners make is misting their cuttings too soon. It feels like you're helping, but spraying leaves or stems before they have roots just invites rot, especially if you live somewhere humid. It's far better to wait until you can see those first little roots emerge.
Once you spot those first wispy roots, you can finally start watering—but be gentle. Don't soak the pot. A light misting right around the new roots every few days is plenty. This encourages them to stretch down into the soil. As the roots get more established and tiny new plants (we call them plantlets) form, you can slowly start watering a little more.
What to Expect Week by Week
How long does it take? Well, that depends on the type of succulent, the season, and the conditions in your home. But generally, you can expect a predictable progression.
- Weeks 1-2: This is the quiet phase. Honestly, you probably won't see anything happening above the soil. Just leave them alone and let them work their magic.
- Weeks 2-4: This is when things get exciting! You should start seeing tiny, hair-like roots poking out from the calloused end of your cuttings. With leaf propagations, you might even spot the first miniature buds of a new plantlet.
- Weeks 4-8: Roots will get much more robust, and the new plantlets will begin to look like tiny versions of the parent plant. You’ll probably notice the original "mother" leaf starting to wither as it pours all its energy and nutrients into its new baby.
Once your new plantlet has a decent root system about an inch long and is roughly the size of a dime, it’s ready to graduate to its own pot. This is the moment you've been waiting for—a successfully rooted succulent
Troubleshooting Common Rooting Problems
Even with the best of intentions, sometimes things just don't go according to plan when you're trying to root succulents. Don't sweat it—every single person who propagates plants runs into a few snags. The real skill is learning to spot the problem and knowing exactly how to fix it.
Most issues you'll face boil down to one of three usual suspects: too much water, not enough light, or starting with an unhealthy cutting in the first place. Catching the signs early often means the difference between saving your new plant and having to start all over again.
Let's break down some of the most common setbacks.
Why Your Cuttings Are Rotting
Rot is, without a doubt, the number one enemy of succulent propagation. You'll know it when you see it: mushy, translucent, or blackened stems and leaves. This is a classic fungal or bacterial infection, and it's almost always caused by too much moisture.
This happens for a few key reasons:
- Watering Too Soon: The golden rule is no roots, no water. Giving a cutting a drink before it can absorb it is the single most common mistake.
- Poor Airflow: Stagnant, humid air is the perfect breeding ground for the nasty stuff that causes rot.
- Skipping the Callous: If you place a fresh, uncalloused cutting onto damp soil, you're practically inviting moisture into that open wound.
- Dense Soil: Using a potting mix that stays soggy instead of draining quickly will effectively suffocate your cutting before it even has a chance.
If you catch the rot early on, you might be able to salvage the cutting. Take a sterile knife and carefully cut away all the blackened, mushy parts. You need to be left with only healthy, firm tissue. Let this new cutting callous over for several days before you try again with fresh, completely dry soil.
It's crucial to understand that rot spreads fast. Once a cutting turns to complete mush, it's a goner. Toss it out, along with any soil it was touching, to keep the problem from spreading to your other cuttings.
What to Do When Nothing Happens
Is your propagation tray just sitting there, day after day, with absolutely no signs of life? It's incredibly frustrating when cuttings don't seem to do anything, but this is usually a pretty easy fix.
The most likely culprit is not enough light. While you never want to put fresh cuttings in harsh, direct sun, they absolutely need plenty of bright, indirect light to get the energy they need to grow roots. If your tray is tucked away in a dim corner, try moving it somewhere brighter. You should start seeing some action within a couple of weeks.
Another possibility is that the cutting came from a weak or stressed parent plant—cuttings from unhealthy plants often lack the vigor to root successfully. If you suspect your soil isn't draining well, our guide explains why succulents need drainage and how to get it right.
Leaves Are Shriveling or Drying Up
It’s perfectly normal for the original “mother” leaf to shrivel up and die off after a healthy new plantlet has formed. The baby plant literally draws all the nutrients and water from that parent leaf to fuel its own growth.
However, if your leaf cuttings are wrinkling and drying out completely before you see any roots or new growth, that's a sign of a problem. This usually happens if the leaf was taken from a dehydrated parent plant or if the air is just exceptionally dry. Unfortunately, once a leaf is totally desiccated, it’s not coming back.
Answering Your Top Succulent Rooting Questions
Even with the best instructions, you're bound to have a few questions pop up as you go. That's completely normal! Getting these answers sorted out is what turns a beginner into a pro. Let's dig into some of the most common things people ask when they start rooting succulents.
How Long Does It Really Take for Succulents to Root?
This is the big question, and the honest answer is: it depends. I’ve seen some eager Sedums and Echeverias sprout tiny pink roots in as little as 2 weeks. But for others, like a stubborn Haworthia or a chunky cactus cutting, you might be waiting 6 weeks or even longer. It’s a game of patience.
Generally, you should start seeing some action within 2 to 6 weeks. The timeline is swayed by a few key things: the type of succulent, the time of year (they root faster in their active growing season), and the warmth and light you provide. Give them plenty of bright, indirect light and keep them warm, and they'll get to work much faster.
Is Rooting Succulents in Water a Good Idea?
You can absolutely root succulents in water, and it's actually a pretty fun way to see the magic happen right before your eyes. Just hover the calloused end of the cutting right above the water's surface, and roots will often reach down for it.
Here’s the catch, though. The roots that grow in water are different from soil roots—they're finer, more delicate, and built for a liquid environment. When you eventually transfer your plant to soil, it can go through a bit of a shock while it adjusts. You'll need to be gentle and keep the soil slightly more moist than usual for the first week or so to help it transition.
Help! Why Are My Cuttings Turning to Mush?
Ah, rot. The number one enemy of every succulent propagator. If you see parts of your cutting turning black, squishy, or almost transparent, you've got a rot problem. This is almost always caused by one thing: too much water too soon.
Remember this: Never water a cutting that doesn't have roots. Rot happens when you water before the cut has calloused, use soil that stays wet, or just don't have enough airflow.
The most important step you can take is to let that cutting sit out and dry for several days until the wound is completely sealed over. Placing a freshly cut, open wound onto any kind of soil, even dry soil, is just an invitation for fungal and bacterial issues. A good callus is your best defense.
Ready to grow your collection with healthy, beautiful plants? The Cactus Outlet offers a stunning selection of succulents and cacti perfect for any home or garden. Find your next favorite plant today!