
Let's get one thing straight from the start: succulents absolutely need drainage. I can't stress this enough—it's the single most important secret to keeping them alive and thriving.
Imagine trying to live in a bathtub that never drains. That’s pretty much what you’re doing to a succulent when you plant it in a pot without a drainage hole. This one simple feature is the difference between a happy plant and a sad, mushy mess. It's truly non-negotiable.
Why Drainage Is Your Succulent's Lifeline
To understand why drainage is so critical, you have to think like a succulent. These plants are desert natives, forged by evolution to handle intense but brief downpours followed by long, dry spells. Their entire system is built for a "drench and drought" lifestyle.
When you take away the drainage, you trap water at the bottom of the pot. The soil stays soggy for days, creating a condition growers call 'wet feet'—a death sentence for roots designed to live in dry, airy soil. Instead of seeking out moisture, they're left to suffocate in stagnant water.
The Downward Spiral of Poor Drainage
Without an escape route for that extra water, a whole host of problems kicks off almost immediately. Knowing what's happening below the soil is the key to preventing disaster.
-
Root Rot: This is the big one—the most common killer of succulents. When roots are submerged in water, they can't get oxygen and literally begin to decay. This rot becomes a breeding ground for fungus and bacteria that quickly spread through the entire plant.
-
Suffocation: It sounds strange, but roots need to breathe. Healthy soil is full of tiny air pockets, but waterlogged soil has none. It effectively drowns the roots, shutting down their ability to absorb water and nutrients.
-
Weakened Immune System: A succulent struggling in wet soil is a stressed-out succulent. Just like with people, stress weakens its natural defenses, making it an easy target for pests and diseases it would normally fend off.
The golden rule of succulent care is to mimic their natural home as best you can. Out in the desert, there's no such thing as a puddle that sticks around for weeks. A drainage hole is the simplest and most effective way to recreate that essential condition.
Now that we've established the 'what,' let's dig into the 'why.' We'll explore the science behind their roots, how to pick the perfect pot, the best soil to use, and—most importantly—how to spot and fix a drainage disaster before it's too late. Getting this one concept right sets you up for years of success with vibrant, healthy plants.
To put it all into perspective, here's a quick look at how a succulent's life differs in a pot with drainage versus one without.
Drainage vs No Drainage At a Glance
| Condition | Pot With Drainage Holes | Pot Without Drainage Holes |
|---|---|---|
| Soil Environment | Soil dries out evenly between waterings, allowing roots to breathe. | Soil stays soggy at the bottom, creating a stagnant, oxygen-poor zone. |
| Root Health | Roots are strong, healthy, and actively seek out moisture. | Roots become mushy, dark, and decay, leading to fatal root rot. |
| Watering Forgiveness | Forgives slight overwatering as excess moisture escapes easily. | Highly unforgiving; a single overwatering can be fatal. |
| Plant Vigor | Plant is resilient, showing strong growth and vibrant color. | Plant is stressed, weak, and highly susceptible to pests and diseases. |
| Long-Term Success | High. This setup supports the plant's natural life cycle. | Extremely low. The plant is in a constant state of survival. |
As you can see, the choice is clear. A pot with a drainage hole isn't just a container; it's a vital part of a healthy ecosystem for your succulent.
What Happens Below The Soil Without Drainage
When you look at a succulent in a pot with no drainage, everything might seem fine on the surface. But beneath the soil, a silent and dramatic battle for survival is unfolding. Succulent roots are perfectly adapted for a "drench and drought" cycle—they're built to handle a thorough soaking followed by a period where the soil dries out completely, allowing them to breathe.
Think of a kitchen sponge left in a puddle. It quickly becomes heavy, waterlogged, and totally saturated with no room for air. This is exactly what happens to the soil in a pot without a drainage hole. It turns from a breathable, life-sustaining medium into a dense, airless prison for your succulent’s roots.
Without an escape route, water pools at the bottom, creating a stagnant reservoir that never dries out. This sets the stage for the number one killer of succulents: root rot.
The Tragic Timeline of Root Rot
Root rot doesn't happen overnight, but it starts the moment the soil becomes waterlogged. The process is a predictable downward spiral that begins with suffocation and ends with a full-blown infection. It’s a quiet catastrophe that often goes unnoticed until it's far too late.
- Stage 1: Suffocation. The first step is hypoxia, a technical term for oxygen deprivation. Just like us, roots need to breathe. In healthy soil, tiny air pockets provide the oxygen they need to function and absorb nutrients. When water fills these pockets, the roots literally start to suffocate. They weaken and begin to die off.
- Stage 2: Infection. Once the roots start to die, the real trouble begins. This decaying organic matter becomes a five-star buffet for opportunistic fungi and bacteria that thrive in wet, low-oxygen environments. These microbes, known as anaerobic bacteria, multiply rapidly, attacking the weakened roots and spreading the infection. The rot moves from the root tips up toward the base of the plant, turning healthy, white roots into a mushy, black, and often smelly mess.
This flowchart illustrates the two very different paths a succulent can take based on its potting environment.
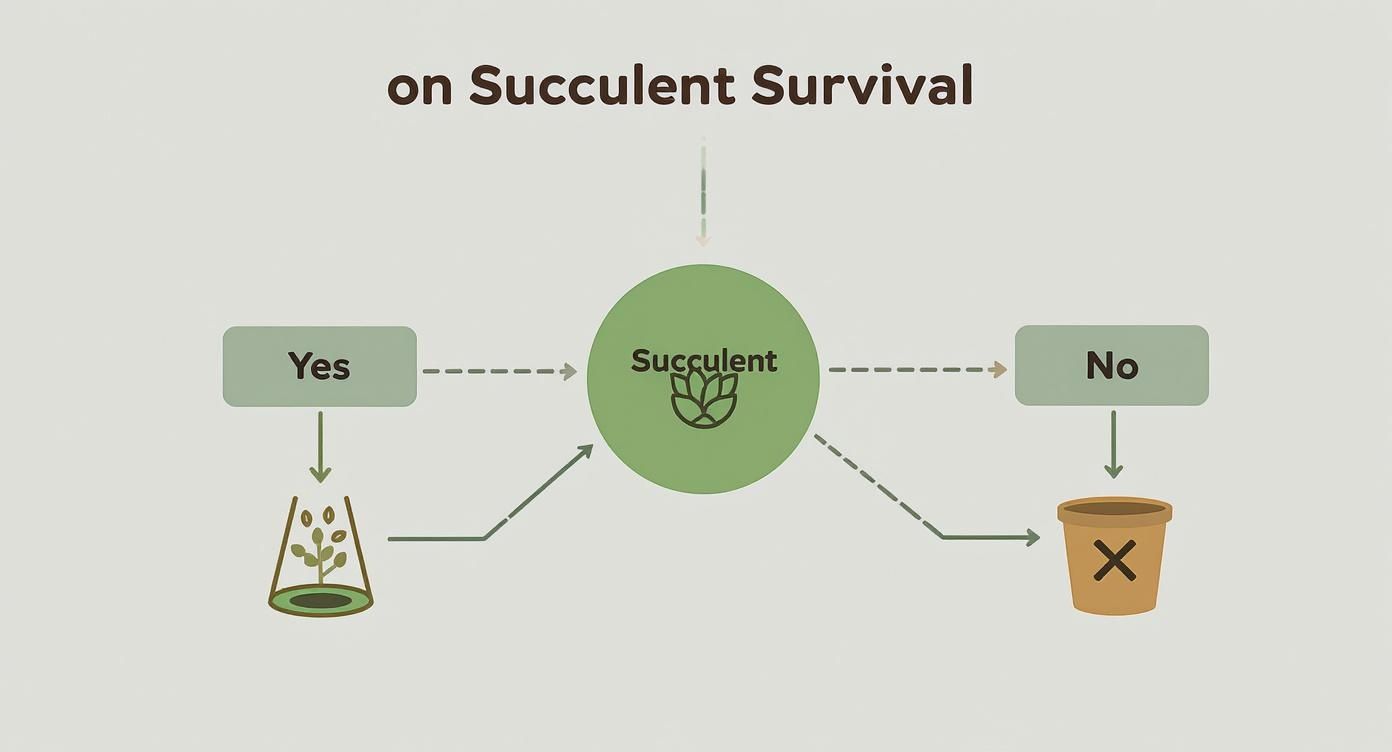
As you can see, a drainage hole sets the plant on a path to health, while neglecting it almost guarantees failure.
Understanding Water's Sneaky Behavior
Another invisible force at play is capillary action. It's the same principle that allows a paper towel to wick up a spill. In a pot without drainage, water doesn’t just sit at the bottom; it actively creeps upward through the soil particles, keeping the entire soil column perpetually moist. This ensures the roots never get the dry-out period they desperately need.
The consequences of this constant moisture are devastating. Horticultural research consistently points to improper drainage as a leading cause of succulent death. In fact, some studies show that over 90% of indoor succulent failures are due to overwatering—a problem made exponentially worse by a lack of drainage. When roots are stuck in soggy soil, they can begin to decay in as little as 7-14 days.
This is why a simple drainage hole, which can reduce water retention by up to 40%, is so critical. You can learn more about how to water succulents correctly on Planet Desert.
The bottom line is simple: A pot without a drainage hole creates a toxic, suffocating environment that is the complete opposite of what a succulent needs to survive. The risk of root rot isn't just a possibility; it becomes an inevitability.
To prevent this silent tragedy, you have to give that excess water a way to escape. This single choice—using a pot with a drainage hole—is the most important decision you can make for the long-term health of your plant. It gives your succulent the airy, dry environment its roots evolved for, turning your home into a sustainable habitat instead of a waterlogged trap.
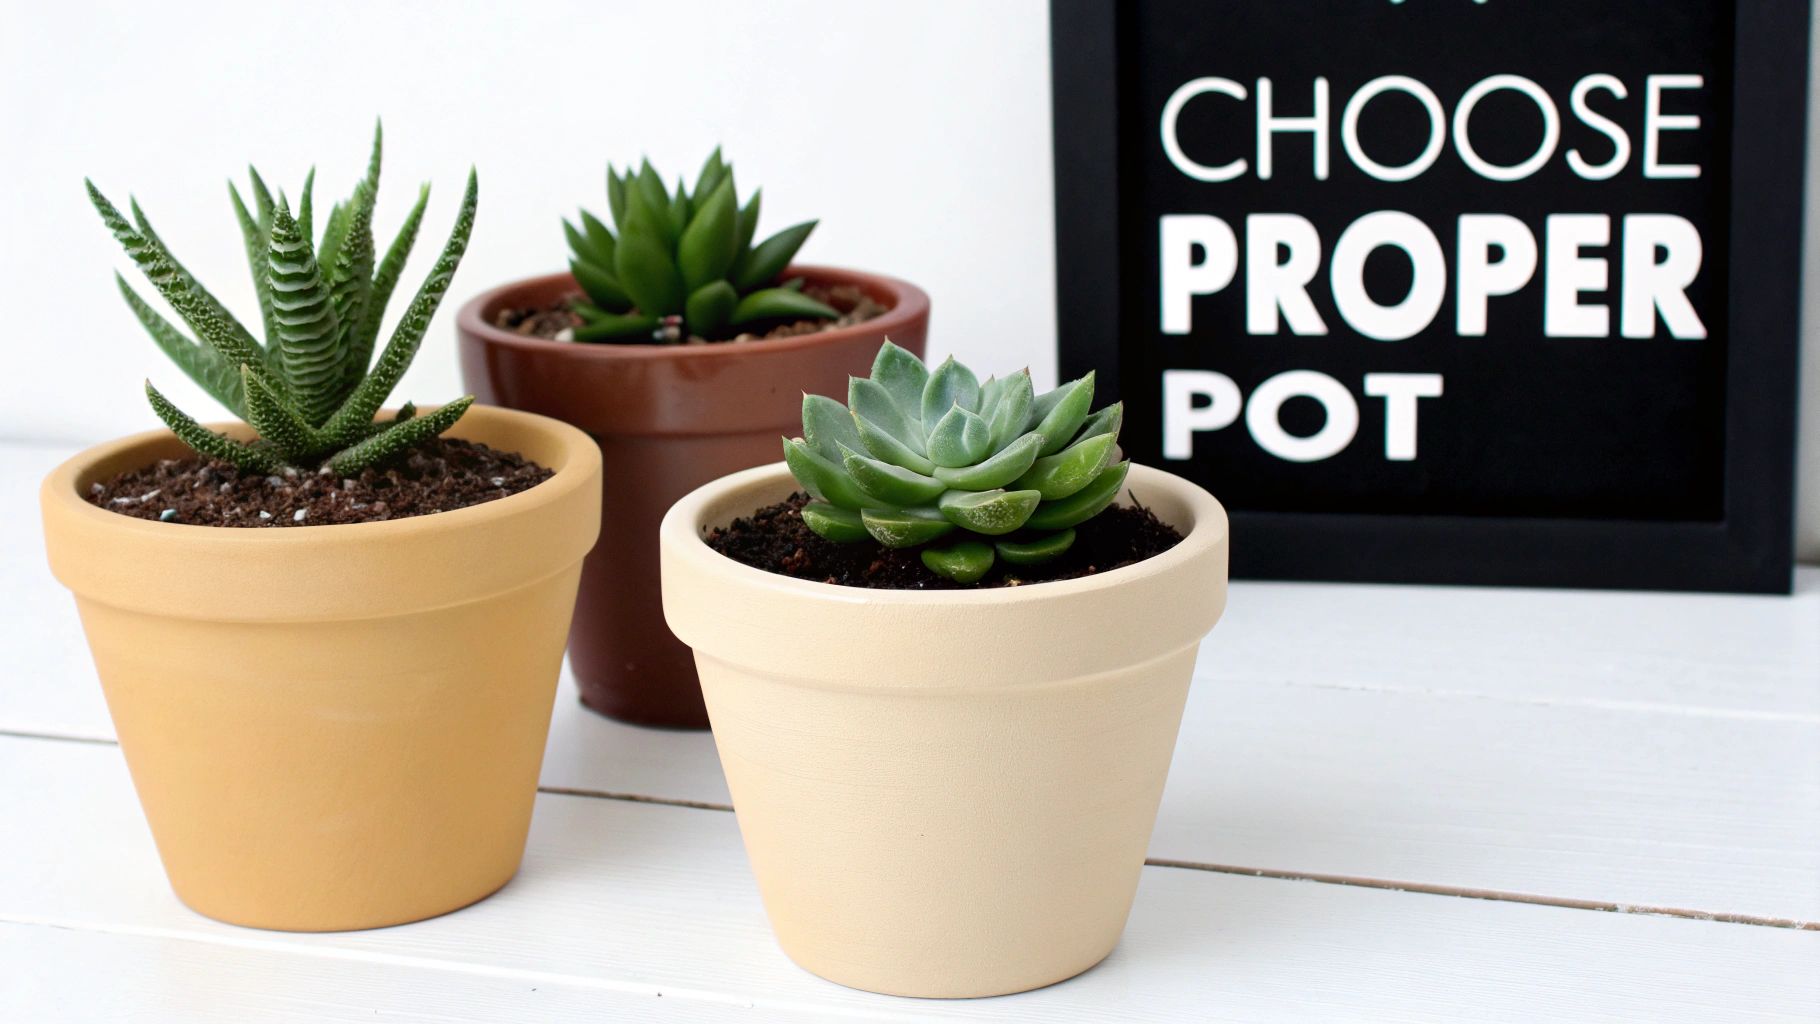
Choosing a Pot That Helps Your Succulent Thrive
Now that we’ve pulled back the curtain on the silent, underground drama of root rot, let's get practical. Choosing the right container is your first, and most important, line of defense in giving your succulent the healthy, airy home it needs to flourish. The pot isn't just a pretty accessory; it’s an active partner in managing moisture and keeping roots happy.
Think of the pot’s material as you would clothing for the weather. Some materials breathe, letting moisture escape, while others trap it in. Getting this one choice right can make all the difference, especially when you're just starting out with succulents.
Comparing Common Pot Materials
When you walk down the planter aisle, you'll see a few usual suspects. Each one handles water differently, and that directly impacts your succulent's health.
- Terracotta (Unglazed Clay): This is the undisputed champion for succulents, and for good reason. Terracotta is porous, which means it has microscopic holes that let both air and water pass right through. This natural "breathing" wicks moisture out of the soil, helping it dry out much faster and providing a crucial buffer against overwatering.
- Glazed Ceramic: They’re beautiful, no doubt. But the glossy glaze that gives them their shine is also non-porous, effectively sealing the pot. Moisture can only escape from the soil surface and the drainage hole, which means the soil stays wet for a lot longer.
- Plastic: While cheap and lightweight, plastic pots are also non-porous. They trap moisture just like glazed ceramic, making them a much riskier choice for succulents. They're fine as temporary homes from the nursery, but it’s best to upgrade them sooner rather than later.
For a classic, breathable option, a planter like the Vasanta Petals Planter With Drainage Terracotta is a fantastic choice that sets your plant up for success.
The Dangerous Myth of Adding Rocks for Drainage
This is one of the most persistent—and harmful—myths in the plant world: the idea that a layer of rocks at the bottom of a pot without a hole creates drainage. It doesn't. In fact, it makes the situation far worse.
Instead of creating drainage, this just raises the water level inside the pot. Picture a glass with marbles at the bottom; if you pour water in, it just sits on top of the marbles. In a pot, this creates something called a "perched water table"—a zone of super-saturated, swampy soil sitting directly above the rocks. This brings the soggy, suffocating conditions right up to your succulent's roots, putting them on the fast track to rot.
A layer of rocks is not a substitute for a drainage hole. It creates a swampy death trap for your succulent's roots. True drainage means water has a way to get out.
How to Add Your Own Drainage Hole
So what do you do when you find the perfect decorative pot, but it's missing that all-important hole? Don't walk away! With the right tools and a little bit of patience, you can turn almost any container into a safe home for your succulent.
- Gather Your Tools: You’ll need a power drill and a specific drill bit. For ceramic, glass, or terracotta, a diamond-tipped or carbide-tipped masonry bit is the way to go.
- Prep the Pot: Stick a piece of painter's tape on the spot you plan to drill. This gives the bit some grip so it doesn't skate around. Flip the pot upside down on a soft surface, like a folded towel.
- Drill Slowly and Gently: Start drilling at a low speed, applying light, steady pressure. A little trickle of water on the spot can help keep the bit cool and reduce dust.
- Finish Up: Once you're through, rinse the pot to get rid of any dust. Just like that, you've got a beautiful, succulent-safe pot.
This simple fix can turn a risky decorative pot into a functional, healthy home for your plant. Once your pot is ready, you'll need to repot your succulent, and you can find great tips on how to repot cacti and their cousins to make the move a smooth one.
Mixing The Perfect Fast-Draining Succulent Soil
Choosing a pot with a drainage hole is a fantastic start, but what you fill that pot with is just as important. Think of the soil as your second line of defense against root rot. The right pot won't do much good if the soil inside it acts like a sponge.
Never, ever use standard potting mix straight from the bag. It’s a death sentence for succulents. That dark, rich soil is engineered to do the exact opposite of what your desert dwellers need—it’s full of fine particles like peat moss designed to retain moisture for thirsty houseplants. For a succulent, this is like being forced to wear a soggy sweater that never dries.
Why Gritty Soil Is a Must
The ideal succulent soil should behave less like a sponge and more like a colander. You want something light, airy, and full of gritty bits that let water rush through freely. This creates tiny air pockets that allow the roots to breathe and prevents the soil from compacting into a solid brick.
This structure is what allows the soil to dry out completely between waterings, mimicking the sandy, rocky ground where succulents thrive in the wild. We achieve this by mixing a small amount of organic material (for nutrients) with a whole lot of inorganic, gritty stuff (for drainage).
A Simple Recipe for DIY Succulent Soil
Mixing your own succulent soil is way easier than it sounds, and it's usually cheaper in the long run. Plus, you get total control over the final product. A great place to start is with a simple two-part recipe.
- One Part Structural Base: This is your organic component. You could use a bagged cactus mix as a starting point, or even better, coco coir. Coir is great because it doesn't get hydrophobic (water-repellent) when it completely dries out.
- One Part Gritty Amendment: This is the magic ingredient. The goal is to make the final mix coarse and porous, and this is how you do it.
For the gritty portion, you can use any one of these—or even a combination of them:
- Pumice: This is the gold standard. It's a lightweight volcanic rock riddled with tiny air pockets. It provides incredible aeration and doesn't break down or float to the top like perlite can.
- Perlite: Another volcanic glass product, perlite is super lightweight and fantastic for creating airiness in the soil. It's cheap and easy to find, but it does tend to float up during watering, which is a minor annoyance.
- Coarse Sand or Poultry Grit: Just make sure it's coarse! Fine play sand will do the opposite of what you want and clog every available air gap.
By simply mixing your organic base with an equal amount of gritty material, you instantly transform a water-logged soil into a fast-draining medium that your succulents will love. This basic 50/50 ratio is a reliable starting point for most common succulents.
Pre-Made Mix vs. a DIY Blend
So, should you buy a bag of pre-made mix or just make your own? Honestly, both have their pros and cons.
| Aspect | Pre-Made Cactus/Succulent Mix | DIY Soil Blend |
|---|---|---|
| Convenience | High. Just open the bag and get planting. | Lower. You need to buy and mix the ingredients. |
| Control | Low. Most are still too organic and need grit added. | High. You decide the exact ratio for your plants. |
| Cost | Can be more expensive for what you get. | More cost-effective, especially if you have lots of plants. |
| Effectiveness | Varies widely. Many still hold too much water. | Excellent, because you tailor it to be perfect. |
Even if you buy a bag labeled "Cactus and Succulent Mix," I always recommend doing a quick squeeze test. Grab a handful, get it a little damp, and squeeze it in your fist. If it clumps into a solid mudball, it needs more grit. If it crumbles and falls apart easily, it's good to go.
For a deeper dive into creating the perfect blend, check out our detailed guide on cactus and succulent soil mix.
How To Spot and Fix Drainage Disasters
Even the most careful plant parents can run into trouble. The trick is learning to read the subtle signs your succulent sends when it’s unhappy before the problem becomes a full-blown crisis. Think of yourself as a plant detective—your succulent will tell you what’s wrong through its leaves and soil.
If you see something's off, don't wait. Acting fast is often the difference between a quick recovery and a trip to the plant graveyard.
Recognizing the Symptoms of Poor Drainage
Keep an eye out for these classic red flags that scream "too much water!" Each one is a clue about what’s happening beneath the soil.
- Yellow, Mushy, or Translucent Leaves: This is the most obvious and urgent sign. When a succulent's cells get waterlogged, they actually burst, making the leaves feel soft, squishy, and almost see-through. A sickly yellow color is another dead giveaway.
- A Musty or Rotten Smell: Healthy soil has a pleasant, earthy scent. If you catch a whiff of something sour or rotten coming from the pot, that’s a sure sign of root rot. It’s the smell of decay.
- Leaf Drop: We’re not talking about the occasional dry, crispy leaf falling off the bottom. If plump, water-filled leaves are dropping at the slightest touch from all over the plant, it's a major distress signal.
- Wilting Despite Wet Soil: This one can be really confusing. The plant looks thirsty and droopy, yet the soil is damp. It’s a classic symptom of advanced root rot—the roots are so damaged they can no longer absorb any water, so the plant is literally dying of thirst in a puddle.
Drainage isn't just a "nice-to-have" for succulents; it's a biological requirement. Studies have found that a staggering 92% of failed succulents were in pots without proper drainage. Without an escape route for water, the soil becomes a breeding ground for rot, which can set in within just 48-72 hours. To learn more, check out this succulent guide from West Virginia University Extension Service.
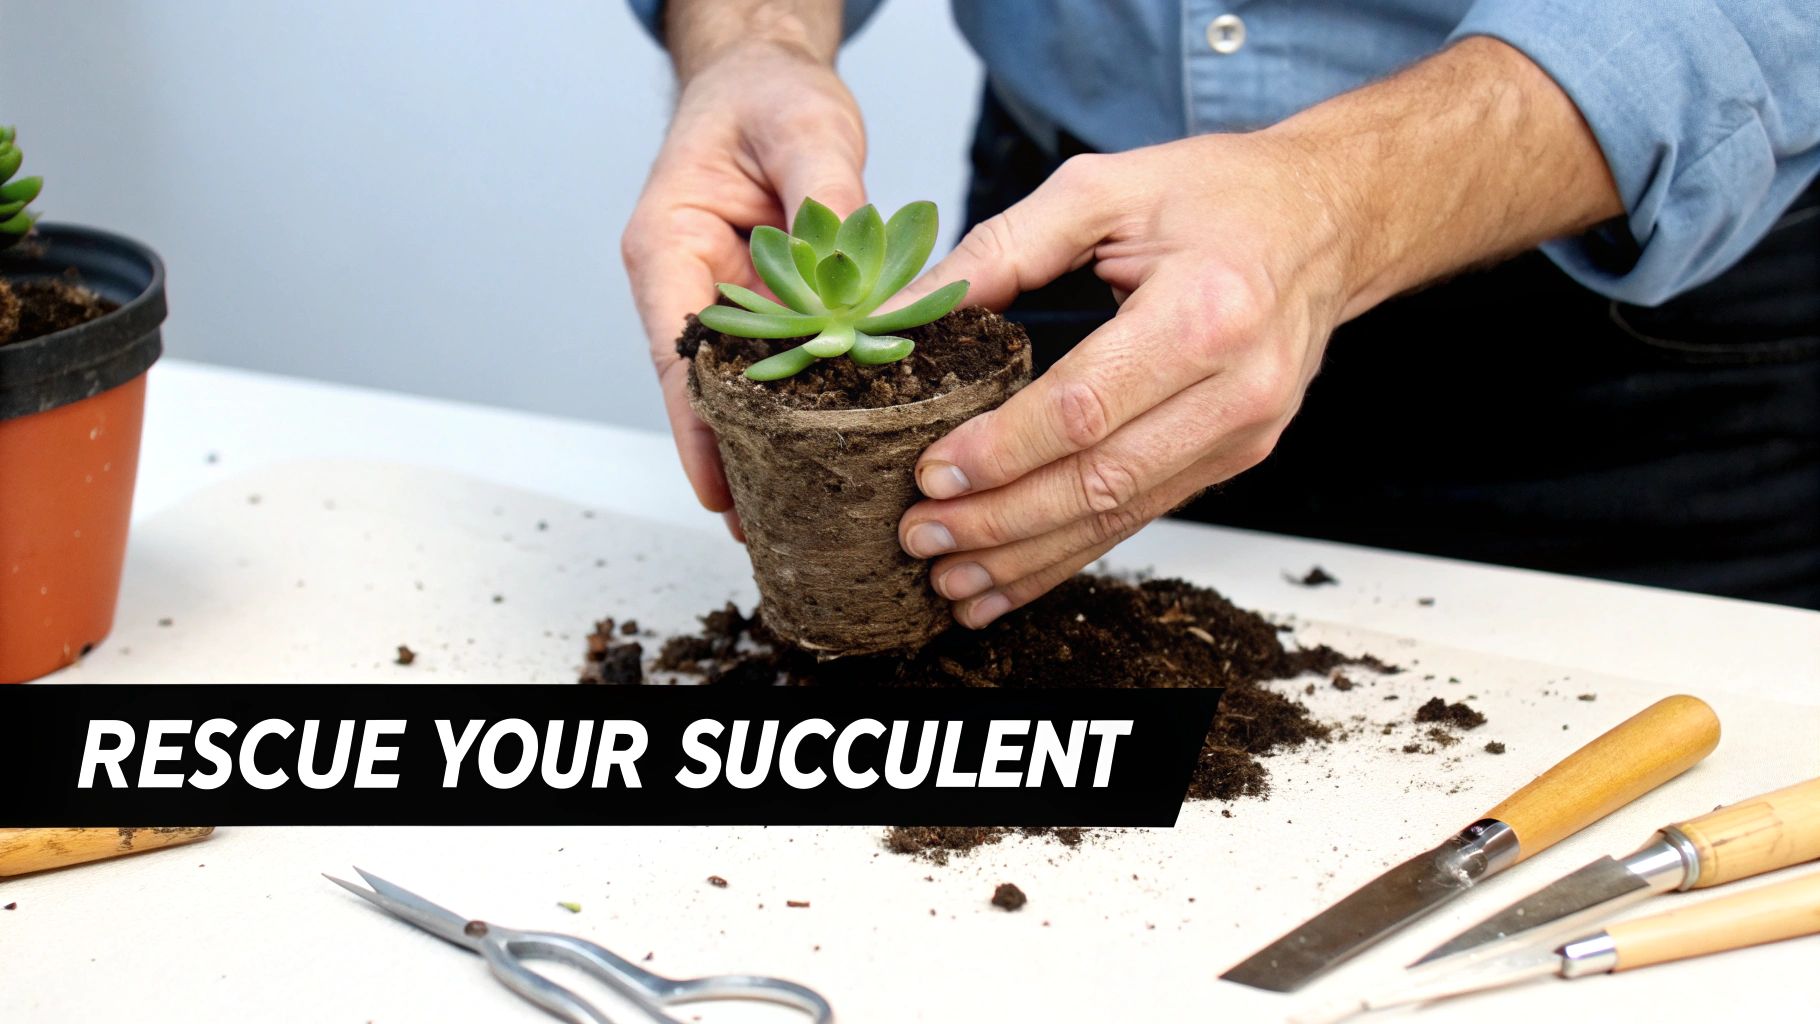
Your Step-by-Step Succulent Rescue Mission
If you’ve spotted the signs, it’s time for a little plant surgery. Don't worry, it's more straightforward than it sounds and it gives your succulent the best shot at a comeback.
- Gently Unpot the Plant: Carefully ease the succulent out of its container. If it's a bit stuck, try gently squeezing the pot's sides or running a clean knife around the inside edge to loosen things up.
- Inspect the Roots: Now for the moment of truth. Rinse the old soil off the roots so you can get a good look. Healthy roots are firm and white or light tan. Rotted roots will be dark, mushy, and might even fall apart as you touch them.
- Trim Away the Damage: Using a clean, sharp pair of scissors or shears, be brave and snip off every bit of the rotted roots. You have to be ruthless here—leaving even a tiny piece of rot behind can let the infection spread all over again.
- Let it Heal: After trimming, let the succulent sit out in a dry, shady spot for 2-3 days. This allows the cuts on the roots to form a callus, which acts like a scab to protect them from new infections when repotted.
- Repot in a New Home: Grab a new pot with great drainage and fill it with a fresh, dry, fast-draining succulent mix. Settle your healed plant in, but hold off on watering for at least a week to give the roots time to adjust.
Going through this rescue process is one of the best ways to learn. If you're looking for more tips on bringing plants back from the brink, our guide on how to revive a dying cactus has some great advice that works for succulents, too.
Common Questions About Succulent Drainage
Even when you understand why succulents need good drainage, the real world throws a few curveballs. What about that gorgeous pot you found that has no hole? How do those stunning glass terrariums even work? Let's tackle the most common "what ifs" that pop up.
Think of this as your troubleshooting guide for navigating the gray areas of succulent care. With these answers, you’ll be ready for just about any container situation and can keep your plants happy and healthy.
Can I Use a Decorative Pot That Has No Hole?
This is easily the most frequent dilemma plant lovers face. You find the perfect pot, but it's a solid ceramic piece with no drainage. The answer is a qualified "yes," but with one crucial rule: you should never plant your succulent directly into it. That's a surefire way to get root rot.
The trick is to use that beautiful pot as a decorative outer shell. It's a method called "pot-in-a-pot," or more formally, using a cachepot (pronounced "cash-po"). It’s the perfect compromise between looks and plant health.
Here’s the simple-but-effective process:
- Find an Inner Pot: Keep your succulent in its simple plastic nursery pot—the kind with plenty of drainage holes. Just make sure it fits comfortably inside your decorative one.
- Use It as a Sleeve: Just drop the plastic pot inside the cachepot. The outer pot hides the plain nursery pot and catches any drips.
- Water Separately: This is the most important step. When it's time to water, always remove the inner pot. Take it to the sink, water it thoroughly until water flows out the bottom, and let it drain for at least 20 minutes.
- Return to Its Home: Once you're sure all the excess water has escaped, you can pop it right back into its pretty decorative home.
This technique gives you the best of both worlds—the aesthetic you want and the vital drainage your succulent can't live without.
What Is The Deal With Succulents in Glass Terrariums?
Those succulents beautifully arranged in glass bowls are hard to resist, but experienced growers often call them "succulent death traps" for a reason. A glass terrarium, especially an enclosed one, is the exact opposite of what a succulent needs to thrive. It offers zero drainage and traps humidity, creating a swampy, stagnant environment that's a perfect breeding ground for fungus and rot.
If you absolutely love the look, it's best to think of a succulent terrarium as a temporary floral arrangement, not a permanent home. To make it last as long as possible:
- Build your base with an extremely gritty soil mix and a layer of activated charcoal to help absorb impurities.
- Water with extreme caution. Use a syringe or a small pipette to add just a few drops of water near the base of the plants, and only when they look thirsty (maybe once a month, or even less).
Even with the most meticulous care, long-term success in a sealed, drainless terrarium is incredibly rare.
How Do I Know When To Water If My Pot Has Good Drainage?
Excellent drainage is your safety net against a heavy-handed watering, but it isn't a free pass to water whenever you feel like it. The best approach is the "soak and dry" method, which mimics the cycle of heavy desert downpours followed by long dry spells that these plants are built for.
Forget a fixed weekly schedule. The only rule you need is this: the soil must be 100% bone-dry from top to bottom before you water again. The easiest way to check is to stick a wooden skewer or chopstick all the way down into the pot. If it comes out with any damp soil clinging to it, wait. If it comes out perfectly clean and dry, it's time for a drink.
When you do water, don't be shy. Drench the soil completely until water pours freely from the drainage hole. This deep soak encourages the roots to grow deep and strong, creating a more resilient plant. Then, let the drying-out cycle begin all over again.
Resist the urge to give your succulents "little sips" of water. This bad habit promotes a weak, shallow root system and can still lead to rot if done too often. A deep soak followed by a long dry period is always the way to go.
Is One Drainage Hole Enough For My Pot?
For most small to medium-sized pots—say, under 6 inches in diameter—a single, generously sized hole in the center is usually plenty. A hole that's at least a half-inch wide will let excess water escape efficiently.
However, once you get into larger, wider, or deeper containers, more is definitely better. Multiple drainage holes offer a few key advantages:
- Even Drying: They help water drain more evenly from the entire bottom surface of the pot, preventing soggy spots.
- Improved Aeration: More holes mean more pathways for fresh air to reach the lower soil levels, which speeds up drying time and prevents stagnant pockets where rot can start.
If you have a big pot with just one tiny hole, it's well worth the effort to carefully drill a few more. It’s a bit of extra insurance that creates a much healthier home for your succulent’s roots.
At The Cactus Outlet, we know that the right plant in the right environment is the key to success. Explore our incredible collection of healthy, nursery-grade cacti and succulents to find the perfect addition for your home. Visit us today at https://www.cactusoutlet.com.