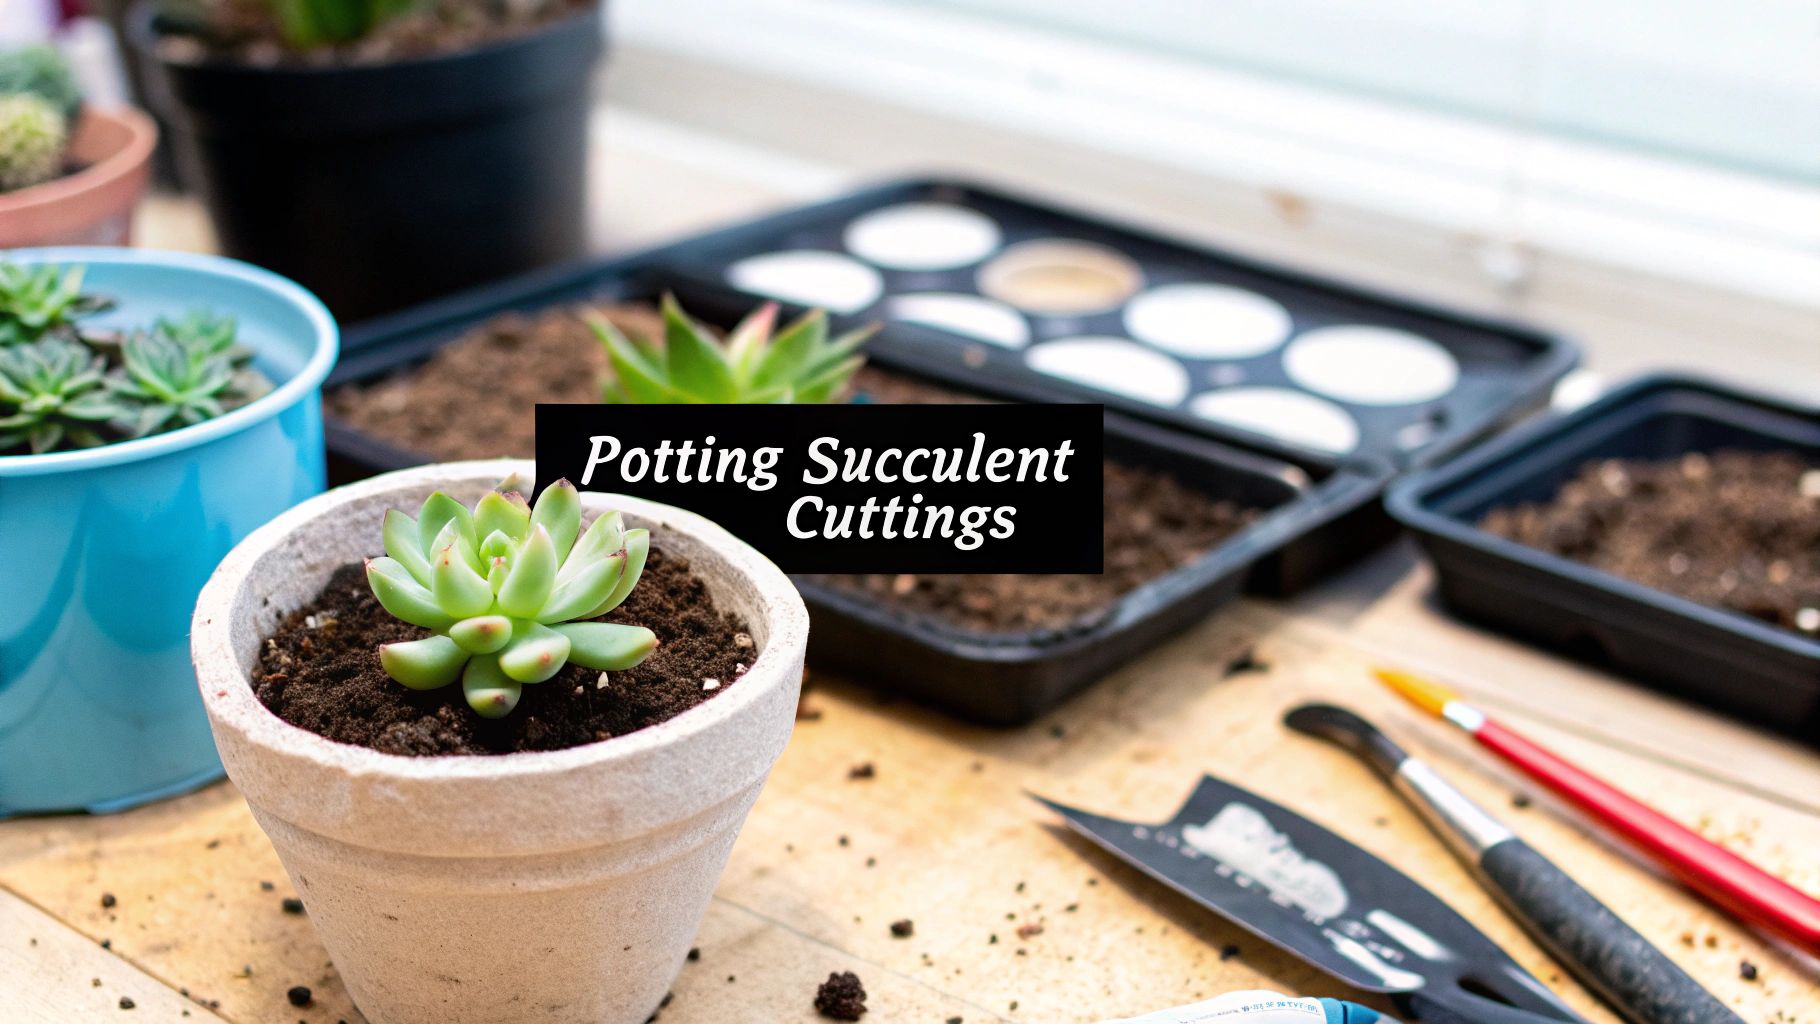

Before you even think about planting those succulent cuttings, you need to set up the perfect home for them. This is probably the most critical part of the whole process. It all comes down to two things: a fast-draining soil mix and a pot with great drainage. If you get this right from the start, you're setting your cuttings up for healthy root growth and avoiding the dreaded root rot.
Choosing the Right Soil and Pots for Success
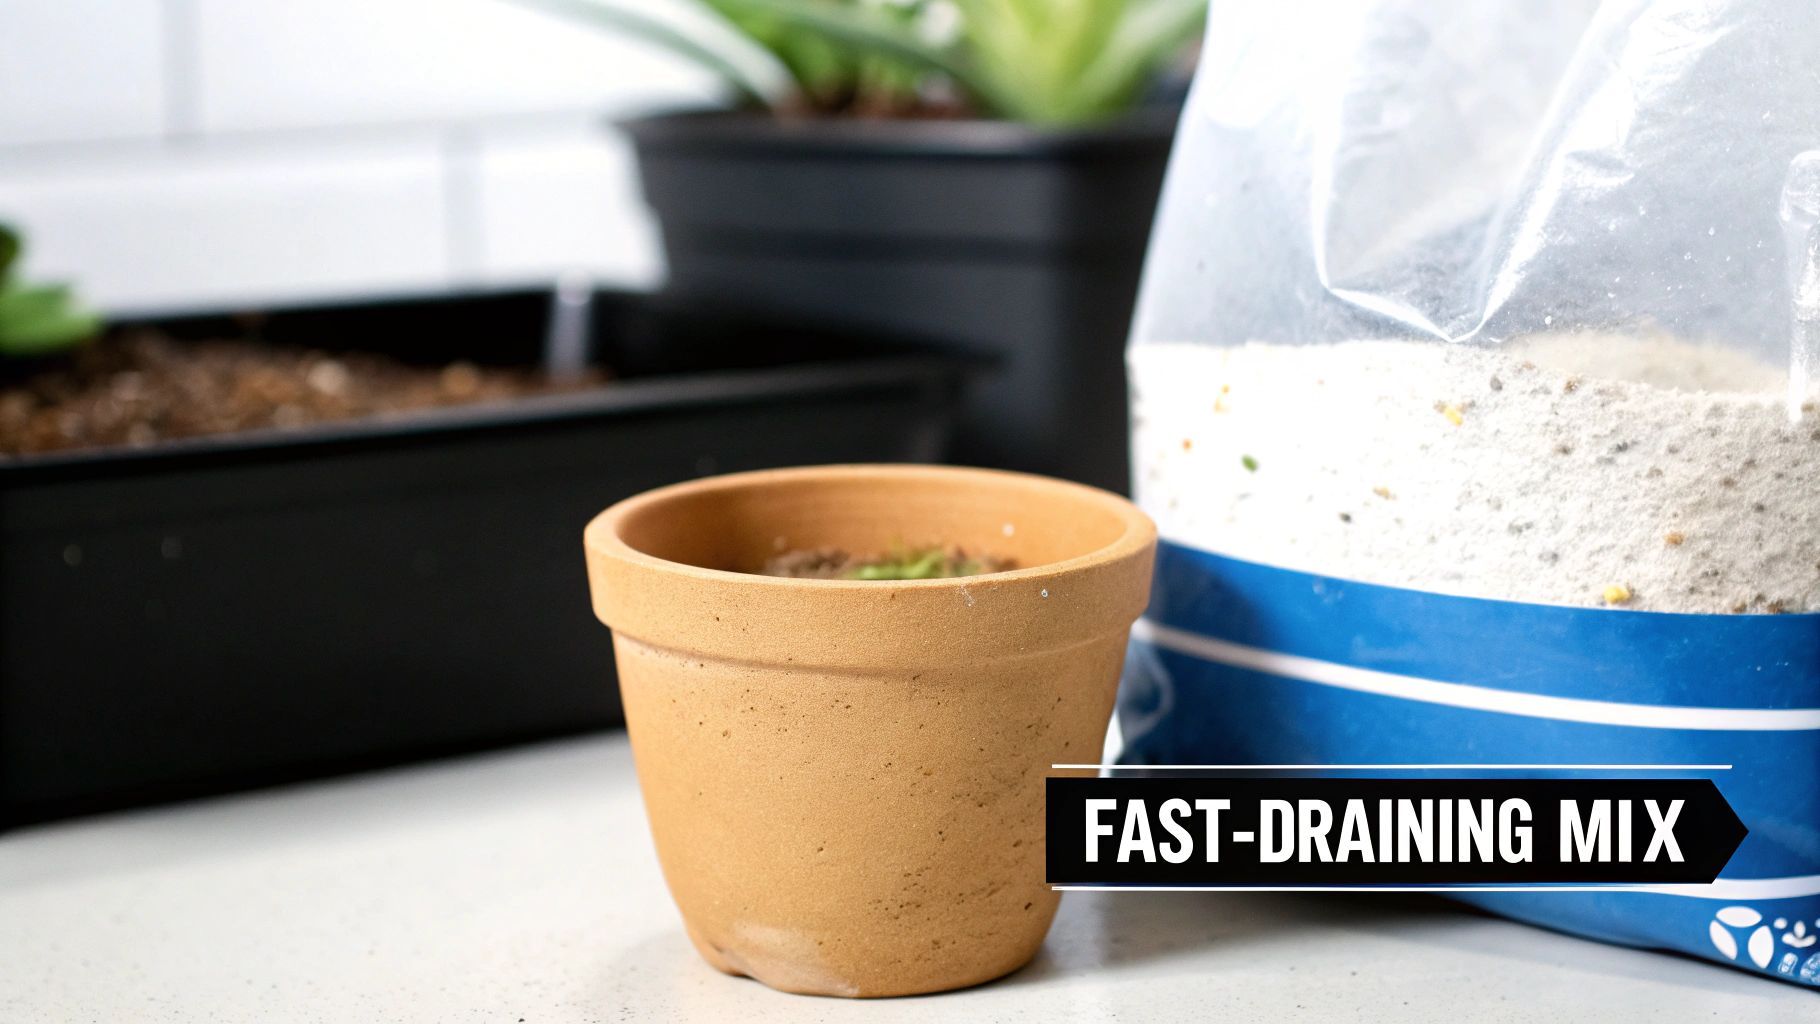
The foundation for any healthy succulent is its soil. Your standard, all-purpose potting mix from the garden center is just too dense. It’s designed to hold onto moisture, which is the exact opposite of what your succulent cuttings need. Their delicate new roots need to breathe, and sitting in soggy soil is a surefire way to kill them.
The easiest path, especially if you're just starting out, is to grab a bag specifically labeled "cactus and succulent mix." These are pre-made with ingredients like sand, perlite, or pumice already mixed in to ensure the water drains right through. It's a no-fuss, reliable option.
Crafting Your Own Succulent Soil Mix
If you're like me and want a little more control over your mix, making your own is surprisingly simple and often cheaper. I've been using this simple recipe for years, and it works like a charm. It gives the roots enough structure without ever getting compacted or waterlogged.
All you need are three basic things:
- One part standard potting soil: This is your base for nutrients and organic matter.
- One part coarse sand: Make sure it's horticultural sand, not fine play sand, which can clump. This creates crucial air pockets.
- One part perlite or pumice: These lightweight volcanic rocks are champions of aeration.
Just toss all three into a bucket and mix them up thoroughly. That's it. You’ve got a fantastic growing medium ready to go. If you want to get really nerdy about the different components, we've got a detailed guide on the best cactus and succulent soil that breaks it all down.
Selecting the Perfect Pot
The pot you choose is just as important as what you put in it. The material directly affects how quickly the soil dries, which is a huge factor for succulent health.
To help you decide, here’s a quick look at common pot materials and how they stack up for new succulent cuttings.
Comparing Pot Materials for Succulent Cuttings
| Material | Drainage/Aeration | Water Retention | Best For |
|---|---|---|---|
| Terracotta (Unglazed Clay) | Excellent | Low | Beginners or those prone to overwatering. The porous clay helps soil dry out quickly and evenly. |
| Glazed Ceramic | Good (from hole only) | High | Experienced growers who have a precise watering routine. They look great but are unforgiving. |
| Plastic | Good (from hole only) | High | Budget-conscious projects or for those who live in very dry, hot climates where soil dries too fast. |
| Concrete/Stone | Good (from hole only) | Medium-High | Outdoor arrangements where the heavy weight adds stability. Can retain heat, which may stress roots. |
Terracotta is the old favorite for a good reason. The unglazed clay is porous, meaning it lets air and moisture move right through its walls. This helps the soil dry out evenly and gives you a much bigger margin for error if you accidentally overwater.
Glazed ceramic and plastic pots, on the other hand, don't breathe at all. They trap moisture inside, which can be a real problem for new cuttings trying to establish roots. If you fall in love with a glazed pot, just be extra careful not to water too often and make sure your soil mix is extremely well-draining.
No matter what material you pick, the single most important feature is a drainage hole at the bottom. This is non-negotiable. If a pot doesn't have one, don't use it for succulents. Standing water is a death sentence.
With urban gardening on the rise and a global push toward water-wise xeriscaping, propagating succulents has become a key sustainable practice. It’s especially vital in arid regions across the Middle East and Africa, where these drought-resistant plants are crucial for landscaping. You can actually see these trends reflected in the latest succulent market trends on econmarketresearch.com.
Preparing Your Cuttings for Their New Home
Getting from a single leaf to a fully-rooted plant is where the real magic happens, but it’s a process that rewards patience. How you prepare your cuttings right at the start can make all the difference between a thriving new plant and a tray of mushy disappointments. The exact method changes a bit depending on the type of succulent, but the goal is always the same: start with a clean, healthy piece.
If you're working with rosette-forming succulents like Echeverias, you can often just gently twist a healthy, plump leaf off the main stem. You're aiming for a clean pop right at the base—a torn leaf usually won't root. For vining types like a string of pearls, you’ll need to snip a section of the stem a few inches long. A good, sharp tool is your best friend here. An essential floral print garden tool set, for instance, gives you the sharp pruners for clean cuts and other tools you'll need later for planting.
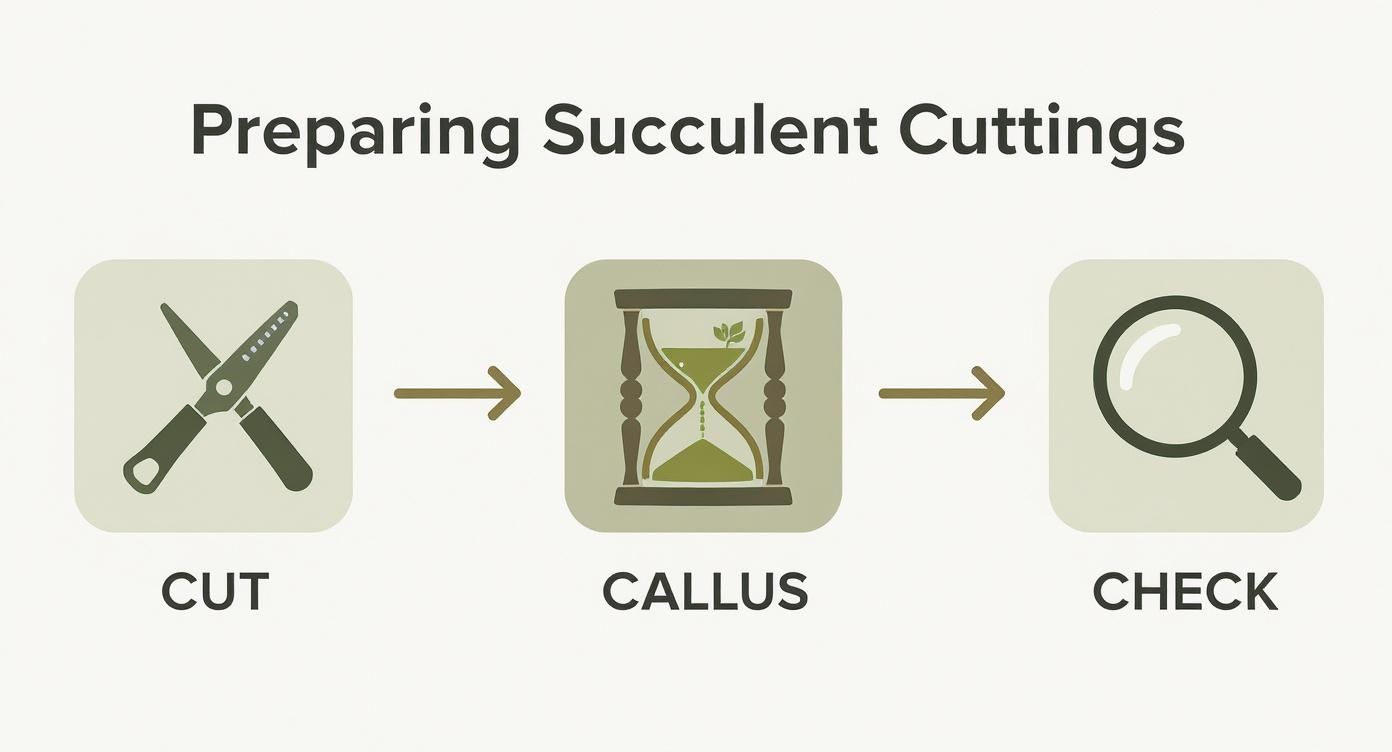
Why You Can’t Skip the Callusing Step
Once you've got your cutting, your first instinct is probably to stick it straight into the soil. Don't do it! The single most important step you need to take is to let the cutting callus over first. This simply means letting the open wound at the base of the leaf or stem dry out and form a sort of protective scab.
Think of it like a cut on your finger. A scab forms to keep germs out while it heals. For a succulent cutting, that calloused layer is the main line of defense against rot once it touches moist soil. Without that seal, you’re basically inviting bacteria and fungus right into the plant’s most vulnerable tissues.
There’s no strict timeline for callusing. It really depends on the size of the cutting and the humidity in your home. A tiny Echeveria leaf in a dry climate might be ready in just 2-3 days. A big, chunky stem cutting in a humid environment could easily need a week or more.
Just lay your cuttings out on a dry paper towel somewhere they'll get bright, indirect light—but keep them out of direct sun. You’ll know they’re ready when the cut end is completely dry to the touch and has formed a hardened, slightly shrunken-looking seal. We go into a lot more detail on the specifics in our complete guide to propagating succulents from cuttings.
The Great Rooting Hormone Debate
So, do you actually need rooting hormone? It’s a common question. This stuff is basically a powder containing plant hormones (auxins) that encourage root growth. It sounds like a secret weapon, but for most common succulents, it’s often not necessary.
Here’s my take on when it’s worth using:
- For the tough ones: Some succulents, especially those with woodier stems, can be really stubborn about rooting. A little dip in rooting hormone can give them the push they need.
- To speed things up: If you’re just impatient and want to see roots faster, it can definitely shave some time off the waiting period.
- When it's overkill: For easy propagators like most Echeveria, Sedum, and Graptopetalum leaves, it’s not worth the effort. They are genetically wired to root like crazy all on their own.
If you decide to use it, just dip the calloused end into the powder, tap off any excess, and you're good to go. A tiny amount is all you need.
This whole process isn't just a trick for hobbyists; it’s how commercial growers do it on a massive scale. Research has shown that cuttings root successfully about 80-95% of the time in good conditions. Compare that to the 30-50% germination rate for the few succulents that produce viable seeds, and you can see why nurseries rely on cuttings to fill their greenhouses.
A Practical Guide to Planting Your Cuttings
Now for the fun part. Your cuttings have callused over nicely, and it’s time to give them a new home. Remember, this is a gentle process, not a race. You're creating a stable, welcoming environment where each cutting can focus all its energy on developing new roots.
How deep you plant really depends on what you're working with. For single leaves, like those from an Echeveria or a Sedum, you barely have to plant them at all. Just lay the callused leaf flat on top of your dry succulent mix. The key is to make sure the callused end has good contact with the soil—that’s where the magic happens, and new roots and a baby plant will eventually sprout.
Getting to this point involves a few critical prior steps, from taking a clean cut to allowing for that all-important callusing time.
As you can see, patience during the preparation phase is what sets you up for success now.
Planting Stem Cuttings
Stem cuttings are a different story; they need a bit more support to stay upright. For something like a Graptopetalum stem or a "beheaded" rosette, you’ll want to plant it just deep enough so it doesn't topple over. A good rule of thumb is about one inch into the soil.
I find it easiest to use a chopstick or even just my finger to poke a small hole in the dry soil. Gently place the stem cutting inside, and then carefully push the soil back around it. You're aiming for support without burying a large portion of the stem, which can invite rot.
Once the cutting is in place, lightly firm up the soil around the base. You aren't trying to pack it down hard, just getting rid of any big air pockets and making sure the cutting feels secure. If you give it a gentle nudge, it shouldn't wobble. Stability is everything right now because any movement could snap off the tiny, fragile roots as they start to form.
Don't be afraid to plant multiple cuttings in one pot! While you don't want to overcrowd them, grouping several together saves space and gives you a full, lush-looking arrangement from day one. Just leave a little room for air to circulate between them.
A great trick is to place taller stem cuttings in the middle of the pot and arrange smaller leaf cuttings around the edge. It’s an efficient use of space and looks fantastic. And remember, the soil should be bone dry at this stage. We'll get to watering later, but for now, your only job is to provide a stable, dry foundation for those new roots.
Watering and Light: Nurturing Your New Succulent Cuttings
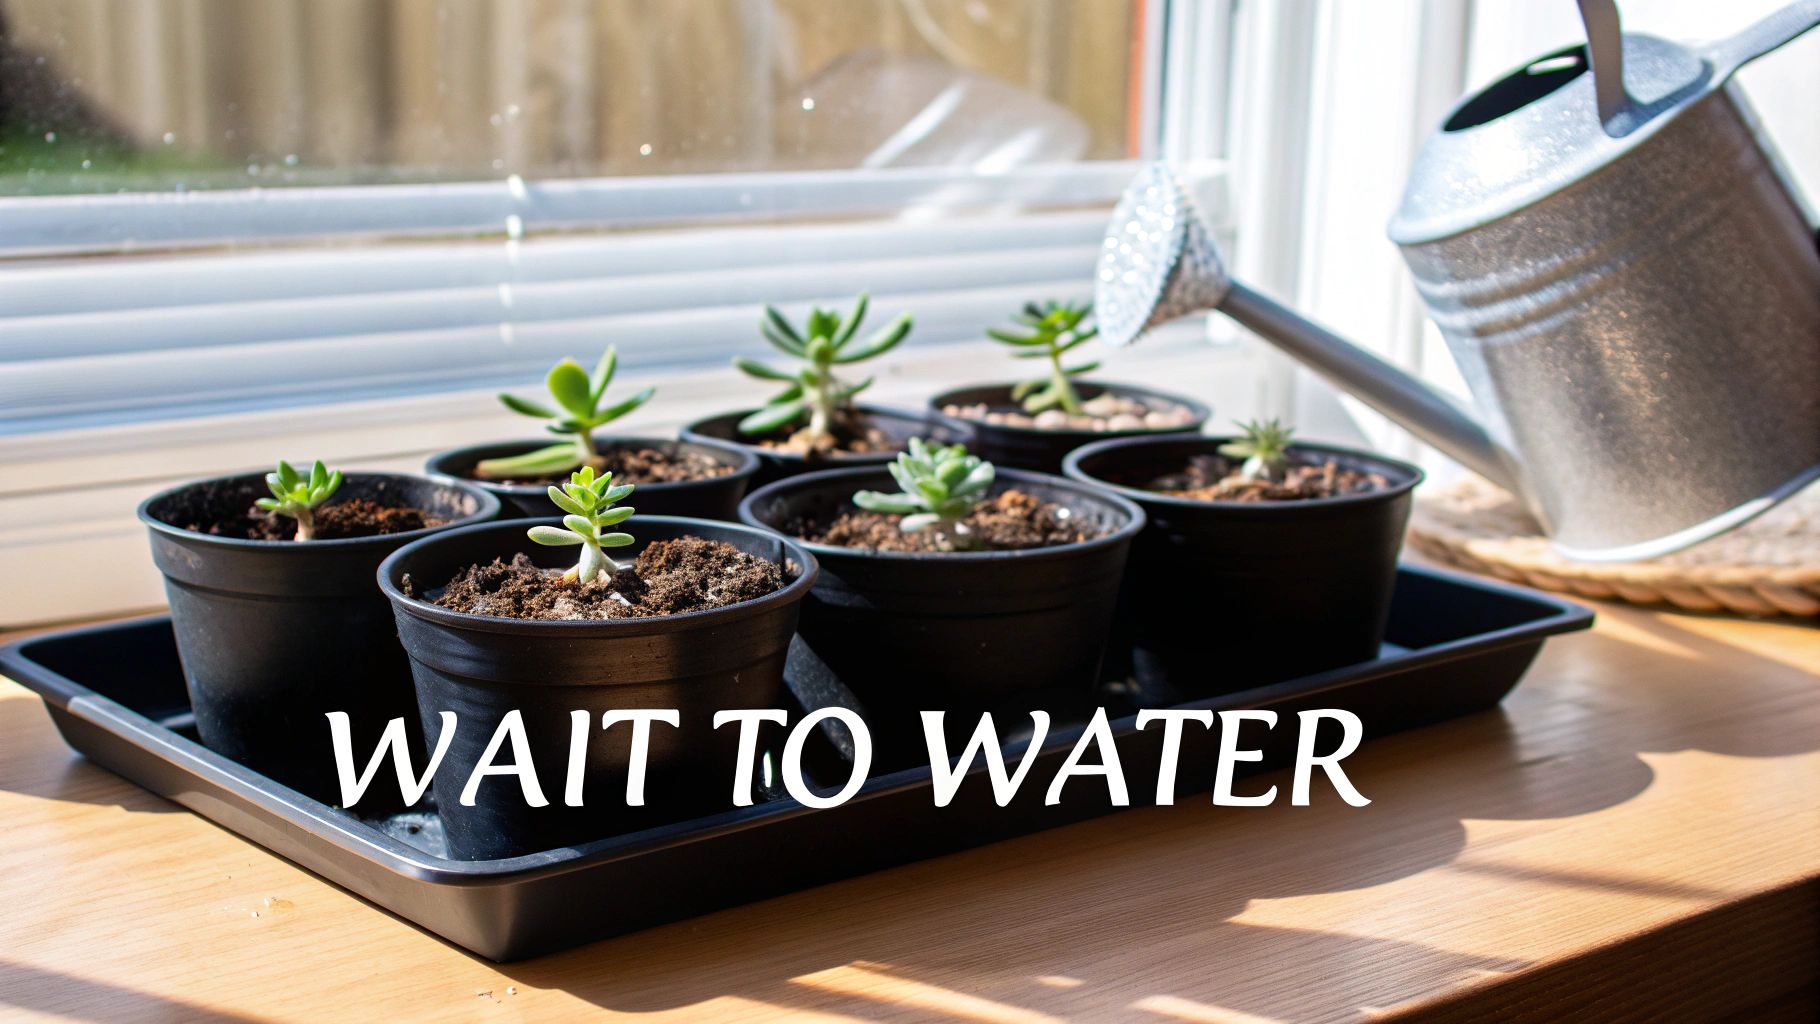
What you do in the first few weeks after potting is what separates a thriving new plant from a pot of mush. The biggest question I always get is about watering, and my answer usually surprises people: don't water them yet. It feels completely wrong, I know, but it's the golden rule of early care for cuttings.
Think about it—your freshly planted cuttings have no roots. Pouring water on them does absolutely nothing except create a damp, soggy environment that’s a perfect invitation for rot. The cutting simply has no way to drink up the moisture, so the water just sits there, turning the soil into a swampy mess where fungus and bacteria thrive. This will quickly destroy the base of your new plant before it even has a chance.
The key is to wait for the cutting to give you the signal that it's ready. A little patience right now will pay off big time.
The Right Time for the First Drink
Give your cuttings about two to three weeks to settle in, then you can start checking for roots. My go-to method is the "gentle tug test." Give the cutting a very light, delicate wiggle. If you feel a tiny bit of resistance, you've got roots! That's the sign they've anchored into the soil and are ready for their first sip of water.
A few other good signs to look for are:
- New Growth: Tiny new leaves or buds emerging from the center of a rosette are a fantastic sign.
- Plumping Up: Leaves that looked a little wrinkled might start to appear fuller as the new roots pull trace moisture from the air and soil.
Once you feel that resistance, go ahead and give them their first light watering. Don't soak the pot. Just give it enough to moisten the top inch or two of soil. For a complete rundown on this, our guide on how to water succulent plants breaks down the best techniques for every stage of a succulent's life.
Getting the Light Just Right
Light is the other side of the coin. Mature succulents are famous for loving the sun, but your new, rootless cuttings are much more sensitive. Blasting them with direct sun will scorch their leaves and put them under stress, forcing them to waste energy on survival instead of growing roots.
The sweet spot is a location that gets bright, indirect light for most of the day. An east-facing window with gentle morning sun is perfect, or even a spot a few feet back from a bright south or west-facing window. You want plenty of brightness without the harsh, direct heat.
Pro Tip: Keep an eye on the leaves. If you see sunburn spots (crispy, discolored patches) or the colors look faded, move the cuttings to a shadier spot immediately. On the flip side, if they start stretching out and looking "leggy," they're telling you they need more light.
This careful balance of patience and observation is what turns a simple leaf into a whole new plant. It’s this incredibly reliable process that has fueled a massive industry. The global succulent market, valued at over $5.2 billion, is built almost entirely on propagating cuttings because it’s so much faster and more dependable than growing from seed. This method ensures that the plants you find in nurseries are healthy and robust, just like your cuttings will be with the right care.
Solving Common Problems with Potted Cuttings
Even with the best care, you’re bound to run into a few hiccups when potting succulent cuttings. It can be a real bummer to see a promising cutting start to fail, but don’t get discouraged! Think of it as a learning opportunity. Most of the time, the fix is surprisingly simple once you know what to watch for.
Is your leaf cutting looking a bit shriveled and wrinkled? That can look scary, but it’s often a great sign. The "mother leaf" is supposed to do that. It’s pouring all its stored energy and water into growing new roots and a tiny new plant. Its job is to wither away.
Now, if a stem cutting or a newly rooted plant starts to shrivel, that’s a different story. That’s a cry for help, and it almost always means the plant is thirsty. This is actually good news—it tells you the cutting has grown roots and is ready for its first gentle watering. If you're unsure, give it a very light tug. Any resistance means roots have formed.
Diagnosing Rot and Discoloration
Rot is the absolute worst enemy of succulent cuttings. If you notice the base of your cutting turning black, brown, and feeling mushy, you’ve got stem rot. This is a classic sign of too much moisture, which can come from watering too soon, using a dense soil mix that stays wet, or just not having enough air circulation.
Unfortunately, once rot takes hold, you have to act fast. Here’s the emergency procedure:
- Pull the cutting out of the soil immediately.
- With a clean, sharp knife, carefully slice off all the rotted parts. Keep cutting until you only see healthy, green tissue.
- Let this new cut end dry out and callus over for 3-5 days before you even think about putting it back in fresh, completely dry soil.
Yellowing leaves are another common red flag. If you see the lower leaves on a stem cutting turn yellow and almost transparent, you’re likely overwatering. The plant has absorbed way more water than it can handle, causing its cells to burst. The fix? Cut back on watering and make absolutely sure the soil is bone-dry before you water again.
My best advice when troubleshooting cuttings is this: it's always easier to fix a thirsty plant than a rotten one. An underwatered succulent will perk right back up after a drink, but a rotted one is often a goner.
Why Are My Cuttings Not Rooting?
I get it, waiting for roots can feel like it takes forever. If it's been several weeks and you see absolutely no progress, a couple of things could be going on. The number one reason is usually not enough light. Your cuttings need plenty of bright, indirect sunlight to create the energy they need to sprout roots.
The health of the original cutting matters, too. A leaf or stem snipped from a plant that was already stressed or unhealthy just might not have the get-up-and-go to propagate. For the best shot at success, always start with cuttings that are plump, healthy, and full of life. It makes all the difference.
Common Questions Answered
Even with the best instructions, you're bound to run into a few head-scratchers when you start potting up your own succulent cuttings. It's all part of the process. Let’s go through some of the questions I hear most often to get you past those hurdles.
Can I Plant a Mix of Different Cuttings in the Same Pot?
You absolutely can! In fact, that's how you get those stunning, full-looking arrangements right from day one. I do it all the time.
The trick is to play matchmaker. You need to pot up succulents that have similar needs. Think about it: a sun-worshipping Echeveria isn't going to be happy long-term next to a Haworthia that prefers shadier spots. They just want different things.
Also, keep an eye on their growth styles. Try to group compact, slower-growing plants together. If you mix in a super-fast grower, it can quickly muscle out its neighbors, hogging all the light and space.
My Leaf Cutting Grew a Little Plant, But No Roots. What Do I Do?
Don't panic! This is surprisingly common, especially with Echeveria leaves. It looks weird, I know, but it’s usually not a lost cause. That little plantlet is living off the energy stored in the "mother" leaf, but it needs to form its own roots to survive on its own.
Most of the time, you just have to be patient. Roots are probably just running a little behind schedule. Gently check to make sure the base of that new baby plant is making good contact with the soil. If you want to nudge it along, you can give it a very light mist right at the base every few days. This can sometimes coax the roots out without waterlogging the whole pot.
My best advice here is to wait it out. As long as the mother leaf is still plump and the new plant looks healthy, there's a fantastic chance it will eventually send out roots and thrive.
Why Did My Cutting Just Shrivel Up?
A shriveled cutting is disappointing, but it's telling you a story. If your cutting shriveled up right after you potted it and never grew roots, it probably just dried out too fast. This is a real risk in very hot, dry climates or if the cutting wasn't in the best shape to begin with.
Now, if the cutting did grow roots and then started to shrivel, the culprit is almost always underwatering. Those new roots are incredibly fine and delicate, and they just weren't able to pull in enough water to keep the plant hydrated. Good news is, that's an easy fix—just give it a bit more to drink.
How Long Does It Take for a Cutting to Look Like a Real Plant?
This is the ultimate "it depends" question. Growing succulents from cuttings is a masterclass in patience, and the timeline really changes based on the plant, the size of your cutting, and the environment.
Here’s a rough idea from my experience:
- Leaf Cuttings: You should see the first signs of tiny roots and a new rosette in about 4-8 weeks. But to get something that looks like an actual, established plant? You're looking at 9-12 months, maybe even longer.
- Stem Cuttings: These are your shortcut. A "beheaded" top or a stem with a few leaves can look like a finished plant as soon as it roots, which usually happens in just 3-6 weeks.
The best part is watching the journey. Celebrate those tiny new leaves and roots as they appear!
Ready to grow your collection? At The Cactus Outlet, we have a massive selection of healthy, vibrant succulents and cacti just waiting for a new home. They're perfect for taking cuttings or for adding a finished look to your space instantly. Find your next favorite plant today! https://www.cactusoutlet.com