
You brought home a succulent because it looked easy. Maybe it was a tight little rosette in a ceramic pot, maybe a spiky aloe from a garden center, maybe a gift that came with no care tag worth trusting. A week later, you're staring at it and wondering what usually happens next. Does it need water right away? Should you repot it? Is that decorative gravel helping or hurting?
Most succulent losses start long before the plant collapses. They start with small, common choices that look right but keep roots wet, block airflow, or push a desert plant into a potting setup built for thirsty foliage plants. If you want to learn how to plant succulents so they last, focus less on styling tricks and more on how these plants live.
At The Cactus Outlet, the growers who handle succulents every day see the same pattern over and over. Healthy succulent planting isn't about luck or a green thumb. It's about drainage, soil structure, spacing, light, and patience. Get those right, and the whole process becomes much simpler.
A Beginner's Guide to Thriving Succulents
A new succulent often dies while it still looks fine on top. The leaves stay neat for a while, but the roots sit in damp soil, crowded against the pot wall, or buried under decorative layers that slow drying. By the time the plant shows stress, the actual problem started lower down.

Succulents are not delicate, but they are particular about root conditions. They store water in their leaves, stems, or roots, which means they handle dry spells far better than stale, wet soil. That is why long-term success comes from the planting setup, not from frequent attention.
Beginners usually run into trouble because common advice sounds tidy and harmless. A layer of pebbles in the bottom of the pot does not improve drainage in practice. Tight packing may look full on day one, but it reduces airflow and leaves less room for healthy root growth. A container with no drainage hole may suit the decor, yet it turns watering into guesswork.
At The Cactus Outlet, we see the same pattern again and again. Plants fail less from neglect than from well-meant care that keeps the root zone damp for too long.
What beginners usually get wrong
The trouble spots are predictable:
- Dense soil holds moisture longer than succulent roots can handle.
- No drainage hole traps excess water where roots need oxygen.
- Oversized pots stay wet too long after watering.
- Decorative topdressing piled too heavily slows surface drying.
- Crowding plants together cuts airflow and makes rot harder to catch early.
A healthy succulent setup should dry at a reasonable pace from top to bottom. If the mix stays wet for days and days, the planting method is working against the plant.
What makes them thrive
Strong succulents are usually grown with a few simple priorities in place:
- Fast-draining soil with enough mineral material to keep roots aerated.
- A pot sized to the root system, not one chosen only for appearance. A good pot for succulents with proper drainage gives you much better control.
- Bright light that keeps growth compact instead of stretched and weak.
- Breathing room around each plant, especially in grouped arrangements.
- Restraint with watering and fertilizer, because extra input does not equal better growth.
That approach keeps the focus where it belongs. Healthy roots first, attractive plants second. When the planting method supports the way succulents grow, they stay alive longer and look better for it.
Choosing Your Plant and the Perfect Pot
You bring home a succulent that looks great on the shelf, set it in a stylish pot, add a layer of pebbles because it seems like the safe move, and a month later the base turns soft. That failure usually starts here, with the plant you choose and the container you plant it in.

What a healthy succulent looks like
Start with a plant that already has a good chance to root and recover. Leaves should be firm, attached, and shaped the way that variety is supposed to grow. The center should feel solid. Watch for warning signs like translucent leaves, black spots at the base, stretched growth from low light, or a crown that feels soft when touched.
If you can slide the plant out and inspect the roots, do it. Healthy roots look structured and alive, not dark, slimy, or sour-smelling. At The Cactus Outlet, we would rather pot a plant that's slightly thirsty than one that has been kept wet for too long. Dry plants usually rebound. Rotting roots rarely do.
Here's a quick sorting table for beginners:
| Sign | Usually a good bet | Usually a pass |
|---|---|---|
| Leaves | Firm, full, species-appropriate color | Soft, translucent, yellowing |
| Stem base | Dry and stable | Dark, mushy, collapsing |
| Surface condition | Clean, no webbing or cottony residue | Pest signs or unexplained spotting |
| Root ball | Lightly held together, fresh-smelling | Waterlogged, decayed, blackened |
Pick a pot for the roots, not the photo
Pot choice affects survival more than beginners expect. A drainage hole is the first filter. Without one, excess water has nowhere to go, and the bottom of the root ball stays wet longer than it should.
Pot size matters too. A container should fit the root system with a little room to grow, not inches of empty soil around it. Big pots look generous, but they stay wet longer and slow root recovery after planting. Tight packing causes a different problem. Roots lose airflow, leaves overlap, and early rot is harder to spot.
Material changes how forgiving the setup will be. Terracotta dries faster and gives beginners a wider margin for error. Glazed ceramic and plastic hold moisture longer, which can work well in hot, dry conditions or for experienced growers who water carefully. For a closer look at sizing and materials, use this guide to choosing the right pots for succulents.
Skip the pebble layer
A gravel layer at the bottom does not improve drainage in a succulent pot. It creates a wet zone where moisture lingers above the rock layer, right where roots can run into trouble. That old tip survives because it sounds tidy and sensible. In practice, it shortens the life of the plant.
Use one consistent potting mix from top to bottom. If the container has a drainage hole and the pot is sized correctly, you do not need decorative tricks hidden under the soil.
The same goes for tightly packed arrangements. They may look full on day one, but crowded succulents compete for light, trap moisture between leaves, and become harder to maintain over time. A healthy planting often looks a little sparse at first. Give it time. Succulents fill space better when they are not fighting the setup from the start.
The Secret to Healthy Roots Is in the Soil
If the pot is the skeleton of the planting, the soil is the organ system. Get it wrong and the roots sit in a damp, stale pocket. Get it right and everything becomes easier, including watering.
Standard potting soil is usually too dense for succulents on its own. It stays wet too long, especially indoors where air movement is weaker and evaporation is slower. Succulent roots need a mix that holds some moisture briefly but also lets air move through the root zone.
The texture you want
The most useful soil check isn't on the label. It's in your hand. Piedmont Master Gardeners recommend a crumbly structure test. Moisten a bit of the mix and squeeze it. If it forms a lump, it holds too much water. A proper succulent mix should crumble loosely instead (crumbly soil test and recipe).
That one test saves a lot of disappointment. If the mix clumps like brownie batter or a dense seed-starting medium, don't put a succulent in it.
A simple recipe that works
A reliable homemade mix is:
- One part potting soil
- One part coarse sand
- One part perlite or pumice
That same Piedmont guidance gives this recipe directly. It creates a gritty blend with enough structure to anchor the roots without trapping too much moisture.
If you're comparing bagged options or want a closer look at ingredients, this article on soil for succulent plants lays out what to look for.
How I judge a mix before planting
Before I pot anything, I look for a few signs:
- It falls apart easily instead of compacting into a heavy mass.
- Mineral content is obvious. You should see grit such as pumice, perlite, or coarse particles.
- Water moves through it quickly without leaving the surface muddy.
- It doesn't stay sticky around your fingers after moistening it.
Dense soil doesn't just slow drying. It also limits oxygen around the roots, and succulents hate that combination.
Many beginner problems get blamed on watering frequency. Often the underlying issue is that the soil never gave the roots a chance.
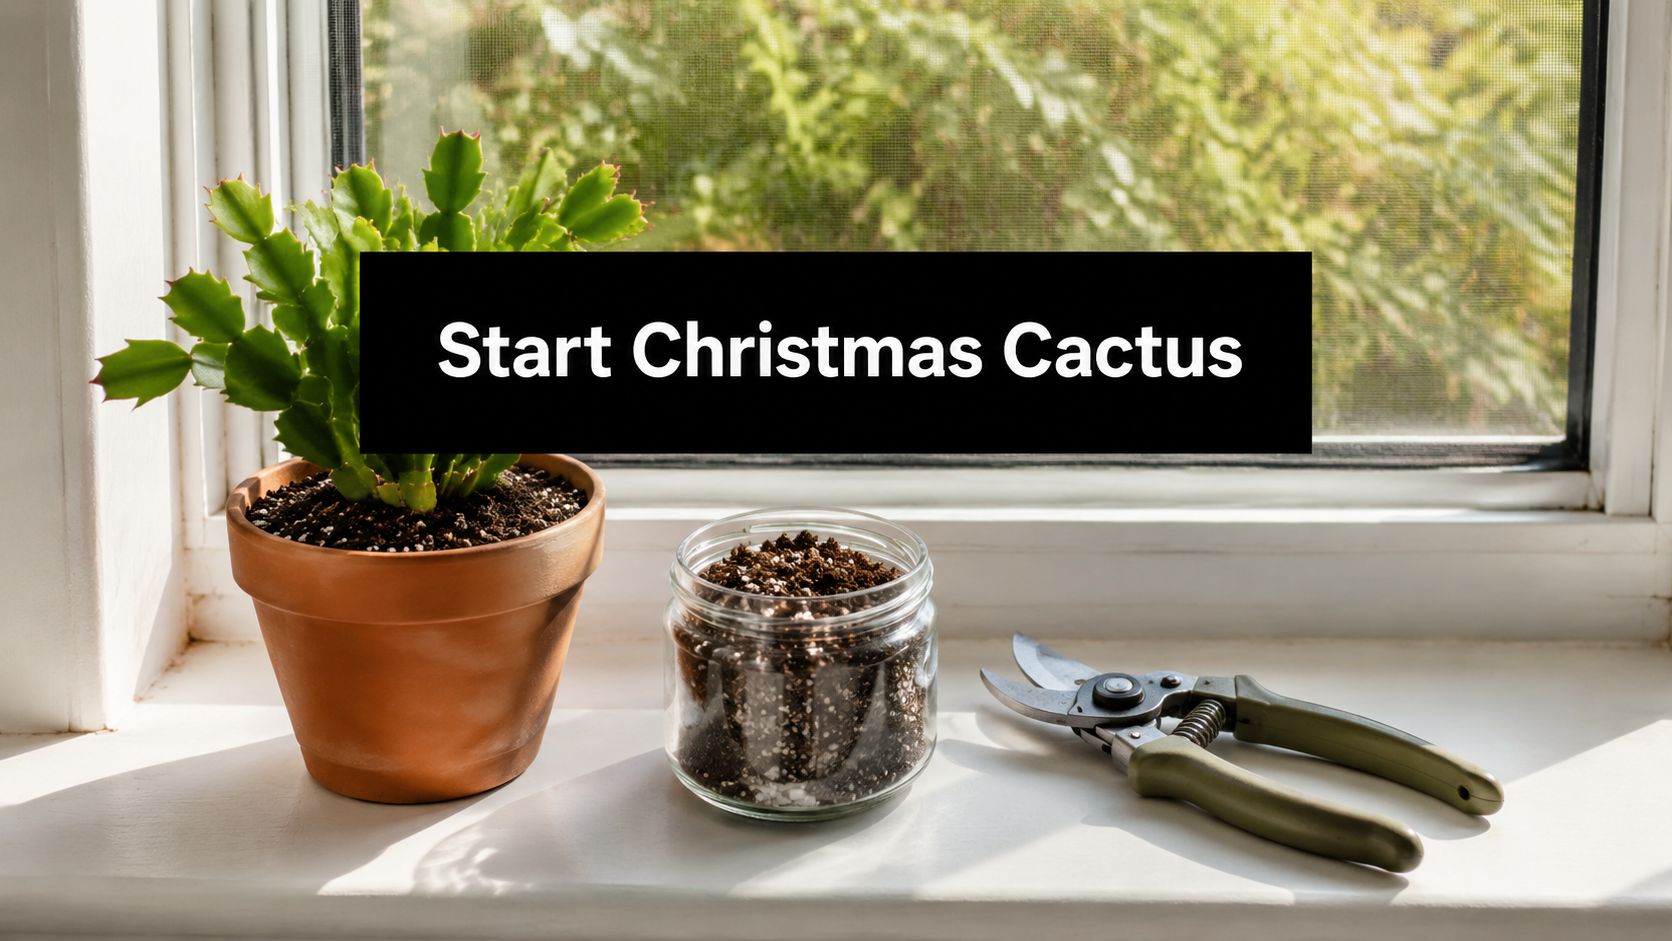
How to Pot and Transplant Without the Stress
Repotting a succulent doesn't need to be dramatic. A calm setup, a dry enough root ball, and a patient hand do most of the work. The goal is simple. Keep the roots intact, set the plant at the right height, and don't create a damp, crowded environment around it.

A steady potting routine
Use this sequence when planting a single succulent or moving one out of a nursery container:
- Set up everything first. Put out the pot, dry soil mix, gloves if the plant is spiny, and a clean work surface.
- Remove the plant gently. Tip the nursery pot sideways and ease the root ball out. Don't yank by the stem.
- Check the roots. Tease away loose old soil if it's heavy or waterlogged. Trim mushy or obviously dead roots if needed.
- Add a base layer of soil. You want the crown to sit at the same height it was growing before, not buried deeper.
- Backfill around the roots. Firm the soil lightly so the plant is stable, but don't pack it hard.
- Leave space below the rim. That gives you room to water cleanly later.
A visual walkthrough can help if you're more hands-on:
Don't chase the packed look
A lot of succulent arrangements look great on day one because the plants are pushed tightly together. That styling choice often shortens the life of the planting.
Hearth and Vine notes that tightly packing succulents is misleading for plant health because crowding creates micro-humidity and reduces airflow, increasing rot risk in 60 to 70% of container failures, and that 1/2 inch to 1 inch spacing is important for air circulation (why spacing matters in succulent containers).
That spacing doesn't mean a container has to look sparse. It means each plant gets breathing room around its leaves and crown. In wetter climates or indoors with limited air movement, this matters even more.
A few transplanting details that help
I keep these points in mind every time:
- Match pot size to root size. Too much extra soil stays wet longer than the roots can use it.
- Keep leaves off damp soil. Lower leaves pressed into the mix tend to rot first.
- Don't bury the stem base. Succulents planted too deep often fail at the crown.
- Plant groups with airflow in mind. Arrange for gaps, not a solid wall of foliage.
Crowding might finish the design faster, but spacing keeps the planting alive longer.
If you're learning how to plant succulents for display bowls or mixed containers, this is the trade-off worth respecting. A little empty space now is cheaper than replacing rotted plants later.
Nurturing Your Newly Planted Succulent
You pot a new succulent, set it on the sill, and by the end of the week it looks worse instead of better. In my experience, that decline usually starts with good intentions. Too much water, too much sun too fast, or fertilizer before the roots have settled.

Freshly planted succulents do better with restraint than attention. The goal for the first few weeks is stable conditions so the roots can recover and start growing into the mix.
Watering after planting
The biggest mistake is watering on a schedule instead of checking the pot. Succulents want a full drink, then time for the mix to dry. They do not want frequent sips that keep the root zone slightly damp.
If I repot a healthy plant into dry mix, I usually give it a short settling period before the first deep watering, especially if any roots were broken during transplant. That pause lowers the chance of rot at damaged root tips. After that, water thoroughly until excess runs out the drain hole, then wait until the mix is dry again.
Use the plant and pot as your cues:
| Situation | What to do |
|---|---|
| Soil still cool or slightly damp below the surface | Wait |
| Pot feels light and the mix is dry through the root zone | Water deeply |
| Water sits in a saucer or cachepot | Empty it |
| Newly repotted plant still looks firm and healthy | Leave it alone |
Shallow tests can fool you. The top half inch may look dry while the lower root zone is still wet.
Light without shock
Newly planted succulents need good light, but they also need time to adjust. A plant that came from a greenhouse bench, a dim store shelf, or a shaded patio can scorch if it goes straight into hot afternoon sun.
Start with bright light and increase sun exposure gradually over several days. Indoors, that often means the brightest window available, with a little protection from the harshest direct sun until the plant acclimates. Outdoors, morning sun is a safer starting point than full midday exposure.
Watch the leaves. Bleaching, tan patches, or a suddenly dull surface often point to sun stress. Stretching, loose growth, and widening gaps between leaves point to insufficient light.
Fertilizer can wait
A newly planted succulent does not need immediate feeding. Fresh roots are trying to establish themselves, and excess fertilizer can push soft growth before the plant is ready to support it.
Feed only during active growth, and use a diluted, low-nitrogen product if the plant needs it. Many healthy succulents in a good mineral-rich mix need very little fertilizer. At The Cactus Outlet, we see more problems from overfeeding than underfeeding, especially indoors where growth is slower and light is less intense than growers expect.
Seasonal slowdown changes everything
Care that works in late spring can fail in winter. As light levels drop and temperatures cool, many succulents use water more slowly. The soil stays wet longer, and the margin for error gets smaller.
That is why winter losses often come from routines that were harmless in summer. If your plant is not putting out active growth, stretch the time between waterings and keep it away from heater vents, cold drafts, and big temperature swings.
Young plants are especially vulnerable to stale, wet conditions around the stem base. The same moisture lesson shows up in other tender starts too. If you raise more than succulents, this guide on how to protect your cannabis seedlings explains the same basic risk from another angle.
One more habit helps here. Rotate the pot every week or two so growth stays balanced instead of leaning hard toward one light source.
If you want to multiply a healthy plant once it has settled in, our guide on how to propagate succulents from leaves and cuttings walks through the next step.
Good aftercare is simple. Give the plant strong light, a true dry-down between waterings, and enough time to adjust. That approach keeps succulents alive long after the fresh-potted look has worn off.
Common Problems and Basic Propagation
A succulent can look fine one week and collapse the next. In my experience, the cause is usually simple. Wet roots, weak light, crowded growth, or a cutting planted before it was ready.
The good news is that succulents give clear signals once you know how to read them.
Soft, yellow, or translucent leaves usually mean the root zone is staying wet too long. Wrinkled leaves can mean thirst, but they can also show up on a plant with damaged roots that can no longer take up water. Stretched growth, faded color, and wide gaps between leaves point to weak light. Blackened tissue near the base often means rot has already started.
Start with the setup, not the symptom. A damaged plant will not recover because you plucked a few ugly leaves or added decorative top dressing. Long-term survival comes from correcting the condition that caused the decline.
A practical way to troubleshoot
Check the plant in this order:
- Roots and soil. If the mix stays damp for days and the pot feels heavy, the problem often starts below the surface.
- Light. Compact rosettes and tight spacing do not hold indoors without enough direct or very bright light.
- Plant spacing. Tight arrangements may look full at first, but crowded leaves trap moisture and reduce airflow.
- Stem health. A firm stem gives you time to correct care. A mushy stem means act fast and cut back to healthy tissue if needed.
Seedlings and fresh cuttings fail for the same reason many succulents do. Constant moisture around tender tissue. If you raise other young plants too, this guide on how to protect your cannabis seedlings is worth a read because the core lesson carries over.
Propagating from healthy cuttings
Propagation works best with healthy, well-rooted stock plants, not stressed ones. If a plant is etiolated, overwatered, or rotting, fix that first or take only clean material from unaffected growth.
For stem cuttings, use a clean blade and remove the piece in one decisive cut. Let the cut end dry until it has sealed over. Then set it in a dry, gritty mix and keep it in bright light out of harsh afternoon sun. Do not bury it deep or keep the soil wet. New growers often lose cuttings by treating them like thirsty houseplants before roots have formed.
Leaf propagation is slower and less predictable. A full, clean leaf taken from the stem base has a better chance than a torn one. Set the leaf on top of the mix rather than tucking it in. Once a new plantlet and roots appear, start watering lightly and only after the mix has dried.
If you want step-by-step methods for offsets, leaf starts, and stem cuttings, read our guide on how to propagate succulents from leaves and cuttings.
If you're ready to build a healthier setup from the start, The Cactus Outlet offers succulent plants, cactus varieties, and care information that can help you choose suitable plants and pot them with a more durable approach.