
Want to know the secret to getting more succulents for free? It’s propagation. This is simply the process of taking a piece of a plant you already have—a leaf, a bit of stem, or even a tiny baby plantlet—and convincing it to grow roots and become a whole new plant.
Why Bother Propagating?
Honestly, turning one plant into a whole army of them is one of the most rewarding things you can do as a plant parent. It's an incredibly easy way to grow your collection, share your favorites with friends, or even rescue a plant that's seen better days. There's just something magical about watching a single leaf sprout tiny pink roots and slowly transform into a perfect new rosette.
It's a huge part of the fun of keeping succulents. The global market for these plants is booming, valued at around $5.97 billion, mostly because they're so beautiful and easy to care for. The succulent market continues to grow, and knowing how to propagate lets you dive headfirst into this hobby without breaking the bank.
The Real Perks of Propagation
Expanding your collection is the obvious benefit, but there are plenty of other great reasons to start snipping.
- It's free! This is hands-down the cheapest way to get more plants. You’re literally making them from scratch using what you already own.
- You can be a plant rescuer. When a succulent gets leggy and stretched out or starts to rot, you can often save the day by propagating the healthy parts.
- Give the perfect gift. A tiny succulent you grew yourself is a far more personal and thoughtful gift than anything you could buy.
- Become a better plant parent. You'll learn so much by experimenting with different plants. It’s a hands-on lesson in how they grow and what they need to thrive.
If there’s one piece of advice I can give, it’s this: be patient. Succulents do things on their own schedule. Your only job is to provide the right conditions and then leave them alone to do their thing. Trying to rush the process is the fastest way to end up with rot.
Before we get into the "how-to," it's good to know you have options. While this guide focuses on making new plants from your own collection, some people like to jumpstart their collection by buying cuttings. If you're curious about that route, you can explore our guide on buying cactus cuttings online to see if it’s for you.
For now, let’s dig into the most reliable ways to propagate the plants you already have.
Getting Started With Leaf and Stem Cuttings
When you think of making new succulents, leaf and stem propagation are probably the first things that come to mind. And for good reason! These classic methods are straightforward and incredibly rewarding, offering a front-row seat to the resilience of these amazing plants. You’re essentially taking a small piece of the parent and giving it a chance to become a whole new plant.
The Magic of Propagating From a Single Leaf
There's something truly special about watching a brand new, miniature rosette sprout from the base of a single leaf. It feels like magic, but the secret is all in the technique.
Success hinges on getting a clean break. Don't just pull the leaf straight off. Instead, gently grasp it near the stem and give it a little side-to-side wiggle. The goal is for it to pop off cleanly, taking a tiny bit of stem tissue with it. If the leaf rips or breaks, it won't have the cells it needs to sprout roots and a new pup.
Once you have your leaves, patience is key. The next step is to let them callus over. Just lay them out on a paper towel somewhere dry and out of direct sun for a few days. This lets the open wound dry out and form a seal, which is your best defense against rot later on.
Your first instinct will be to water them immediately—don't do it! Moisture is the enemy at this early stage. A properly callused leaf has a much, much higher chance of successfully propagating. Just let them be.
Perfecting Stem Cuttings for Faster Results
For many succulents, especially trailing types like String of Pearls or branching Sedums, stem propagation is often faster and more reliable. It's also my go-to method for fixing a plant that's gotten "leggy" and stretched out from not getting enough light.
Start by picking a healthy-looking stem. With a sharp, clean pair of scissors or shears, snip a piece that's at least 2 to 4 inches long. After you’ve made the cut, carefully strip the leaves off the bottom inch or two of the stem. This clears the area that will go into the soil and sprout new roots.
Just like with the leaves, the cut end needs to callus. Set the cutting in a dry, shady spot for several days until the wound is completely dry. Then, you can simply stick the bare stem into a pot with well-draining succulent mix. While you can use rooting hormone, I find that most common succulents root perfectly fine without any help.
Want to learn more? We cover this method in much greater detail in our guide to propagating succulents from cuttings.
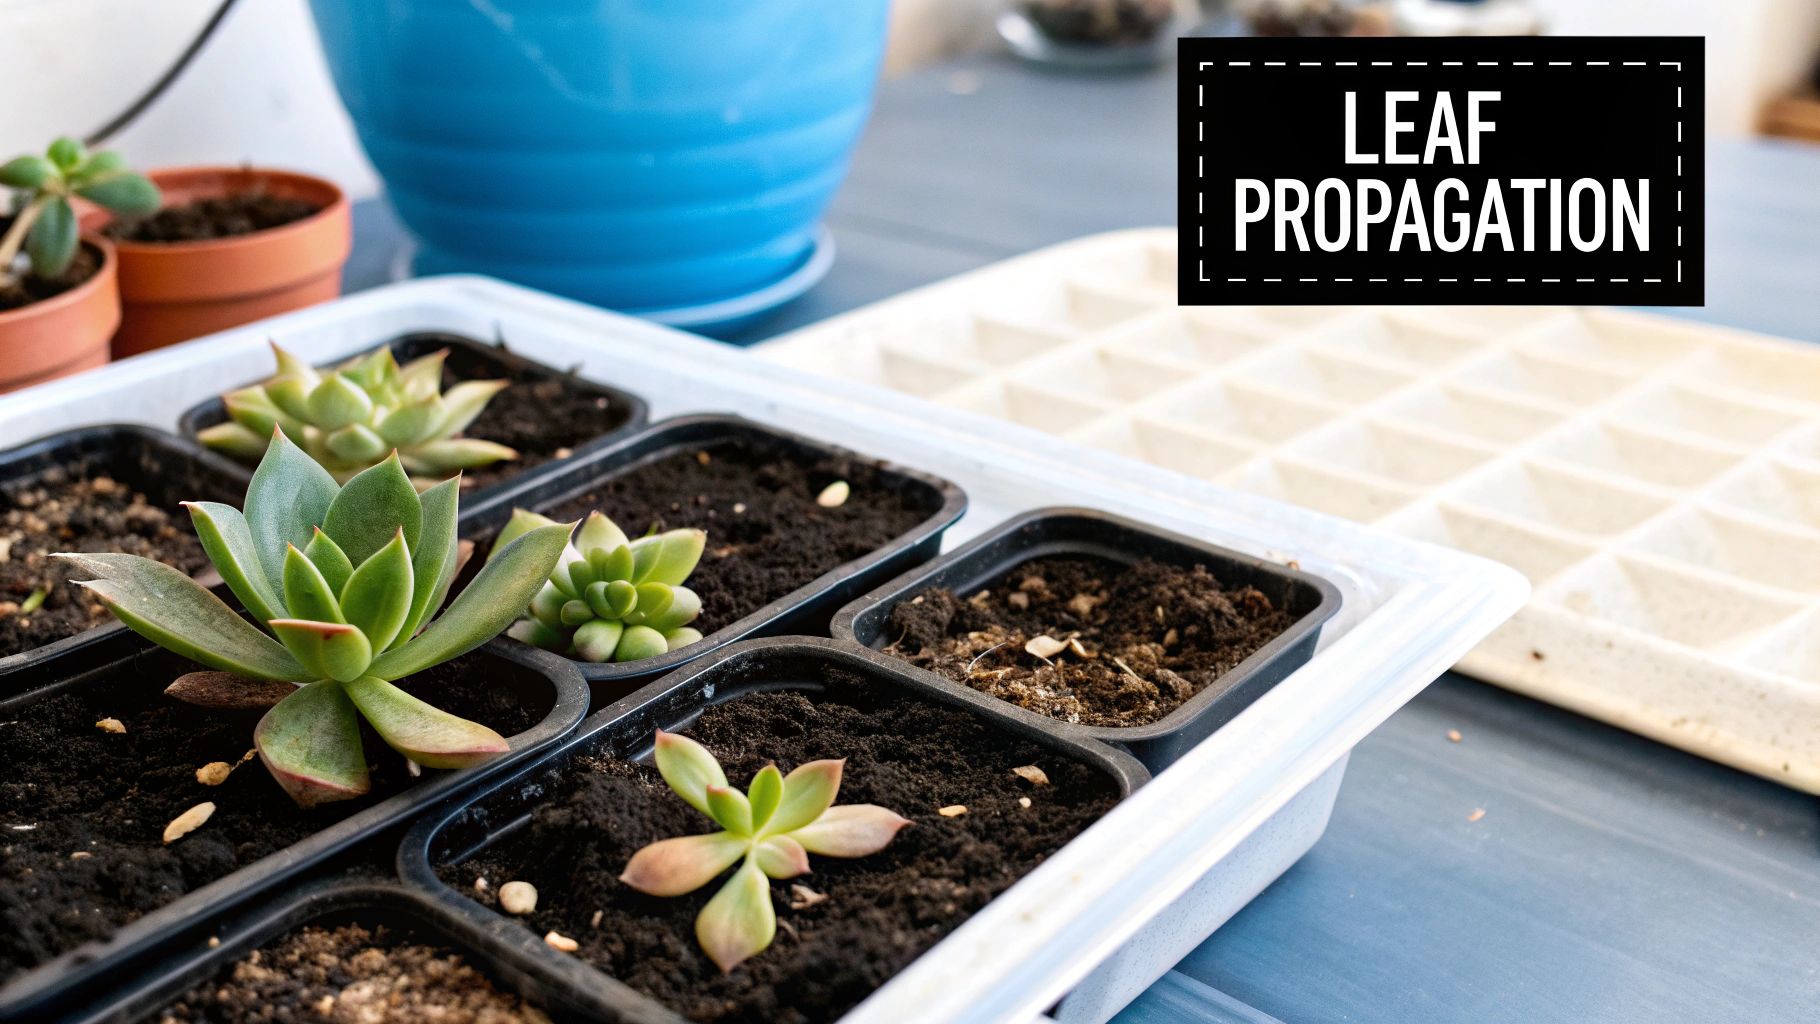
This image shows the very first step for leaf propagation: making sure you start with the best possible material.
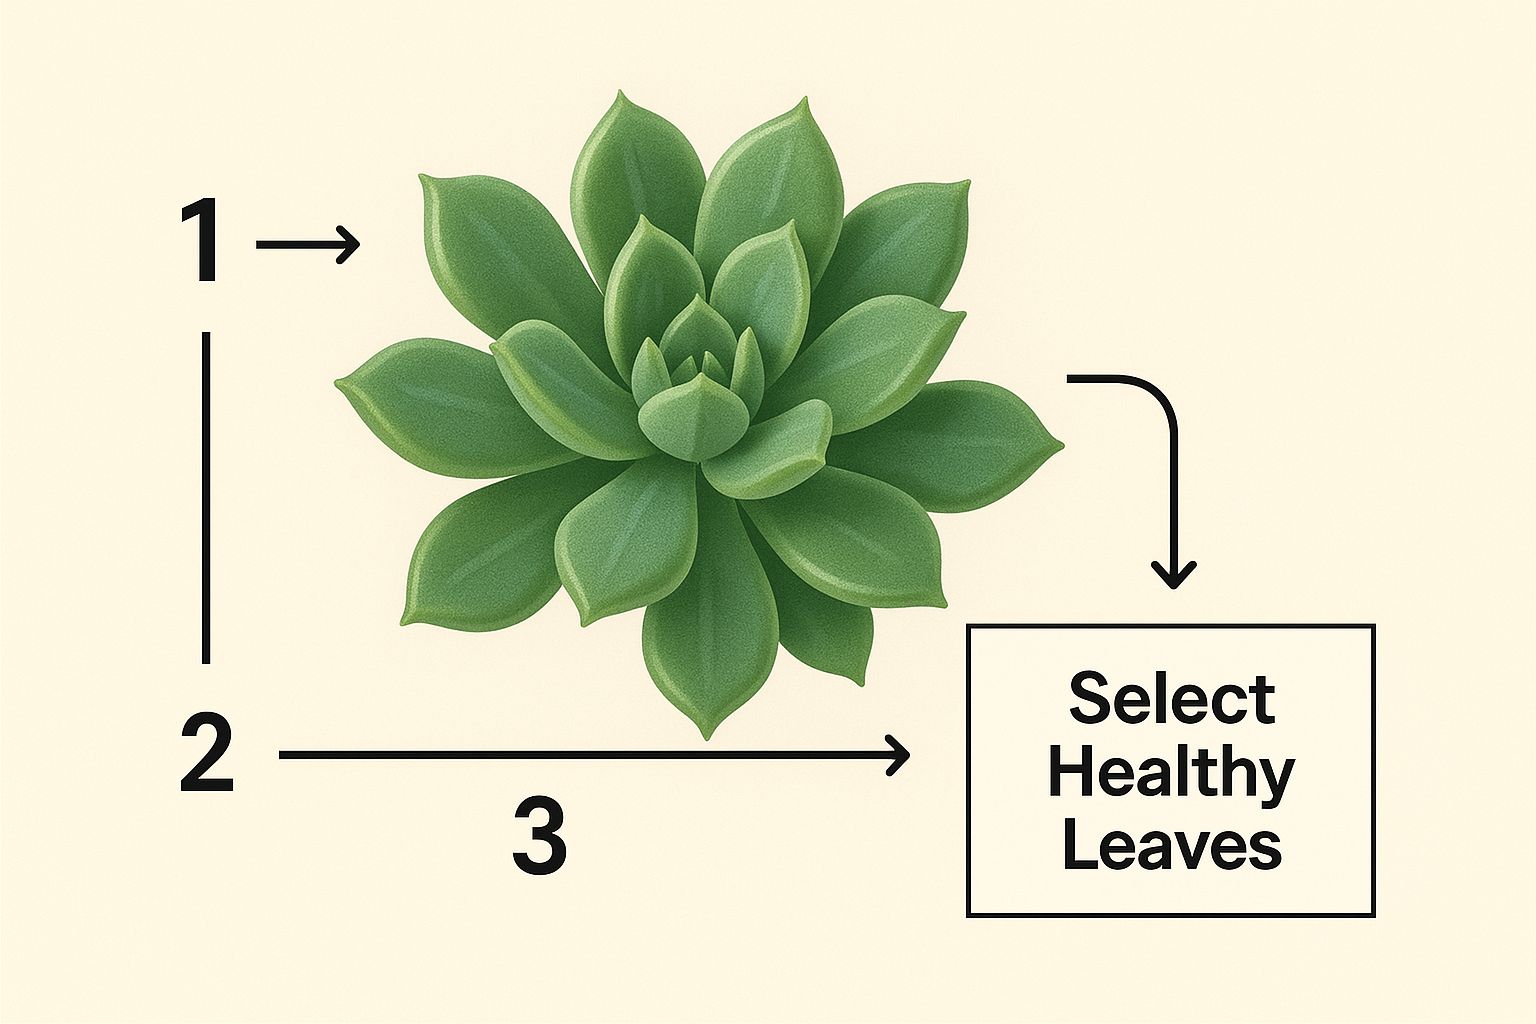
Choosing plump, healthy leaves from a hydrated plant sets you up for success right from the start.
Which Method Is Best for Your Plant?
Not all succulents propagate the same way. Some, like Echeverias, are champions at leaf propagation, while others, like Aeoniums, will only work from stem cuttings. Knowing which method to choose can save you a lot of time and frustration.
Propagation Method Success Rates for Popular Succulents
This table breaks down the general success rates for some of the most common succulents you're likely to have.
| Succulent Type | Leaf Propagation Success | Stem Propagation Success | Best For |
|---|---|---|---|
| Echeveria | High | High | Both methods work well. Leaves are great for making many plants. |
| Sedum | High | Very High | Stems are usually faster, especially for "beheading" leggy plants. |
| Graptopetalum | Very High | High | Famous for being one of the easiest to propagate from leaves. |
| Sempervivum | Very Low | Low | Does not propagate from leaves or stems. Best propagated by division. |
| Aeonium | Does Not Work | High | Only propagates reliably from stem cuttings ("beheading"). |
| Haworthia | Low-Medium | Medium | Can be done, but slow. Offsets are the preferred method. |
As you can see, choosing the right technique for your specific plant is half the battle. With a little practice, you'll see new roots and pups emerging in just 2 to 6 weeks.
Taking Cuttings from Offsets and Pups
If you're after the easiest, most surefire way to get more succulents, you've found it. Propagating from offsets, affectionately known as "pups," is about as simple as it gets. Many common succulents, like the classic 'Hens and Chicks' (Sempervivum) and lots of Echeveria varieties, naturally send out little mini-me plants around their base. They're basically doing all the hard work for you.
Your main job is just playing the waiting game. The perfect time to separate a pup is when it's grown to about one-third the size of the main plant. By then, it’s usually developed its own tiny root system, which gives it a massive head start on survival once it’s on its own.
How to Safely Remove Pups
Once you've spotted a pup that's ready to leave the nest, the process is pretty straightforward. Start by gently brushing away some of the topsoil so you can see where the pup connects to the mother plant.
- If it's loosely connected: Sometimes, all it takes is a gentle wiggle back and forth. A mature pup will often pop right off, roots and all.
- If it's firmly attached: You'll need a clean, sharp knife or a pair of small pruning shears. Make a clean slice as close to the mother plant as you can, trying your best to get a few of the pup's own roots in the deal.
Once separated, don't rush to pot it up. Let the pup sit out in a dry, shady spot for a day or two. This is a critical step that allows the cut area to form a callus, which dramatically reduces the chance of rot later on.
This short waiting period is your best insurance policy against a new pup turning to mush. You're giving that open wound a chance to seal up before it ever comes into contact with the moisture in potting soil. It's a non-negotiable step for me.
Dividing Clumping Succulents
Then you have succulents that grow in dense clumps, like many Haworthias and Aloes. For these, division is the way to go. This method involves breaking up the entire root ball into smaller, viable plants. It sounds a bit aggressive, but trust me, these plants are tough and can handle it.
First, you'll need to carefully slide the entire plant out of its pot. Gently shake and massage the root ball to knock off the excess soil. This lets you see what you're working with—the individual rosettes and the tangled web of roots connecting them.
From there, you can usually start teasing the sections apart with your fingers. You'll feel where they naturally want to separate. If you hit a really tangled, stubborn spot, don't be shy about using a clean knife to cut through the root mass. Just make sure every new piece has a healthy clump of roots attached to its top growth.
With your new divisions ready, you can pot them up into their own containers. And just like with the pups, hold off on watering for a few days. This gives any roots that were bruised or broken during the process time to heal, setting them up for a long, happy life in their new pots.
Advanced Propagation from Seeds
If you're a patient gardener looking for a new challenge, growing succulents from seed is one of the most rewarding things you can do. It's not as common as taking cuttings for a reason—it really does demand a delicate touch and a long-term commitment. But, it's the absolute best way to grow rare or unusual varieties you just can't find anywhere else.
The first step is always to source high-quality seeds from a reputable seller. This is non-negotiable if you want good viability. Once you have your seeds, it's time to create the perfect little nursery for them.
Creating the Ideal Germination Setup
The soil mix you use for seeds is totally different from what your mature succulents need. You're aiming for a very fine-textured, almost sandy mix. It needs to drain exceptionally well while holding just enough moisture near the surface. I've had great success with a blend of sifted cactus soil and fine pumice or sand.
Sowing the seeds themselves takes a steady hand. Most succulent seeds are unbelievably tiny, some look just like dust. Whatever you do, don't bury them! Just sprinkle them as evenly as you can across the top of your prepared, pre-moistened soil.
The real secret to getting seeds to pop is creating a miniature greenhouse. If you cover your seed tray with a clear plastic dome or even just some plastic wrap, you'll trap the humidity. That moisture is absolutely essential for coaxing those tiny seeds to life.
After you've sown and covered them, find a spot that gets plenty of bright, indirect light. Direct sun is a killer; it will literally cook the delicate seeds and dry out your soil way too fast. The goal is to keep things consistently moist, but never soggy, until you see the first hints of green.
Nurturing Your Tiny Seedlings
Now, get ready to wait. Germination isn't an overnight thing. It can take anywhere from a few weeks to several months, depending entirely on the succulent species and the conditions you provide. Your main job during this waiting game is to keep a close eye on moisture, lightly misting the soil surface whenever it starts to look dry.
While taking cuttings and separating offsets has been a common practice for over a century, the modern plant market relies on these faster methods for their speed and reliability. It's how businesses and hobbyists can quickly multiply their stock, skipping the slow and precise process of seed starting. If you want to dive deeper, you can discover more about succulent market trends and propagation's role and see why growing from seed remains a specialized skill.
Once your seedlings finally sprout, they are incredibly fragile. Keep the humidity dome on for a while, but you might want to crack it open just a bit. This improves air circulation and helps prevent fungal problems like damping-off, which can wipe out an entire tray.
It's going to be a long time—often a year or more—before these tiny plantlets are big enough to handle being transplanted into their own pots. This method is the ultimate test of patience, but I can tell you from experience that watching a plant grow from a mere speck of dust is a truly special feeling for any succulent lover.
Caring for Your New Succulent Babies
That feeling of seeing the first tiny roots sprout from a leaf is pure magic, but your work isn't quite done. The first few weeks of a new succulent's life are the most critical, and getting the aftercare right is what separates a thriving new plant from a failed attempt. These little guys are far more delicate than their parents.
It's a delicate dance, really. They can dry out in a flash, but they're also incredibly prone to rot if you get heavy-handed with the watering can. Nailing this balance is the final, crucial step to becoming a propagation pro.
Mastering the Art of Watering Props
Forget everything you know about watering mature succulents. Your new babies have tiny, fragile root systems that can't handle a full drenching. That's a one-way ticket to rot.
A small spray bottle or even a little dropper is your best friend here. Just give the soil a light mist right around the base of the new plant every few days. The moment the top layer of soil looks and feels completely dry, it's time for another gentle spritz. The goal is to keep the soil barely moist, never soggy.
So many people make the mistake of watering their new props like they do the parent plant. Remember, those tiny roots are just at the surface. They can't reach down for water, so a little bit of moisture on top is all they need to get going.
Providing the Right Amount of Light
Just like with water, a baby succulent's light needs are completely different. Your big, established Echeveria might love to sunbathe for hours, but that same direct sun will fry a tender new plantlet in no time. They need plenty of light to grow, but it has to be gentle.
I've found the perfect spot is usually near an east-facing window. This gives them that bright, beautiful morning sun that isn't too harsh. If you see any tell-tale signs of sunburn—like little brown or bleached-out white spots on the leaves—pull them back from the window immediately. Bright, indirect sunlight is the name of the game.
When to Transplant Your New Succulents
Knowing when to give your new succulent its own pot is a huge milestone. Move it too soon, and you risk shocking its delicate system. Wait too long, and you could stunt its growth.
As a general rule, I wait until the new little rosette is about half an inch to an inch wide and I can see a healthy, established root system when I gently wiggle it.
When that day comes, be ready with a gritty, well-draining soil mix. If you want to give your new plants the absolute best start, it's worth learning about what makes the perfect cactus and succulent soil and why it's so vital for their long-term health. Once it's in its new home, hold off on watering for a few days to let any disturbed roots heal. After that, you can slowly begin to treat it more like a grown-up succulent, gradually introducing it to more light and watering it less often.
Troubleshooting Common Propagation Problems
Even the most seasoned succulent grower has a tray of props go wrong now and then. It happens. Instead of getting discouraged when a few attempts fail, look at it as part of the process. It’s your chance to learn what your new plant babies need to thrive.
Don't overthink it. Most propagation hiccups come down to getting the balance of water, light, and patience just right. The good news is that these problems are usually easy to spot and even easier to fix once you know what to look for.
Let's dig into the most common frustrations and get your propagation projects back on track.
Identifying and Fixing Mushy or Rotting Leaves
This is, without a doubt, the number one problem everyone runs into. You carefully place your perfect leaves on soil, only to come back a week later and find them looking translucent, mushy, or even black.
That’s rot, and the cause is almost always too much moisture, too early in the game. Remember, when you take a leaf or a cutting, you're creating an open wound. If that wound gets wet before it has a chance to heal over and form a callus, bacteria and fungi have an open invitation.
- The Fix: This is non-negotiable. You must let your leaves and cuttings callus over in a dry spot away from direct sun for at least 2-3 days. Don't even think about misting them during this time.
- For Existing Props: If you see a mushy leaf, pull it out immediately. Rot can spread. For the remaining healthy props, scale back your misting schedule.
When Cuttings Shrivel and Dry Out
The opposite problem is just as frustrating: cuttings that just wither away. A leaf might turn into a dry crisp, or a stem cutting will look wrinkled and dehydrated, never putting out a single root. This usually means the environment is too hot or too dry.
While you’re trying to avoid rot, brand-new props still need a little more ambient moisture than a fully established succulent. They don't have roots yet to pull water from the soil, so they're relying on what's available at the surface.
A common mistake is treating a new cutting like a mature succulent. Remember, it has no roots to pull water from deep within the soil. Your job is to provide just enough surface moisture to signal that it's a good time to grow some.
Why Your Cuttings Are Not Rooting
So what happens when your cuttings aren't rotting or shriveling... they're just sitting there? Weeks can pass with absolutely no change. It’s a real test of patience.
This stall can happen for a few reasons. The parent plant might have been stressed or dehydrated when you took the cutting. Or maybe it's just a particularly slow-growing variety—some just take their sweet time.
Another frequent culprit is not enough light. You're right to keep them out of harsh, direct sun, but they still need plenty of bright, indirect light to have the energy to grow roots.
- Move them to a brighter spot: Try a location near a window that gets consistent, gentle light but is shielded from the intense afternoon sun.
- Check the mother leaf: For leaf propagations, as long as the original leaf is still plump, there's no need to worry. It’s acting as a little battery pack, providing all the nutrients the new plant needs. Patience is key.
- Pest patrol: Take a close look at the base of your cuttings. Tiny pests like mealybugs can hide there, sucking the life out of the plant and stopping root growth. If you spot any, a quick dab with a cotton swab dipped in rubbing alcohol will solve the problem.
Still Have Questions? Let's Troubleshoot
Even with the best instructions, you're bound to run into a few head-scratchers when you start propagating succulents. It’s all part of the learning curve, and trust me, you’re not the first person to ask these questions. Let's tackle some of the most common issues people face.
"Why Won't My Succulent Leaves Root?"
This is probably the most common point of frustration. You've got a tray of leaves, and... nothing. A few things could be going on.
First, check your technique. A leaf needs a clean break right at the stem. If it rips or tears, it won't have the specific cells needed to produce new roots and a new plant. You want a satisfying little "pop" when you remove it.
Another classic mistake is skipping the callusing step. That fresh, wet end needs to dry out and seal over for a few days before it ever sees soil. If you skip this, you’re practically inviting rot.
Finally, while you don’t want them wet, a bone-dry environment can make leaves stall. If your home is very dry, a very light mist over the soil (not directly on the leaves) every few days can provide just enough humidity to encourage them to get started.
"How Long Does This Actually Take?"
Ah, the big question! Patience is non-negotiable here. There's no set-in-stone timeline, but as a general rule, you can expect to see the first tiny roots or baby leaves appear within 2 to 6 weeks for most leaf and stem cuttings. Things definitely move faster during the warm, sunny months.
Propagating from offsets is often much quicker since they usually come with some starter roots already. On the flip side, growing from seed is a true test of patience—it can easily take months just to see the first signs of germination.
Every plant moves at its own pace. I've had Graptopetalum leaves sprout in a week, while a finicky Haworthia cutting took its sweet time. Don't toss a cutting just because it's slower than its neighbor.
"When Is the Best Time of Year to Propagate?"
You'll get the fastest and most reliable results during the plant's active growing season. For the vast majority of popular succulents, this means spring and summer.
The extra warmth and longer days give the cuttings the energy they need to push out new roots and pups. You can still propagate in the fall and winter, but just be prepared for the process to take a whole lot longer.
"Do I Really Need to Use Rooting Hormone?"
Honestly, for most of the super easy-to-propagate succulents like Echeveria, Sedum, and Graptopetalum, rooting hormone is completely optional. These guys are practically bursting with the natural ability to root all on their own.
That said, it can be a useful tool for tougher, woodier stem cuttings or for those more stubborn varieties that just refuse to cooperate. If you’ve tried a few times with a particular plant and had no luck, a little dusting of rooting hormone might just give it the nudge it needs.
Ready to add something truly special to your collection? At The Cactus Outlet, we have a stunning variety of healthy, mature plants perfect for any enthusiast. Find your next favorite succulent today.