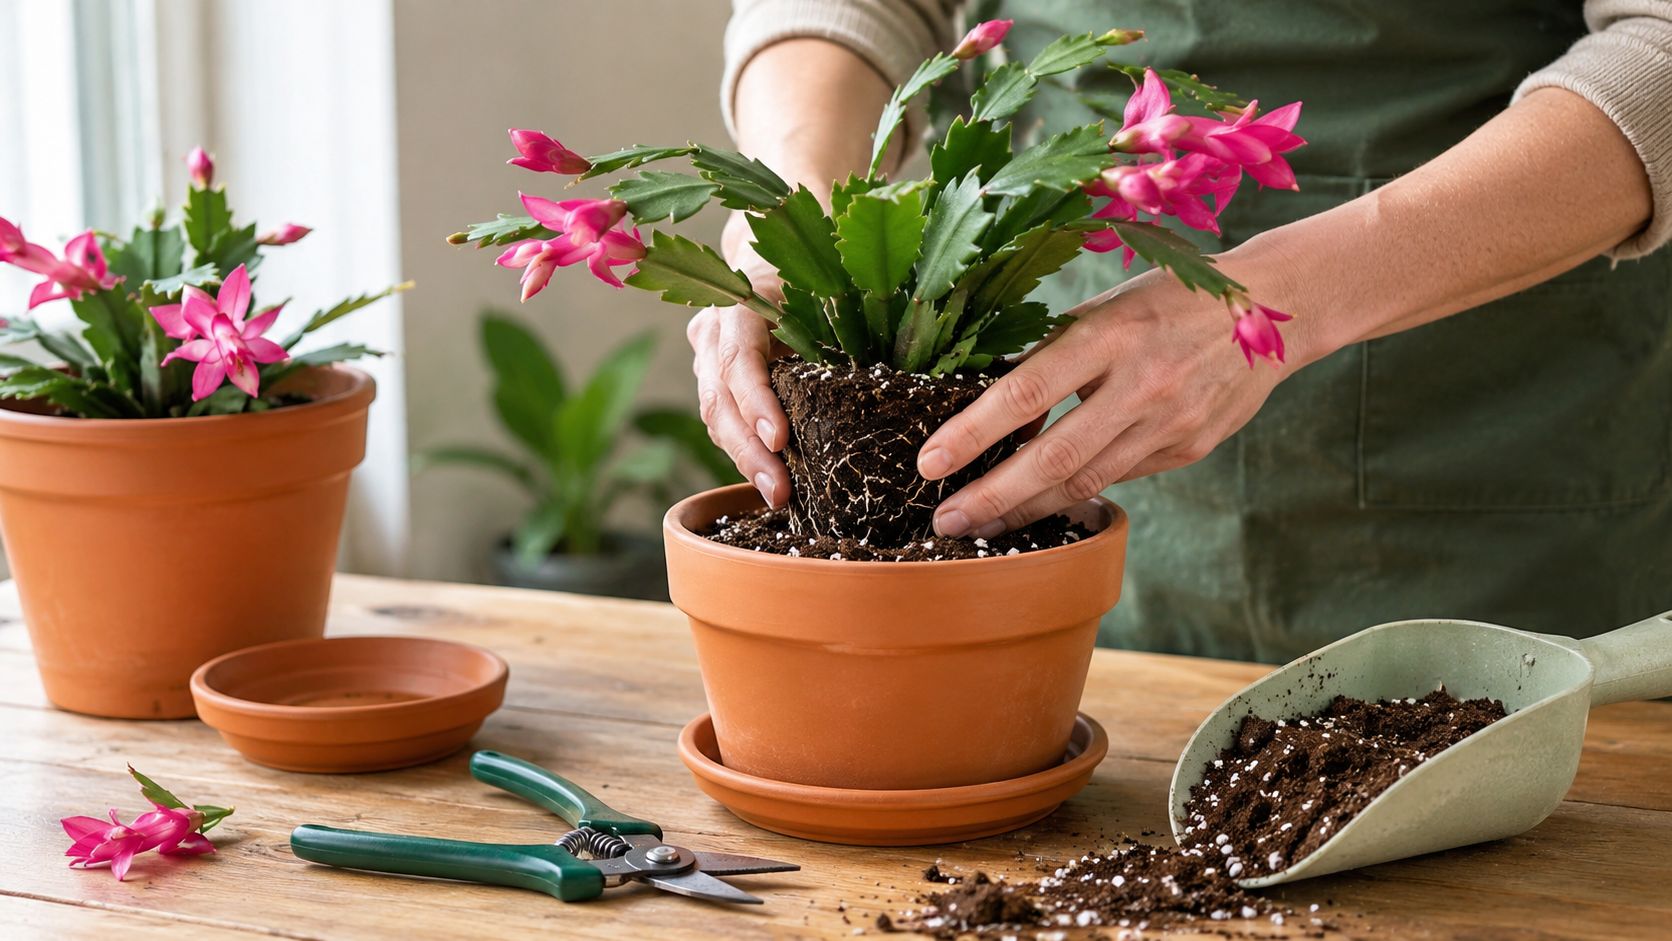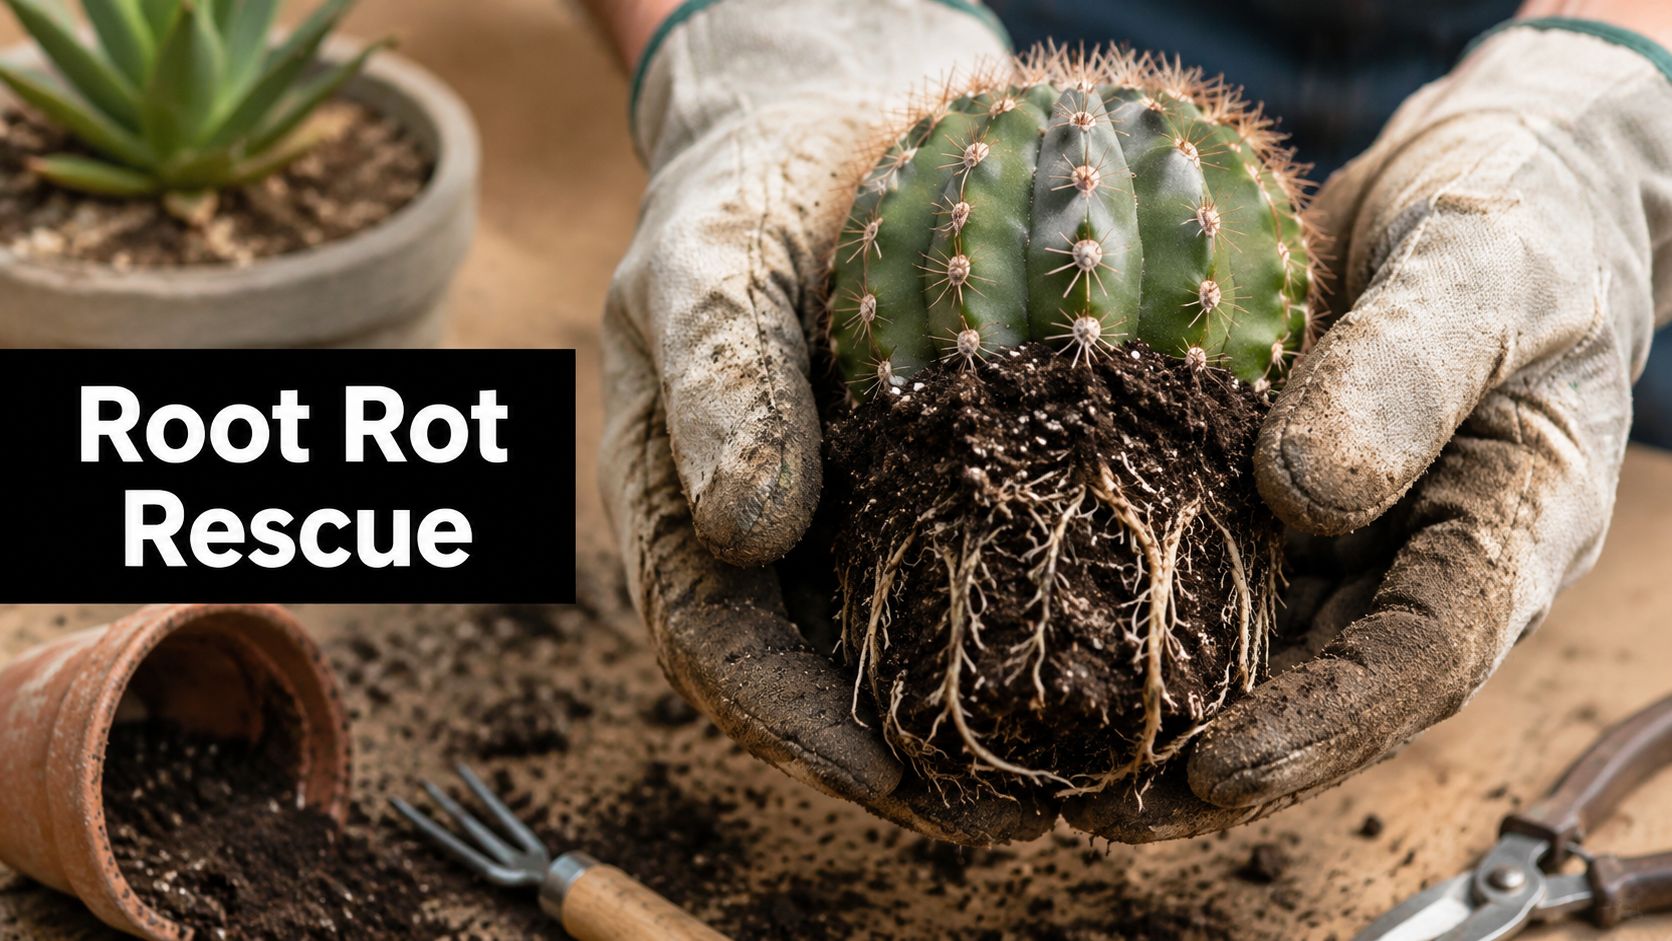

You water carefully. You keep the pot near a bright window. You even resist the urge to fuss with it too much. Then one morning, your succulent looks soft, droopy, or oddly pale, and when you check the roots, they've started to rot.
Watering is often blamed. I usually blame the soil first.
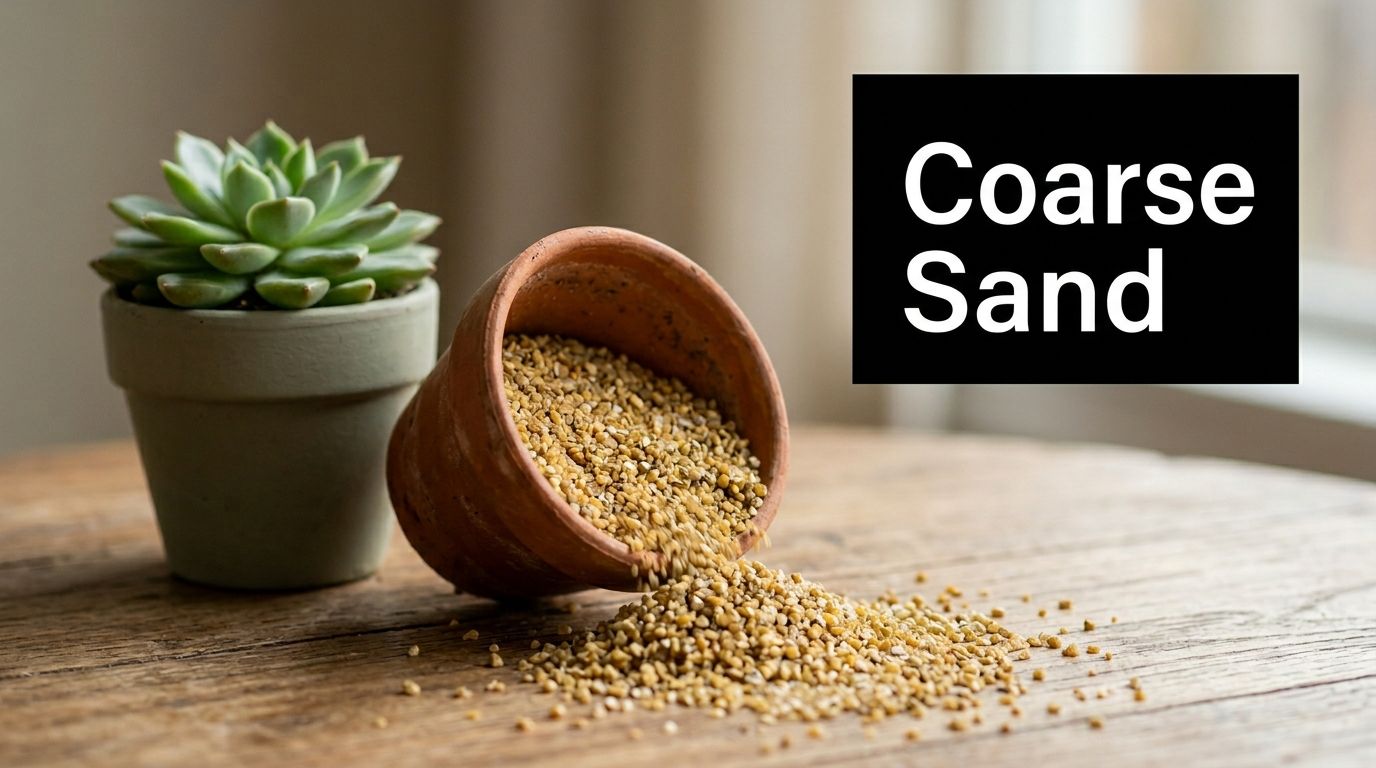
Succulents don't just need “dirt.” They need a root zone that lets water move through fast and leaves behind enough air for roots to breathe. That's where coarse sand enters the conversation. Used well, it helps create little channels in the mix so water can escape instead of sitting around the roots. Used badly, it can do the opposite and turn a pot into a soggy brick.
That's why so many growers get confused. They hear “add sand,” buy the first bag they see, and assume all sand behaves the same. It doesn't. The right coarse sand for succulents can help build a healthy potting mix. The wrong sand can smother roots, trap moisture, or introduce salt.
If you want a broader plant-care foundation beyond soil, The Cactus Outlet's succulent plant care guide is a useful companion. For now, let's stay under the surface and get clear on how sand works, how to test it, and why some mixes fail.
The Secret to Thriving Succulents Is Under Your Feet
You bring home a healthy succulent, set it in bright light, and water sparingly. A few weeks later, it still starts to soften at the base. In many cases, the trouble began below the surface, where the roots were sitting in a mix that stayed wet longer than they could tolerate.
The root zone works like the plant's breathing room. Roots need moisture, but they also need pockets of air between soil particles. Coarse sand helps create those spaces, almost like tiny tunnels that let water pass through instead of pooling around the roots. That is why coarse sand for succulents matters. Its job is structural.
Guidance on succulent soil often returns to the same point. Sand belongs in a balanced, fast-draining mix, not in the pot by itself. The exact ingredients matter less than the result. Water should move through, the mix should dry at a reasonable pace, and the roots should not sit in a dense, sticky mass.
This is also where many growers get tripped up. A bag labeled “sand” can behave very differently from another bag labeled “sand.” Fine grains can pack together like brown sugar in a humid kitchen. Salty sand can stress roots even if the texture looks right. If you want a broader foundation on watering, light, and seasonal care, The Cactus Outlet's succulent plant care guide pairs well with the soil lessons here.
A simple rule helps: if your succulent mix stays soggy, hardens after watering, or smells stale, the root environment is working against you.
That is why testing matters as much as buying. Before you trust any sand in a pot, it helps to check how it drains, how it feels when wet, and whether it leaves behind residue. Good succulent soil is not about guessing. It is about building a foundation that lets roots stay moist briefly, then breathe again.
What Makes Sand Coarse and Why It Matters
A bag can say “sand” and still be wrong for succulents.
For these plants, coarse sand means particles large enough to hold their shape in a soil mix instead of settling into a tight, muddy layer. The goal is open passageways between grains so water can drain out and fresh air can reach the roots after each watering.

Size matters more than the label
A useful way to judge sand is to ask one question. After water runs through the pot, will the grains stay a little separated, or will they settle together like wet sugar?
That difference decides whether roots can breathe.
Larger, irregular grains leave room around them. Very fine or very even grains stack too neatly. Once wet, they can press together and slow drainage. A mix may look gritty on top and still behave like a heavy sponge lower in the pot.
This is why two products sold as sand can perform completely differently. One helps keep the mix open. The other turns it dense.
What coarse sand is not
Play sand often causes trouble because it is small, smooth, and uniform. In a child's sandbox, that texture is useful. In a succulent pot, it can pack down and form a stubborn layer that holds moisture longer than you want.
Beach sand brings a different problem. The texture may seem acceptable, but salt can irritate roots and interfere with water uptake. A succulent in salty media can decline even when the drainage looks decent at first glance.
Good sand is judged by both texture and cleanliness. One without the other can still lead to failure.
A quick visual can help if you're still sorting the idea out.
Why failure happens
I see three repeat offenders.
- The grains are too fine, so they settle into the spaces your roots needed for air.
- The sand is too dirty, with dust, silt, or clay coating the larger grains and clogging drainage.
- The sand contains salts or other residues, which stress roots even if the particle size seems right.
That last point trips up plenty of careful growers. They choose a gritty material, mix it in, and still end up with rot or stalled growth. The reason is usually hidden in what the bag does not tell you. Fine particles can fill the gaps between larger ones, and salts can create stress long before the plant shows obvious damage.
So when someone says, “I added sand and my succulent got worse,” that result makes sense. Sand only helps when the grains are coarse enough, clean enough, and used as one structural part of a balanced mix.
Choosing and Testing Your Sand for Quality
Buying sand by label alone is risky. “Builder's sand,” “horticultural sand,” and “washed sand” can all vary depending on where you live and who packaged them. The safest approach is to test what you have before it ever goes near a prized plant.
Start with particle size
One substrate specialist recommends grit in the 3 to 10 mm range and aims for the mix to be fully dry in about 3 days after watering, while warning that fine grain grit can compact around roots and retain water (GardenRev's beginner succulent substrate guide).
That gives you a useful target. You're looking for particles that are clearly chunky, not dusty and not powdery. If the material feels like soft beach grit or playground sand, it's probably too fine for the job.

Do the jar test at home
This test tells you whether your “coarse” sand also contains a lot of silt, dust, or clay.
- Fill a clear jar partway with the sand sample. A clean glass jar works fine.
- Add water and shake hard. You want the fine material suspended.
- Set the jar down and wait. Heavier grains drop first. Lighter particles stay cloudy longer.
- Look for layers. Clean coarse material settles quickly. If you see a muddy layer, cloudy water that lingers, or a film collecting on top, you've got more fines than you want.
- Rub a damp sample between your fingers. Good coarse material feels gritty. A silty sample feels smoother and almost creamy.
Why this matters is simple. Fine particles slide into the gaps between larger grains. Those gaps are where air should live.
What you're checking: not just whether the sand is coarse, but whether it stays coarse once the dust is accounted for.
Check for salt before you trust local sand
This is the part many guides skip. If you're collecting sand locally, or buying from a source that isn't clearly intended for horticulture, don't assume it's safe.
Beach sand is the obvious risk, but local river or reclaimed material can also carry residues you don't want in a succulent pot. Salt pulls water the wrong way across root tissue and can leave plants stressed even when the mix drains well.
Here's a simple practical approach:
- Rinse a sample well. Put some in a bucket and run water through it until the runoff looks clear.
- Smell it when wet. If it smells brackish or sour, that's a warning sign.
- Let a small sample dry on a dark tray. If it leaves a visible crust after drying, be cautious.
- Trial it on a low-stakes plant first. Don't test unknown material on your favorite rare cactus.
None of these steps replaces lab testing, but they're better than guessing. They also reveal something important. A bag can look clean and still fail in use.
A quick screen before mixing
Before you make a full batch of soil, run through this short checklist:
| Check | What you want |
|---|---|
| Particle look | Clearly chunky, not powdery |
| Jar test result | Little cloudiness, minimal fine residue |
| After rinsing | Water runs clearer over time |
| When wet | No salty or unpleasant smell |
| In a trial pot | Mix dries reasonably fast and doesn't cake |
Good growers don't just collect ingredients. They screen them. That habit alone prevents a lot of rot.
Crafting the Ideal Succulent Soil Mix
A good succulent mix behaves like a sponge cake with pebbles mixed in. Water should slip through the larger particles, while a smaller amount stays behind for the roots to use. If the mix turns muddy, stays soggy in the center, or hardens into a brick after drying, the ingredients are out of balance.
Coarse sand helps create those open pathways for water and air, but it cannot do the whole job by itself. Succulents still need some organic matter to hold a modest amount of moisture, plus another gritty ingredient to keep the pot from settling into a dense mass over time.
A dependable starting mix
A reliable starting point is 2 parts potting soil, 1 part coarse sand, and 1 part perlite or pumice. That gives you a balanced mix for many common indoor succulents.
Each ingredient has a clear role:
- Potting soil holds a manageable amount of moisture and gives roots something to grow into
- Coarse sand creates drainage channels and adds weight so the mix does not feel fluffy and unstable
- Perlite or pumice keeps air pockets open as the soil settles
If you want a second reference point for proportions and technique, The Cactus Outlet has a practical guide on how to make cactus soil.

Match the mix to the way your pot dries
The easy mistake is copying a recipe without checking how it behaves in your conditions. A terra-cotta pot in a bright window dries very differently from a glazed pot in a cool room. The same mix can succeed in one spot and fail in another.
Start with the balanced recipe above, then adjust based on what you observe.
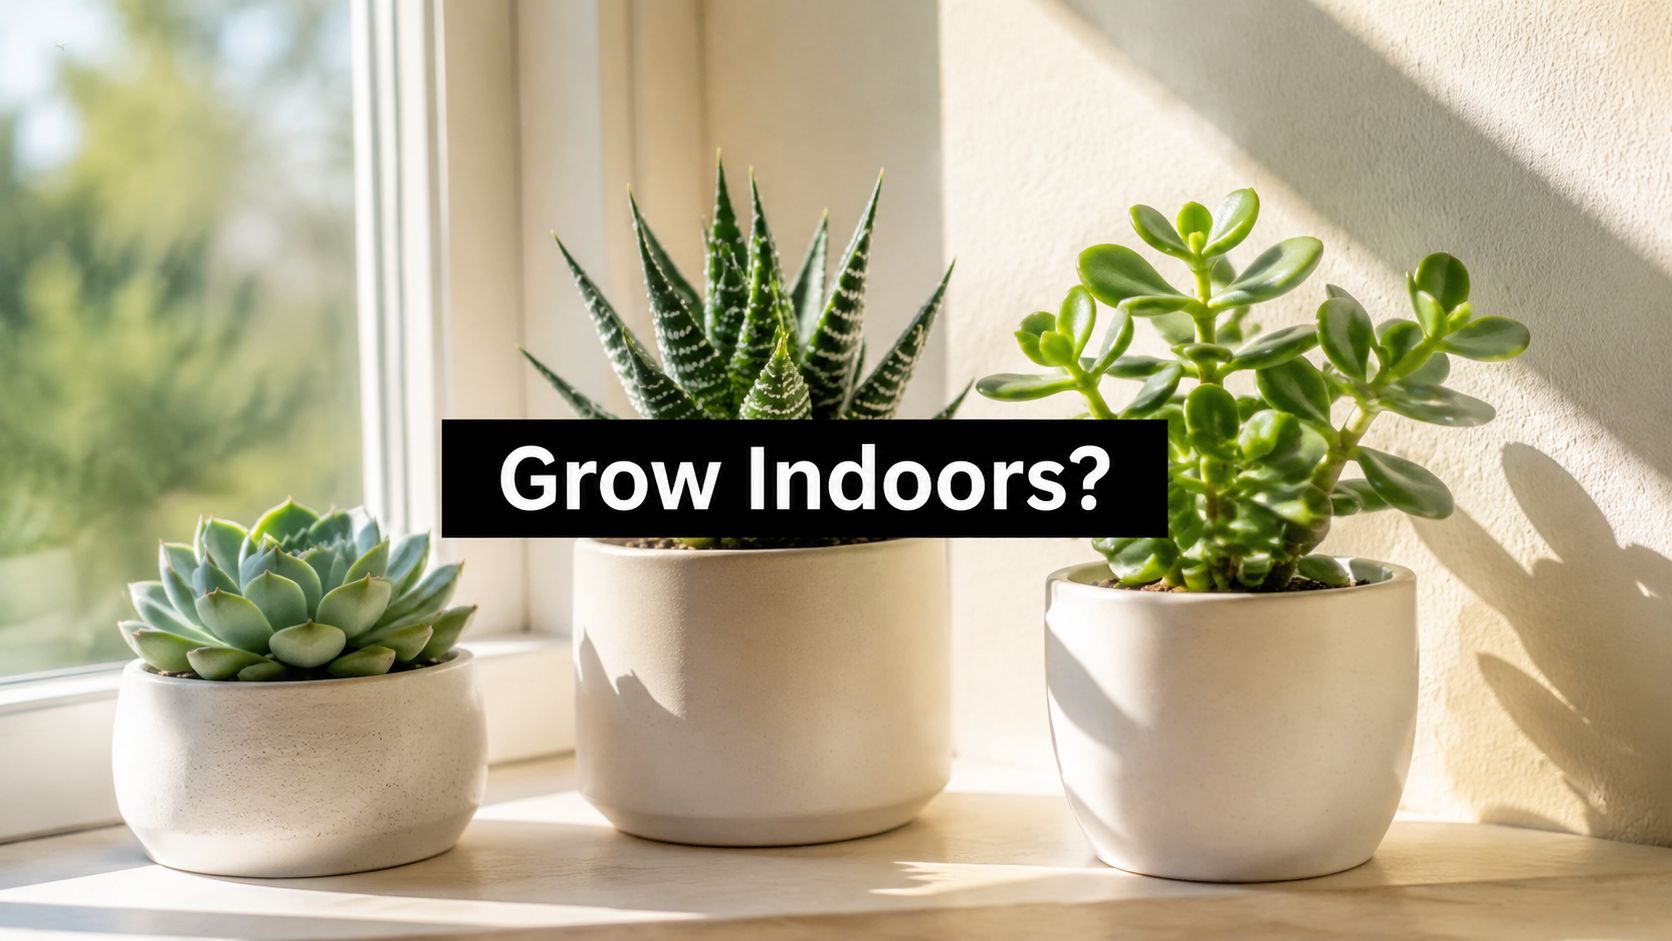
General indoor succulent mix
Use the basic formula when you grow common succulents indoors and the pot dries at a steady pace.
- Good for Echeveria, Haworthia, Aloe, and mixed succulent planters
- What you want to see is a crumbly mix that wets evenly and does not stay heavy
- Why it works is simple. It gives roots air without making the plant dry out too fast
Grittier mix for cacti and rot-prone plants
Increase the mineral portion if your plants stay wet too long, your room runs cool, or you tend to water generously. In that case, use less potting soil and more coarse particles.
- Good for cacti, rot-prone succulents, deep pots, and slow-drying conditions
- What to watch is root support. A mix that is too loose can tip tall plants or dry so fast that fine roots struggle
- Simple rule is to keep some organic matter in the blend so the roots still have contact points and light moisture
Outdoor or raised-bed mix
Beds and large containers need structure across a wider root zone. You want water to move down and away, but you also need the soil to hold together around the roots. A useful pattern is to combine native or in-ground soil with compost, coarse sand, and a chunky mineral ingredient such as pumice.
Test the mix before you trust it
This is the part many growers skip, and it explains a lot of failures.
Grab a handful of your finished mix and wet it. If it smears like frosting or packs like wet cement, there are too many fines. Fine sand or broken-down potting soil can clog the spaces that coarse sand was supposed to create. The result is a pot that drains at the top but stays wet deeper down.
Now let that same sample dry completely. If it shrinks into a hard clod or forms a crust, add more chunky mineral material. If it falls apart so completely that roots would have trouble gripping it, add a little more potting soil or composted material.
A quick trial pot tells you even more. Water thoroughly, then check it over the next couple of days. Good succulent soil should feel moist shortly after watering, then become evenly drier without turning swampy in the center or bone-dry on the surface while the lower half stays wet.
If a wet mix looks like batter, it is too dense. If a dry mix behaves like loose gravel with no grip at all, it needs a bit more organic material.
Mix by behavior, not by habit
Recipes are starting points. The essential goal is a potting mix that takes in water easily, drains freely, and dries at a pace your plant can handle.
That is why the sand test matters so much. Good coarse sand creates space. Bad sand fills space. Once you see that difference in a wet handful or a trial pot, choosing the right mix gets much easier.
Perlite vs Pumice vs Coarse Sand
This comparison trips people up because all three materials are used to “improve drainage,” yet they don't behave the same way in a pot. Choosing well depends on your plant, your climate, and even how heavy you want the container to be.

What each one contributes
Coarse sand adds weight and structure. It doesn't contribute nutrients, and it doesn't hold much water. Its main strength is physical. It helps keep spaces open when the particle size is right.
Perlite is light and airy. It helps loosen a mix and is easy to find. The trade-off is that it can shift upward over time, especially in frequently watered pots.
Pumice gives excellent structure and tends to stay put better than perlite. It also holds some moisture in its pores, which can be useful when you want drainage without making the pot bone dry too quickly.
A practical comparison
| Material | Strong point | Watch out for | Good use case |
|---|---|---|---|
| Coarse sand | Weight and drainage channels | Can compact if too fine | Heavy pots, sturdy root support |
| Perlite | Lightens mixes fast | Can float and migrate upward | Indoor pots, hanging planters |
| Pumice | Stable, airy structure | May cost more or be harder to find | Premium succulent and cactus mixes |
The mistake is looking for one universal winner. There isn't one.
How I'd choose in real life
If you're potting a heavy agave or a tall columnar cactus, coarse sand helps keep the container grounded. If you're making a lighter indoor mix for shelf plants, perlite often makes handling easier. If you want a mineral-rich mix with dependable structure over time, pumice is hard to argue against.
The best blends often use more than one amendment. Sand provides weight. Perlite or pumice provides extra pore space. Together, they can do a better job than either one alone.
For a broader look at ready-made and DIY options, The Cactus Outlet's guide to the best succulent soil is a helpful reference.
Some growers chase ingredients. Experienced growers watch how the pot behaves after watering.
That's the key distinction. If the mix drains well, resists compaction, and supports healthy roots, it's doing its job.
Sourcing Your Sand and Safety First
You bring home a bag labeled "sand," mix it into your succulent soil, water once, and the pot stays wet for days. That usually starts at the buying stage.
Sand labels are often broad. Two bags can both say "sand" and behave very differently in a pot. One keeps spaces open so water can pass through. The other settles like flour in a jar and turns the root zone dense.
Where to look
Material supply yards are often the easiest place to find useful material because you can usually see the texture before you buy. Ask for sharp sand, coarse horticultural sand, grit sand, or a washed construction sand with visible, mixed-size grains. Some building suppliers also carry workable options, but inspect the material first instead of trusting the label.
A good shopping goal is simple. You want grains that look more like tiny pebbles than powder.
If you can check the sand in person, use a quick three-part test:
- Look at it. Good sand shows distinct grains you can pick out with your eye. Poor sand looks silky or overly uniform.
- Rub a pinch between your fingers. Coarse sand feels gritty. Fine sand feels soft and dusty, which is a warning sign for compaction.
- Swirl a little in a clear jar of water. If the water turns very cloudy and stays cloudy, the bag contains lots of fines that can clog the air spaces your roots need.
Those tiny particles cause a lot of trouble. They wash into the gaps between larger pieces of soil and act like silt in a drainpipe. Water slows down, air gets pushed out, and roots sit in damp soil longer than they should.
What to avoid
Skip any sand sold for play areas, sandboxes, or masonry jobs that need a very smooth texture. Those products are often too fine for succulent mixes.
Be cautious with collected sand too, especially from coastal areas. As noted earlier, beach sand can carry salt and shell fragments, and even clean-looking material can fail a simple rinse or jar test. The trouble is not just where it came from. The trouble is what is on it and how small the particles are.
If you are unsure about a bag, do one more home test before using a lot of it. Put a handful in a bucket, add water, stir, let it settle for a moment, then pour off the cloudy water. Repeat once or twice. If the water keeps turning murky or you see a layer of very fine sludge collecting on top or at the bottom, that sand is likely to make your mix heavier and tighter than you want.
Protect yourself while handling it
Dry sand and gritty soil amendments can kick up dust fast, especially when you pour them from a height or sift them through a screen.
A few simple habits make the job safer:
- Work outdoors when possible
- Choose a calm day so dust does not blow back into your face
- Wear a dust mask when handling dry material
- Dampen the sand lightly before screening or mixing
Clean soil starts with clean handling. If the material is dusty enough to irritate your lungs, it deserves a rinse before it goes anywhere near your plants.
Building a Better Foundation for Your Plants
Healthy succulents rarely happen by accident. They grow well because the root zone makes sense.
If you remember only a few things, remember these. Coarse sand for succulents is a drainage ingredient, not a complete soil. Particle size matters more than the word on the bag. Testing beats guessing. And failure usually starts when a mix holds too much water around roots or carries something harmful, like excess fines or salt.
That's the encouraging part of all this. Once you understand why sand works, you stop following random recipes and start judging mixes by behavior. Does water move through? Does the pot dry at a reasonable pace? Does the soil stay open instead of caking? Those are the questions that lead to healthier plants.
You don't need a laboratory to make better decisions. A clear jar, a careful rinse, your eyes, your hands, and a little patience will tell you a lot. That's often enough to sort good material from risky material before a single root goes into the pot.
And when your soil makes sense, succulent care gets calmer. Watering gets easier. Rot becomes less mysterious. Your plants respond the way they're supposed to.
If you're ready to put this into practice, browse The Cactus Outlet for cacti, succulents, and practical growing guidance that helps you build a stronger foundation from the roots up.