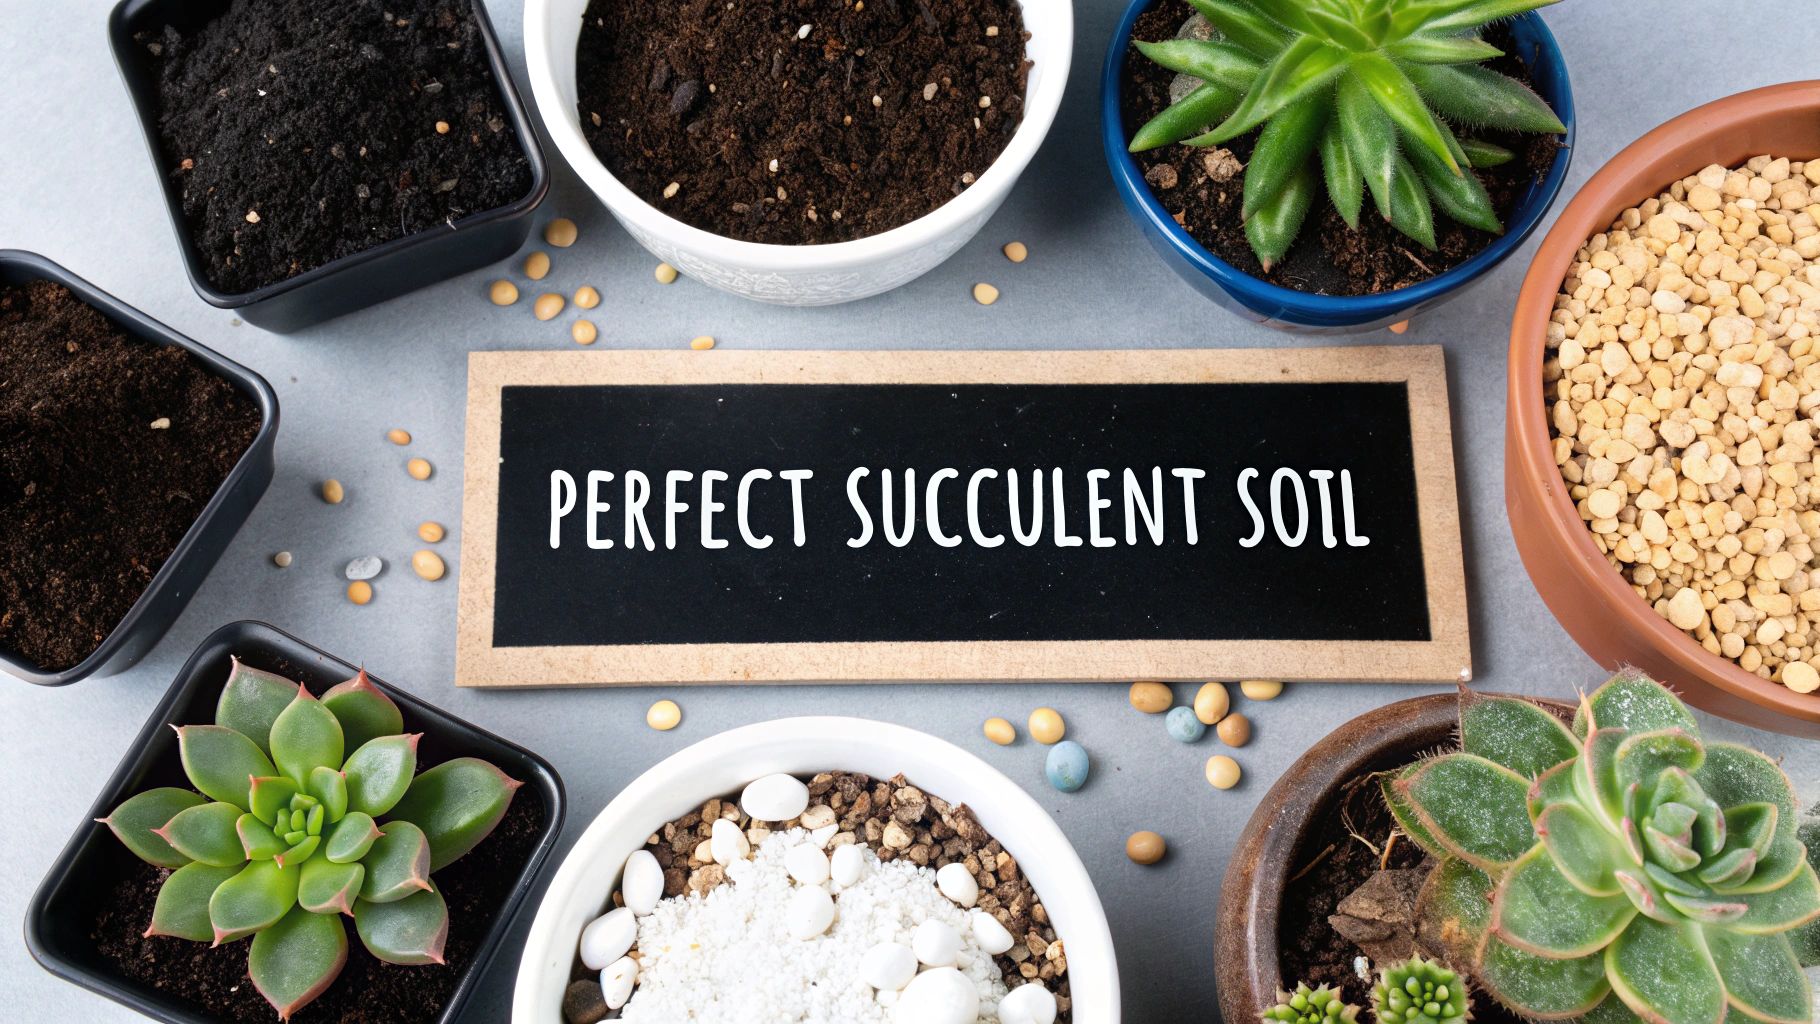

When you think about the best soil for succulents, you need to picture where they come from. They're built for arid, rocky places where the soil is gritty and rain vanishes almost as soon as it falls. So, the perfect succulent soil is less about richness and more about being fast-draining and airy. It’s the complete opposite of what you’d use for a fern or a rose bush.
Why Soil Is Your Succulent's Most Important Decision
Seriously, picking the right soil is the single most important choice you'll make for your succulent's health. Using regular potting soil is a death sentence. It’s dense, holds way too much water, and literally suffocates the roots. This is the fast track to root rot, which is hands-down the number one killer of succulents.
The right soil foundation is so critical that the global premium potting soil market is expected to rocket past USD 2,212.65 million by 2033. This massive growth is fueled by the houseplant craze, and succulents are at the heart of it. Yet, it's a sad fact that up to 70% of new succulent owners lose their plants simply because they used regular garden dirt. It just can't drain fast enough for these desert dwellers. You can read more about this booming market over at Spherical Insights.
The Foundation of a Thriving Succulent
To really nail this, you have to think like a succulent. They evolved in places where water is a brief visitor, not a long-term resident. Their roots are designed to snatch up a quick drink and then immediately need to breathe again. A good soil mix brings that natural environment right into your pot.
The goal is simple: your soil's job is to give the roots something to hold onto, let water pass through freely, and hold just enough moisture for a quick drink—then get out of the way.
It all comes down to understanding that succulents are masters of drought tolerance. They store water in their leaves, so they're perfectly adapted to dry spells. If you're interested in other low-water plants, this list of the Top 10 Drought Tolerant Plants for a Thriving Yard is a great resource.
Ideal Succulent Soil Properties at a Glance
Before we dive into DIY recipes and specific ingredients, let's get the fundamentals down. There are three non-negotiable properties every great succulent soil must have. Get these right, and you're 90% of the way to a happy plant.
This table gives you a quick snapshot of what you should be aiming for.
| Property | Why It Matters for Succulents | The Ideal Result |
|---|---|---|
| Excellent Drainage | Prevents water from sitting around the roots, which is the primary cause of rot. | Water should flow through the pot almost immediately, leaving the soil just slightly damp, not soaked. |
| Proper Aeration | Allows oxygen to get to the roots, which is vital for them to function and absorb nutrients. | The soil should look and feel loose and gritty, with visible air pockets thanks to things like pumice or perlite. |
| Low in Organic Matter | Avoids holding too much moisture and becoming dense and compacted over time. | A mix that is mostly mineral-based and doesn't feel rich or spongy like a typical potting mix. |
Nailing these three properties is the secret sauce. Everything else—from ingredients to watering schedules—builds on this foundation.
The Key Ingredients of a Perfect Succulent Soil
To really nail your succulent soil, you have to think less like a gardener and more like an architect. You're not just scooping dirt into a pot; you're building a breathable, sturdy foundation for your plants. A great mix isn’t a single ingredient but a team of them, each playing a specific role.
These components fall into two camps: inorganic materials for structure and drainage, and organic materials for a little bit of nutrition and moisture.
Getting a handle on what these ingredients do is empowering. You’ll be able to spot problems before they start, decode the labels on commercial mixes, and even whip up your own custom blends tailored perfectly to your plants. Let’s dig into the essential building blocks.
The Architects of Drainage: Inorganic Components
Inorganic ingredients are the mineral-based, non-living parts of the mix. Think of them as the skeleton or framework of your soil. Their main job is to create that light, airy, fast-draining environment succulents are built for. Because they don't decompose, they keep the soil structure stable for years.
The big three you'll always hear about are perlite, pumice, and coarse sand. Each one is a pro at preventing compaction and creating those essential air pockets that keep roots healthy and happy.
-
Perlite: This is the super lightweight, white stuff that looks like tiny bits of styrofoam. It’s actually volcanic glass that’s been heated until it puffs up like popcorn. Perlite is fantastic for aeration, but it’s so light that it often floats to the top of the pot when you water.
-
Pumice: This is the real MVP of succulent soil. Pumice is a porous volcanic rock that acts like a tiny, rigid sponge. It holds onto a bit of water and air in its countless little holes, releasing them slowly to the roots. The best part? It’s heavy enough to stay mixed in, unlike perlite. This makes it a premium choice for creating stable, long-lasting aeration.
-
Coarse Sand: Now, we're not talking about fine beach sand—that stuff will turn to concrete in a pot. You need horticultural sand or coarse builder's sand, which has large, gritty particles. Its main job is to add a bit of weight and create tiny channels for water to drain right through.
A good rule of thumb is that at least 50% to 70% of your total soil volume should be made up of these inorganic materials. This gritty foundation is what mimics the rocky, lean soils where succulents evolved and is your best defense against root rot.
The Pantry of the Soil: Organic Components
If inorganic materials build the house, organic materials stock the pantry. These are the components that come from once-living things, and their job is to hold just a tiny bit of moisture and provide a very low level of nutrients. For succulents, less is always more when it comes to organic matter.
Too much organic material, especially the peat moss that dominates standard potting soil, is the number one enemy. It acts like a sponge, holding way too much water and compacting around the roots, eventually suffocating them. Instead, we use specific, better-behaved organic options.
-
Coconut Coir (Coir): Made from the fibrous husks of coconuts, coir is a fantastic alternative to peat moss. It retains some moisture but re-wets easily and doesn't compact as badly. Its stringy texture also helps keep things airy.
-
Compost or Pine Bark Fines: A small amount of well-sifted compost or finely shredded pine bark can add some trace nutrients without waterlogging the soil. The key word here is sparingly. Think of it as a light dusting of seasoning, not the main course.
Here's a quick look at how these common ingredients stack up against each other.
Comparing Common Succulent Soil Ingredients
Choosing the right components can feel overwhelming at first, but it's really about knowing what each one brings to the table. This table breaks down the most popular choices so you can see their unique strengths and weaknesses at a glance.
| Ingredient | Material Type | Main Function in Mix | Ideal Use Case |
|---|---|---|---|
| Pumice | Inorganic | Creates air pockets, absorbs some moisture, adds structure. | Premium, all-purpose drainage amendment; won't float. |
| Perlite | Inorganic | Adds aeration and lightness to the soil. | A lightweight, budget-friendly option for adding drainage. |
| Coarse Sand | Inorganic | Improves drainage and adds weight/stability to the mix. | For mixes needing fast drainage and a bit more heft. |
| Coconut Coir | Organic | Retains a small amount of moisture; alternative to peat. | Used sparingly as the primary organic component. |
| Pine Bark Fines | Organic | Adds slight acidity and slow-release nutrients. | A good organic choice for epiphytic cacti or hoyas. |
| Compost | Organic | Provides a small amount of micronutrients. | Use a tiny amount (<10%) for nutrient-poor mixes. |
Ultimately, the goal is to create a blend where the inorganic "architects" dominate, ensuring that water never has a chance to sit around. The organic "pantry" is just there to offer a little support.
By understanding these distinct roles, you can see how a recipe for great succulent soil comes together. It’s all about a strategic balance. This knowledge is your first real step toward becoming a master of your succulent's environment.
Creating Your Own Custom Succulent Soil Mix
While grabbing a pre-made bag is easy, mixing your own succulent soil is where you really level up as a plant parent. It gives you absolute control over what your plants are living in, letting you fine-tune the blend for specific species or even for the climate in your part of the world. Think of it like being a personal chef for your plants—you're hand-picking the ingredients to make them thrive.
Getting your hands dirty is more than just satisfying; it's a game-changer. Imagine seeing 35% more vigorous growth in your Euphorbia or Agave just because you nailed the soil recipe. In humid climates, where a shocking 80% of succulent losses are due to poor drainage, hobbyists swear by their gritty, custom ratios. In fact, industry data shows 65% of commercial growers see 50% better root development when using custom cactus soils over generic mixes. You can dive deeper into these trends by checking out the succulent plant market and grower insights on cognitivemarketresearch.com.
This flowchart gives you a quick look at the inorganic superstars that are the foundation of any great DIY mix.
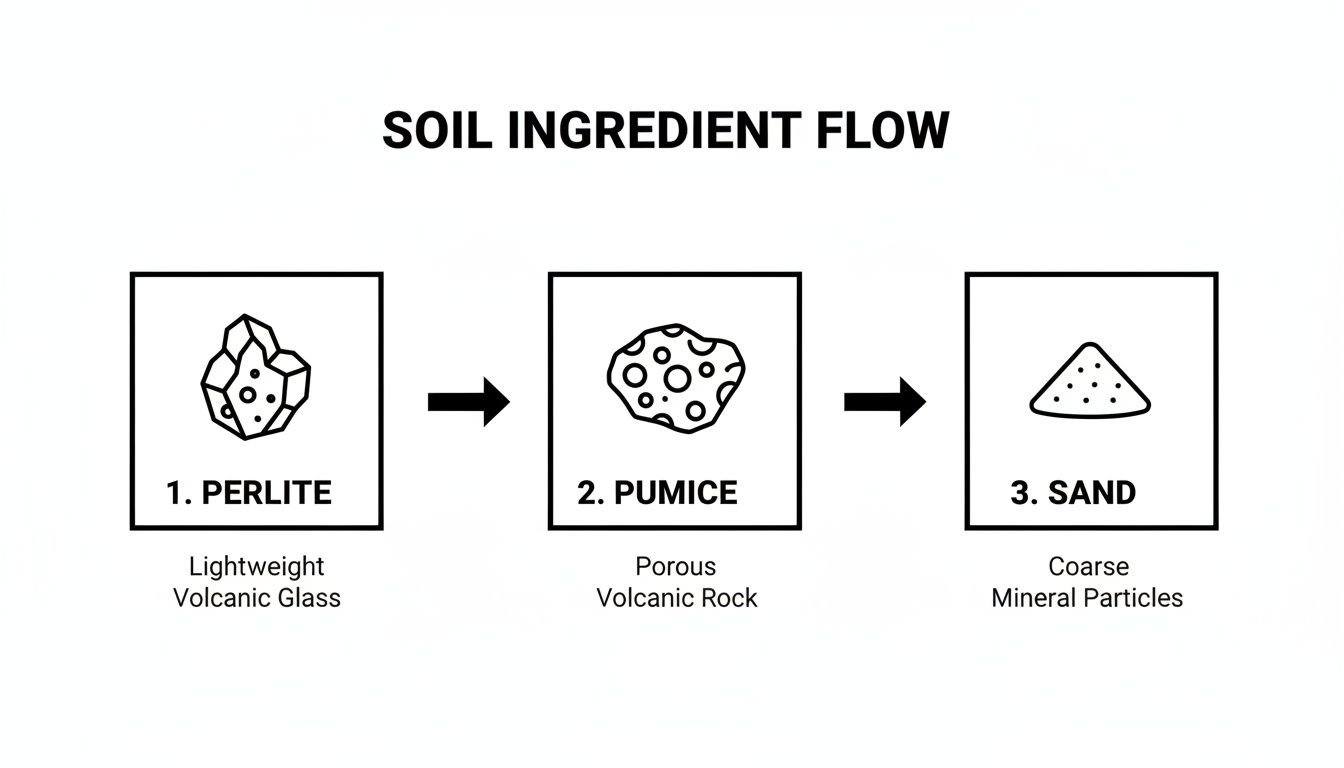
You can see how perlite, pumice, and sand are different, yet they all work toward the same crucial goals: creating air pockets and letting water drain away freely. Happy roots depend on it.
The Basic Steps for Mixing Your Soil
Before we get to the recipes, let's talk about the process. It's super simple. The one trick is to work with completely dry ingredients so everything combines evenly without turning into a clumpy mess.
- Gather Your Tools: All you need is a large bucket or mixing tub, a trowel or scoop, and some gloves.
- Measure Your Ingredients: Use a measuring cup or even an old plant pot to keep your ratios consistent. Precision makes all the difference.
- Combine and Mix: Dump everything into your bucket and stir thoroughly. You want to see all the different components evenly distributed.
- Store Properly: If you have extra, keep it in a sealed container with a few air holes poked in the lid to prevent moisture from building up. A lidded bucket or a heavy-duty bag is perfect.
Recipe 1: The All-Purpose Beginner Blend
This is your go-to recipe for most of the popular succulents out there, like Echeveria, Sedum, and Sempervivum. It drains like a charm but holds just enough moisture to keep them growing steadily. It's a forgiving, easy-to-make mix and the perfect starting point for any new succulent enthusiast.
- 1 Part Potting Soil (or Coconut Coir): This is your base, offering a bit of organic matter. It’s a good idea to sift it first to get rid of any big wood chips.
- 1 Part Coarse Sand: Make sure it’s horticultural sand, not fine play sand. The larger grains create perfect channels for water to escape.
- 1 Part Perlite or Pumice: This is the powerhouse for aeration. I prefer pumice because it’s heavier and stays mixed in, but perlite is a fantastic, budget-friendly alternative.
Just combine these three in equal measures, and you've got a reliable, all-purpose soil that will make a huge range of succulents happy.
Recipe 2: The Gritty Desert Dweller Mix
This one's formulated for true desert dwellers—think Saguaro, Golden Barrel cactus, and other succulents from extremely arid homes. It’s an ultra-gritty, fast-draining blend that mimics the rocky, lean soil they’re used to. There's very little organic material here, which is critical for preventing rot in plants that hate wet feet.
This is the perfect mix if you live somewhere humid or just tend to be a little heavy-handed with the watering can. The incredibly high mineral content gives you a massive margin for error, as water just rushes right through.
Here’s the ratio for this lean, mean mix:
- 3 Parts Pumice: This is the star player, providing maximum aeration and structure.
- 2 Parts Coarse Sand: Adds weight and doubles down on that rapid drainage.
- 1 Part Coconut Coir: Just a touch of organic matter to hold a tiny bit of moisture for the roots to grab.
Recipe 3: The Humid Hardy Recipe
Not all succulents are from the desert. Some, like Hoyas, Rhipsalis (mistletoe cactus), and holiday cacti (Schlumbergera), are actually from tropical or subtropical jungles where they grow on trees. As epiphytes, they're used to more humidity and can handle a bit more moisture than their desert cousins.
This blend is designed to hold that extra moisture without ever getting soggy, catering to their unique jungle lifestyle.
- 2 Parts Pumice: Still the foundation for excellent aeration. You can't skip this.
- 2 Parts Pine Bark Fines: This ingredient mimics the tree bark they naturally cling to and holds moisture without compacting.
- 1 Part Coconut Coir: Adds just a bit more water retention to the mix.
Once you’ve mastered these three simple recipes, you'll be able to whip up the perfect soil for almost any succulent in your collection, setting them up to not just survive, but truly flourish.
How to Choose the Best Commercial Succulent Soil
While mixing your own succulent soil gives you total control, sometimes you just need to grab a ready-made bag and get planting. But walking down the soil aisle can be overwhelming. Knowing what to look for will turn you from a guessing gardener into a confident plant parent.
The best commercial succulent soil is out there—you just have to learn how to spot it.
Think of yourself as a soil detective. Your first and most important clue is always the ingredient list printed on the bag. A quick scan can tell you almost everything you need to know.
Decoding the Ingredient Label
Your main mission is to find a mix that screams "drainage and aeration." The good ones will proudly feature their gritty, inorganic components right at the top of the list.
Here’s what you want to see:
- Pumice, Perlite, or Lava Rock: Finding these near the top is a huge green flag. It tells you the company actually understands what succulents need to thrive.
- Coarse Sand or Grit: These add a bit of weight and create tiny channels for water to drain right through.
- Pine Bark Fines: A solid organic choice that adds a little structure without turning into a soggy mess.
On the flip side, some ingredients are an instant "no." If these are the main players, put the bag back on the shelf and walk away.
Here's what to avoid:
- Heavy Peat Moss: If "peat moss" is the first or second ingredient, you can bet that mix will hold way too much water. It's the opposite of what you want.
- "Moisture-Retaining Crystals": These polymers are designed to keep soil wet, which is a death sentence for succulents. This is a one-way ticket to root rot.
- Vague "Forest Products": This often means finely shredded wood that decomposes quickly and compacts around the roots, effectively suffocating them over time.
The Feel Test: Evaluating a Mix Before You Buy
Sometimes, the label doesn’t tell the whole story. The best way to judge a soil is to get a feel for it. If the bag is open or has a clear window, take a look. A good mix will look visibly gritty—light, and airy, not dense and heavy like potting soil from the garden center.
A top-tier commercial succulent soil should feel more like a bag of gravel with a little bit of soil mixed in, not the other way around. If it feels dense, damp, or spongy through the bag, it’s not the right choice for your plants.
This hands-on check can save you a lot of future headaches. The right texture ensures that even when you use the best pots for cactus and succulents, the soil inside is doing its job.
How to Amend a So-So Commercial Mix
So what happens if you already bought a bag and it feels a little too dense? Don't toss it! Most commercial "cactus and succulent" mixes are salvageable with one simple trick: add more grit.
Think of it as customizing a pre-made meal to make it perfect. You can easily upgrade a mediocre mix into a fantastic one.
- Start with Your Commercial Soil: Dump the bag into a large bucket or on a tarp.
- Add Your Amendment: For every two parts of the commercial soil, add one part of pumice or perlite. This will immediately boost its aeration and drainage.
- Mix It Up: Stir it all together with your hands or a trowel until the gritty stuff is evenly distributed.
This simple 2:1 ratio is a fantastic rule of thumb that works for most succulents. It’s a quick fix that ensures your store-bought soil will give your plants the healthy, airy home they deserve.
A Practical Guide to Repotting Succulents
Repotting is more than just moving your succulent to a new container. Think of it as a vital health check-up that provides a fresh start with nutrient-rich, airy soil for its roots. Over time, even the best soil mix breaks down, gets compacted, and loses the drainage qualities your plant needs to thrive. Knowing when and how to repot is one of the most important skills you can develop as a succulent owner.
So, how do you know it's time? Your plant will send some pretty clear signals. If you spot roots poking out of the drainage hole, the plant looks comically oversized for its pot, or the soil has shrunk away from the pot's edges, it’s screaming for an upgrade. As a general rule of thumb, plan on repotting every two to four years to refresh the soil and give those roots more room to stretch out.
Selecting the Perfect Pot and Soil
The pot you choose is just as important as the soil that goes inside it. The one non-negotiable feature? A drainage hole. Seriously. Without one, you're basically putting your plant in a bathtub with no drain, which is a fast track to deadly root rot.
When it comes to materials, terracotta is a fantastic, classic choice. It's porous, meaning it breathes, which helps the soil dry out evenly and quickly. A plastic or glazed ceramic pot can work just fine, but they hold onto moisture longer. That makes using a high-quality, gritty succulent mix absolutely essential to prevent waterlogging.
Pot size matters, too. You want to pick one that is only about 10% to 20% wider than the old one. It’s tempting to give your plant a huge new home to grow into, but a pot that’s too large holds a ton of excess soil. All that extra soil stays wet for far too long, dramatically increasing the risk of rot.
Step-By-Step Repotting Process
With your new pot and fresh soil mix at the ready, it's moving day. The whole process is pretty straightforward, but a gentle touch is key to keeping your plant happy and minimizing stress.
- Gently Remove the Plant: Tip the old pot sideways and give it a few gentle taps or squeezes to loosen things up. Try to slide the succulent out, supporting the root ball, rather than yanking on the stem. If it's really stuck, you can run a butter knife around the inside edge to free it.
- Inspect the Roots: Now’s your chance to play plant doctor. Gently tease apart the root ball and crumble away the old, tired soil. Healthy roots are firm and usually white or light-colored. Go ahead and trim off any roots that look black, feel mushy, or are brittle and dried out.
- Prepare the New Pot: I like to place a small piece of mesh screen or a coffee filter over the drainage hole to keep the soil from washing out. Add a layer of your fresh succulent mix to the bottom—just enough so the base of your plant will sit about an inch below the rim of the pot.
- Settle Your Succulent: Center the plant in its new home and start backfilling with your soil mix. As you go, gently tap the pot on your work surface. This helps the soil settle naturally around the roots and gets rid of any big air pockets without you having to pack it down.
Critical Post-Repotting Care
After the move, you'll need to resist your first instinct. This is the most counterintuitive but crucial step of all: do not water your succulent immediately. The roots are probably a little banged up from the process, and watering right away is like an open invitation for bacteria and rot to attack those tiny wounds.
Wait at least 3 to 7 days before giving your plant its first drink in its new home. This waiting period allows any damaged roots to heal and callous over, ensuring a safe and successful transition.
A little patience here is often what separates a successful repotting from a sad, soggy disaster. When you finally do water, give it a good, thorough soak until water flows freely from the drainage hole. Then, let the soil dry out completely before you even think about watering it again.
For those working with these unique plants for the first time, our detailed guide on how to repot cacti and succulents offers even more specialized tips. Follow these steps, and you’ll give your succulent the best possible start in its new home.
Troubleshooting Common Soil Problems
Even with the best intentions and what seems like the perfect soil mix, things can go sideways. Your succulent's leaves are usually the first to tell you something is wrong—they're like a little billboard advertising the health of the roots. Learning to read these signals is the key to catching issues before they become a real disaster.
Most problems boil down to one of two things: soil that stays wet for way too long, or soil that dries out in the blink of an eye. The good news? Both are fixable once you know what to look for.
The Problem of Waterlogged Soil
This is, without a doubt, the number one killer of succulents. When soil is too heavy or compacted, it turns into a swamp. Roots can't breathe, and they begin to suffocate and rot.
Symptoms to Watch For:
- Yellow, Translucent Leaves: You'll notice leaves at the bottom of the plant turning a sickly yellow and looking almost see-through. They'll feel soft and squishy before they drop off.
- Black or Mushy Stem: The base of the stem turns dark and soft. This is a tell-tale sign of advanced root rot, and it’s a major red flag.
- A Damp, Heavy Pot: The pot feels heavier than it should, and the soil surface stays visibly wet for days after you've watered.
If you see these signs, it's time for an intervention. For a mild case, you might get away with increasing airflow and just letting the soil dry out completely. But if you're dealing with a mushy stem or widespread yellow leaves, you have to perform an emergency repot. Get rid of all that old, soggy soil and move your plant into a much grittier, faster-draining mix. The pot itself is just as critical; learn more about why succulents need drainage in our detailed guide.
The Problem of Soil That Drains Too Fast
It might seem strange, but yes, your soil can drain too well. This happens when a mix is so porous that water just rushes straight through, barely giving the roots a chance to grab a drink. It's a less common issue, but it can definitely stress out your plant.
While we hammer home the importance of drainage, the soil still needs to hold on to a little moisture long enough for the roots to absorb it. If water goes in the top and straight out the bottom, your plant is going thirsty.
Symptoms to Watch For:
- Wrinkled or Shrivelled Leaves: The leaves look deflated and feel soft, like a grape slowly turning into a raisin. This is a classic sign of dehydration.
- Slow or Stunted Growth: Your plant just seems stuck. It doesn't put out new leaves or show any signs of growth, even when it should be active.
- A Very Light Pot: The pot feels almost weightless just a day or two after a thorough watering.
Luckily, this is a much easier fix. You just need to amend your mix to improve its water retention slightly. Try mixing in a small amount of an organic component like coconut coir or finely sifted compost. A good rule of thumb is to add about one part coir or compost to every four or five parts of your existing gritty soil. That little bit is usually all it takes to help the soil hold enough moisture to hydrate your plant without putting it at risk of rot.
Frequently Asked Questions About Succulent Soil
Even after you've got the basics down, you'll probably still run into specific questions as you start working with succulent soil. Let's tackle some of the most common ones I hear. These are the quick, practical answers you'll need to solve problems on the go and keep your plants happy.
Can I Just Add Perlite to Regular Potting Soil?
I see this question all the time. While mixing some perlite into standard potting soil is definitely better than using the stuff straight out of the bag, it's really just a band-aid solution. Most all-purpose potting mixes are built on a foundation of peat moss, which is designed to do one thing really well: hold onto water.
Even if you add a bunch of perlite, you can't fundamentally change that water-retentive nature. For the long-term health of your succulents, you’re much better off starting fresh with a proper cactus and succulent mix or blending your own. That way, you control the ingredients and can make sure moisture-retaining components are a minor player, not the main event.
How Often Should I Change My Succulent's Soil?
As a general guideline, plan on repotting your succulents with fresh soil every 2-4 years. Over time, two things happen inside that pot: the roots eventually take up all the space, and the organic bits in the soil (like bark or compost) break down. When that organic matter decomposes, the soil gets compacted, loses its airy structure, and drainage grinds to a halt.
Think of it like a periodic reset. Fresh soil restores that essential airy structure and replenishes the minimal nutrients your succulent needs to continue thriving year after year.
This regular refresh is key to preventing the slow, mysterious decline that often happens when a plant is left in old, tired-out soil for too long.
Can I Use Sand from My Backyard or the Beach?
Please don't! This is a super common question, but the answer is a hard no. Using sand from your yard or a beach is one of the fastest ways to kill a succulent. Beach sand is loaded with salt, which is toxic to plants, and both types of sand have particles that are way too fine and rounded.
Instead of creating drainage, these tiny, uniform sand particles will eventually settle and compact. Before you know it, your soil will turn into a dense, concrete-like block that suffocates the roots. Always, always use coarse horticultural sand that has been washed and graded specifically for potting mixes.
Does My Choice of Pot Affect My Soil Mix?
Absolutely. Your pot and your soil are a team—they work together to manage moisture. The material of your pot has a huge impact on how quickly the soil dries out, so you need to adjust your mix accordingly.
- Terracotta Pots: These are a succulent's best friend. They're porous, meaning they breathe and let moisture evaporate right through the walls. Since they dry out so fast, you can get away with using a soil mix that has a little more organic material without worrying much about root rot.
- Plastic or Glazed Pots: These pots are non-porous, so they trap moisture inside. If you're using one of these, it's critical to use an extra-gritty, fast-draining soil mix to compensate. You need that soil to do all the heavy lifting to prevent the roots from sitting in a bog.
At The Cactus Outlet, we know that getting the foundation right is everything. We offer a premium selection of healthy, vibrant cacti and succulents, all ready for a new home in the perfect soil. Find your next favorite plant today at https://www.cactusoutlet.com.