
Repotting a cactus is one of those simple but crucial tasks that keeps your plant thriving. It's really just about giving it a fresh start in a slightly bigger pot with some new, well-draining soil. This little refresh replenishes vital nutrients and gives the roots more room to stretch out, which is exactly what your cactus needs to stay healthy and keep growing.
So, how do you know when it's time? Your cactus will drop some pretty obvious hints.
Is Your Cactus Ready for a New Home?
Before you even think about reaching for a new pot, let's talk about timing. Moving a cactus can be a bit of a shock to its system, so doing it at the right time is key. But leaving it in a cramped pot for too long will definitely slow it down. The good news is, your plant will tell you exactly when it's feeling squeezed and needs an upgrade.
Learning to spot these signals is the real secret to successful repotting. You don't need a green thumb, just a keen eye.
Reading the Signs
The most blatant sign your cactus needs a new pot? When you see roots making a break for it out of the drainage holes. That's your cactus literally screaming for more space. Another dead giveaway is when the plant gets top-heavy and looks like it could topple over at any moment.
A few other clues that it's time for a move:
- Growth Has Ground to a Halt: If your cactus was growing just fine and then suddenly stopped during spring or summer (its prime growing season), it’s likely out of food and space.
- Water Runs Straight Through: Over time, the soil can get hard and compacted, pulling away from the sides of the pot. When this happens, water just rushes out the bottom without ever reaching the roots.
- You Can't Remember the Last Time: As a general rule of thumb, most cacti benefit from being repotted every 2 to 4 years. This is a great way to refresh the soil and make sure the roots aren't getting tangled up.
It's a surprising statistic, but up to 70% of common cactus problems, from disease to stunted growth, can be traced back to bad soil drainage or nutrient-poor potting mix. A timely repot is one of the best preventative health measures you can take.
The Right Season for the Job
When it comes to repotting, timing really is everything. You want to tackle this job during the plant’s active growing season, which is usually late spring through early summer. Giving your cactus a new home during this growth spurt helps it bounce back so much faster.
In fact, growers have found that repotting during this active window can boost survival and recovery rates by more than 80% compared to repotting in the dead of winter. If you're curious about industry trends, you can find more succulent market insights and best practices from Verified Market Reports. By repotting in spring or summer, you give the roots plenty of time to heal and get settled in their new environment before the plant slows down for its winter rest.
Getting Your Cactus Repotting Gear Ready
Before you even think about pulling that cactus out of its pot, let's get organized. Repotting a cactus is straightforward, but having your tools laid out ahead of time makes the whole process smoother and, frankly, a lot less painful. A little prep work goes a long way.
Your hands are your first priority. Standard gardening gloves just won't cut it against the finer needles—they'll go right through. I always recommend investing in a solid pair of thick leather or suede gloves. They’re worth every penny.
Tools for Taming the Spines
For those extra prickly cacti, you’ll need more than just gloves. The trick is to keep a safe distance while maintaining a firm grip. Over the years, I've found a few household items that work surprisingly well:
- A Folded Towel or Newspaper: Wrap it around the cactus to create a sling. This gives you a secure handle to lift it without getting poked.
- Silicone Kitchen Tongs: Perfect for smaller cacti. They provide a gentle but firm grip that won't bruise the plant.
- Carpet Scraps: For bigger, heavier specimens, a piece of old carpet is a lifesaver. You can get a really solid hold without any risk to your hands or the cactus.
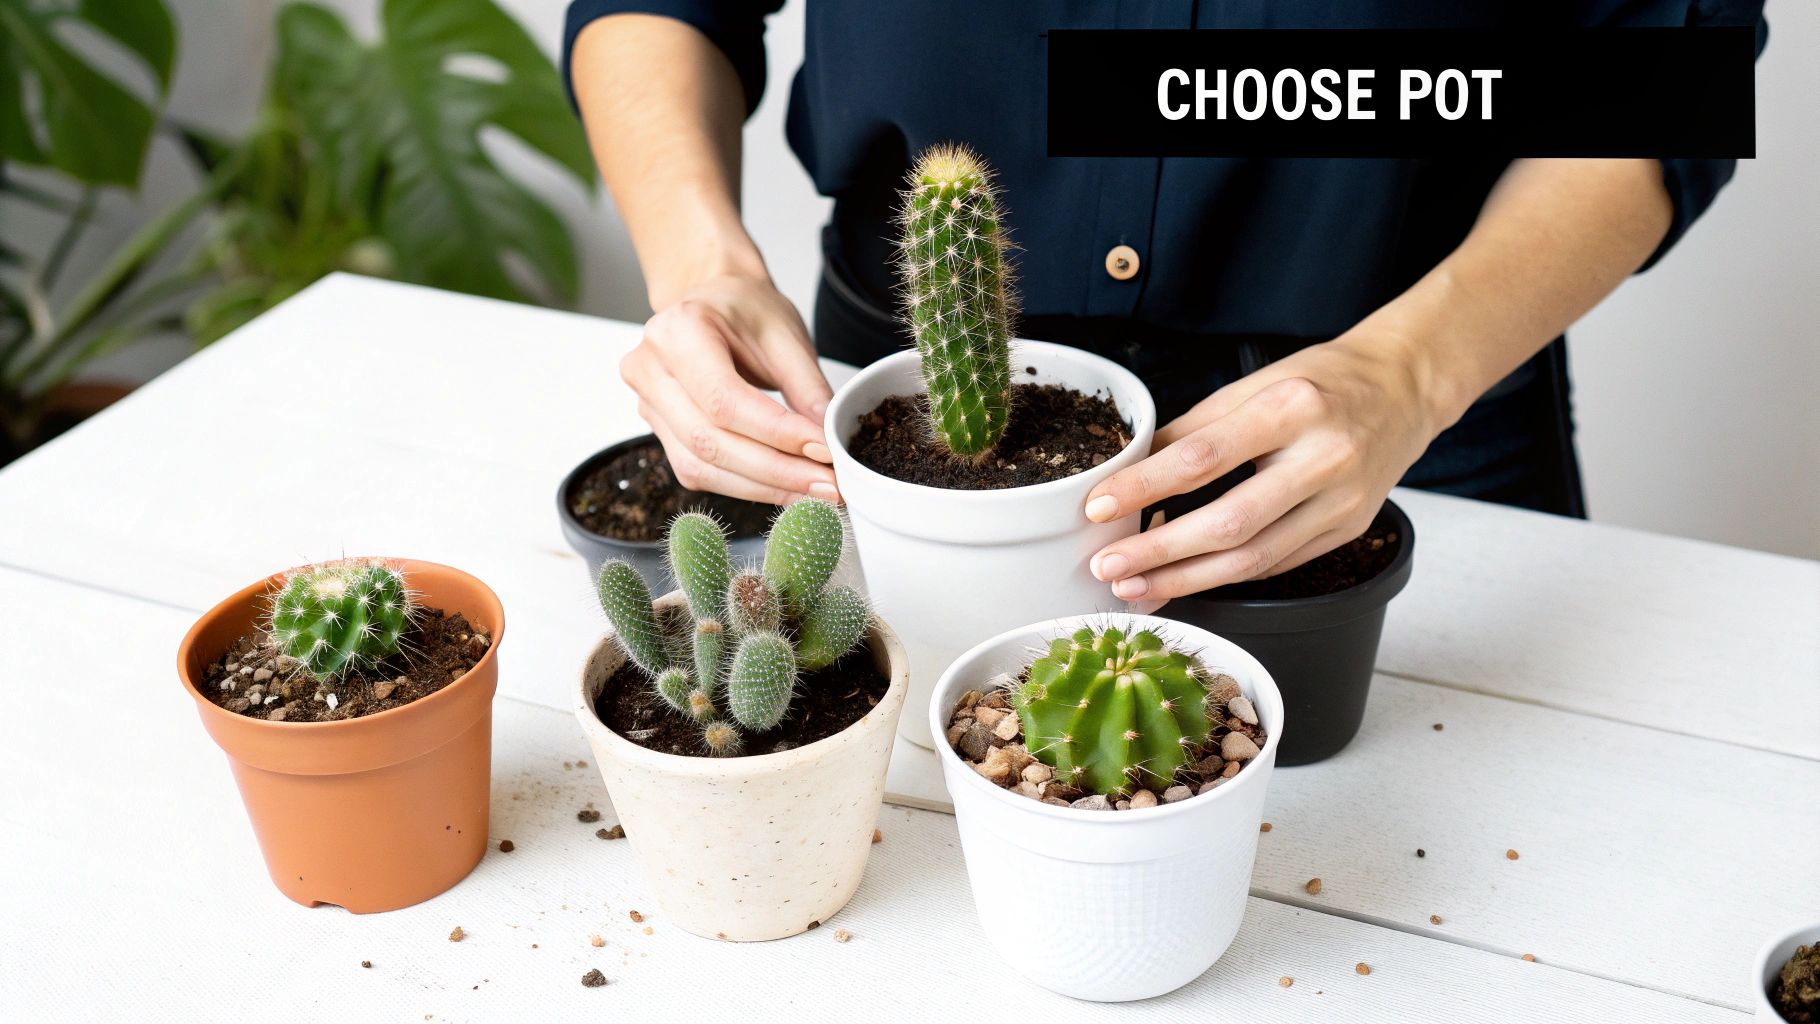
The Right Home for Your Cactus
Once you've figured out how to handle the plant, you need to think about its new home. When choosing a pot, don't go too big. A pot that is only 1-2 inches wider in diameter than the old one is ideal. Anything larger will hold too much water, creating a perfect storm for root rot.
Terracotta pots are my go-to. They're porous, which means they breathe and allow the soil to dry out evenly—exactly what a cactus loves.
Key Takeaway: The single most important element for a thriving potted cactus is the soil. You need a specialized mix with at least 50% inorganic material, like pumice or perlite, to ensure the sharp drainage these plants depend on.
This gritty mixture is the closest you can get to their natural arid environment. If you want to learn more about crafting the perfect blend, our guide to cactus and succulent soil is a great place to start. A small trowel for scooping soil and a simple chopstick for gently loosening the old root ball are the final pieces you'll need.
To make things even easier, here’s a quick checklist to run through before you start.
Cactus Repotting Essentials Checklist
This table breaks down everything you'll need to have on hand for a successful and pain-free repotting session.
| Item | Why You Need It | Pro Tip |
|---|---|---|
| New Pot | Provides fresh space for root growth. | Choose a pot only 1-2 inches wider than the current one. Terracotta is ideal. |
| Cactus Soil Mix | Ensures fast drainage to prevent root rot. | Look for a mix with at least 50% pumice or perlite. Avoid standard potting soil. |
| Thick Gloves | Protects your hands from sharp spines. | Leather or suede offers the best protection against fine, sharp needles. |
| Handling Tools | Allows for safe handling of prickly cacti. | Use tongs, a folded towel, or even carpet scraps for a secure grip. |
| Trowel & Chopstick | For scooping soil and gently working roots. | The chopstick is perfect for teasing apart a tight root ball without causing damage. |
Having these items ready will ensure your cactus makes a smooth transition to its new home.
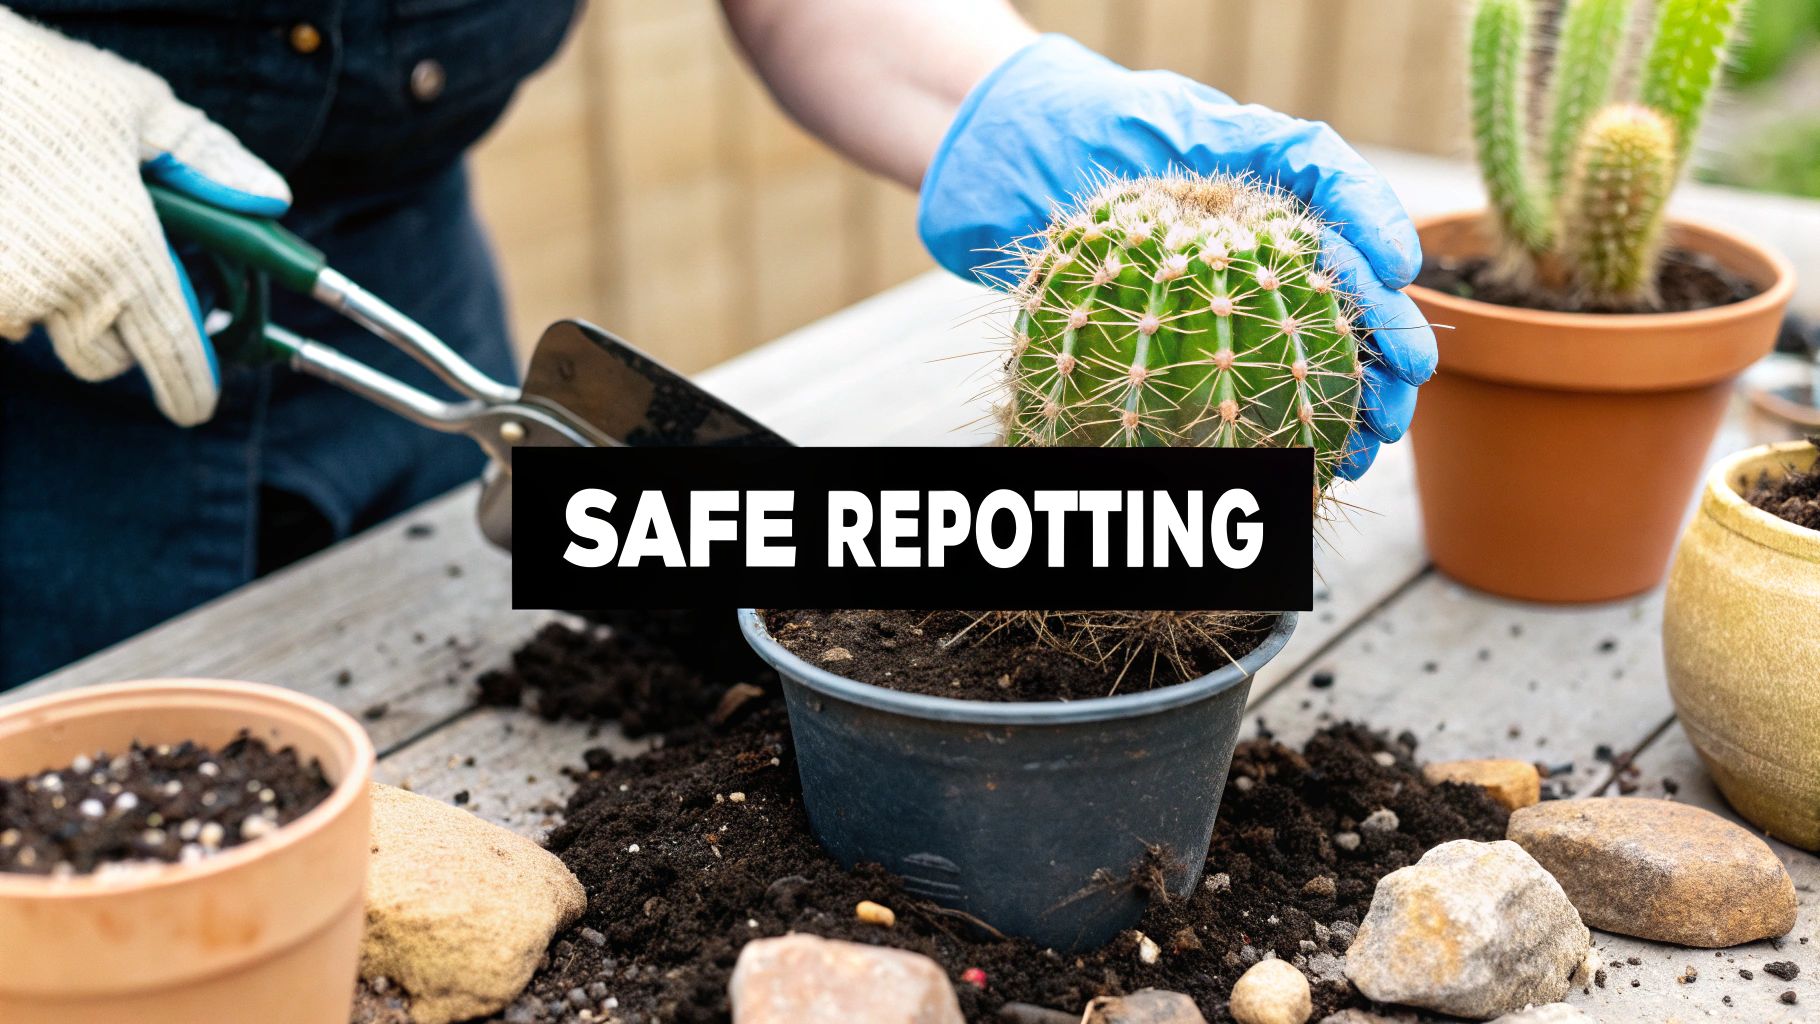
The Gentle, Prick-Free Repotting Method
Alright, with your gear all laid out, it's time for the main event. The real secret to repotting a cactus without a drama (or a trip for tweezers) is to be methodical. Think of it less like yard work and more like a delicate little operation. The goal here is to keep stress low—for both you and the plant—so it can settle into its new home and get back to growing.
First things first, spread out some newspaper. Trust me, it makes cleanup a breeze. Grab your new pot, make sure it’s clean, and add a base layer of your gritty cactus mix. You're aiming for just enough so the bottom of the cactus will sit about an inch below the pot’s rim once it's in place.
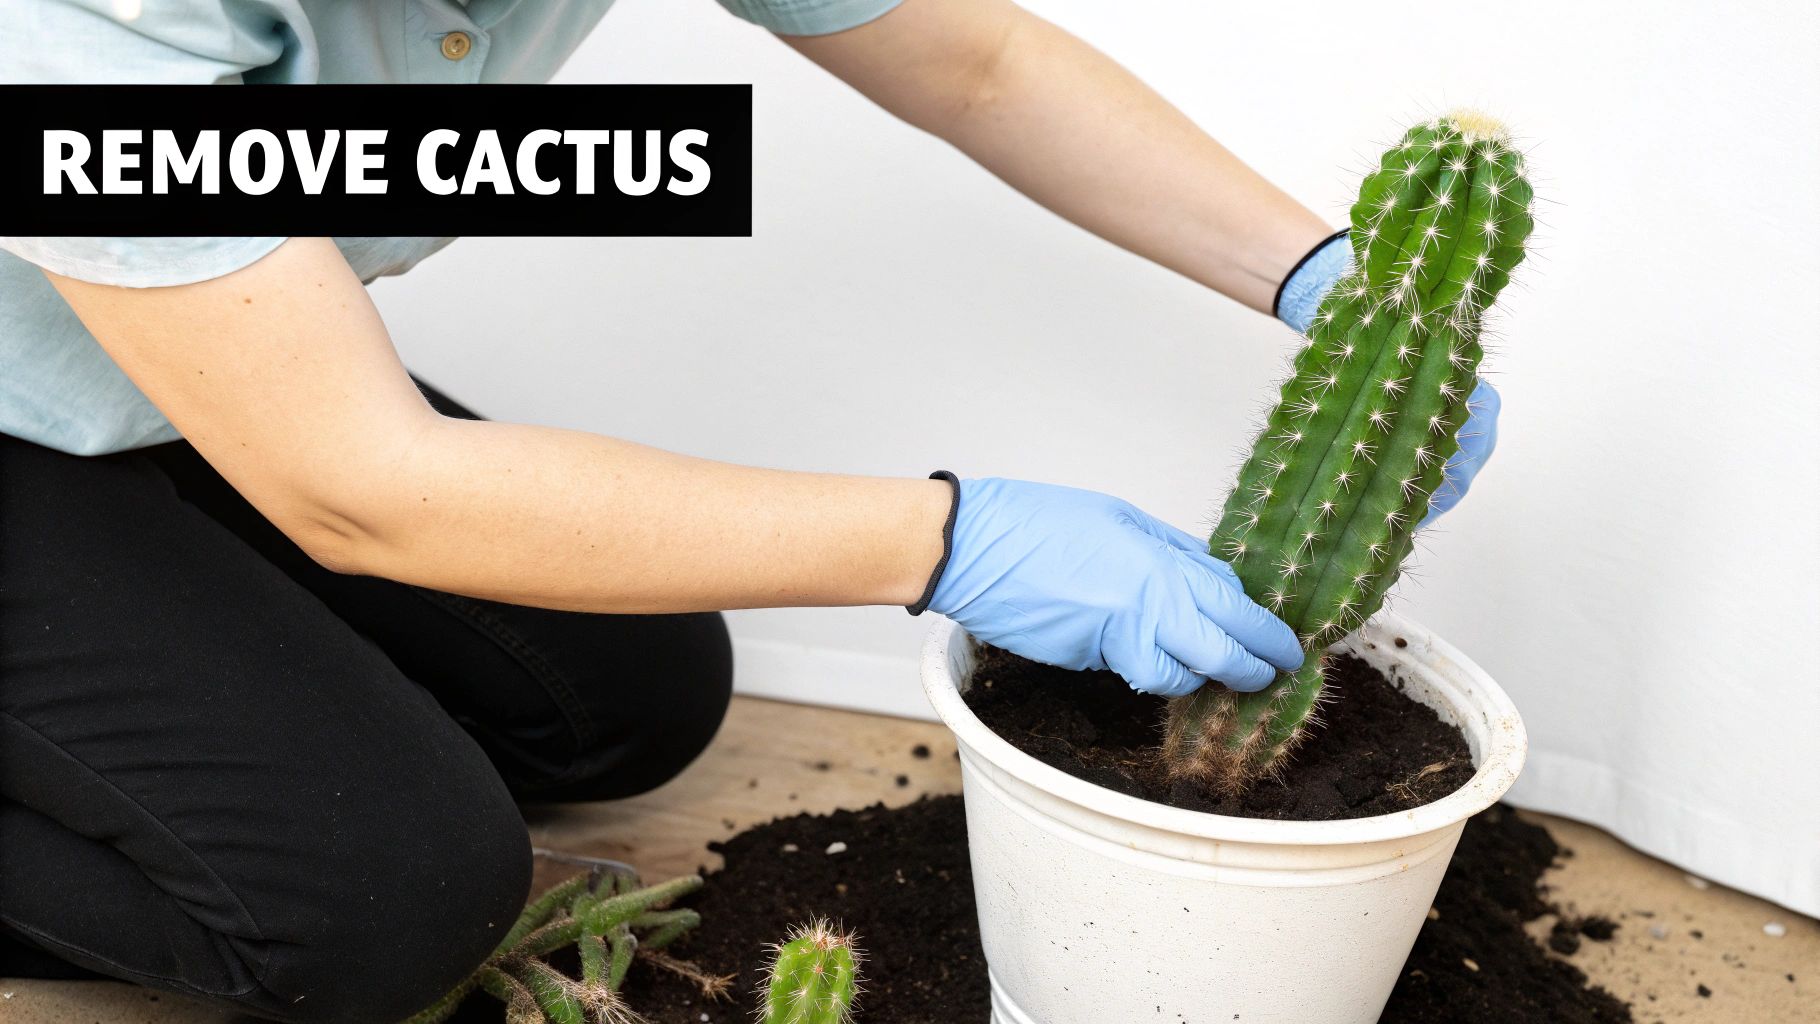
Getting Your Cactus Out of Its Old Pot
Now for the tricky part: extracting the cactus. If you’re dealing with a smaller plant in a plastic nursery pot, a few gentle squeezes around the sides will usually loosen things up. For bigger cacti or those in rigid pots, you might need to run a dull butter knife or even a chopstick around the inside edge to free up the root ball.
This is where your protective gear comes in. Whether you're using thick leather gloves, a folded-up towel, or silicone tongs, get a firm but gentle grip on the cactus. Tip the pot on its side and carefully ease the plant out. Whatever you do, don't yank it. A slow, steady wiggle is always the way to go.
A Tip from Experience: Sometimes a cactus is just plain stuck, usually because it's massively root-bound. If it won't budge, it's honestly better to sacrifice the old pot (especially if it's a cheap terracotta one) than to tear the plant's roots by pulling too hard.
Give Those Roots a Quick Check-Up
Once the cactus is free, gently brush or knock off the old, spent soil from the roots. This is the perfect time to play plant doctor and inspect the root system. You're looking for firm, healthy roots, which are typically an off-white or light tan color.
Keep an eye out for anything dark, mushy, or smelly—that’s a clear sign of rot. Snip any of that away with clean scissors. If the cactus is root-bound (meaning the roots are a dense, tangled mess), you’ll want to gently tease them apart. I use my fingers or a chopstick to loosen them up, which encourages them to grow out into the fresh soil instead of staying in that cramped ball.
This infographic breaks down how to prepare the perfect soil mix, which is the absolute foundation of a successful repot.
Getting the soil right from the start is non-negotiable; it sets your cactus up for healthy roots and proper drainage from day one.
Settling It into Its New Home
Okay, time to plant. Hold the cactus upright in the center of the new pot. Start adding your fresh soil mix around the sides with a small scoop or trowel. Every so often, give the pot a few gentle taps on your workbench. This helps the soil settle naturally around the roots and gets rid of any sneaky air pockets.
Fill the pot until the soil is about an inch from the rim, which leaves you enough room for watering later. Don't press the soil down! Cacti need airy, not compacted, soil to thrive. Once the plant is stable and secure, your job is mostly done. Now it's up to the cactus to get comfortable.
Post-Repotting Care for a Strong Recovery
Alright, your cactus is settled in its new home. But the job's not quite done. Think of the next week or two as a crucial recovery phase. The care you give now makes all the difference in how well your plant bounces back from the stress of being moved.
Here's the most important, and admittedly counterintuitive, rule: do not water it immediately. I know, it feels wrong. But trust me on this. Any tiny nicks or breaks in the roots need time to heal and callous over first. If you introduce water too soon, you’re just inviting rot to set in before the plant can defend itself.
I always tell people to wait about 5 to 10 days before even thinking about watering a newly repotted cactus. This patience is your best defense against post-repotting root rot, which is easily one of the most common mistakes I see.
While it's waiting for its first drink, your cactus also needs the right environment. Don't blast it with intense, direct sun. Instead, find a spot with plenty of bright, indirect light—maybe near a sunny window but just out of the direct rays. A plant that's already stressed from a move can easily get scorched by too much sun.
Watching for Recovery Signs
After that initial waiting period, you can finally give your cactus its first drink. And when you do, go easy. Don't drench the pot; just give it enough to moisten the top layer of soil. For a deeper dive into watering, you can find a complete guide here: https://www.cactusoutlet.com/blogs/blog/how-often-should-you-water-a-cactus
From here on out, it’s all about observation. A happy cactus will show you it's adjusting well.
- You shouldn't see any shriveling or weird discoloration.
- It should feel firm and stable if you give it a gentle nudge.
- Within a few weeks, you might even spot the first subtle signs of new growth—that’s the ultimate confirmation you did a great job.
Cacti have exploded in popularity. It's not just you and me—the global market was valued at around USD 1.2 billion and is expected to more than double to USD 2.5 billion by 2033. This huge surge is fueled by a growing interest in low-maintenance, sustainable indoor plants. It just goes to show how important it is for enthusiasts everywhere to master these fundamental care techniques.
Common Cactus Repotting Mistakes to Avoid
Even seasoned plant parents can make a few common slip-ups when repotting a cactus. The good news is that these mistakes are incredibly easy to avoid once you know what to watch out for.
Let's talk about pots. A classic rookie mistake is grabbing a pot that’s way too big. You might think you're giving your cactus a mansion to grow into, but you're actually creating a recipe for root rot.
An oversized pot holds a ton of extra soil, which stays wet for far too long. Stick to a new pot that’s only 1-2 inches wider in diameter than the old one. It's the perfect size upgrade.
Getting the Planting Depth and Soil Right
Another easy pitfall is burying the cactus deeper than it was in its original nursery pot. The base of the stem is a sensitive area. If you bury it, moisture gets trapped right up against the plant, and you'll get stem rot before you know it.
Your goal is to plant it at the exact same depth it was before. No deeper.
And please, don't use standard potting soil straight from the bag. It's designed to hold water, which is the absolute last thing a cactus wants. You need a gritty, well-draining cactus mix that dries out quickly.
Key Takeaway: If you remember only one thing, let it be this: Do not water your cactus immediately after repotting. Its roots are tender and need time to heal. Give it at least a week to callous over before you even think about reaching for the watering can.
Once your cactus is settled in its new home, the final piece of the puzzle is finding the perfect spot for it. For some great tips, check out our guide on where to put a cactus in your house.
Got Questions About Repotting Cacti?
When you're staring down a spiky plant that needs a new home, it's natural for a few questions to pop up. Every cactus is a little different, and things don't always go by the book. Let's walk through some of the common head-scratchers I hear all the time.
How Much Bigger Should the New Pot Be?
It’s tempting to give your cactus tons of room to grow, but that’s actually one of the biggest mistakes you can make. You want a new pot that is only 1 to 2 inches wider in diameter than the old one.
Why so specific? A pot that’s too large holds way too much soil. That excess soil stays wet for longer, creating the perfect environment for root rot, which is a cactus killer.
What If My Cactus Looks Wilted After Repotting?
Don't panic! A little post-repotting droop is totally normal. It’s a sign of transplant shock, which happens when the plant's tiny, delicate root hairs get disturbed during the move. Your first instinct might be to give it a good drink, but do not water it.
Give your cactus a week or two to chill out in a spot with bright, indirect light. The roots need time to heal from the move, and adding water to damaged roots is a guaranteed way to cause rot. Just be patient and let it recover on its own.
How Do I Handle a Really Tall or Heavy Cactus?
Moving a big, unwieldy cactus is a different ballgame and often requires a bit of planning—and maybe a friend.
- Make a Sling: Grab some old towels, a thick blanket, or even a piece of carpet. Wrap it around the body of the cactus to create a padded sling. This gives you a safe way to grip and maneuver it without getting a handful of spines.
- Team Up: This is a two-person job. One person should use the sling to securely hold the cactus upright while the other focuses on getting the old pot off and settling the plant into its new one with fresh soil.
Knowing how to handle these common situations will help you repot just about any cactus with confidence.
Ready to add a new statement piece to your collection? Explore the stunning, healthy cacti at The Cactus Outlet and find your next spiky friend today at https://www.cactusoutlet.com.