
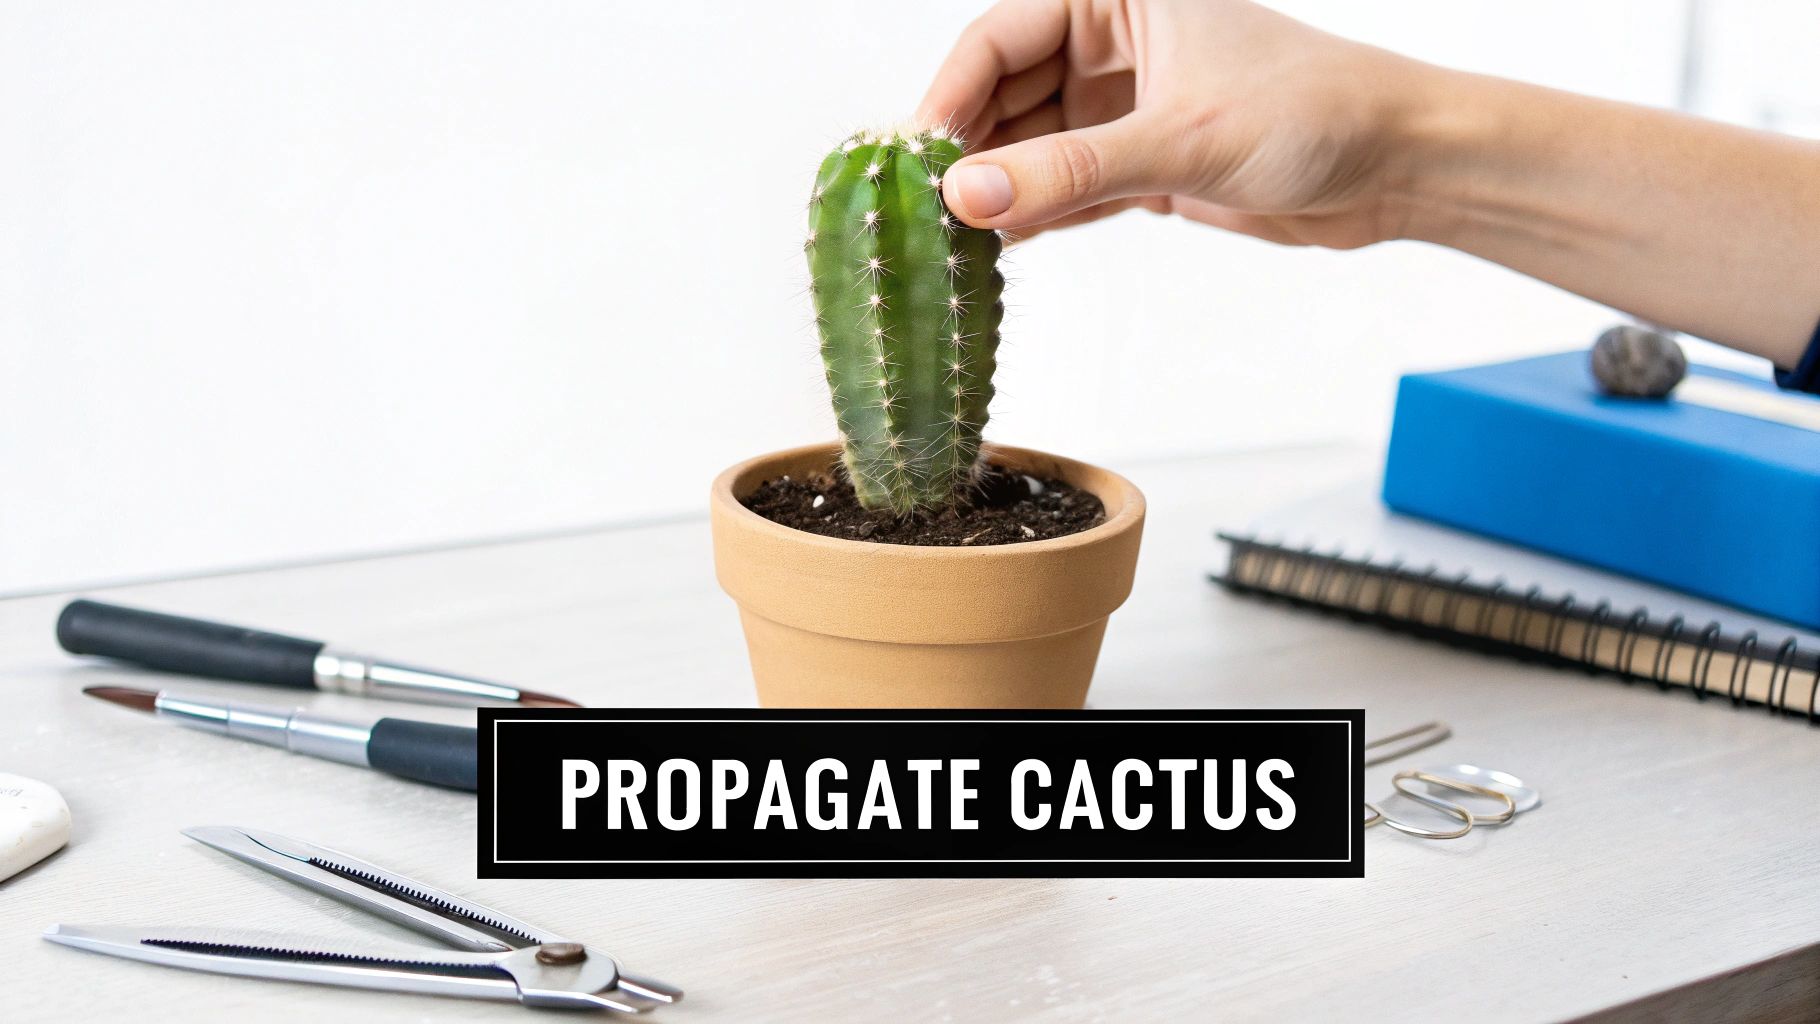
Welcome to the wonderfully rewarding world of cactus propagation! If you've ever wanted to multiply your favorite cactus, you're in the right place. Growing a brand-new plant from a simple cutting is easier than you think and one of the best ways to expand your collection—or share it with friends.
This guide is designed to be your hands-on roadmap. We'll walk through everything you need to know to confidently turn a piece of a parent plant into a thriving, independent cactus.
Your Guide to Propagating a Cactus From a Cutting
Forget the guesswork. We're going to cover the entire process, starting with how to pick the perfect stem or pad and make a clean, healthy cut. From there, I'll show you the crucial step of callusing (it's non-negotiable!) and the best way to plant your cutting so it develops a strong, healthy root system. Let's get our hands dirty.
The Basics of Cactus Propagation
So, what are we actually doing here? At its heart, cactus propagation is just taking a piece of an existing plant and encouraging it to grow into a new one. It works because cacti are incredibly resilient survivors.
When you propagate from a cutting, you're creating a genetic clone of the parent plant. This is fantastic because it means you know exactly what you're getting—the same species, growth habit, and characteristics. It's especially handy for rare, unique, or slow-growing varieties.
The journey breaks down into a few key phases:
- Selection and Cutting: It all starts with choosing a healthy, mature piece of the parent plant.
- Callusing: This is the most important step! We let the cut end dry out to form a protective scab, which prevents rot.
- Planting and Rooting: Once callused, the cutting is placed into the right soil mix to encourage new roots to sprout.
- Nurturing: Finally, we provide the right light, water, and care to help the new plant get established.
Taking stem cuttings is one of the most reliable propagation methods out there, with an impressive 85% success rate for popular types like Barrel and Prickly Pear. In fact, this technique works for about 90% of common cactus species. Just remember to let the cut end callus over in a dry, shaded spot for 1-2 weeks—this simple step prevents rot, which can doom up to 15% of uncallused cuttings. For more details, you can get more details on propagating cactus by visiting this resource.
To give you a clearer picture of what to expect, here's a quick look at the typical timelines and success rates.
Cactus Propagation Success At a Glance
| Metric | Typical Rate / Timeline |
|---|---|
| Success Rate (Stem Cuttings) | 85-95% for common species |
| Callusing Time | 1-2 weeks |
| Initial Rooting Time | 4-6 weeks |
| Time to Established Plant | 6-12 months |
| First New Growth | 2-4 months after potting |
These numbers can vary based on the cactus species, time of year, and your specific growing conditions, but they provide a solid benchmark for the process.
Why Propagate from a Cutting?
While growing from seed is certainly an option, using a cutting gives you some major advantages. For starters, it’s so much faster. A cutting can become a well-rooted, growing plant in a fraction of the time it takes for a seed to even germinate. I’ve seen a Mexican Fence Post cutting push out multiple new stems in under a year—a milestone that would take ages to reach from seed.
This method is also a fantastic way to rescue a beloved plant. If your cactus is struggling with root rot or has a broken arm, taking cuttings can give it a second chance at life. It’s an incredibly economical way to build your collection and a deeply satisfying process that connects you more to your plants.
Choosing and Preparing Your Cactus Cutting
It all starts with the parent plant. To give your new cactus the best shot at life, you need to pick a healthy, strong piece to become your cutting. Think of it like a head start—a vigorous cutting has all the energy it needs to focus on growing roots.
Walk around the parent plant and look for a stem or pad that's got great color and looks firm and plump. Steer clear of anything that seems shriveled, discolored, or has any squishy spots. Those are red flags for stress or disease and will likely just rot on you.
Making the Cut
How you snip your cutting really depends on the cactus you're working with.
For those with flat pads, like a Prickly Pear (Opuntia), you can often just gently twist a pad right off at the joint. A healthy pad will usually pop off cleanly. If it puts up a fight, don't just yank it; use a clean, sharp knife to help it along.
Columnar cacti, like the classic Mexican Fence Post, are a different story. You'll need to make a clean slice straight across the stem with a sterile knife or even a small saw for thicker specimens. A clean cut is non-negotiable. Using a dirty blade is probably the number one way people accidentally introduce fungus or bacteria, which will doom your cutting from the start.
My Two Cents: Seriously, sterilize your tools. Before and after every single cut. A quick wipe with rubbing alcohol is all it takes to prevent a world of heartache. It protects the parent plant from infection and gives your cutting a clean slate.
For columnar types, I always aim for a piece that’s at least four to six inches long. That size gives the cutting enough oomph to survive the rooting process, which can take a while.
What Makes a Perfect Cutting?
Not every piece of a cactus is prime propagation material. I've learned over the years to be picky, and it pays off. Here’s what I look for:
- Good, Healthy Color: You want a deep, vibrant green (or even purple for some Opuntia species). It shows the cutting is healthy and full of chlorophyll.
- A Firm Feel: Give it a gentle squeeze. It should feel solid and full of water, not soft, mushy, or dried out.
- Zero Blemishes: Scan the surface for any freeloaders like scale or mealybugs. Also, pass on any pieces with weird scars, cuts, or dark spots that could be the start of rot.
- The Right Age: Don't go for the old, woody growth at the very bottom of the plant—it’s slow to root. On the flip side, avoid the super new, soft growth at the tips. It often doesn't have the energy reserves to make it.
Taking a few extra minutes to find that perfect piece is the most important thing you can do. By starting with a great cutting and preparing it properly, you're setting yourself up to grow a cactus from a cutting that will be with you for years. A little patience now saves a lot of trouble later.
The All-Important Callusing Step: Why Patience Pays Off
So, you’ve made the perfect cut. Now comes the hard part: waiting. Before that cutting gets anywhere near soil, it absolutely must form a callus. This is just a dry, hardened layer that seals off the open wound where you made the cut.
Think of it like a scab. Without that protective seal, the moist, fleshy inside is a wide-open door for fungus and rot-causing bacteria. Sticking a fresh, wet cutting straight into soil is probably the single biggest mistake people make, and it’s a surefire way to end up with a mushy mess.
Getting the callus to form is easy. Just lay your cutting down in a dry spot with good air circulation, but keep it out of direct sun. A shady spot on a porch or a well-lit windowsill that doesn't get direct rays is perfect. The sun can literally scorch the vulnerable tissue.
How long does it take? It really depends. A small Opuntia pad might be ready in a week, but a thick, chunky section from a columnar cactus could take several weeks or even a month. You'll know it's ready when the cut end is completely dry to the touch, feels firm, and might even look a little indented or concave. Don't rush this part!
This simple visual breaks down those crucial first moves.
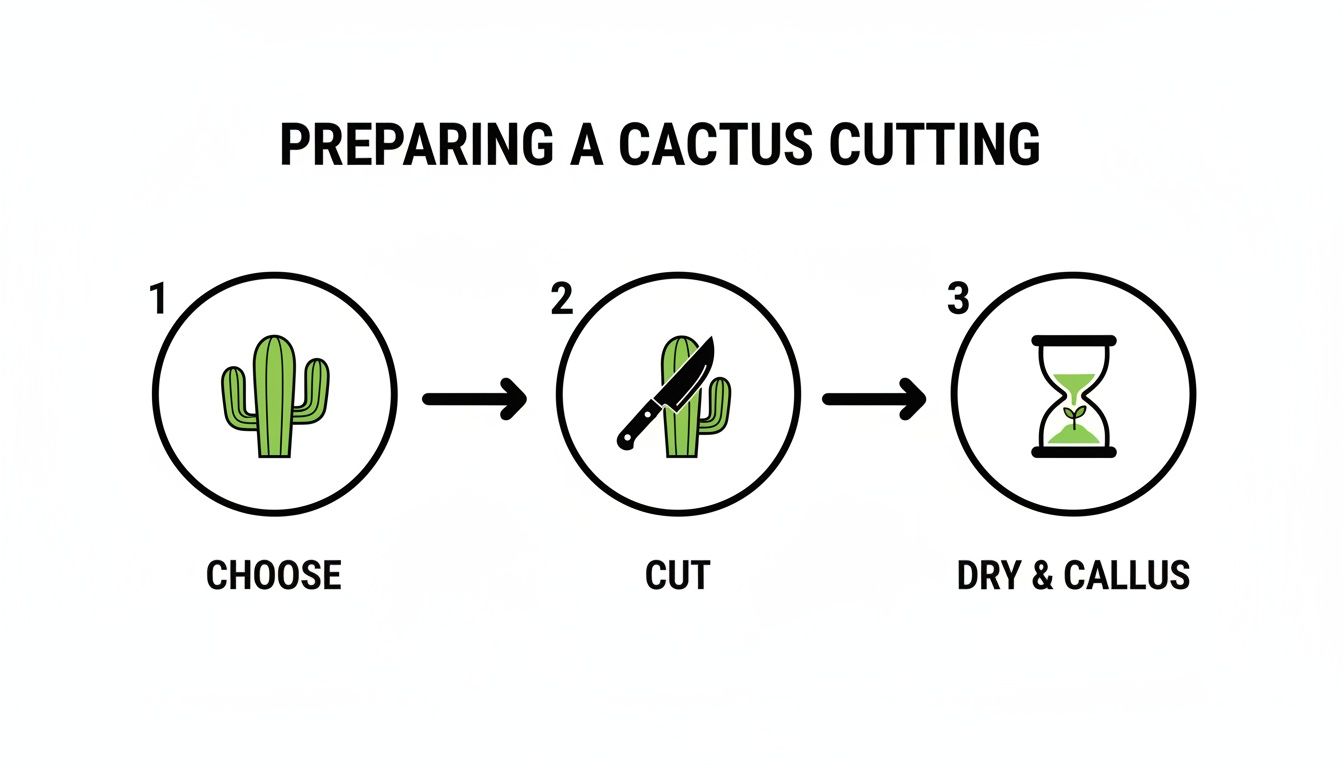
As the guide shows, picking a good piece, cutting it cleanly, and letting it dry properly are three distinct and equally important stages for getting your propagation right.
Getting the Pot and Soil Ready
Once your cutting is fully callused and ready for its new home, it's time to think about the environment. The pot and soil you choose are just as important as the callusing process. Cacti absolutely hate sitting in water—what we call "wet feet"—so your main goals here are drainage and breathability.
Terracotta pots are a classic for a reason. The clay is porous, which means it breathes and allows moisture to evaporate through the sides of the pot, helping the soil dry out faster and more evenly. Whatever you use, make sure it has at least one good-sized drainage hole in the bottom. No exceptions.
Your soil mix needs to be as close to a cactus's natural, gritty habitat as possible. Straight-up potting mix from a bag is a death sentence; it holds way too much water and will lead to rot almost every time. You're looking for something that water flows right through.
Mixing the Perfect Cactus Soil
The best cactus soil is a simple blend of organic and inorganic stuff. This gives the plant a little bit to eat but focuses on the sharp drainage that new roots need to thrive. A fantastic, easy-to-remember recipe is a one-to-one-to-one ratio of potting soil, coarse sand, and perlite or pumice.
Here's a simple way to build your own mix:
- 1 part potting soil: This is your organic base.
- 1 part coarse sand: Adds weight and improves drainage. Make sure it's coarse, not fine play sand.
- 1 part perlite or pumice: These lightweight volcanic rocks create air pockets in the soil, preventing it from getting compacted and waterlogged.
If you want to get more advanced or prefer a pre-bagged option, there are plenty of great choices. We go into a lot more detail on the science behind the perfect blends in our guide on how to make cactus soil.
With your soil mixed and your pot filled, gently stick the callused end of the cutting about one to two inches deep into the soil. You don't need to bury it far—just deep enough so it can stand up on its own. Now, the real waiting game begins: waiting for roots.
Giving Your Cutting the Nudge It Needs to Root
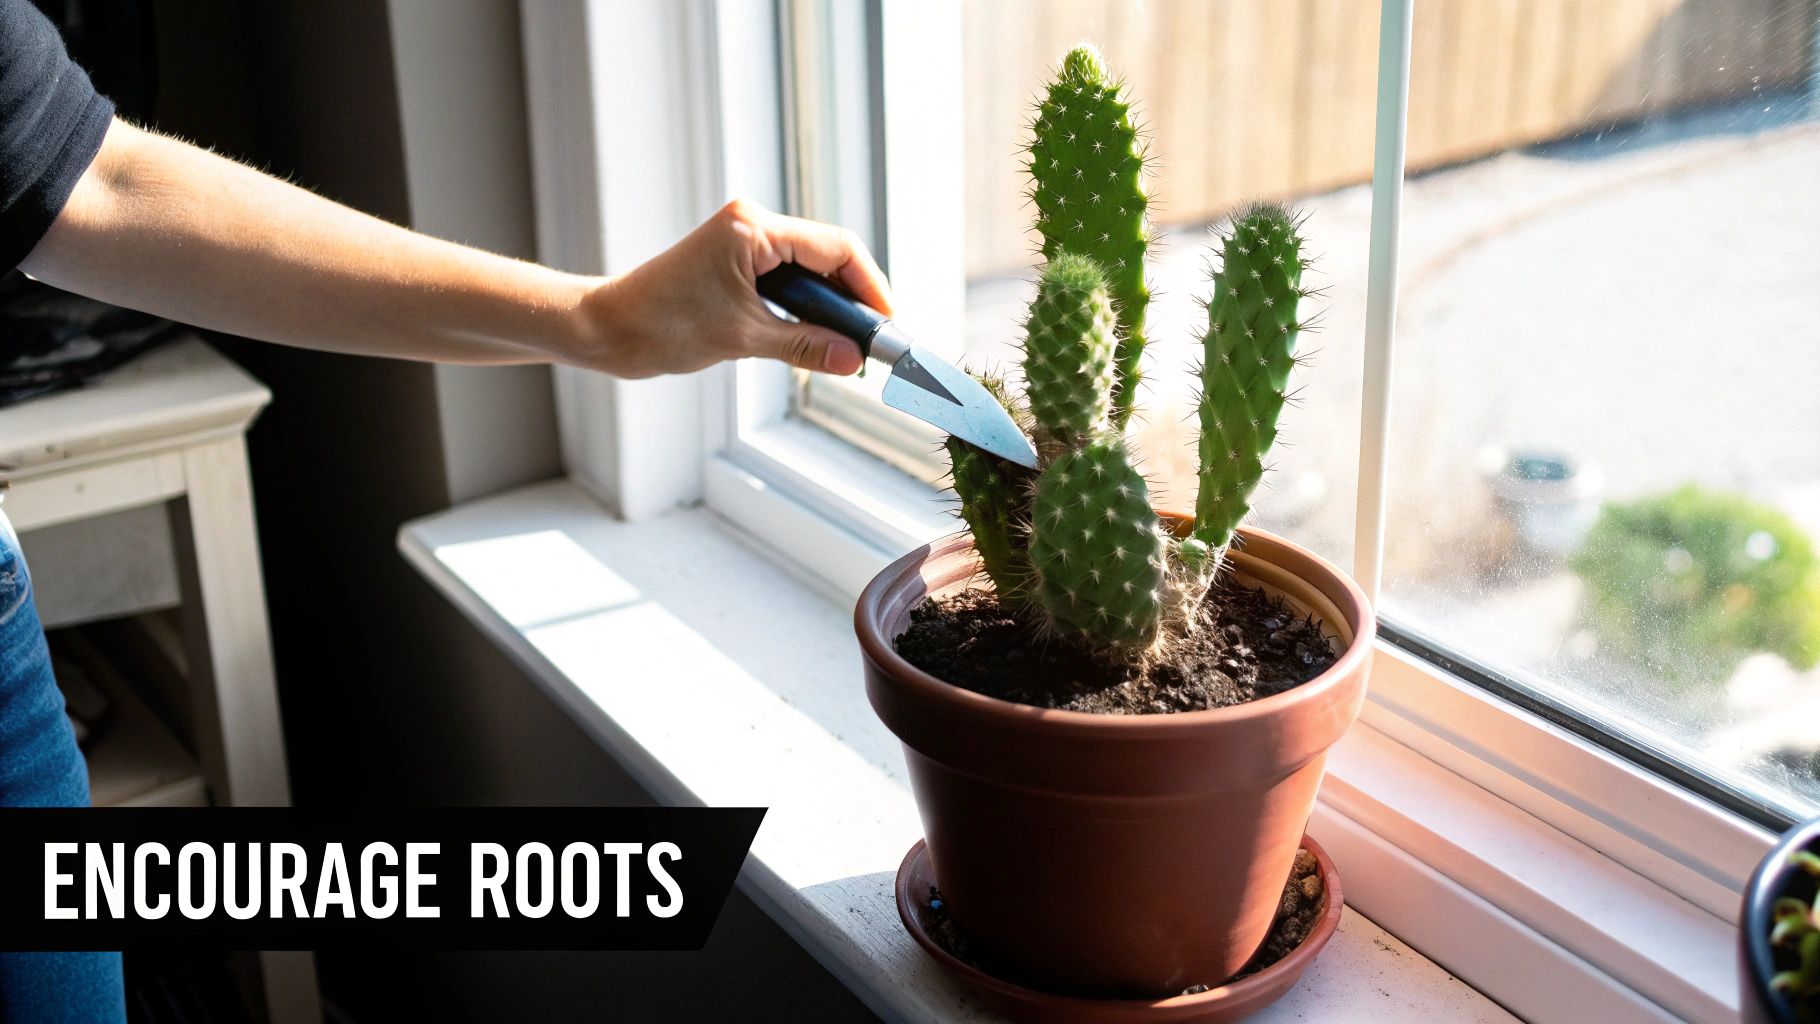
Alright, your callused cutting is potted and ready. This next part is where your patience really comes into play. It's so tempting to water it right away, thinking you're giving it a helpful drink to get started. Don't do it! This is hands-down the most common—and fatal—mistake I see people make.
Think about it: a cutting has zero roots. It can't absorb any water you give it. By soaking the soil, all you're doing is creating a damp, stagnant environment around the base of your cactus, which is a prime invitation for rot to set in. You need to fight that instinct to water. Give it at least two to four weeks in dry soil. This forces the cutting to get to work and send out its own roots in search of moisture it needs to survive.
Let There Be (Indirect) Light
Just as crucial as holding off on water is getting the light right. Your cutting is in a vulnerable state and can't handle the harsh, direct sun you might give an established cactus. Too much intense light will just scorch the poor thing and drain its energy reserves, making it much harder to focus on growing roots.
Find a spot that gets plenty of bright, indirect sunlight. A north-facing windowsill is often perfect, or maybe a spot on a table a few feet away from a sunnier window. You want to provide enough light to fuel the process without cooking the plant.
The First Sip of Water
After a few weeks have gone by, you can check for progress. I use what I call the "gentle wiggle test." Give the cutting a very, very light tug. If you feel a bit of resistance, that's a great sign! It means roots are forming and grabbing hold of the soil. If it still moves freely, just leave it be and give it more time.
Once you feel that resistance, it's finally time for its first drink. And I mean a sip, not a downpour. Moisten the soil lightly; don't saturate it. From this point on, let the soil dry out completely between waterings. If you're ever unsure about watering, our complete guide to cactus plant watering has you covered.
Here's the thing to remember: Your cutting is a survivalist. It has stored all the water and nutrients it needs to push out new roots. Your job isn't to force it, but to create the right environment and then get out of the way.
The whole rooting process can feel slow, often taking anywhere from four to eight weeks, sometimes longer depending on the cactus species and your home's conditions. Keep an eye out for subtle signs of success—the cutting might look a little plumper, or you might see the tiniest speck of new growth on top. Getting through this stage is the final hurdle to successfully grow a cactus from a cutting and add a new, thriving plant to your collection.
Troubleshooting Common Propagation Problems
Even with the best of intentions, things can go wrong when you're trying to grow a cactus from a cutting. Don't let it discourage you! Most issues are surprisingly easy to fix if you catch them early enough. The absolute biggest enemy you'll face is rot, a sneaky problem that can turn a beautiful, promising cutting into a pile of mush.
Spotting rot is the most important skill to learn. Keep an eye out for any discoloration at the base of the cutting, especially dark brown or black spots. If you give it a gentle squeeze and it feels soft and squishy instead of firm, that’s a serious red flag. This almost always comes down to two things: watering way too soon or planting a cutting that wasn't fully callused over.
What to Do About Rot
If you even suspect rot, you need to act fast. Pull that cutting out of the soil immediately and get a good look at the damage. If only a small part of the base is affected, you've got a good chance of saving it.
Take a sterile, sharp knife and carefully slice off the rotted section. You have to be ruthless here. Keep making small slices until you see only healthy, clean, green tissue with absolutely no dark spots. Think of it like a little plant surgery—you have to get all the infected tissue, or the rot will just keep spreading. Once that's done, you have to start the whole callusing process over again before you can even think about replanting it.
The number one reason propagation fails is rot from watering too early. A cutting has no roots to absorb water, so moisture just sits there, creating a perfect breeding ground for fungus and bacteria. Always, always wait until you feel resistance from a gentle tug before offering that first drink.
Other Common Concerns
Not every little hiccup is a sign of doom. A cutting might start to shrivel or wrinkle, which can look alarming, but it's often a normal part of the process.
- Shriveling: A little bit of wrinkling is usually just the cutting using its own stored water to push out new roots. I actually see this as a good sign—it means it's working hard below the surface!
- No Roots: Patience is a virtue, especially with cacti. Some species, particularly large columnar cuttings, can take months to finally root. As long as the cutting is firm and healthy-looking, just leave it be and give it more time.
- Falling Over: If your cutting keeps tipping over, it’s probably either too top-heavy or not planted deep enough. An easy fix is to use a few small rocks, chopsticks, or bamboo stakes to prop it up until it develops strong anchor roots to hold itself steady.
Learning to spot and solve these little issues is what turns a beginner into a pro. Here’s a quick-reference table to help you diagnose what’s going on with your cuttings.
Common Propagation Issues and Solutions
| Symptom | Potential Cause | Solution |
|---|---|---|
| Mushy, black base | Fungal or bacterial rot from excess moisture or an un-callused cut. | Act immediately. Cut off all rotted tissue with a sterile knife until only healthy tissue remains. Allow the cutting to re-callus for 1-4 weeks before replanting. |
| Wrinkled or shrunken body | The cutting is using its stored energy and water to produce roots. | This is usually normal. Do not water it. Be patient and wait for roots to form before providing any moisture. |
| No new growth or roots after months | The cutting is dormant, the environment is too cold, or it's a slow-growing species. | Ensure the cutting is in a warm, bright location. Be patient, as some species can take 6+ months to root. As long as it's firm, it's fine. |
| The cutting keeps falling over | It’s too top-heavy, the pot is too shallow, or it's not planted deep enough. | Plant the cutting at least 1-2 inches deep. Use bamboo stakes or small rocks around the base to provide support until it anchors itself with roots. |
| White, fuzzy mold on the soil surface | The soil mix is staying too damp or there's poor air circulation. | This is usually harmless saprophytic fungus. Scrape it off, let the soil dry out completely, and increase airflow in the room. Do not water. |
Successfully navigating these hurdles is part of the fun of propagation. By learning to read your cutting’s signals, you'll be able to troubleshoot any problem and turn potential failures into a collection of thriving new plants.
What to Do Once Your Cactus Cutting Has Roots
You did it! Seeing those first roots emerge is a huge milestone. Now, your little project is well on its way to becoming a brand-new, independent plant. The first visual cue you'll often see isn't the roots themselves but a sign of new growth up top—a tiny green nub appearing or the cutting starting to look a bit plumper. That’s your signal that things are working underground.
Now that it has roots, it's time to start thinking about sunlight, but you have to go slow. A freshly rooted cactus is still quite tender. Don't just stick it out in the blazing afternoon sun, or you’ll scorch it. Start with an hour or two of gentle morning light and gradually increase the exposure over a couple of weeks. This "hardening off" process is crucial for preventing sunburn and stress while the plant builds up its natural defenses.
Settling Into a Long-Term Care Routine
With a root system starting to take hold, your cactus is ready for a more regular watering routine. The golden rule is simple: soak the soil completely, then let it dry out all the way before you even think about watering again. For most cacti living indoors, this usually works out to once every 2-3 weeks, but don't just follow the calendar. Always stick your finger in the soil to check first.
For a deeper dive into long-term care in containers, our guide on potting succulent cuttings has you covered.
Once you’ve seen consistent new growth for a month or two, it’s safe to introduce a little fertilizer. A diluted, low-nitrogen formula is best. I usually mix it at half or quarter strength and apply it just once a month during the active growing season in spring and summer. That's all the boost it needs.
Don't get discouraged if growth seems slow at first. Cacti are marathon runners, not sprinters. The transformation over a few years can be stunning, turning a single piece into a multi-stemmed giant.
It's amazing to watch this happen. For instance, I remember seeing a single Mexican fencepost cutting grow from one lonely spear into a multi-armed specimen in just three years in a garden out in the Southwest. If you want some inspiration, you can see the incredible three-year growth journey of this cactus cutting for yourself.
Your new cactus will likely be happy in its current pot for at least a year, maybe longer. You'll know it's time to size up when you see roots peeking out of the drainage hole or when the plant starts to look top-heavy and a bit wobbly. When that day comes, just move it to a pot that’s the next size up to keep it growing strong.
Your Cactus Cutting Questions, Answered
Taking a piece of a cactus and turning it into a whole new plant is incredibly rewarding, but it's totally normal to have questions, especially if you're just starting out. I've been doing this for years, and these are the most common things people ask me.
How Long Until My Cactus Cutting Has Roots?
Patience is key here. You can generally expect to see roots forming within 4 to 8 weeks. Keep in mind, this is just a ballpark figure—the exact timing really depends on the cactus species, how big the cutting is, and how warm and bright its spot is. Some just take their sweet time.
A good way to check without disturbing things too much is the "tug test." After about a month, give the cutting a very gentle wiggle. If you feel a little bit of resistance, that's a fantastic sign! It means roots have started to grow and are grabbing onto the soil.
Should I Put My Cactus Cutting in Water to Root?
I get this question a lot, and the answer is a firm no. Rooting a desert cactus in water is a recipe for disaster. These plants are built for dry conditions, and sitting in water makes them incredibly prone to rot. More often than not, you'll just end up with a mushy, rotten base that can't be saved.
My best advice: Stick to the tried-and-true method. Let the cut end of your cutting dry out and form a hard callus. Once it's properly sealed, plant it directly into a dry, gritty soil mix. This gives you the best shot at healthy roots without any risk of rot.
What's the Best Time of Year to Take Cuttings?
For the best results, you'll want to take your cuttings during the plant's active growing season. Think late spring through the summer. This is when the cactus is full of energy, and the warmer weather and longer days provide the perfect boost for both callusing over and pushing out new roots.
If you try to take a cutting in the middle of winter when the plant is dormant, you're fighting an uphill battle. The whole process will be much, much slower, and your chances of success drop quite a bit.
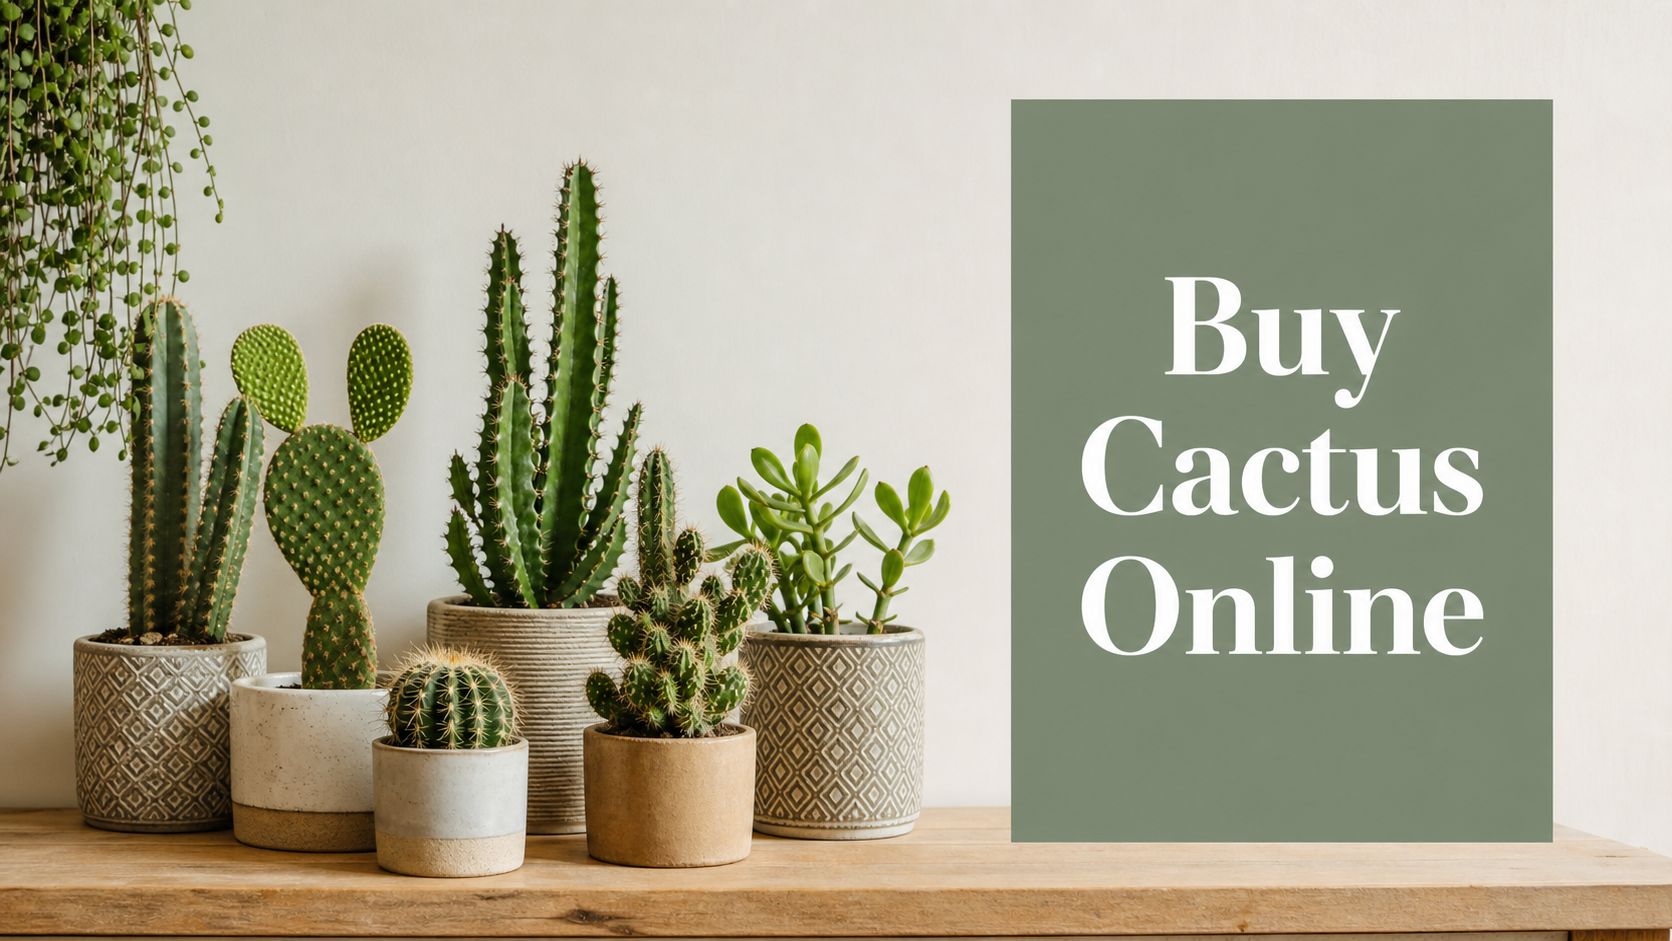
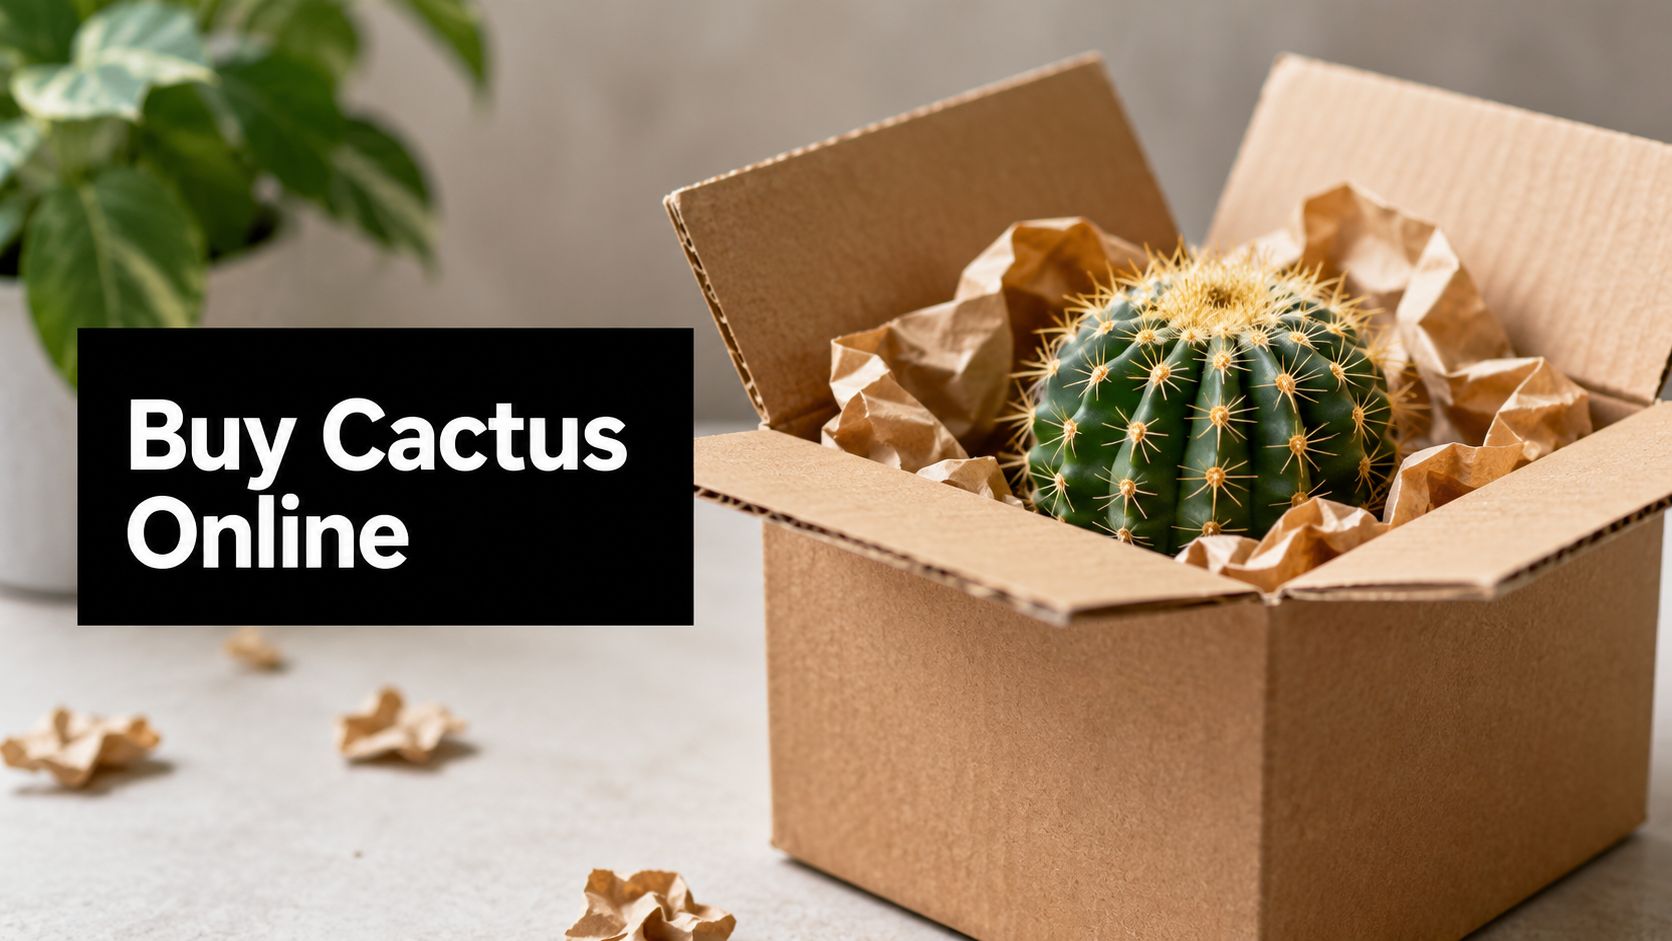
Ready to grow your collection? Find the perfect "parent" plant at The Cactus Outlet, where we ship healthy, beautiful cacti right to your home. Check out our selection and get started at https://www.cactusoutlet.com.