When you see your cactus starting to look unwell, it’s easy to panic. But the most important thing you can do is take a breath and act deliberately. More often than not, a dying cactus is crying out for help because of root rot from too much water, but jumping in too quickly can make things worse. Your best shot at a successful rescue happens when you act within the first 24 hours.
Your First 24 Hours With a Dying Cactus
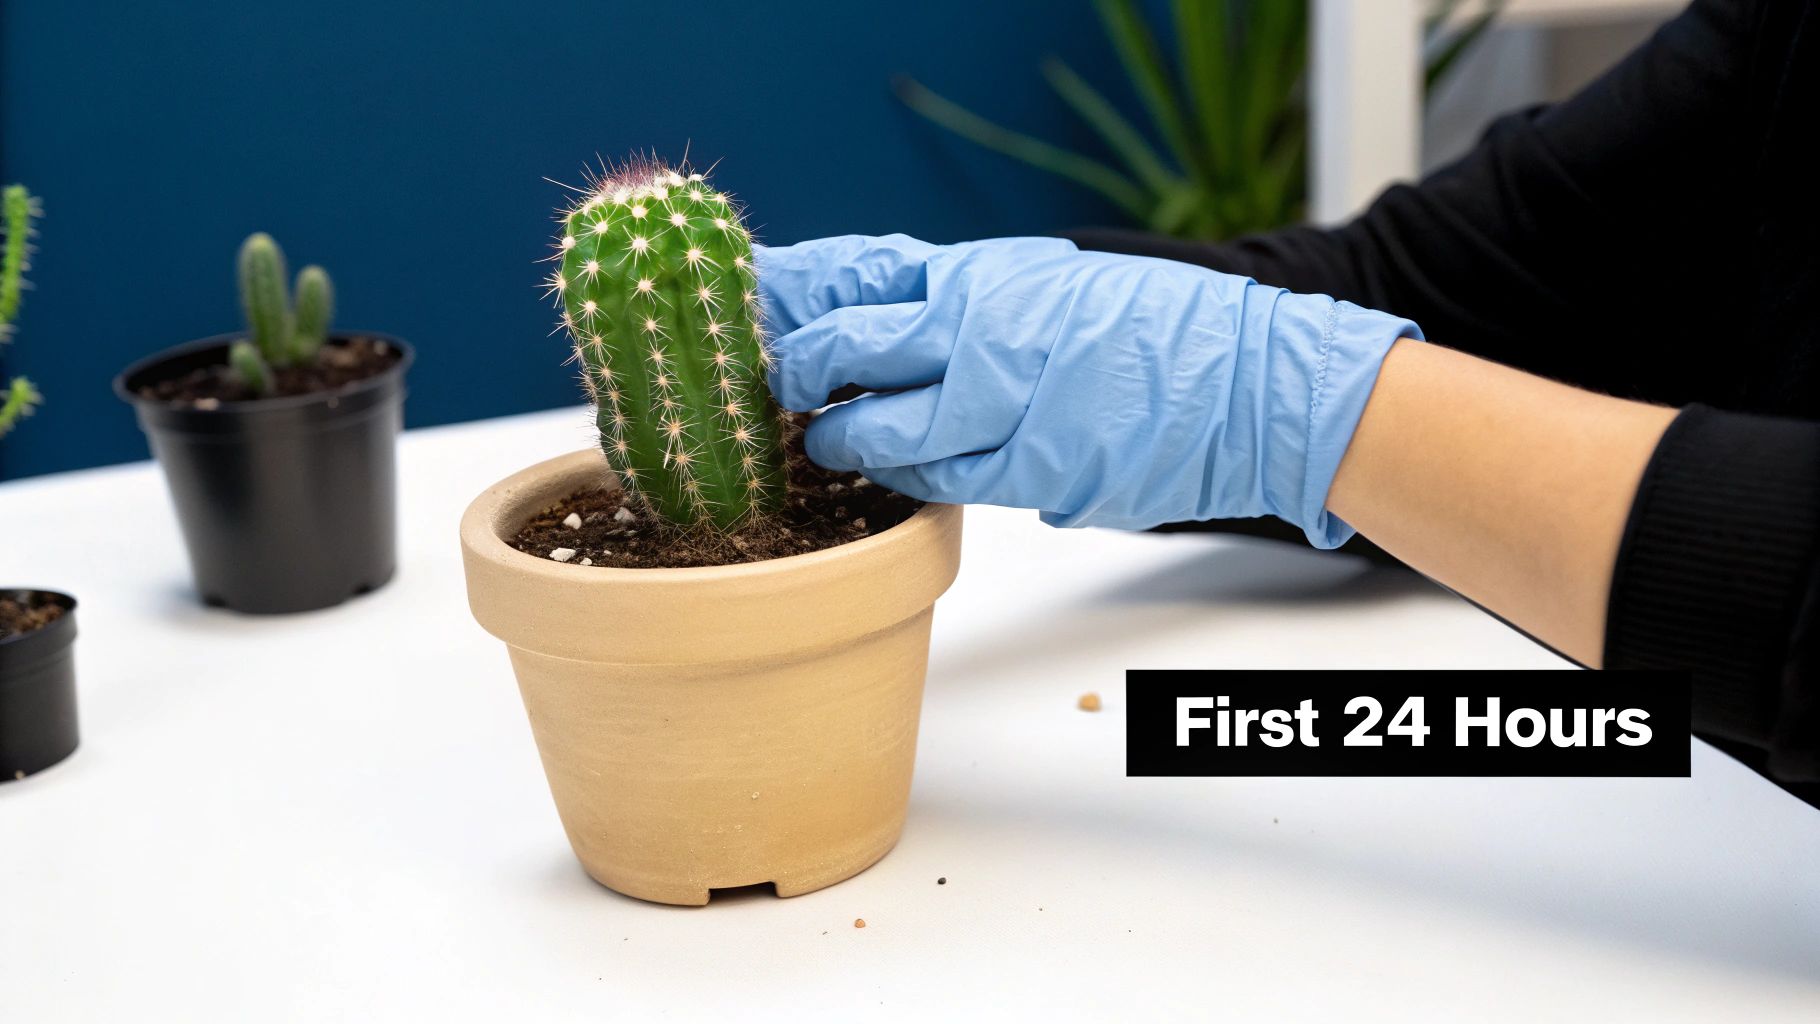
That moment you notice your once-thriving cactus is suddenly limp, discolored, or mushy can feel like a major plant-parent fail. Before you write it off, know that this initial 24-hour window is your critical triage period. The goal isn't a full-blown intervention just yet; it's all about stabilizing the patient and figuring out what’s wrong.
First things first: get that cactus away from your other plants. Isolate it immediately. If you're dealing with pests or a fungal infection, this simple step is your best defense against a collection-wide outbreak. Find a spot with good light where it can be alone and you can keep a close eye on it.
Gently Assess the Symptoms
Now it's time to play detective. Take a close look, but fight the urge to yank it out of its pot for "emergency surgery." A frantic repotting can shock an already stressed plant, doing more harm than good. Instead, start with a simple visual and touch test to gather clues.
Carefully feel the base of the cactus near the soil line. A healthy, happy cactus will feel solid and firm. If it’s soft, squishy, or feels wobbly in its pot, you're almost certainly looking at root rot. This is the number one killer of cacti and is nearly always caused by overwatering. If you're unsure about your routine, you can get a great refresher on proper cactus plant watering to prevent this from happening again.
Keep an eye out for these other tell-tale signs:
- Yellowing or Browning: Discoloration that starts at the bottom and creeps upward is a classic symptom of overwatering.
- Shriveling: This can be tricky. While it often means a plant is thirsty, a cactus that is both shriveled and soft has roots that are too rotten to drink.
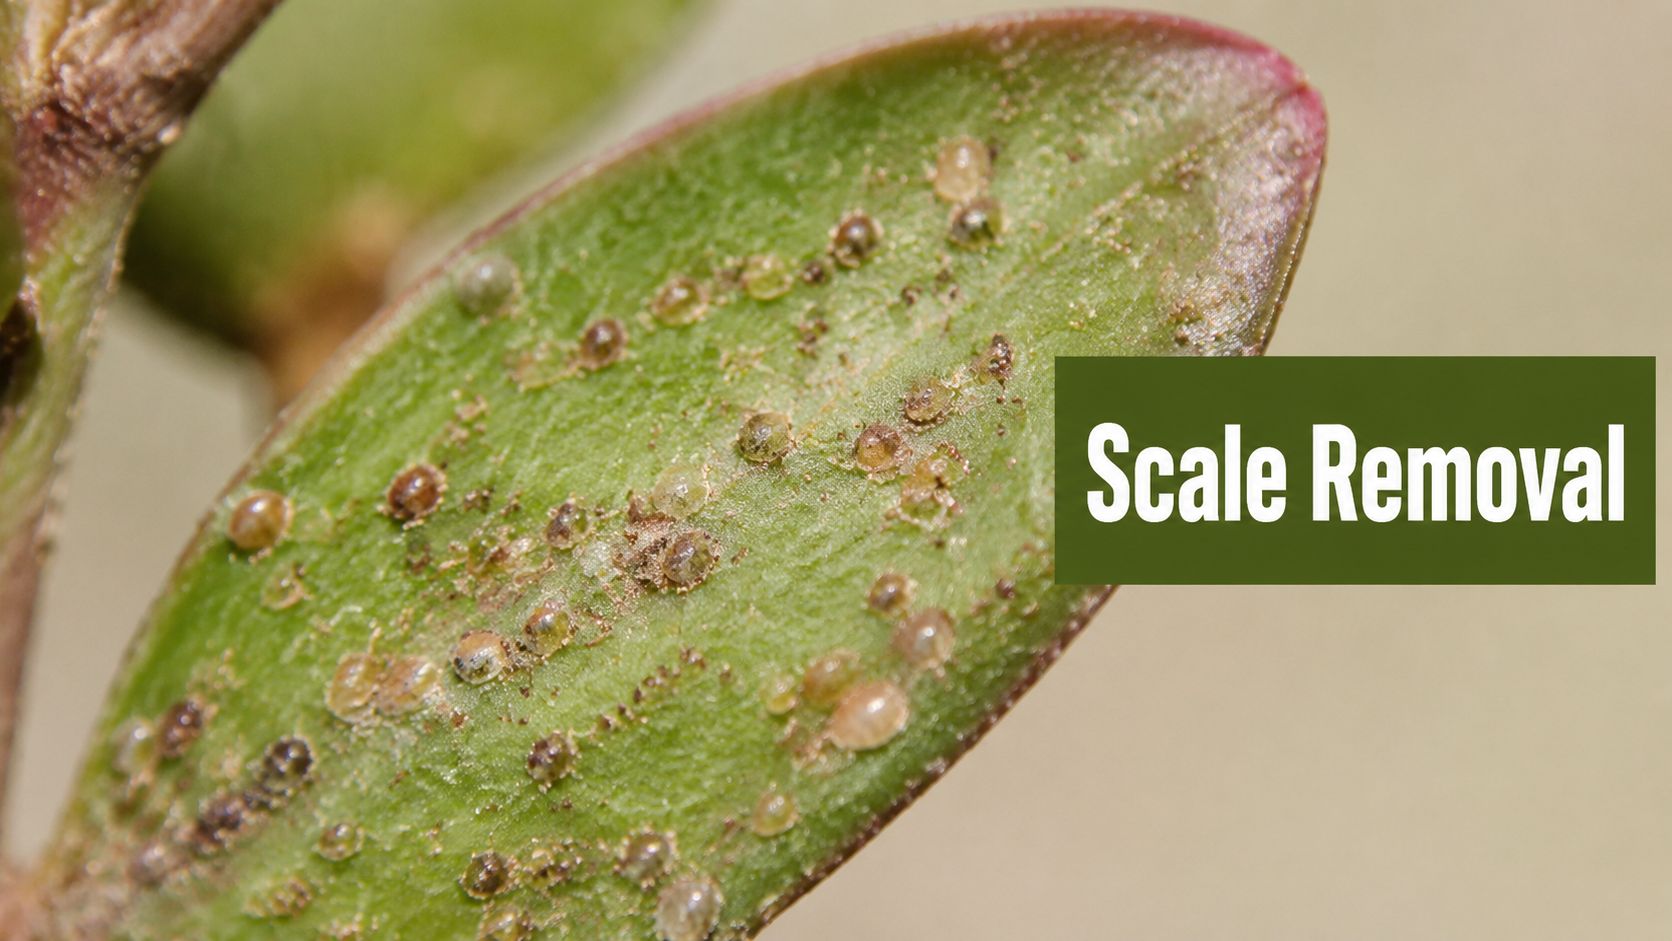
- Visible Pests: Look closely in the nooks, crannies, and between the spines for tiny bits of white fluff (mealybugs) or fine, silky webs (spider mites).
Crucial First Step: No matter what, do not water your cactus during this initial assessment. Even if it looks wrinkled and thirsty, adding more water to a plant with potential root rot is the fastest way to kill it for good.
Taking this 24-hour pause allows you to make an accurate diagnosis without causing further stress. Once you know what you’re up against, you can create a targeted recovery plan instead of just guessing. This patient, methodical approach is the key to bringing your cactus back from the brink.
Figuring Out What's Really Wrong with Your Cactus
Alright, so your cactus is looking rough. Before you can save it, you have to play plant detective. Most of the time, the real trouble starts where you can't see it—down in the pot. The symptoms you're seeing now, like a yellowing stem or mushy spots, are usually the last cry for help from a problem that's been brewing for weeks.
The first move is to check the roots. You have to be gentle here. Carefully slide the cactus out of its pot, making sure to support its base. Healthy roots are what you want to see: they should be firm, whitish or light tan, and smell like fresh earth. They'll look like a solid network holding the soil in a nice, neat ball.
Now, if you unpot it and are hit with a foul, swampy smell, you’ve found your culprit. Rotten roots are the number one sign of overwatering. They'll be dark brown or even black, feel slimy to the touch, and might fall apart as soon as you handle them. There’s no mistaking it.
Reading the Clues Above Ground
While the roots tell a huge part of the story, the rest of the cactus gives you plenty of hints, too. Think of each symptom as a clue pointing you toward the right diagnosis.
-
Mushy Base and Yellowing: This is the classic, textbook sign of severe root rot. If the base of your cactus is soft and squishy, and you see a sickly yellow color creeping up from the soil line, the situation is critical. For a deeper dive, check out our guide on why a cactus turns yellow.
-
Shriveled and Brittle: Does your cactus look wrinkled, almost deflated? If it feels dry and brittle but is still firm, it's probably just incredibly thirsty. The plant is draining its own water reserves to stay alive.
-
Stretched, Pale Growth: If your cactus is suddenly growing long and skinny, with a pale, washed-out color, it’s suffering from etiolation. This is a desperate stretch for sunlight. Unfortunately, this weak, lanky growth is permanent and much more fragile than the rest of the plant.
-
White or Brown Patches: Sunburn is a real thing for cacti. If you see bleached-out white spots or crispy brown patches, especially on the side that gets the most sun, it was likely moved into intense light too quickly without time to acclimate.
Cold Damage vs. Pesky Invaders
Sometimes the problem isn't about water or light at all. A sudden cold snap can do serious damage, causing tissue to turn black and mushy almost overnight. It can look a lot like rot, but the key difference is how fast it appears after a cold front moves through.
Pests are another sneaky cause of decline. You need to look closely for these.
A Quick Tip from Experience: That white, cottony fluff tucked into the cactus's crevices isn't mold—it's likely a mealybug infestation. These little sap-suckers will slowly drain the life out of your plant. Even sneakier are spider mites, which are almost invisible but leave behind a very fine, distinctive webbing.
Once you’ve carefully checked the roots and the body of the cactus, you can stop guessing. A solid diagnosis is the first and most important step, and it will guide every move you make to bring your plant back from the brink.
Bringing Your Cactus Back from the Brink
Okay, you've figured out what’s wrong. Now it’s time to roll up your sleeves and get your hands dirty—this is where we go from diagnosis to rescue. It might seem a little intimidating, especially if you're dealing with something serious like root rot, but with a steady hand and a bit of patience, you can give your cactus a real fighting chance.
First things first, you need to get the plant out of its pot. Cacti don't make this easy, so protect your hands. I like to wrap the plant's body in a thick layer of folded newspaper or an old towel. This gives you a safe, firm grip without getting a handful of spines. Gently tip the pot on its side and ease the cactus out, doing your best to keep the root ball in one piece for now.
The image below breaks down the basic flow of this initial assessment. Getting it out of the pot is just the first step; a close look at the roots is what tells you the full story.
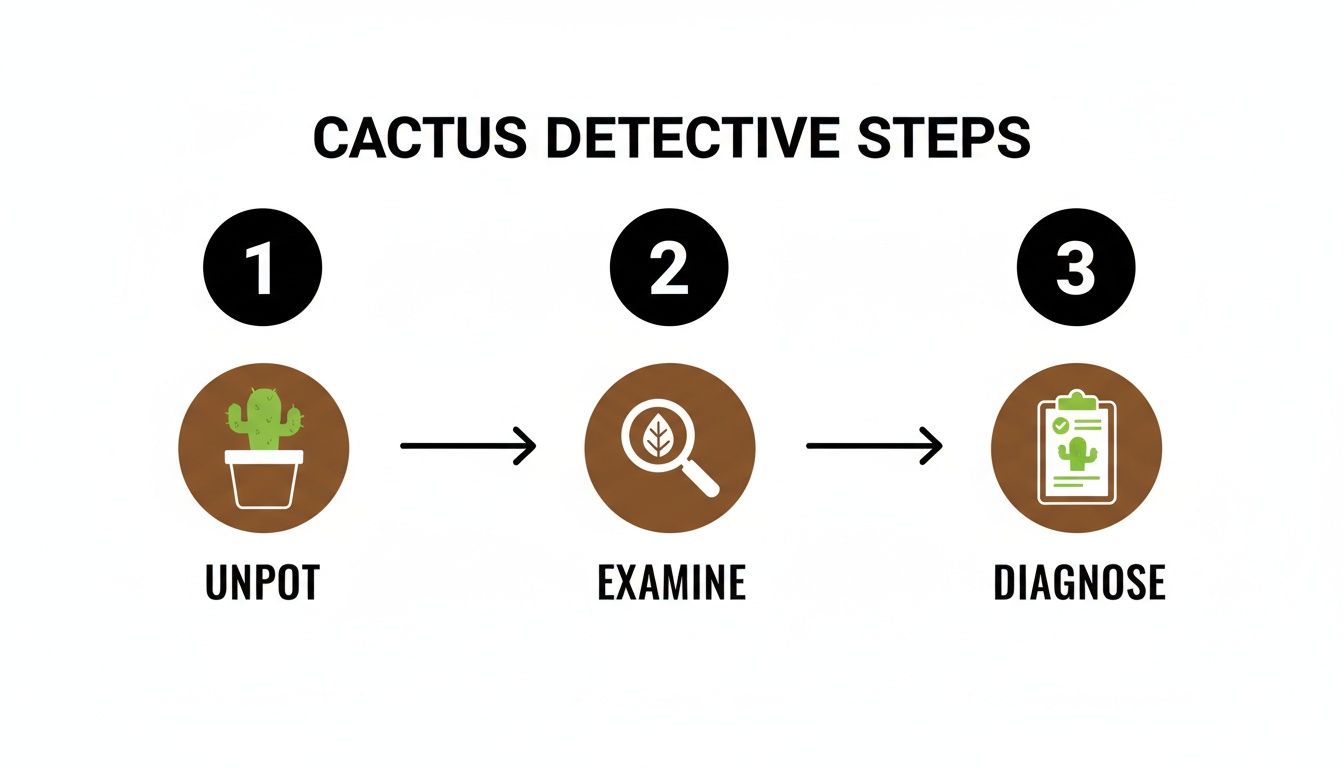
This process is all about uncovering the real problem so you can take the right action.
Performing Cactus Surgery
With the plant unpotted, it's time for the most critical part of the rescue: cleaning up the rot. Carefully brush and crumble away the old, wet soil from the roots. You'll quickly see the difference between healthy, firm, white roots and the dark, mushy, or stringy ones that are already dead.
Grab a sharp, clean knife or a pair of pruning shears. It's a good habit to wipe the blade with rubbing alcohol between cuts to avoid spreading any lingering fungus. Now, start trimming away every single bit of rotted root. You have to be ruthless here. If you leave even a small piece of infected tissue behind, the rot can and will come back. If the decay has crept into the base of the cactus itself, you'll need to slice away those soft, discolored sections of the plant's body until you only see healthy, firm, green flesh.
The Healing Phase is Non-Negotiable: After you’ve made your cuts, stop. Do not repot it right away. Place the cactus in a dry spot with good air circulation, out of direct sunlight, for at least 3 to 7 days. This gives all the fresh wounds time to dry and form a protective callus, which is absolutely essential to prevent infection when it goes back into the soil.
Repotting for a Fresh Start
Once your cactus has callused over, it's ready for a new home. Choosing the right pot and soil is everything for a successful recovery.
-
The Pot: Pick a new pot that is only slightly larger than the remaining healthy root system. A pot that's too big will hold excess soil and moisture, which is what got you into this mess in the first place. Make sure it has at least one large drainage hole. I always recommend terracotta pots because the porous clay helps wick moisture away from the soil, helping it dry out much faster.
-
The Soil: Never, ever use standard garden soil or all-purpose potting mix. It’s a death sentence for a recovering cactus. You need a specialty cactus and succulent mix that’s gritty and designed for rapid drainage.
With your supplies ready, add a base layer of the fresh cactus mix to the pot. Position your cactus in the center, making sure it sits at the same depth it was growing before. Fill in the soil around the sides, gently firming it to get rid of any major air pockets and make the plant stable.
Post-Op Care: The Waiting Game
I know it feels wrong, but do not water your newly repotted cactus. This is the single biggest mistake people make. The freshly trimmed and re-potted roots are incredibly fragile and susceptible to rot.
Let the cactus sit in its new, dry soil for at least a full week. This gives the roots time to settle in and start healing without being stressed by moisture. After that first week, you can give it a very small amount of water. From there, you'll slowly and carefully ease back into a proper watering routine as you see signs of new growth and recovery. Patience is key.
Building a Long-Term Health and Care Routine
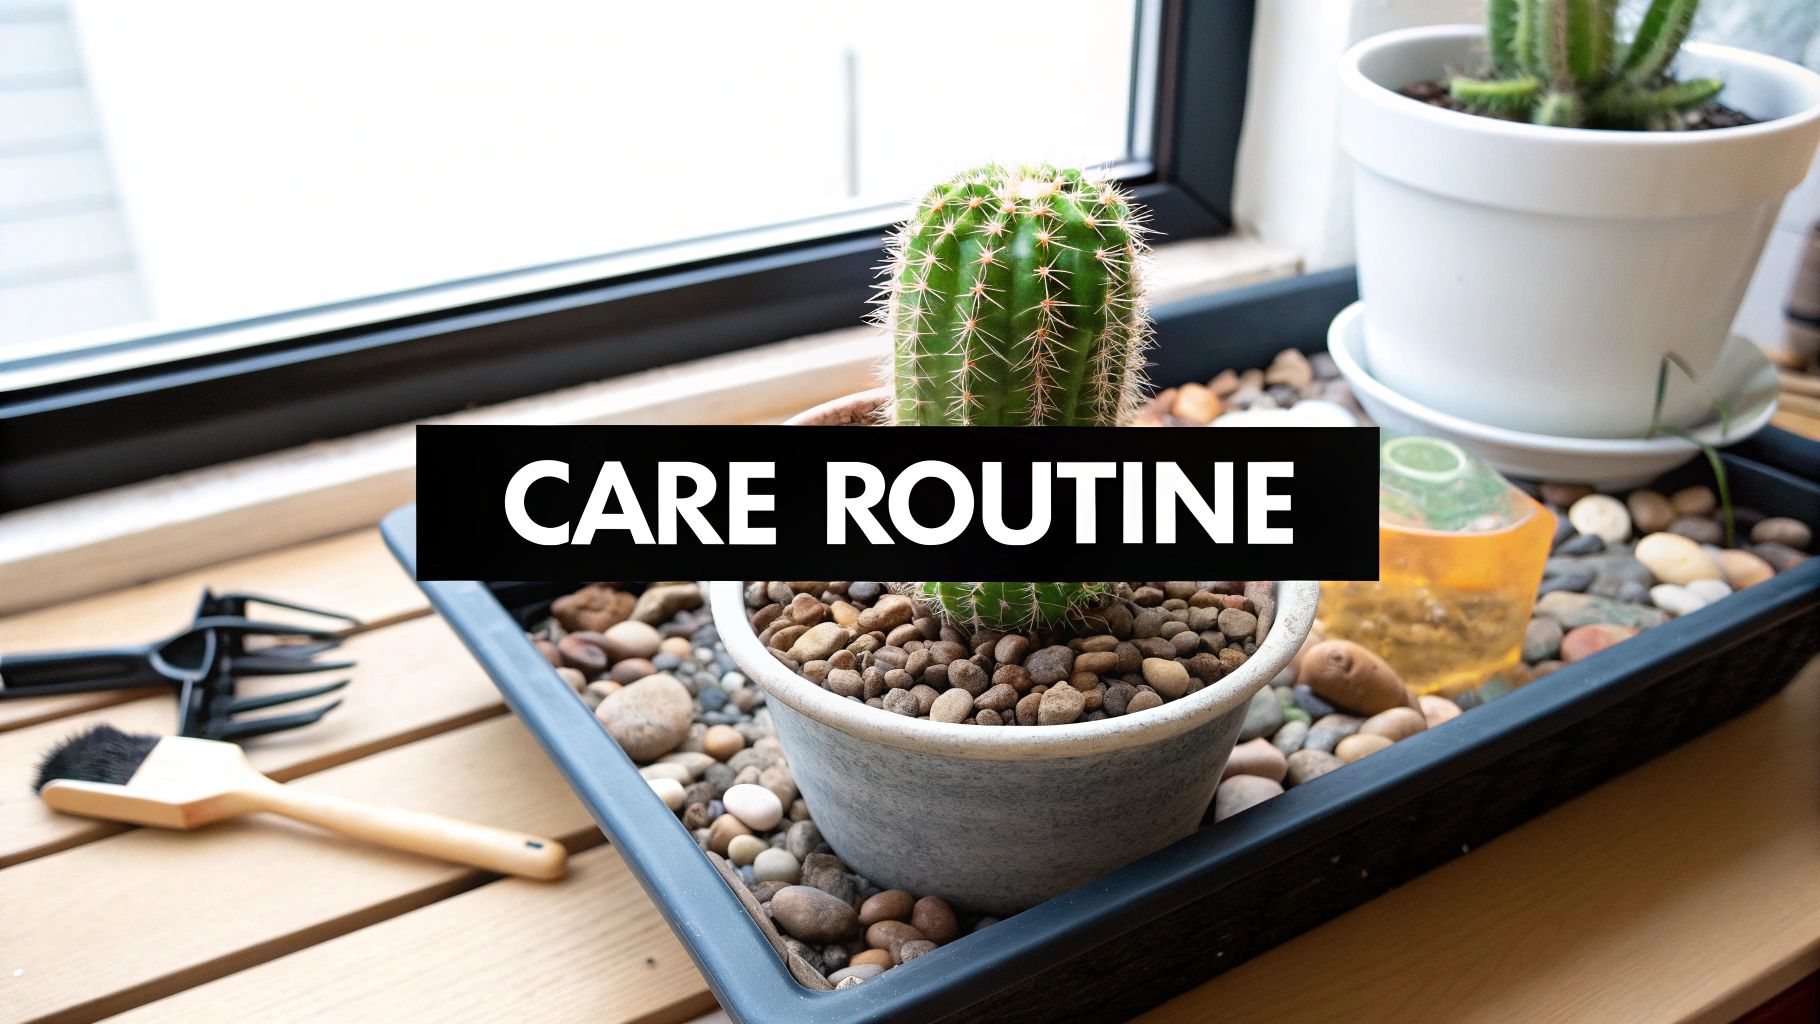
You did it! You’ve pulled your cactus back from the brink, and that’s a huge win. The real victory, though, is setting it up for a long, healthy life. The last thing we want is a repeat performance, so the focus now shifts to creating a stable, supportive environment where your plant can move from recovery to truly thriving.
Think of this next phase as rehab. After the shock of being unpotted, having its roots trimmed, and getting a new home, your cactus is understandably sensitive. It needs to be eased back into a normal routine, starting with light.
Establishing the Perfect Recovery Zone
Whatever you do, don't stick a freshly repotted cactus right back into intense, direct sunlight. Its tissues are stressed and can scorch easily, which will just set your progress back. What you're looking for is a spot with plenty of bright, indirect light.
I've found an east-facing window that gets that gentle morning sun is often perfect. Another great option is to place it a few feet back from a super sunny south-facing window.
After a few weeks in its recovery spot, you’ll hopefully see it start to stabilize—no new discoloration, and it feels firm to the touch. Once you see those signs, you can slowly begin moving it closer to the window to acclimate it to more direct sun, assuming it's a sun-loving species. This gradual transition is the secret to avoiding sunburn.
The other half of this equation is what’s happening below the surface. If you haven’t already, using a specialized soil mix is absolutely non-negotiable for long-term cactus health. For a deep dive, our guide on the perfect cactus and succulent soil mix breaks down exactly why that extra drainage and aeration make all the difference.
Mastering the Art of Watering
If there's one mistake that claims more cacti than any other, it's overwatering. To break the cycle, you need to fully embrace the "soak and dry" method. This simple approach mimics the flood-and-drought cycles cacti experience in their native desert habitats.
- Always Check First: Before you even reach for the watering can, check the soil. I like to use a wooden skewer or just my finger and poke it about two inches down. If you feel even a hint of moisture, walk away.
- Water Only When Bone-Dry: Seriously, wait until the soil is completely dry all the way through. When a cactus is in recovery, it's always better to wait an extra day or two if you're even slightly unsure.
- Soak, Don't Sip: When it's finally time, give it a thorough watering. Drench the soil until water pours freely from the pot’s drainage holes. This ensures all the roots, even the ones at the bottom, get a good drink.
- Drainage is Everything: Never, ever let your cactus sit in a saucer full of water. After watering, let it drain for a few minutes and then dump out any excess water immediately. Wet feet are a death sentence.
A Quick Word on Patience: Remember, this is a marathon, not a sprint. A severely stressed cactus can take weeks, sometimes months, to grow new roots and show you any new growth. Don't get discouraged by a lack of immediate results. Your consistent, proper care is the best medicine you can provide.
Proactive Pest Management
A cactus that's been through a rough patch is like an open invitation for pests like mealybugs and spider mites. They're drawn to stressed plants, so you need to keep a close eye out during the recovery period.
The moment you spot something amiss, you have to act fast. Mealybugs, those little pests that look like tiny bits of white cotton, can be wiped out by dabbing them with a cotton swab dipped in 70% isopropyl alcohol. It's a simple, effective treatment that can stop an infestation in its tracks. Making a habit of inspecting your plant regularly is the best defense you have.
Why Saving Your Cactus Is a Small Act of Global Conservation
When you're trying to revive a struggling cactus on your windowsill, it’s easy to feel like you're just fussing over a single houseplant. But that effort connects you to a much bigger, more urgent story. Your personal project is a quiet victory in a silent, global crisis.
What many people don't realize is that cacti are one of the most threatened groups of living organisms on the planet. They're facing immense pressure from habitat loss, but the biggest threat? Illegal poaching.
The booming demand for rare and exotic plants fuels a destructive black market. Poachers rip these unique specimens straight from their fragile native ecosystems, often causing irreparable damage. By nursing a nursery-grown cactus back to health, you’re doing more than just saving a plant—you're actively reducing the demand that drives this devastating trade.
How Your Hobby Becomes a Lifeline
Every time you learn the right way to care for a cactus—getting the light, water, and soil just right—you become a better steward of these incredible species. This knowledge helps you support ethical growers and cultivate healthy plants, sidestepping the need to ever buy one with a questionable past.
Your home garden, in a way, becomes a tiny sanctuary. It’s a safe haven for species under siege in the wild.
The connection between our hobby and real-world conservation is stark. A landmark global study found that nearly a third of all cactus species are threatened with extinction. That’s a higher rate than for most mammals or birds. The main culprit? Illegal collection for the ornamental plant trade, which impacts an estimated 47% of threatened cactus species. Learning more about this critical conservation issue really puts our consumer choices into perspective.
By choosing to rescue and properly care for a dying cactus, you are directly participating in conservation. You are casting a vote with your actions for a sustainable hobby that protects, rather than plunders, the natural world.
The Bigger Conservation Picture
Your individual efforts create a ripple effect, contributing to a broader culture of conservation. Beyond our windowsills, large-scale global initiatives often depend on strategies for securing environmental project grants to fund vital habitat restoration and anti-poaching programs.
So, the next time you're carefully trimming away rotted roots or finding that perfect sunny spot for a recovering plant, remember the bigger context. You're not just a plant owner; you’re a conservationist. Your dedication to that one plant is a meaningful act that honors its entire species and contributes, in a small but important way, to its survival on a global scale.
Your Cactus ICU Questions, Answered
Even when you're doing everything right to save your plant, some specific situations can leave you scratching your head. Let's tackle a few of the most common questions I get from people trying to bring their cactus back from the brink.
Is My Completely Mushy Cactus a Lost Cause?
If the rot has turned the entire base and core of the plant to mush, the original cactus is probably gone for good. But don't toss it just yet! If you can find any firm, green sections, especially towards the top, you might have a shot at propagation.
Think of it as performing surgery.
- Take a clean, sterilized knife and slice off a healthy piece.
- Let that cutting sit out in a dry, airy spot for a week or so until the cut end forms a dry, hard "scab" or callus.
- Once it's callused, just rest it on top of some fresh, dry cactus soil.
That's it. Don't bury it. Don't water it. Just let it be. It can take weeks, sometimes even a couple of months, for tiny roots to start forming.
I see this all the time: people plant their cuttings way too deep, thinking it helps. In reality, just resting the callused end on the soil surface is the best way to encourage roots without accidentally causing it to rot all over again.
When Will I Actually See New Growth?
Honestly, this is where your patience gets a real workout. After you've done the hard work of trimming away rot and repotting, the cactus is focusing all its energy below the surface. It's busy growing new roots and getting stable in its new home.
Don't expect to see any visible new growth for several weeks, or more likely, a few months. You'll probably spot the first signs of life during its next growing season, which for most cacti is in the spring and summer. A plant that just looks... the same... isn't a bad sign. It's a sign it's healing.
Why Is My Cactus Suddenly Skinny and Leaning Over?
Ah, a classic case of etiolation. This isn't necessarily a death sentence, but it's a huge red flag that your cactus is desperate for more light. It's literally stretching itself out, getting thin and pale, as it reaches for the sun.
You can't "un-stretch" the skinny part—that growth is permanent. What you can do is fix the problem for the future. Slowly move it to a much sunnier spot over the course of a week or two to avoid sunburn. Any new growth that comes in will be thick, healthy, and compact, just like it should be.
Ready to add a new, healthy cactus to your family? Check out the huge selection of beautiful, tough plants over at The Cactus Outlet and find your next spiky friend at https://www.cactusoutlet.com.