
The real secret to keeping succulents happy and healthy? It all starts with the pot. Before you even think about soil or sunlight, the container you choose lays the groundwork for everything else. Get this right, and you'll sidestep the number one killer of succulents: root rot.
Choosing the Right Pot for Your Succulent
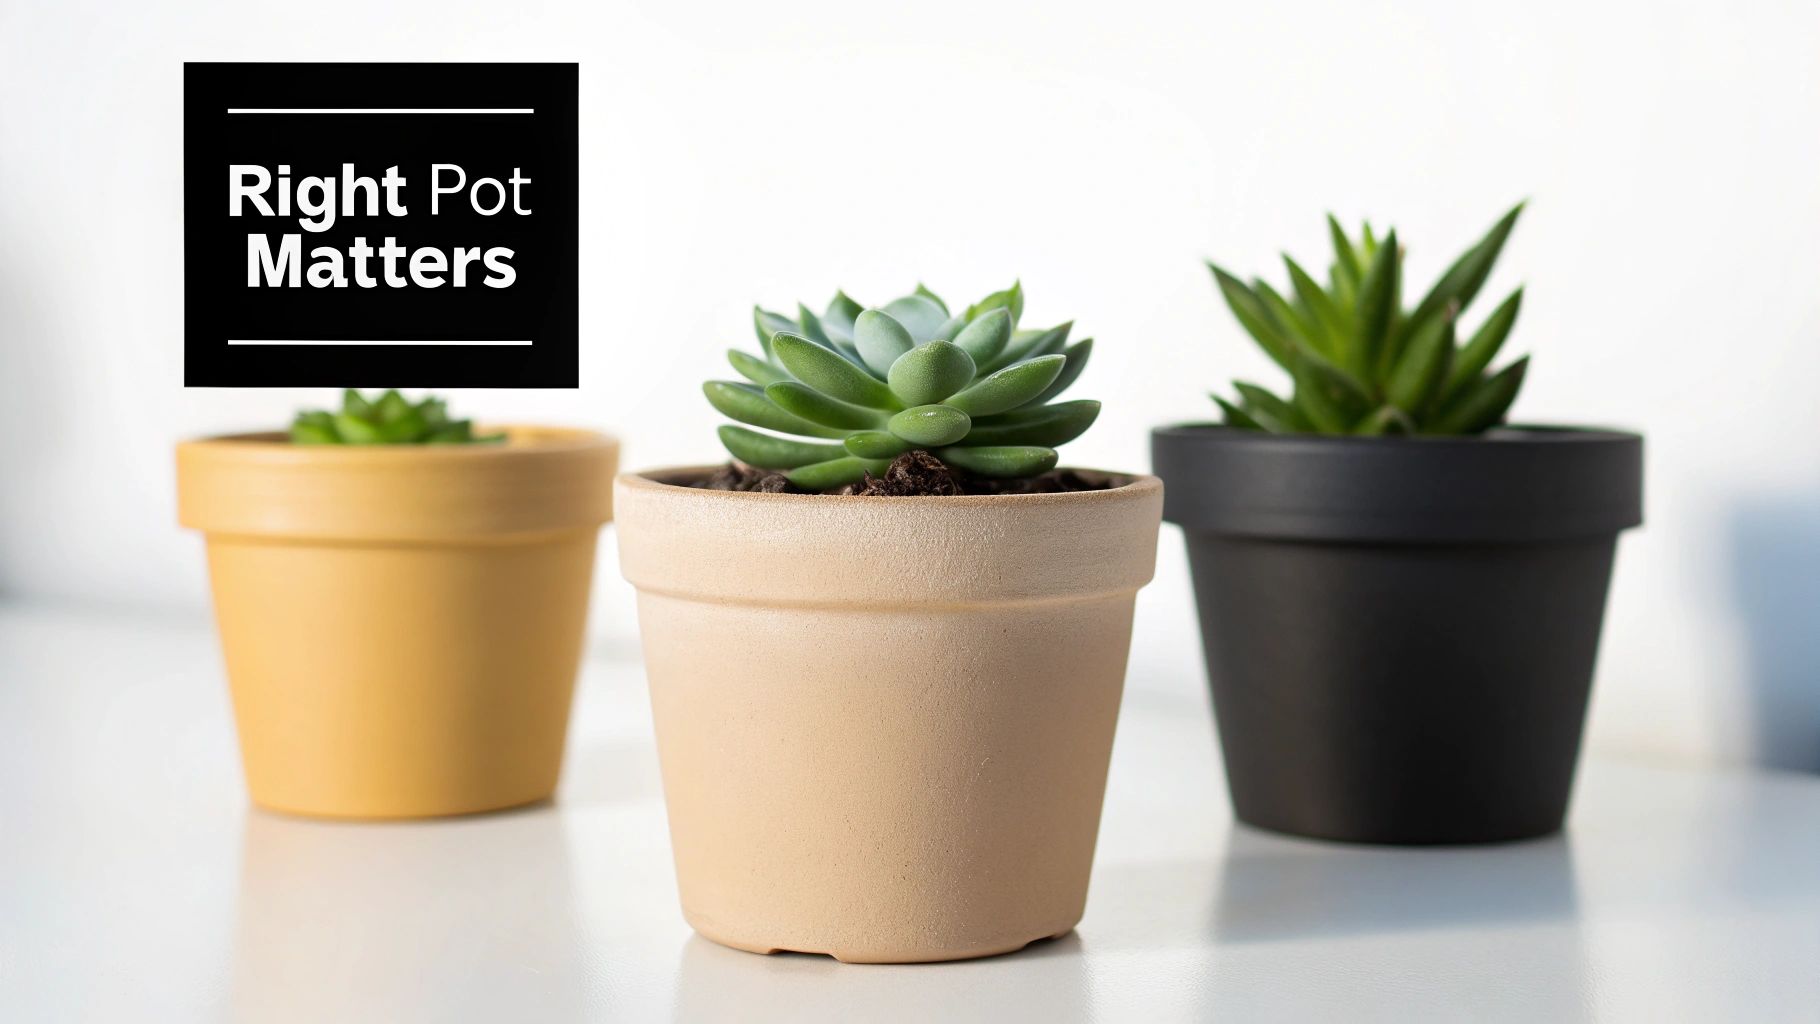
Finding the perfect home for your plant is more than just a style choice; it's a science. The pot you pick directly controls how quickly the soil dries and how much air gets to the roots. For plants that evolved in arid climates, these two factors are absolutely everything.
Pot Material Matters
The material your pot is made from has a massive impact on moisture levels in the soil.
Classic terracotta pots are a fantastic, forgiving choice, especially for beginners. Because the clay is porous, it breathes. This wicks moisture out of the soil and helps it dry out evenly and quickly—a huge plus for succulents that hate having "wet feet."
On the other hand, you have materials like glazed ceramic or plastic. They're non-porous, meaning they trap moisture inside. This isn't necessarily a bad thing, especially if you live in a very hot and dry climate, but it means you have to be much more careful not to overwater.
To help you decide, here’s a quick breakdown of the most common materials.
Pot Material Comparison for Succulents
| Material | Moisture & Airflow | Ideal For | Key Considerations |
|---|---|---|---|
| Terracotta (Unglazed Clay) | Excellent. Very porous, allows for rapid drying and great airflow. | Beginners, over-waterers, and humid environments. | Can dry out too quickly in hot, direct sun. Fragile. |
| Glazed Ceramic | Low. Non-porous material holds moisture for a long time. | Experienced growers, dry climates, or plants that need a bit more moisture. | Drainage hole is essential. Heavier than other options. |
| Plastic / Resin | Low. Non-porous and lightweight. Won't absorb water at all. | Outdoor arrangements where weight is a concern. Good for propagation. | Can get very hot in direct sun. Soil dries slowly. |
| Concrete / Metal | Varies. Can get extremely hot or cold, affecting root temperature. | Primarily decorative use. Best used as a cachepot (outer pot). | Can alter soil pH over time. Prone to rust (metal). |
Ultimately, your watering habits and home environment will be the deciding factor. But whatever you choose, one feature is non-negotiable.
The single most important feature for any succulent pot is a drainage hole. No exceptions. Without a way for excess water to escape, you're setting the stage for root rot, the most common reason these tough little plants don't make it.
Size and Shape Considerations
When it comes to succulents, bigger is definitely not better. A pot that's way too big for the plant will hold a huge amount of soil that the roots can't possibly reach. That unused soil stays wet for far too long, creating the perfect swampy conditions for rot.
A great rule of thumb is to pick a pot that’s about 10% wider than the plant itself. This gives the roots just enough space to grow without being surrounded by a ton of soggy soil. So, if you have a 4-inch succulent, look for a pot that’s around 4.5 to 5 inches across. For more detailed tips, you can check out our comprehensive guide on the best pots for cactus and similar desert plants.
What If Your Favorite Pot Has No Drainage?
We've all been there. You find the perfect, beautiful container, but you flip it over and... no hole. Don't despair! You have a couple of solid options:
- Make one yourself. It's easier than it sounds. With the right tool, like a diamond-tipped drill bit for ceramic or glass, you can carefully add a drainage hole to most containers.
- Use the "pot-in-a-pot" method. Plant your succulent in a cheap plastic nursery pot that has plenty of drainage. Then, just slip that pot inside your pretty decorative one. This is called a cachepot. The only trick is to remember to tip out any extra water that collects in the bottom of the outer pot after you water.
Nailing the Soil and Drainage
You’ve found the perfect container, so what's next? The real magic happens inside the pot. This is where you recreate the environment your succulent is built to thrive in.
Remember, most succulents come from dry, arid places where the soil is more like gravel than rich garden dirt, and rain disappears in a flash. Your number one goal is to mimic that at home. Getting the soil and drainage right is the single most important thing you can do to keep your plant happy and avoid the dreaded root rot.
Steer clear of that bag of all-purpose potting soil from the big-box store. Seriously. It’s a succulent’s worst nightmare. That stuff is designed to hang onto water for thirsty tropical plants, but for succulents, it's a soggy death trap that will suffocate the roots.
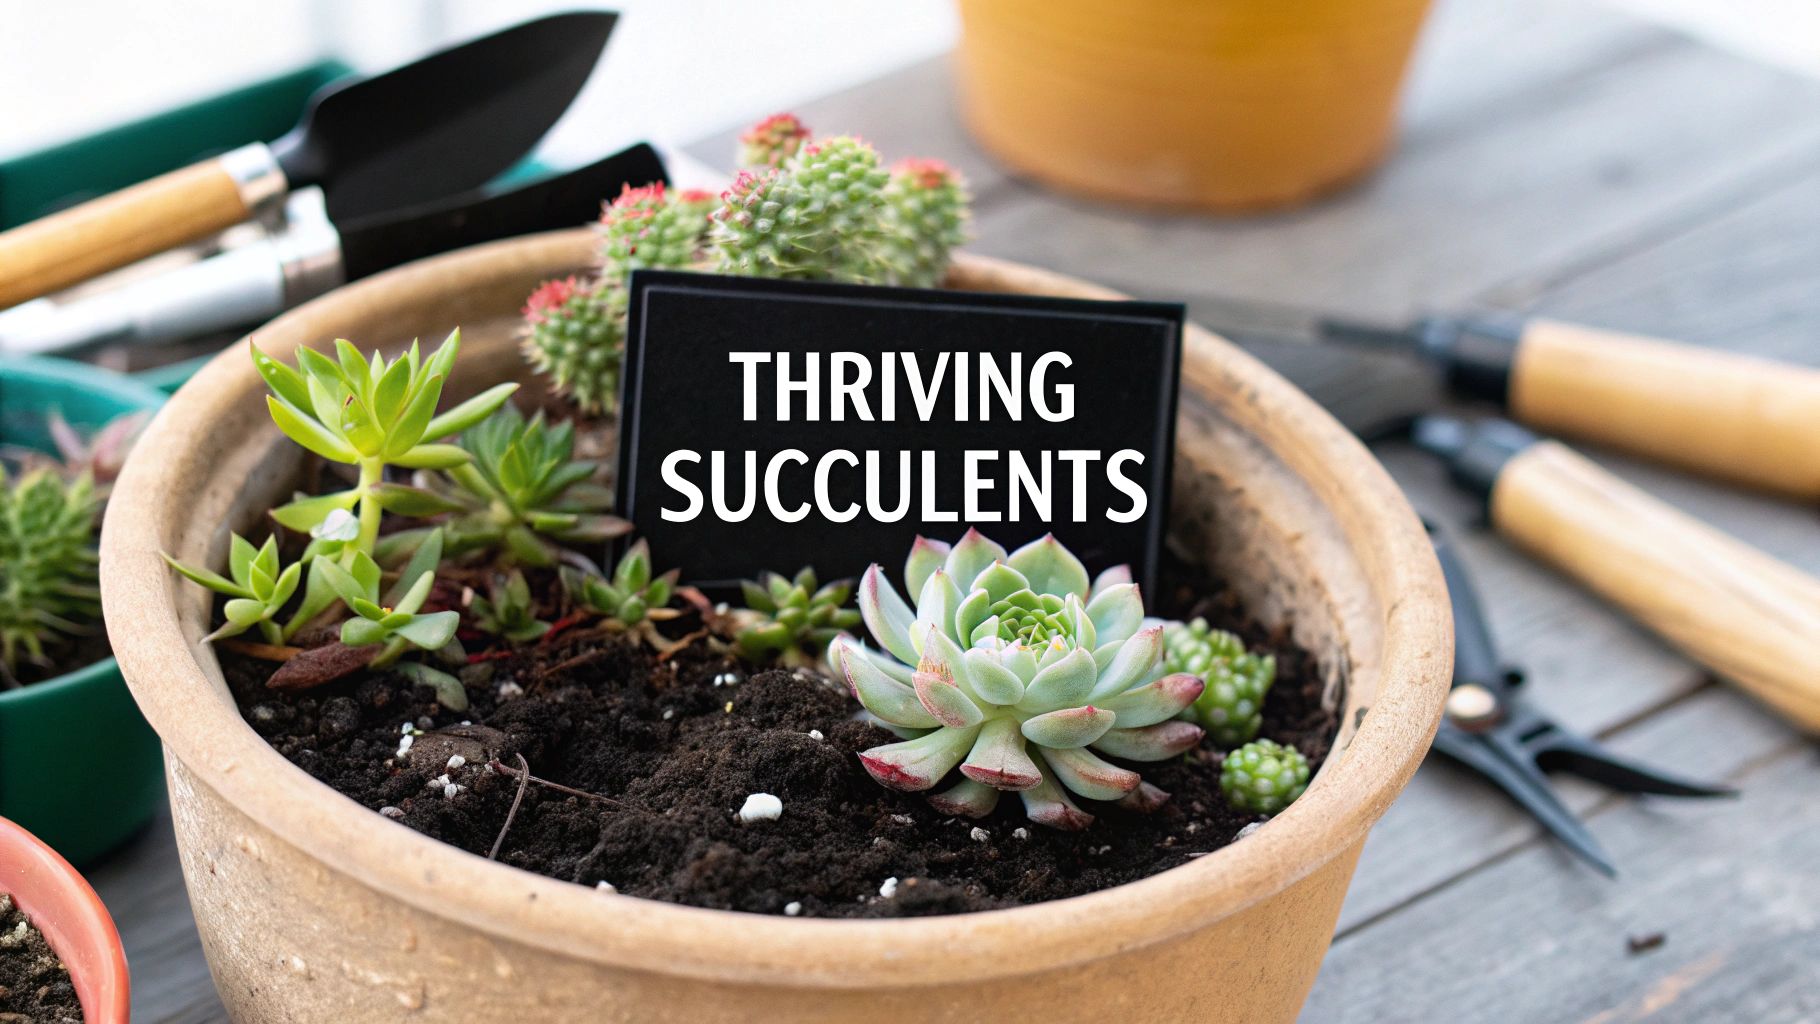
What Makes a Great Succulent Soil?
Succulents crave a soil mix that is fast-draining, chunky, and doesn't hold onto a lot of water. Think less like a sponge and more like a strainer. Water should flow through the pot almost as fast as you pour it in, giving the roots a quick drink before the soil starts to dry out again.
You can get there by mixing your own custom blend (which is easier than it sounds) or by beefing up a store-bought cactus mix. The key ingredients fall into two camps:
- Gritty, inorganic stuff: This is the foundation of your mix. Think pumice, perlite, or coarse sand. These ingredients create air pockets and let water rush right through.
- A bit of organic matter: A small amount of potting soil or coconut coir adds a few nutrients and holds just enough moisture for the roots to grab onto.
Let's bust a common myth: putting a layer of rocks or gravel at the bottom of your pot does not improve drainage. In fact, it does the opposite. It creates a swampy layer of water just above the rocks—right where the roots are—which is a recipe for disaster. Use the same chunky soil mix from top to bottom.
My Go-To DIY Succulent Soil Recipe
Mixing your own soil is a game-changer. It’s cheap, simple, and you know exactly what your plant is living in. It’s the best way to give it a solid foundation.
Here’s a foolproof recipe I’ve used for years:
- Two parts pumice or perlite: These are lightweight volcanic rocks that create crucial air pockets for healthy roots and super-fast drainage.
- Two parts coarse sand: Make sure it's horticultural sand, not fine beach or play sand, which will just compact. This keeps things loose.
- One part potting soil: This is just enough organic material to provide a few nutrients without turning your mix into a sponge.
Just toss all the ingredients into a bucket and mix them up until they’re evenly combined. You'll end up with a gritty, airy blend that’s just like the native soil succulents love. To really understand why this is so important, check out our post on why succulent drainage is so critical.
How to Pot Your Succulents Like a Pro
Alright, this is the fun part—time to get your hands a little dirty and give your succulent a proper home. Potting succulents is more than just plopping a plant in a container; you're setting the stage for a long, healthy life. The process itself is straightforward, but paying attention to the details right now will save you a lot of headaches later and get your plant off to a strong start.
From Nursery Pot to New Home
First, you’ll want to gently free your succulent from its plastic nursery pot. I find the easiest way is to give the sides a gentle squeeze and tip it over. If it's being stubborn, a few firm taps on the bottom usually does the trick. Whatever you do, try not to pull the plant out by its stem, as you can easily damage it and its delicate roots.
Once it’s out, take a moment to carefully loosen the old, compacted soil from around the root ball with your fingers. This is also a good time to play plant doctor and inspect the roots for any signs of rot or pests. You're looking for firm, healthy roots, which are typically white or a light tan color.
Now, hold your succulent in its new pot so the base of the plant sits just below the rim. With one hand holding it steady, start backfilling the pot with your fast-draining soil mix. Lightly firm the soil around the base to get rid of any major air pockets, but don't pack it down hard. The roots need to breathe!
This basic technique works for almost any succulent, but you might need to adapt it slightly for different shapes. If you're working with a rosette like an Echeveria, be careful not to get dirt stuck down in its dense leaves. For taller, spiny cacti, a folded-up towel or some barbecue tongs can save your hands from a world of pain while you get it positioned just right.
The infographic here breaks down the simple layers for potting a single succulent perfectly.
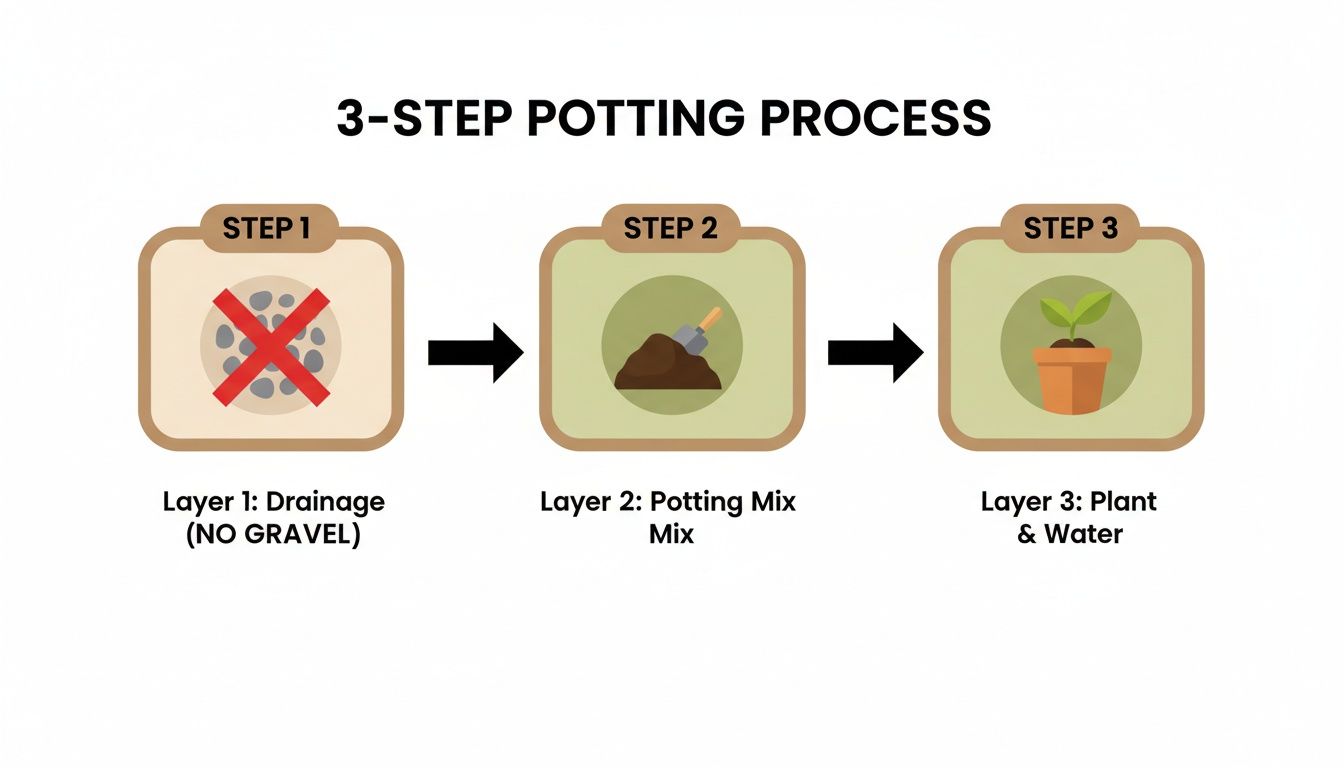
Notice how it shows the pot filled entirely with a proper succulent mix. This is so important. It completely busts the old myth that you need a layer of gravel at the bottom, which actually ends up trapping water and hindering drainage.
Designing a Succulent Arrangement
Creating a little succulent garden with multiple plants in one pot follows the same basic steps, but now you get to be an artist. The most important design principle here is thoughtful spacing. You need to give each plant enough room to grow and get plenty of airflow, which is your best defense against pesky fungal issues. I always recommend leaving at least a half-inch to an inch of space between each plant.
When you're laying things out, think about creating visual interest by mixing different heights, textures, and colors. Try pairing something tall and spiky, like an Aloe, with a low-growing Sedum that spills over the side and a classic rosette-shaped Sempervivum. These different growth styles work together to create a look that's both balanced and dynamic.
It's no surprise that while Aloe has always been a bestseller, varieties like Echeveria are becoming incredibly popular, largely because their beautiful shapes are perfect for these arrangements. You can dive deeper into these trends in this succulent plant market report.
If you take away only one piece of advice, let it be this: wait before you water. After being repotted, a succulent's roots are incredibly fragile and prone to rot if they get wet too soon. Let the plant settle in, dry, for about 3 to 7 days. This gives any tiny tears or breaks in the roots time to heal before you introduce moisture. This single pro-level move can be the difference between a thriving plant and a dead one.
Getting the Light and Water Just Right
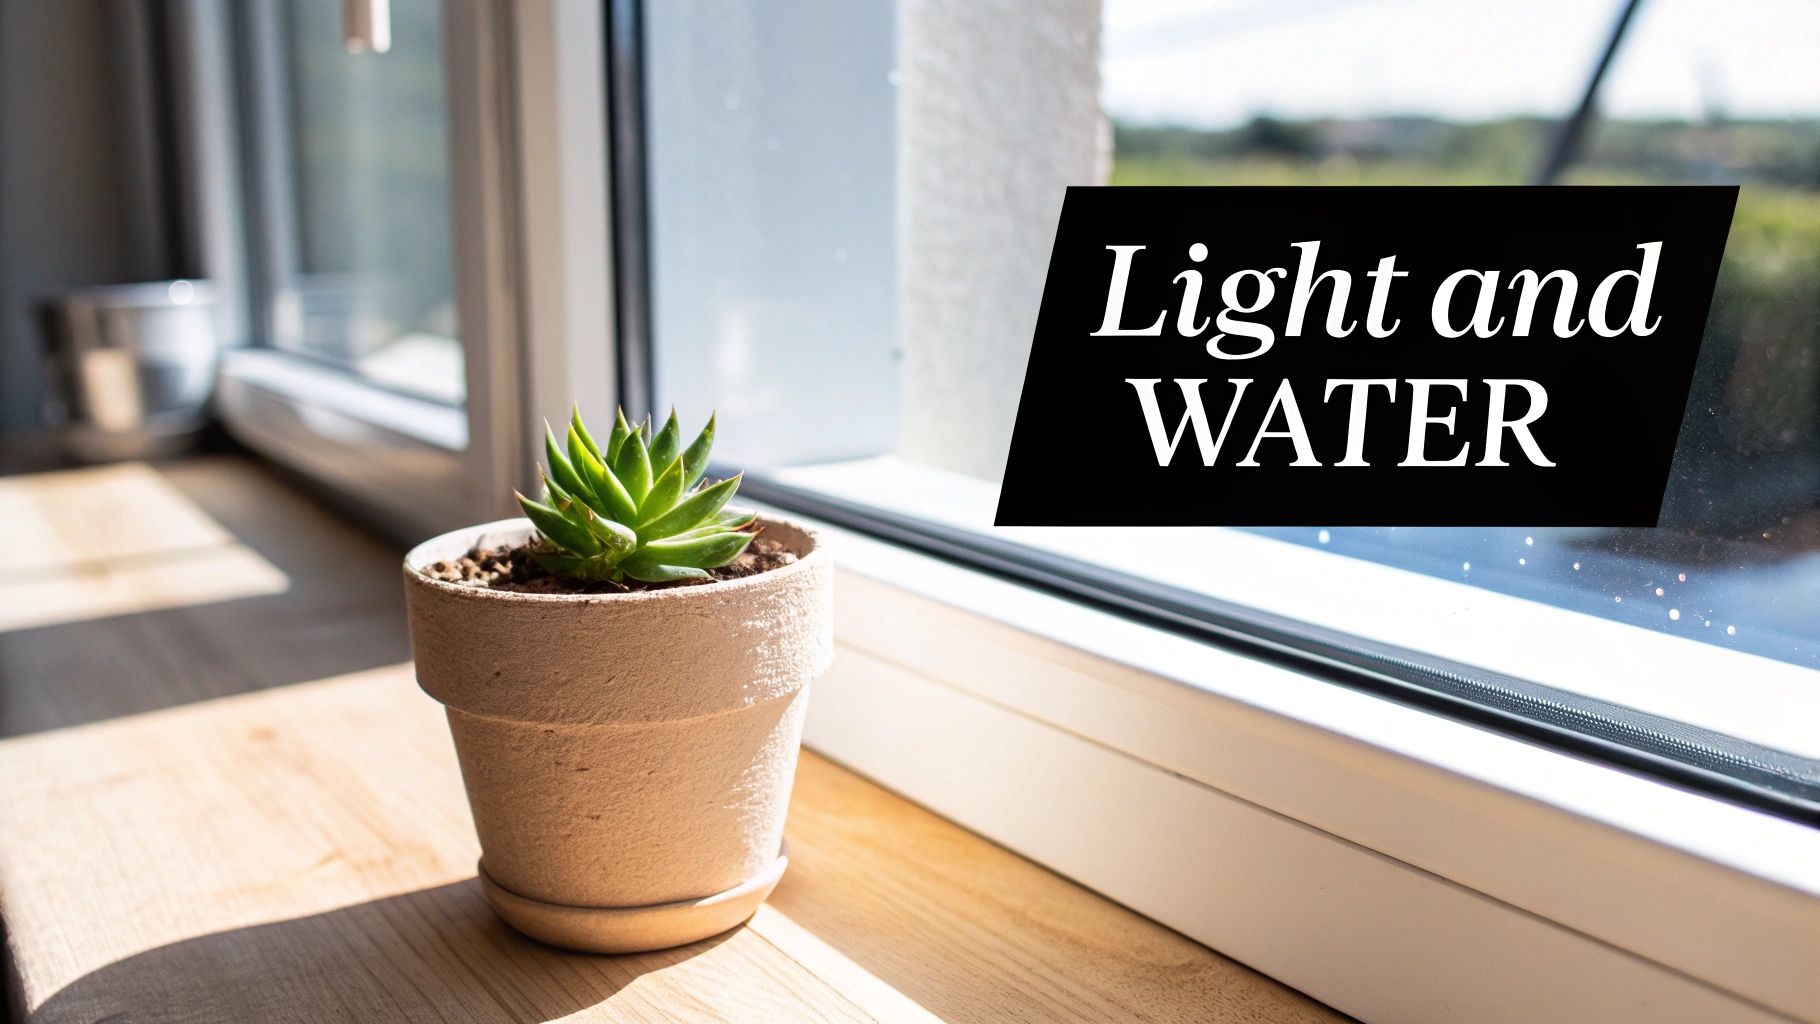
You’ve set your succulent up in the perfect pot with the right soil mix, but now comes the part that really makes or breaks it: light and water. Honestly, getting this balance right is what separates succulents that just survive from the ones that truly thrive. The good news is that these plants are great at telling you what they need; you just have to learn how to listen.
Finding That Sunlight Sweet Spot
For a succulent, light is basically food. And while most of them love the sun, not all sunshine is created equal. A tough-as-nails Agave might bask in the blistering afternoon heat, but a more delicate Haworthia will get a nasty sunburn. The general rule of thumb is to aim for at least six hours of bright light each day.
For most of the succulents you'll grow in a pot, an east-facing window is a fantastic spot. It gives them plenty of bright morning sun without the harsh intensity that can scorch their leaves. If you've got a south-facing window, that’s prime real estate for true desert dwellers like many of our cacti and euphorbias that crave intense light.
The best thing you can do is just watch your plant. It’ll show you if it’s happy.
- Is it stretching? If your plant looks like it's getting tall and leggy, with big gaps between the leaves, it's practically screaming for more light. This is called etiolation, and it's a sure sign you need to find a sunnier spot.
- Seeing scorch marks? On the flip side, if you see crispy brown or bleached white patches on the leaves, that’s sunburn. The direct sun is just too strong. Try moving it to a place with more filtered light or where it gets some shade during the hottest part of the afternoon.
The Art of Watering Succulents
Let’s be real: the number one killer of potted succulents is too much love in the form of water. These guys are built for dry climates and store water in their leaves, making them way more resilient to drought than to sitting in soggy soil. So, throw that rigid weekly watering schedule out the window.
Instead, embrace the "soak and dry" method. It's designed to mimic the rare, heavy downpours they'd get in their natural habitat.
When it's time to water, give the soil a thorough soaking until you see water running out of the drainage hole. Then—and this is the most important part—let that soil dry out completely before you even consider watering it again. This simple cycle is your best defense against root rot.
Not sure if the soil is dry enough? Just stick your finger or a wooden chopstick about two inches down. If it comes out with any damp soil clinging to it, give it a few more days. You’ll also notice the pot feels much lighter when it’s dry.
Your plant will give you hints, too. Thirsty succulents often have leaves that look a little deflated or even wrinkly. An overwatered succulent, however, will have mushy, swollen leaves that might turn yellow or translucent before they fall off. Learning to see these signs is how you develop a real green thumb. Your plant will tell you exactly what it needs.
Long-Term Care: Repotting and Propagation
That beautiful succulent arrangement you created won't stay the same forever, and that's a good thing! A happy, thriving succulent is a growing one. This means it will eventually outgrow its pot or start producing little offshoots—often called "pups" or babies.
This is where the real fun begins. It's the next phase in your plant journey, giving you the chance to expand your collection for free and even share your new plants with friends.
So, how do you know when it's time? Your plant will tell you. If you spot roots sneaking out of the drainage hole or creeping across the top of the soil, it's definitely feeling cramped. Another dead giveaway is when a plant seems to have completely stopped growing during its peak season.
Giving Your Plant a New Home
Once you've decided it's time for an upgrade, the process is pretty simple. Start by gently easing the succulent out of its current pot, taking care not to damage the delicate root system. This is the perfect time to play plant doctor—inspect the roots for any signs of rot and snip off any that look dead or dried out.
When choosing a new pot, don't go too big. A container that’s only 1-2 inches wider in diameter is perfect. This might seem small, but it prevents the plant from sitting in a massive amount of soil that its roots can't use, which is a common cause of root rot.
Fill the new pot with a fresh batch of fast-draining succulent mix, place the plant inside, and gently backfill around the roots to secure it.
One of my most important tips: wait about a week before you water it again. This gives any roots that were bruised or broken during the move a chance to heal. Watering too soon is a surefire way to invite rot.
The Magic of Propagation
Honestly, one of the most rewarding parts of growing succulents is just how easy they are to multiply. We call this propagation, and it’s your ticket to an ever-expanding collection without spending a dime. It's amazing that you can grow a whole new plant from a single leaf or a small cutting.
This incredible resilience is a huge part of why the hobby has exploded. In fact, the global succulent plant market was valued at around USD 12.2 billion in 2024 and is expected to climb to USD 18.2 billion by 2034. People just love the joy of creating and sharing new plants, a trend detailed in this indoor plant market report.
The two most common methods couldn't be easier:
- Leaf Propagation: For rosette-forming succulents like Echeveria, just gently twist a healthy leaf off the stem. Let it sit in a dry, shady spot for a few days until the broken end forms a callus. Then, just lay it on top of some dry succulent soil. In a few weeks, you'll see tiny roots and a new baby plant emerge.
- Stem Cuttings: For succulents with stems, like many Sedums or Senecios, use clean scissors to snip off a few inches of healthy growth. Pull off the lower leaves, let the cutting callus for a few days just like a leaf, and then stick it in dry soil.
Want to see these techniques in more detail? Make sure to check out our complete step-by-step guide to propagating succulents. It’s a simple skill that literally turns one plant into a gift that keeps on giving.
Troubleshooting Common Succulent Issues
Even with the best intentions, you'll eventually run into a few bumps along the road with your potted succulents. Don't worry, it happens to all of us! Think of it as part of the learning process. Here are a few of the most common questions we get and some straightforward advice to get your plants back on track.
Why Are the Bottom Leaves Drying Up?
Seeing the lowest leaves on your succulent start to shrivel and get crispy is usually just business as usual. It’s a perfectly natural cycle where the plant pulls water and nutrients from its oldest leaves to push out fresh, new growth up top. Once they're completely dry, you can just gently pluck them off.
Now, if those bottom leaves are turning yellow, mushy, and almost translucent, that’s a different story. That’s a classic sign of overwatering. It means the roots have been sitting in soggy soil for far too long. The best course of action is to stop watering immediately and let the soil dry out completely. This is also a good time to double-check that your pot's drainage hole isn't clogged.
Can Potted Succulents Live Outside?
They sure can! Many succulents, especially varieties like Agaves and Echeverias, absolutely love the bright light and air circulation they get outdoors. The key is to introduce them to their new environment slowly. You can't just take a plant from a low-light indoor spot and plop it into direct, blazing sun.
Start by placing it in a shady spot outside for a few days, then gradually move it into more sun over a week or two. This slow-and-steady approach prevents sunburn and lets the plant acclimate without stress. And, of course, make sure your pot has fantastic drainage to handle any surprise rain. Unless you've chosen a cold-hardy variety, you’ll need to bring them inside before the first frost.
A common mistake is forgetting that pots heat up much faster in direct sun than the ground does. A dark-colored plastic or metal pot can cook the roots on a hot afternoon. Terracotta is a much safer choice for succulents living outside in full sun.
How Do I Handle Common Pests?
Pests are an annoying reality of plant parenthood, but if you catch them early, they're usually manageable. For indoor succulents, the most frequent unwelcome guests are mealybugs. They look like tiny, white, cottony specks and love to hide in the tight spaces where leaves join the stem.
- For a small problem: Grab a cotton swab, dip it in 70% isopropyl alcohol, and just dab it directly on the pests. The alcohol will dissolve their waxy, protective coating.
- For a bigger infestation: Mix up a spray bottle with equal parts isopropyl alcohol and water, plus a single drop of dish soap. Spray the entire plant, getting the tops and bottoms of all the leaves.
After you treat a plant, keep it out of direct sunlight for a day or so to avoid burning the leaves. Most importantly, isolate the affected plant immediately to keep the pests from marching over to the rest of your collection.
Here at The Cactus Outlet, we believe anyone can grow stunning, healthy succulents. Take a look at our incredible collection of cacti and succulents online to find the next perfect addition to your home or garden.