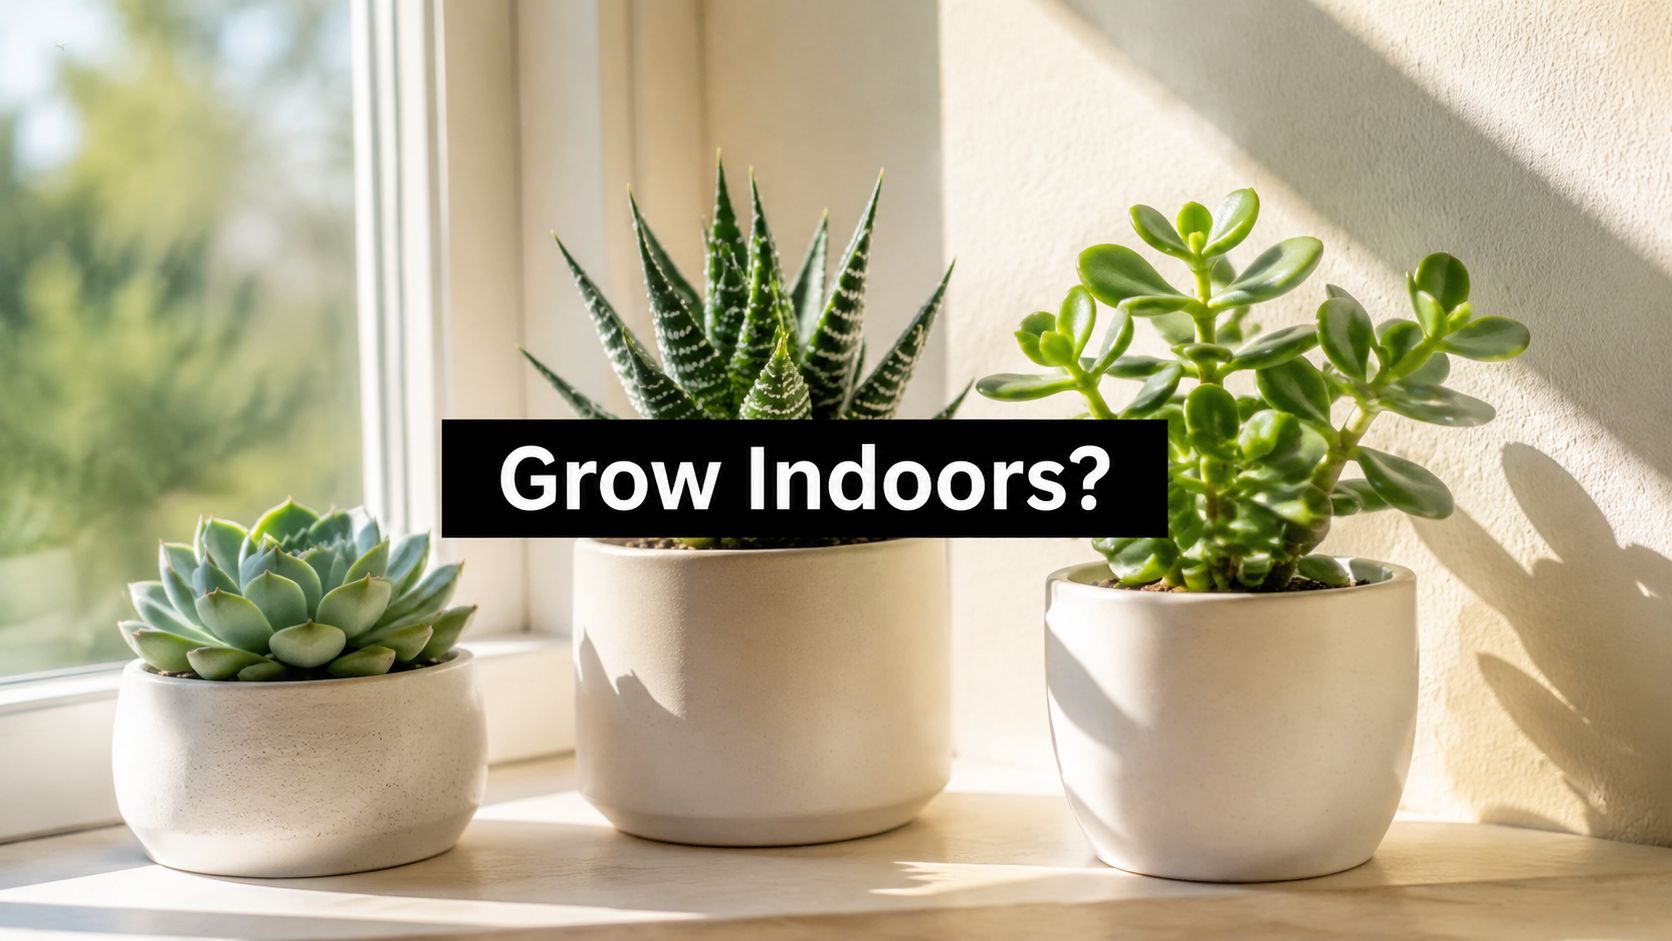

Learning how to propagate sedum is one of the most rewarding and straightforward skills in gardening. You're essentially creating brand-new plants for free, just by rooting small pieces—like a snippet of a stem or even a single leaf—in a bit of soil. It’s an incredible way to multiply your favorite succulents, turning one plant into an entire collection with very little fuss.
Why You Should Start Propagating Sedum Today
Welcome to the wonderfully satisfying world of sedum propagation. Before we get into the nitty-gritty of how it's done, let's talk about why this simple skill is such a game-changer for any gardener, whether you're just starting out or have been digging in the dirt for years. Learning to propagate your sedum brings a ton of benefits that go way beyond just getting free plants.
Sustainable and Budget-Friendly Gardening
Let's be honest, the biggest perk is the savings. Picture this: you can take that one beautiful 'Autumn Joy' sedum you love and, in just a couple of seasons, create a lush, dense border along your entire walkway—all without spending another dime.
This approach is also wonderfully sustainable. It cuts down on the need for nursery-grown plants and all the resources that go into getting them to the store.
By propagating what you already have, you can:
- Fill in those bare spots in your garden with tough, beautiful groundcover.
- Design stunning container arrangements packed with different textures and colors.
- Share your favorite succulents with friends, family, and neighbors. It’s the gift that literally keeps on growing.
Enhancing Plant Health and Vigor
Here’s a great little secret: the act of taking cuttings or dividing your plants actually makes them healthier. When you prune stems to create cuttings, you encourage the mother plant to grow back bushier and fuller.
Likewise, dividing a mature, overgrown clump prevents it from getting too crowded and gives its root system a new lease on life. It’s a win-win for both you and your sedum.
By learning this one skill, you become an active participant in your garden's lifecycle. You're not just a caretaker but a creator, shaping your landscape and multiplying its beauty with your own hands.
Connecting with the Seasons
Propagating really connects you to the natural rhythm of the year. While sedum is pretty forgiving, you'll have the most success during the active growing seasons of spring and summer, when the plants are bursting with energy.
Tuning into the seasons, especially that revitalizing energy of spring, can make a huge difference in your results. For more general tips to get your whole garden ready, you can find some essential spring planting information that's super helpful.
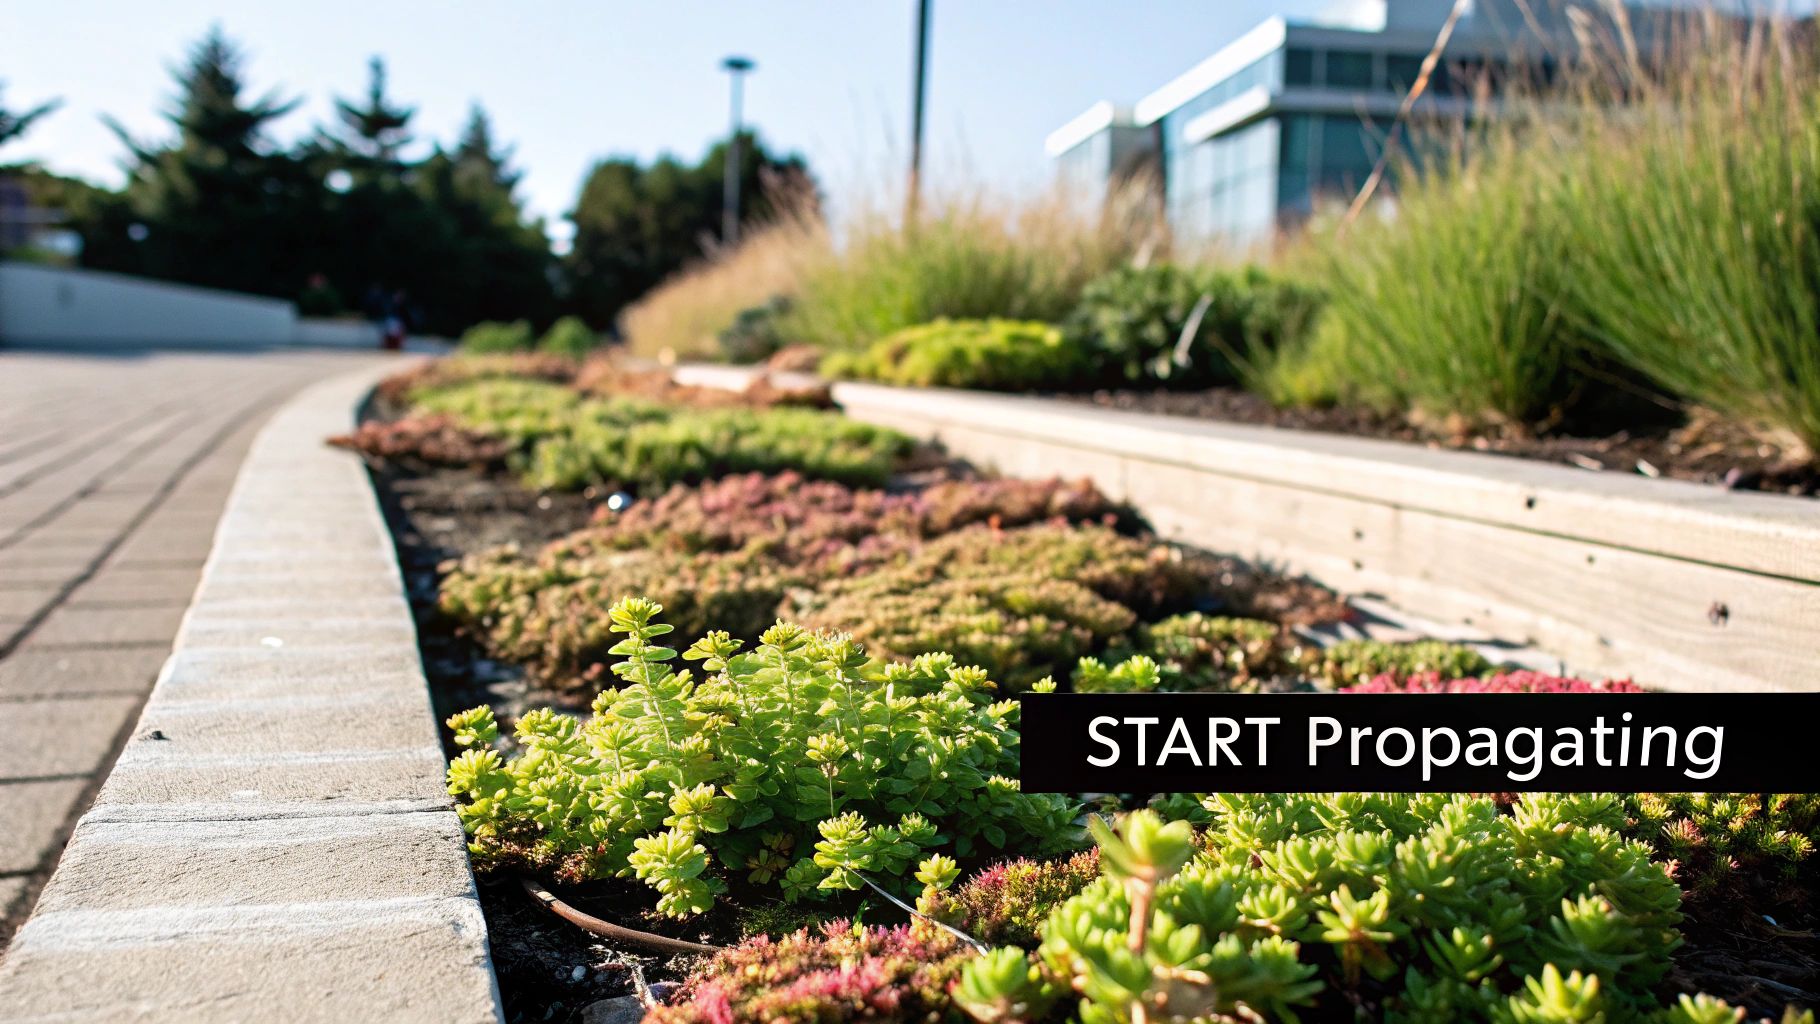
Ultimately, propagating sedum is an incredibly accessible and fulfilling project that opens up endless creative possibilities in your garden.
Using Stem Cuttings for Fast and Easy Results
If you want to make more sedum plants, grabbing a few stem cuttings is hands-down the best way to go. It's the method I always come back to because it’s fast, reliable, and works for almost every sedum variety out there. This is how you can quickly get a whole new batch of favorites like the classic 'Autumn Joy' or a cascading carpet of 'Angelina'.
The real beauty here is how straightforward it is. You don't need a special setup or a ton of gear. All it takes is a healthy parent plant, a clean pair of snips, and a little bit of patience. Plus, since a cutting is a clone of the parent, you know exactly what you’re getting every single time—no surprises.
Selecting and Preparing Your Cuttings
First things first, you need to pick the right stems. Look for healthy, strong growth that isn't currently flowering. A piece that's about 4-6 inches long is the perfect size; it has enough energy stored up to push out new roots without being too big and floppy.
When you make the cut, use sharp, clean scissors or pruning shears. A clean snip prevents crushing the stem on both the parent plant and the cutting, which helps keep diseases at bay. Aim to cut just below a leaf node—that little bump on the stem where leaves grow—because that’s where the natural rooting hormones are most concentrated.
After you’ve got your cutting, gently pull off the leaves from the bottom two inches of the stem. This part goes into the soil, and removing the leaves keeps them from rotting underground and taking your cutting with them.
The Crucial Callousing Process
Now for the most important part of the whole process: letting the cutting callous over. That fresh cut is basically an open wound, and if you stick it straight into moist soil, it's a prime target for rot. To avoid this, you need to let it dry and form a protective seal.
Just lay the cuttings on a paper towel somewhere dry, shady, and with good air circulation for a few days. You'll know they're ready when the cut end looks dry and sealed—no longer fresh and green. Seriously, don't skip this. It's the number one reason people fail when propagating succulents.
Callousing isn't just a suggestion; it's the secret to succulent propagation success. Think of it as creating a natural scab that seals the wound, allowing the cutting to focus its energy on growing roots instead of fighting off fungal infections.
This isn't some new trick. Propagating sedums and other succulents this way has been a go-to for growers for over a century. In fact, historical accounts from 1920s California show that growers hit an incredible 95% success rate with Sedum stem cuttings using these simple steps. More recently, studies have confirmed cuttings can produce new plants 4-6 times faster than starting from seed. You can find more details about the growing succulent plant market on marketreportanalytics.com.
Planting for Rooting Success
Once your cuttings are nicely calloused, they’re ready for soil. Grab a small pot and fill it with a fast-draining succulent or cactus mix. You can buy a pre-made bag or mix your own with potting soil and a generous amount of perlite or coarse sand for drainage.
Gently push the bare, calloused end of the stem about one or two inches deep into the soil. It just needs to be deep enough to stand up on its own. While you can dip the end in rooting hormone powder to give it a boost, sedums are so eager to root that it's usually not necessary.
Find a spot for your new pot that gets plenty of bright, indirect light. A north-facing windowsill or a spot a few feet back from a sunny window is perfect. Direct sun will fry the little cutting before it has a chance to grow roots and drink.
When it comes to water, be stingy. Give the soil a light watering, then let it dry out completely before you even think about watering again. Overwatering is the fastest way to kill your project. After about two to four weeks, you should feel a little resistance when you give the cutting a gentle tug—that's the sign that roots have formed!
The basic principles here work for most succulents. For a more comprehensive look, check out our guide on how to propagate succulents for extra tips and tricks.
Growing New Sedum from a Single Leaf
For certain trailing sedums, like the beloved ‘Burro’s Tail’ (Sedum morganianum) or the chunky ‘Jelly Bean’ plant, there’s a truly magical way to create new plants from just a single leaf. It’s a slower journey than using stem cuttings, but the reward of watching a brand-new plant emerge from practically nothing is incredibly satisfying.
This method isn’t for every type of sedum—upright varieties like ‘Autumn Joy’ won’t cooperate—but for those with plump, easily detachable leaves, it’s a fantastic option. The key is patience and a delicate touch.
Selecting and Preparing Your Leaves
To get started, you need healthy, plump leaves. Look for ones that are full of water and free of any spots or damage. Instead of cutting, the best way to remove a leaf is with a gentle twist. Hold the leaf near its base and give it a slight side-to-side wiggle until it pops off cleanly from the stem.
You absolutely must get a clean break. If part of the leaf tears and remains on the stem, it’s unlikely to sprout roots. The new growth emerges right from the point where the leaf was attached, so having that connection point intact is non-negotiable.
Once you have a collection of healthy leaves, lay them out on a paper towel in a dry, shaded area for a day or two. This lets the tiny wound callous over, just like you would with a stem cutting.
This simple decision tree visualizes the straightforward path to success when propagating sedum stems, which shares a similar initial principle of starting with healthy material.
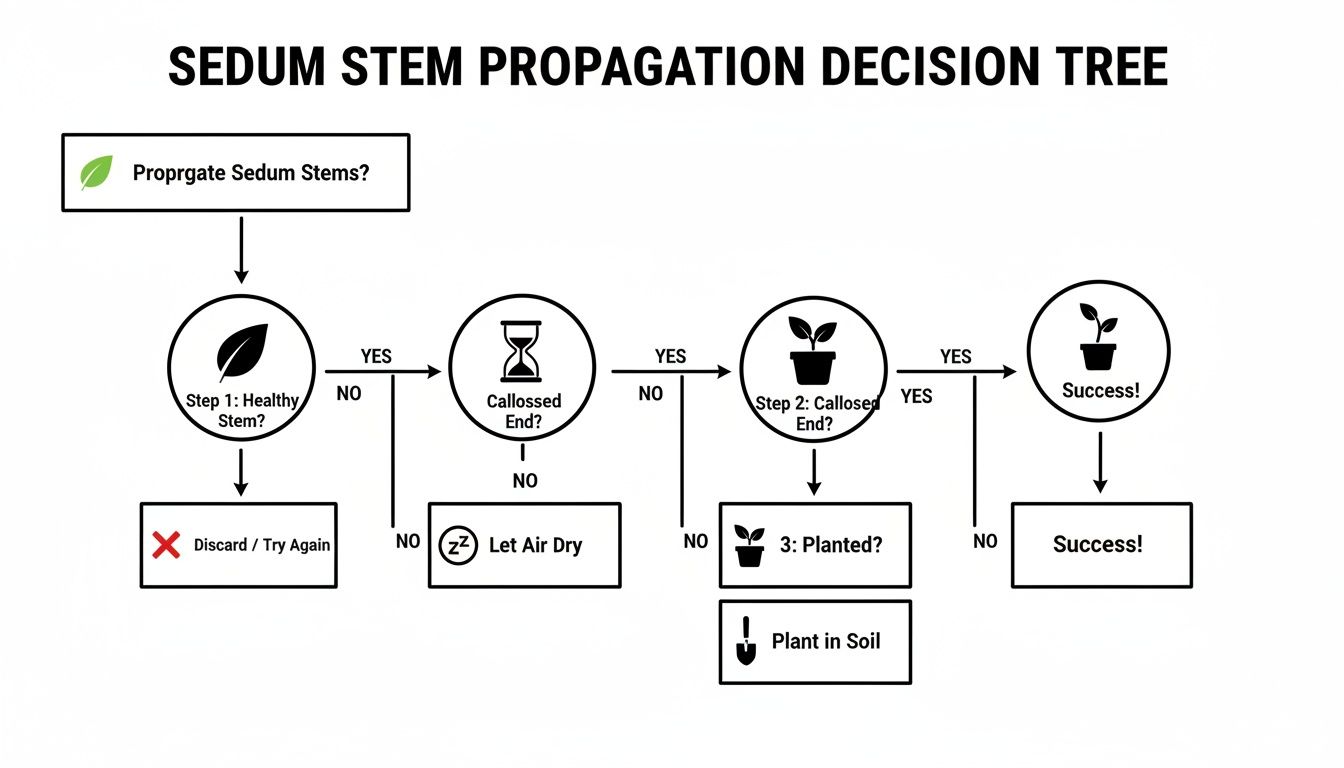
The visual guide really brings it home: success hinges on a few critical steps being done correctly, starting with healthy material and allowing for proper callousing before planting.
Creating the Perfect Rooting Environment
Next, prepare a shallow tray or pot with the right soil. Your potting medium needs to be extremely well-draining to prevent the leaves from rotting before they can root. For an ideal foundation, you can dive deeper into creating the perfect cactus and succulent soil mix.
Once your tray is ready, simply lay the calloused leaves flat on top of the soil. You don’t need to bury them; just make sure the calloused end makes gentle contact with the soil surface.
Place the tray in a location that receives bright, indirect sunlight. A spot near a window but out of the harsh afternoon sun is perfect.
My biggest tip? Resist the urge to water them immediately. The leaves have all the moisture they need to start producing roots. Wait until you see tiny pink or white roots emerging before you even think about misting.
Nurturing Your Tiny Plantlets
Once you spot the first signs of roots, you can start lightly misting the soil around the leaves every few days. The goal is to provide just enough moisture to encourage root growth without soaking the leaves themselves. Overwatering is the number one killer at this stage.
It sounds almost too simple, but turning a single Sedum leaf into a thriving cluster is surprisingly effective. This method boasts a 75-85% success rate worldwide. While it feels modern, it dates back to ancient gardening texts from 1000 BCE and saw a resurgence in the 1950s when trials showed 80% of Sedum morganianum leaves rooting in just 21 days. Today, it remains a favorite, with data showing that over 60% of home gardeners use leaf propagation for Sedum.
Over the next several weeks, you’ll see a tiny new plantlet—a miniature version of the parent plant—begin to form at the base of the leaf. The original "mother" leaf will slowly wither as the new plantlet uses its stored energy to grow. This is a slow but fascinating process that truly showcases the resilience of these amazing plants.
Dividing Sedum Clumps for Instant Garden Impact
Got a big, happy sedum clump? Division is your best friend. It’s hands-down the fastest way to multiply your plants. Forget waiting for tiny cuttings to grow up; dividing a mature sedum gives you several good-sized plants ready to make a statement right away.
This is my go-to method when I need to fill a gap in a border or create some symmetry along a path without waiting years for the plants to mature. It's especially perfect for those classic upright varieties like 'Autumn Joy' or 'Emperor's Wave', which can get a bit crowded and woody in the center after a few seasons.

Timing Your Division for Success
When it comes to dividing perennials, timing is crucial. You want to catch the plant when it's least likely to be stressed, so it can focus all its energy on putting down new roots.
The two ideal windows for this job are:
- Early spring, right as you see the first new shoots poking through the soil. This gives your new divisions a full growing season to get established before winter rolls around.
- Early fall, about four to six weeks before your area's first expected frost. The soil is still warm enough to encourage good root growth, but the brutal summer heat is gone.
Whatever you do, don't try this in the middle of summer. The shock of being dug up combined with intense heat is often too much for a plant to handle.
The Division Process: A Practical Guide
Before you even think about lifting the plant, get your new spots ready. Dig the holes where the divisions will go first. This simple prep step means the roots will spend less time exposed to the air, which is a major cause of transplant shock.
With your new holes ready, grab a sharp spade or a sturdy garden fork. Start digging around the perimeter of the parent sedum, giving it about a six-inch berth. Work your way around the entire clump, then gently pry underneath the root ball to lift the whole thing out of the ground.
Now for the fun part. Once the clump is free, take a look. You can often see natural places where the plant is already starting to separate into smaller sections. If you're lucky, you can just gently pull these apart by hand.
If the root ball is a dense, tangled mess, you'll need a tool. Don't be shy here. A clean cut is better than tearing. I’ve used an old serrated bread knife, a sharp spade, or a Japanese hori-hori to slice through a tough root ball. Make your cuts decisive.
Key Takeaway: Make sure every new piece has a healthy chunk of roots and some top growth (stems or little growth buds). As a general guide, aim for each new division to be at least the size of your fist. This ensures it has enough stored energy to get going on its own.
Replanting and Aftercare
Pop your new divisions into their prepared holes right away. You want to plant them at the same depth they were growing before. Backfill the hole with soil and gently press it down around the roots to get rid of any air pockets.
Give each new plant a deep, thorough watering. This helps settle the soil and gives the roots a much-needed drink. For the next few weeks, keep the soil consistently moist—but never waterlogged—while the plants recover and start growing new roots.
This method is so reliable that it's the standard for commercial growers. Globally, division boasts success rates as high as 98% and can easily yield 3-5 new plants per clump. In fact, in the U.S. landscaping world, it's estimated that 55% of all sedum sold got its start from division. You can see more succulent market trends to understand just how vital this technique is to the pros.
Caring for Your New Sedum Propagations
Getting those first tiny roots to appear on your sedum cuttings feels like a huge win, but the real work is just beginning. Now it's all about guiding these little plant babies from fragile starts into strong, independent succulents. How you care for them over the next few weeks will make all the difference.
Believe it or not, the most common mistake I see people make is loving their new propagations a little too much—especially with the watering can. These are still succulents, after all. They're built for dry conditions and are incredibly susceptible to rot, so the best thing you can do for them is back off and let the soil dry out.
Mastering the Watering Routine
Your new cuttings have tiny, delicate root systems that are easily swamped. Forget about a rigid watering schedule. The only way to know if it's time to water is to check the soil. I just stick my finger about an inch deep; if I feel even a hint of moisture, I wait.
When you do water, water deeply. Give the pot a good soak until you see water running out of the drainage holes. This encourages the roots to grow downward, searching for moisture, which builds a much stronger, more resilient plant than frequent, shallow sips ever will.
Here's a little mantra for new propagations: When in doubt, don't water. A sedum can bounce back from being a little thirsty, but it’s much harder to save one from the root rot that sets in from constantly wet soil.
Providing the Right Amount of Light
Just like with water, sunlight is a "too much of a good thing" situation for new propagations. Mature sedums are sun-worshippers, but your baby plants are far more sensitive. Blasting them with direct sun right away will only scorch their tender leaves and stress them out before they have a chance to get established.
For the first few weeks, find a spot that offers plenty of bright, indirect light. Think of a north-facing windowsill or a spot several feet back from a sunny south-facing window. You'll know the light is right if the plant keeps its color and doesn't look pale or stretched out (a sign it's desperately reaching for more light).
Once you see new growth and the plant feels secure in the soil, you can start introducing it to more sun.
- Begin with just an hour of gentle morning sun.
- Slowly increase the sun exposure by about an hour every few days.
- Keep an eye out for any white or brown scorch marks on the leaves and dial it back if you see any.
Knowing When to Fertilize and Transplant
Put the fertilizer away for now. A young cutting has all the nutrients it needs to get started from its potting mix. Wait until you see vigorous new growth—a few new sets of leaves or a clear increase in size—before you even think about feeding it. When you do, use a balanced, water-soluble fertilizer diluted to half-strength.
The final milestone is moving your new sedum into a more permanent home. It’s ready for a bigger pot or a place in the garden when its roots have filled the current container. A gentle squeeze of the nursery pot is a good indicator; if it feels firm or you see roots peeking out of the drainage holes, it's go-time. For a complete walkthrough, check out our guide on potting succulent cuttings—it covers everything you need to know for this final, crucial step.
Got Questions About Propagating Sedum? Let's Clear Things Up.
As you start multiplying your sedum collection, you're bound to run into a few head-scratchers. Don't worry, we've all been there. Getting a handle on these common questions from the get-go can save you a lot of guesswork and help you turn your efforts into a garden overflowing with new plants.
One of the first things people ask is about timing. Hands down, the best time to propagate sedum is when it's actively growing, which is typically from spring through late summer. The plants are full of energy, and the warm weather and longer days give cuttings and divisions the push they need to root quickly. If you try this in the dead of winter, you’ll find the process is painfully slow, if it works at all.
What to Do When Propagation Goes Wrong
Sooner or later, you'll probably encounter a cutting that turns to mush. It's a classic problem, and it almost always points to one thing: too much water. If your cuttings are rotting, it's time to play detective and check for these common culprits.
- You skipped callousing: I know it feels weird to leave a cutting just lying out, but letting that cut end dry and seal over is crucial. A fresh, wet cut planted in soil is an open invitation for rot.
- Your soil is too heavy: Sedums need to breathe. If you're using standard potting soil, it's likely holding way too much moisture. Always go for a gritty, fast-draining mix designed for succulents.
- You're watering too much: This is the number one killer of succulent cuttings. Fight the urge to dote on them! Let the soil become completely dry before you even think about watering again.
It seems backward, but sedum cuttings actually root better when they're kept on the drier side. They're succulents, after all, built to store water in their leaves. Drowning them with kindness is the quickest way to fail.
Another question that comes up a lot is rooting sedum in water. Can it be done? Technically, yes. Should you do it? I wouldn't recommend it. Sedums are built for dry climates, and sitting in water makes them extremely prone to rotting. Plus, the roots that form in water are weak and fragile; they often go into shock and die when you finally move them to soil. Sticking with soil from the start gives your new plants a much stronger foundation for a long, healthy life.
How Long Until I Have a New Plant?
Patience is a virtue, especially with propagation! The time it takes to get a new plant really depends on the path you choose.
Stem cuttings are your fastest bet. You can expect to see roots forming in just 2-4 weeks, and you'll have a respectable little plant in a couple of months. Leaf cuttings, on the other hand, are a slow burn. It can take 4-8 weeks for a tiny new plantlet to even appear, and a full year before it looks like much.
If you want instant gratification, division is the way to go. You split a mature plant and—voila!—you have another mature plant, ready to go from day one.
At The Cactus Outlet, we know the joy of watching your plant collection grow. Find beautiful, healthy parent plants for your next propagation adventure in our collection. Discover your new favorite at https://www.cactusoutlet.com.