
Properly caring for a peanut cactus comes down to a few key things: giving it plenty of bright, indirect sunlight, planting it in a fast-draining cactus mix, and watering it deeply only after the soil has completely dried out. This tough little succulent loves a "soak and dry" routine and really benefits from a cool, dry rest in the winter, which is the secret to getting those amazing spring flowers.
Meet the Endearing Peanut Cactus
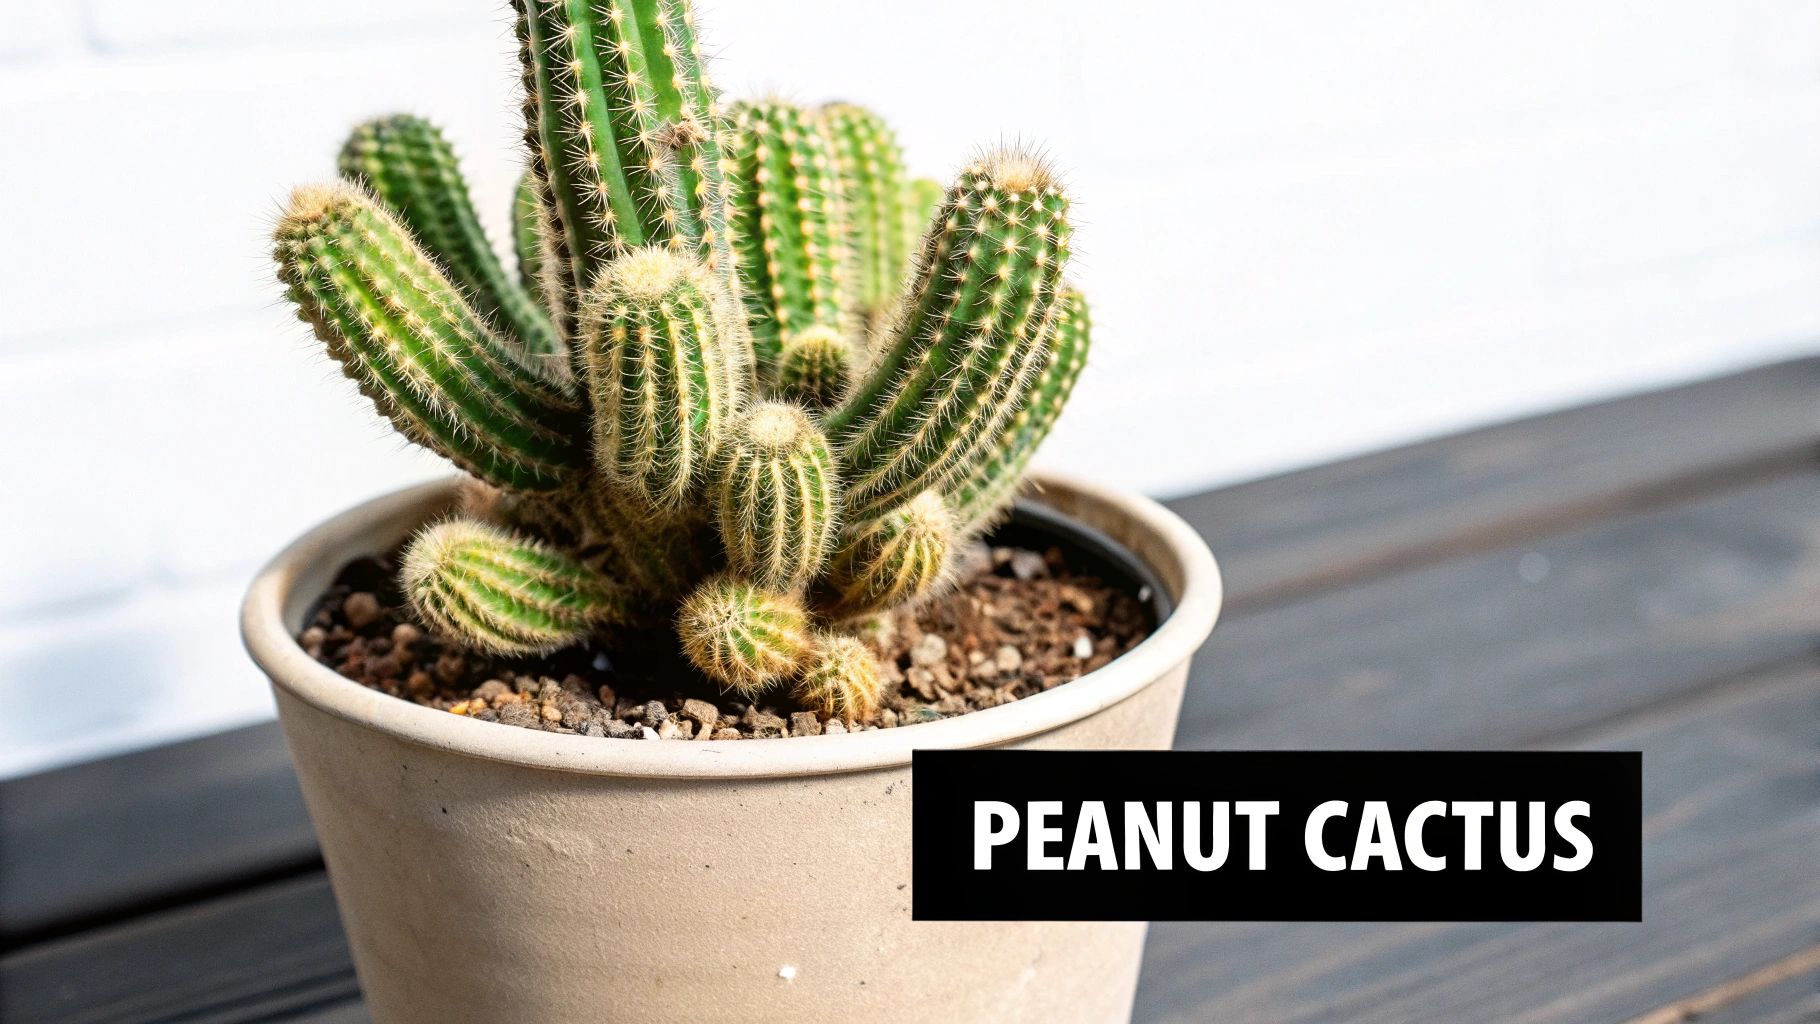
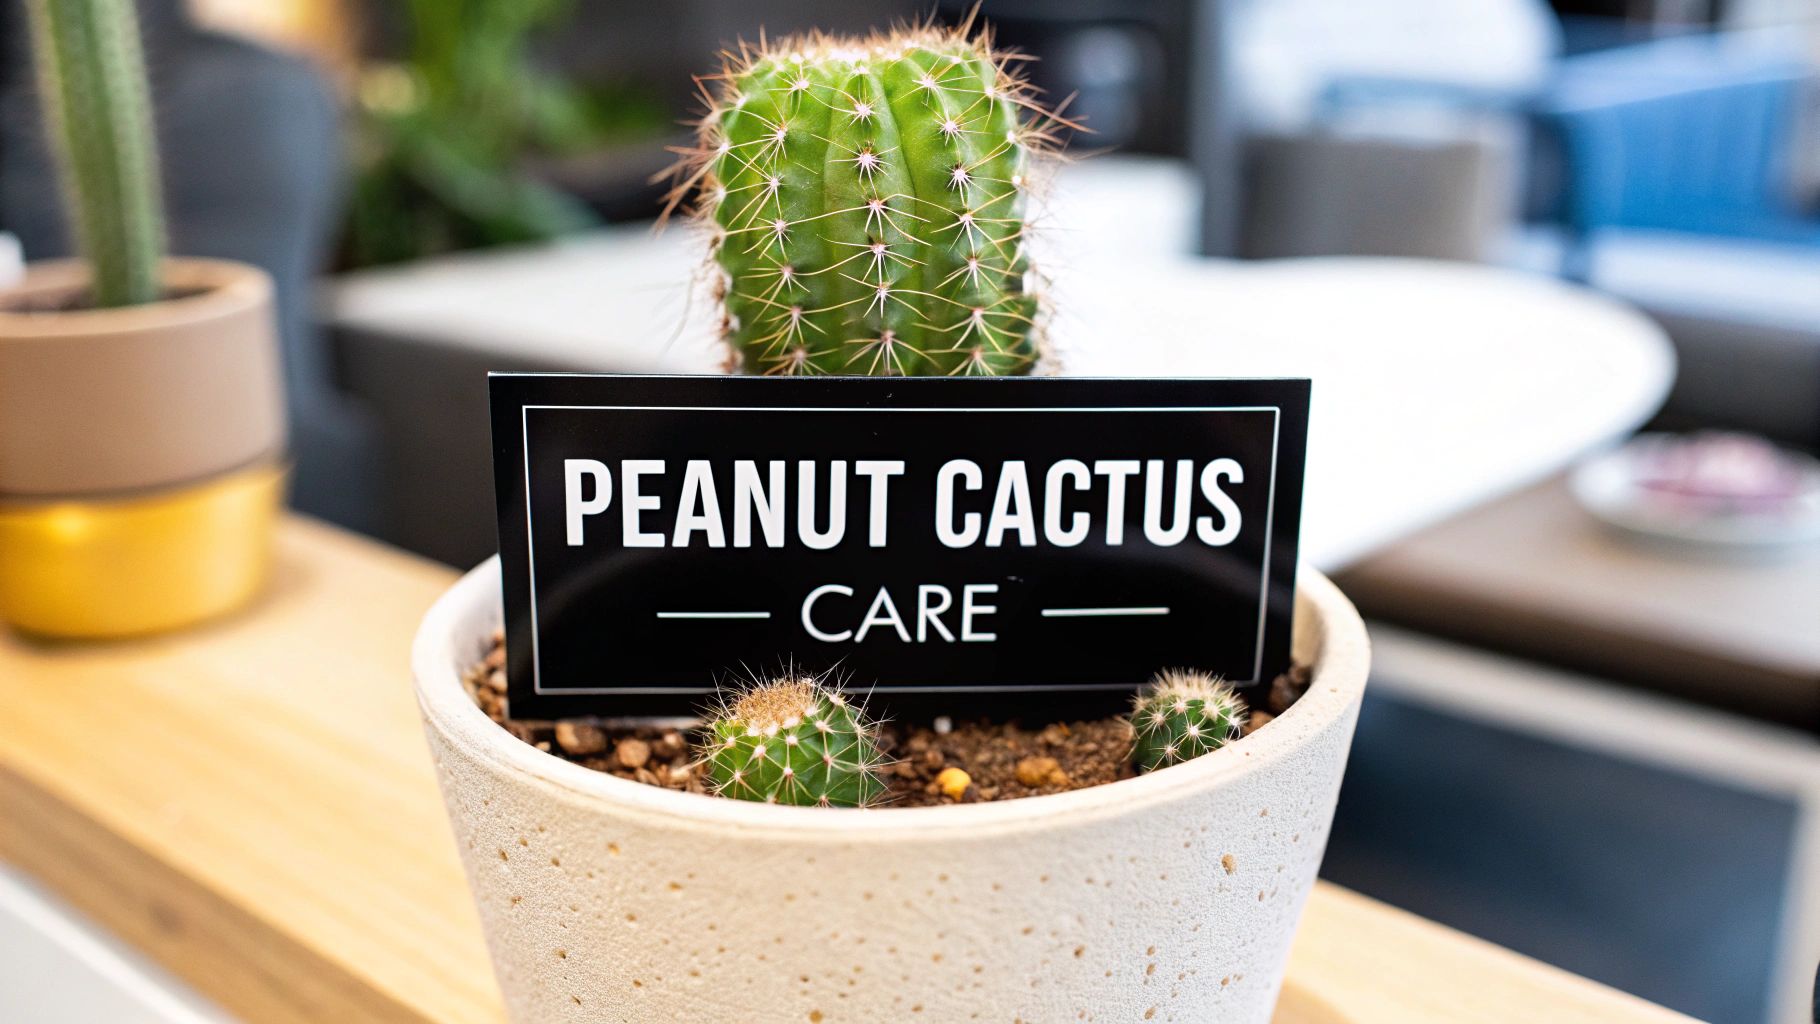
Before we jump into the care specifics, let's get to know the plant itself. The peanut cactus, or Echinopsis chamaecereus if you want to get scientific, isn't what most people picture when they think of a cactus. It doesn't grow straight up. Instead, its quirky, finger-like stems gracefully spill over the edge of the pot, which is exactly how it earned its name.
This trailing habit makes it a perfect candidate for a hanging basket, where its stems can really show off. It also looks fantastic as the "spiller" in a mixed succulent container. Its charming look and easy-going personality make it a hit with everyone, from total beginners to seasoned collectors.
Origins and Characteristics
This plant's story starts high in the mountains of Argentina. First officially described in the late 1800s, the Peanut Cactus (Echinopsis chamaecereus) is native to arid, rocky slopes. It’s used to gritty, well-draining soil and high-altitude sun. The stems typically stay around 6 inches tall but can trail out to 12 inches long or more.
Knowing where it comes from is the biggest clue to keeping it happy. If you can replicate its natural home—lots of light and water that comes infrequently but thoroughly—you've pretty much nailed it. Its forgiving nature, paired with those stunning, fiery orange-red flowers, makes it one of the most rewarding cacti you can grow.
If there's one thing new owners should remember, it's that the peanut cactus is built to be tough. It stores water in those fleshy stems, meaning it can handle a bit of forgetfulness much better than your average houseplant.
For anyone looking to build a solid foundation in plant care, brushing up on general plant care principles is a great idea. Understanding the "why" behind the instructions makes you a more intuitive and confident caretaker for all the plants in your home.
Finding the Perfect Light and Temperature Balance

Getting the light just right is probably the single most important thing you can do for your peanut cactus. These guys are native to Argentina, so they definitely appreciate a good dose of sun, but that doesn't mean you should let them bake in the harshest afternoon heat. Nailing the right intensity and duration will reward you with that classic, compact growth and a fantastic show of flowers.
The good news is your cactus will tell you exactly what it needs; you just have to learn its language. If you see stems looking pale, yellowish, or even developing brown, crispy patches, that's classic sunburn. On the flip side, if the stems get all thin and stretched out, looking like a pale green version of their former selves, your plant is etiolating. It's basically stretching itself thin, desperately reaching for more light.
Ideal Light Conditions
For most of us growing these indoors, an east-facing window is the sweet spot. It provides a few hours of bright, direct morning sun that's gentle enough not to scorch the delicate stems. A south- or west-facing window can work too, but you'll likely need to diffuse that intense afternoon light. Just pull the plant back a few feet from the glass or hang a sheer curtain to soften the rays, especially if you live in a hot climate.
You're aiming for at least four to six hours of direct sun each day. Keep an eye on your plant, and don't be afraid to move it if you see any of those stress signals.
I see a lot of people make the mistake of tucking a peanut cactus in a dim corner and just hoping for the best. Without enough sun, it won’t just get weak and leggy—it absolutely will not produce those signature vibrant flowers.
If your home is a bit light-challenged, especially during the darker winter months, a grow light is a game-changer. A simple full-spectrum LED light, positioned about 6-12 inches above the plant for 12-14 hours a day, can make all the difference. It will keep your cactus healthy and compact all year long.
The Importance of Temperature and Dormancy
Peanut cacti don't just react to light; they're also keenly aware of temperature changes. The real secret to unlocking a spectacular blooming season is to mimic the seasonal shifts they'd experience in their natural habitat.
Throughout the spring and summer growing season, they're perfectly content with typical indoor temperatures, anywhere between 65-85°F (18-29°C) is great. Once fall sets in, though, it's time to help them settle down for a winter nap.
This winter dormancy period is non-negotiable if you want flowers. To trigger it, you need to provide two key things:
- Cooler Temps: Find a cooler spot in your home where the temperature consistently stays between 40-50°F (4-10°C). An unheated garage by a window, a cool basement, or an enclosed porch can be perfect for this.
- Less Water: You'll also need to drastically cut back on watering. (We'll get into the specifics of that in the next section).
This cool, dry rest lets the plant conserve energy and focus on setting flower buds. Once spring rolls around with warmer days and brighter light, you’ll be rewarded with that stunning display of orange-red blossoms.
Nailing the Watering Routine and Soil Mix
When it comes to keeping a peanut cactus happy, how you water and what you plant it in are two sides of the same coin. Get these right, and you’ve won half the battle. These two factors work hand-in-hand to prevent the number one killer of cacti: root rot.
The whole idea is to replicate its natural environment in Argentina—think infrequent but thorough downpours, followed by long, dry periods in gritty, fast-draining soil. Luckily, achieving this at home is easier than it sounds. It all comes down to a simple, foolproof principle: the “soak and dry” method.
The Soak and Dry Watering Method
First things first: throw out any rigid watering schedule you might have in mind. A "water every Saturday" approach just doesn't work for cacti. Your plant's needs will fluctuate based on the season, how much light it's getting, and even the humidity in your home. Instead, let the soil tell you when it's thirsty.
- Soak: When you do water, don't be shy. Give the soil a complete drenching until you see water running out of the drainage holes at the bottom of the pot. This ensures that the entire root ball gets a chance to hydrate.
- Dry: This step is crucial. You absolutely must let the soil dry out completely from top to bottom before you even think about watering again. In the heat of summer, this might take a week or two. In the dead of winter, your cactus might not need a drink for over a month.
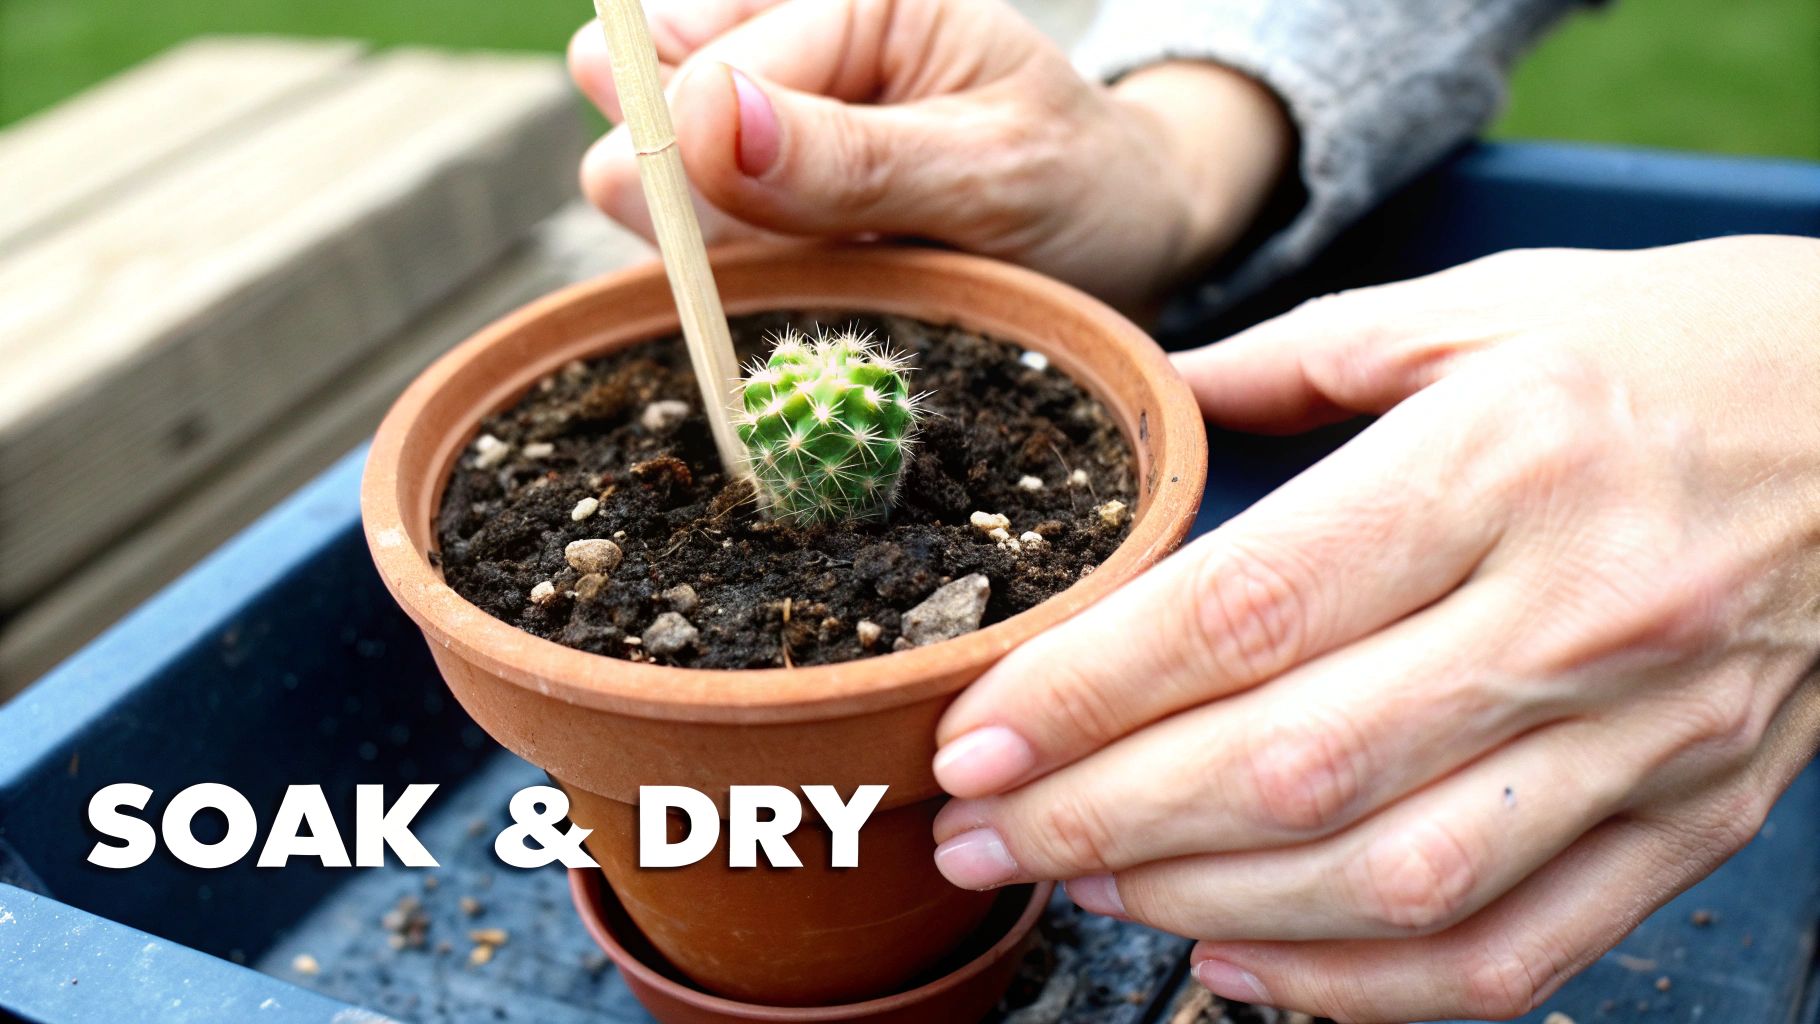
A trick I've used for years is the chopstick test. Just grab a wooden chopstick or skewer and gently poke it deep into the soil (away from the plant's base). If it comes out clean and dry, it's go-time. If you see any dark, damp soil clinging to it, hold off for a few more days and check again.
Crafting the Perfect Soil Mix
The right soil is the secret to making the "dry" part of the method successful. Regular potting mix is a death sentence for a peanut cactus; it’s designed to hold onto moisture, which will quickly lead to mushy, rotten roots. You need something gritty and airy that lets water rush right through.
For an easy start, you can't go wrong with a pre-made cactus and succulent mix from any garden center. They're formulated specifically for the sharp drainage these plants crave and take all the guesswork out of it.
If you're more of a hands-on plant parent, whipping up your own mix is both simple and rewarding. Here’s a classic, no-fail recipe that I use for most of my desert cacti:
- One part potting soil (for a little organic matter and nutrients)
- One part perlite or pumice (to keep things light and airy)
- One part coarse sand or poultry grit (for structure and excellent drainage)
Just combine these three ingredients in a bucket, and you’ve got a fantastic growing medium for your peanut cactus. If you really want to geek out on the science behind it, you can learn more about crafting the ideal cactus and succulent soil mix and what makes each ingredient so important. It's great knowledge to have for your entire succulent collection.
Giving Your Cactus a Boost: Feeding and Repotting
While sunlight and water are the cornerstones of happy peanut cacti, a bit of well-timed feeding and a fresh pot now and then are what truly make them thrive. This is how you fuel that vigorous, trailing growth and encourage a show-stopping display of those fiery orange-red flowers.
Think of fertilizer as a gentle nudge, not a full-course meal. These cacti are naturally adapted to lean soils and really don't demand much. A little boost during the active growing season in spring and summer is all it takes.
A Feeding Schedule That Works
You'll want to start feeding your peanut cactus only when you see it actively putting out new growth. Your best bet is a specialized cactus fertilizer that’s low in nitrogen—too much nitrogen can lead to soft, weak stems that are susceptible to rot.
Here’s the key: dilute the fertilizer to half or even a quarter of the strength suggested on the label. Apply this weakened mix about once a month, but only after you’ve already watered the plant thoroughly. Never, ever fertilize a bone-dry cactus, as it can easily burn the delicate roots.
As fall approaches, cut off all feeding. This signals to the plant that it's time to wind down for its crucial winter dormancy period.
A classic rookie mistake is over-fertilizing to force more flowers. It usually backfires, stressing the plant and preventing blooms altogether. With peanut cacti, less is always more.
When Is It Time for a New Pot?
Your peanut cactus actually likes to be a little bit crowded, so don't be in a rush to repot. As a general guide, plan on giving it a new home every two to three years.
Keep an eye out for these tell-tale signs that it's time:
- The stems have completely covered the soil surface.
- You can see roots peeking out of the drainage holes.
- The soil is drying out noticeably faster than it used to.
The ideal time to tackle this task is in the spring, right as the plant is coming out of its winter slumber. This gives it the entire growing season to establish itself in the new pot.
When selecting a new container, just go up one size. That means a pot that's only 1-2 inches wider in diameter. A pot that's too big will hold onto excess moisture, which is the perfect recipe for root rot. Terracotta is a fantastic choice, as its porous material helps the soil breathe and dry out evenly.
If you're new to this, brushing up on general repotting techniques for houseplants can make the process much smoother. Be incredibly gentle when you handle the plant—the "peanuts" break off easily. I find that using kitchen tongs or wrapping the cactus in a folded newspaper gives you a good grip without damaging the stems or pricking your fingers.
Effortless Propagation for More Cacti
One of the best parts of growing a peanut cactus is just how ridiculously easy it is to make more of them. This plant is a prolific grower and practically asks to be propagated, letting you expand your collection or share with friends for free. The whole process is incredibly straightforward, tapping into the cactus's natural tendency to root from its unique, finger-like stems.
This easy-going nature is a big reason for its popularity, which has been on the rise since the houseplant boom of the 1980s. You'll find it stocked in roughly 80% of U.S. nurseries and online shops. Plus, its ability to store water at 85% of its tissue capacity makes it a fantastically forgiving plant for beginners.
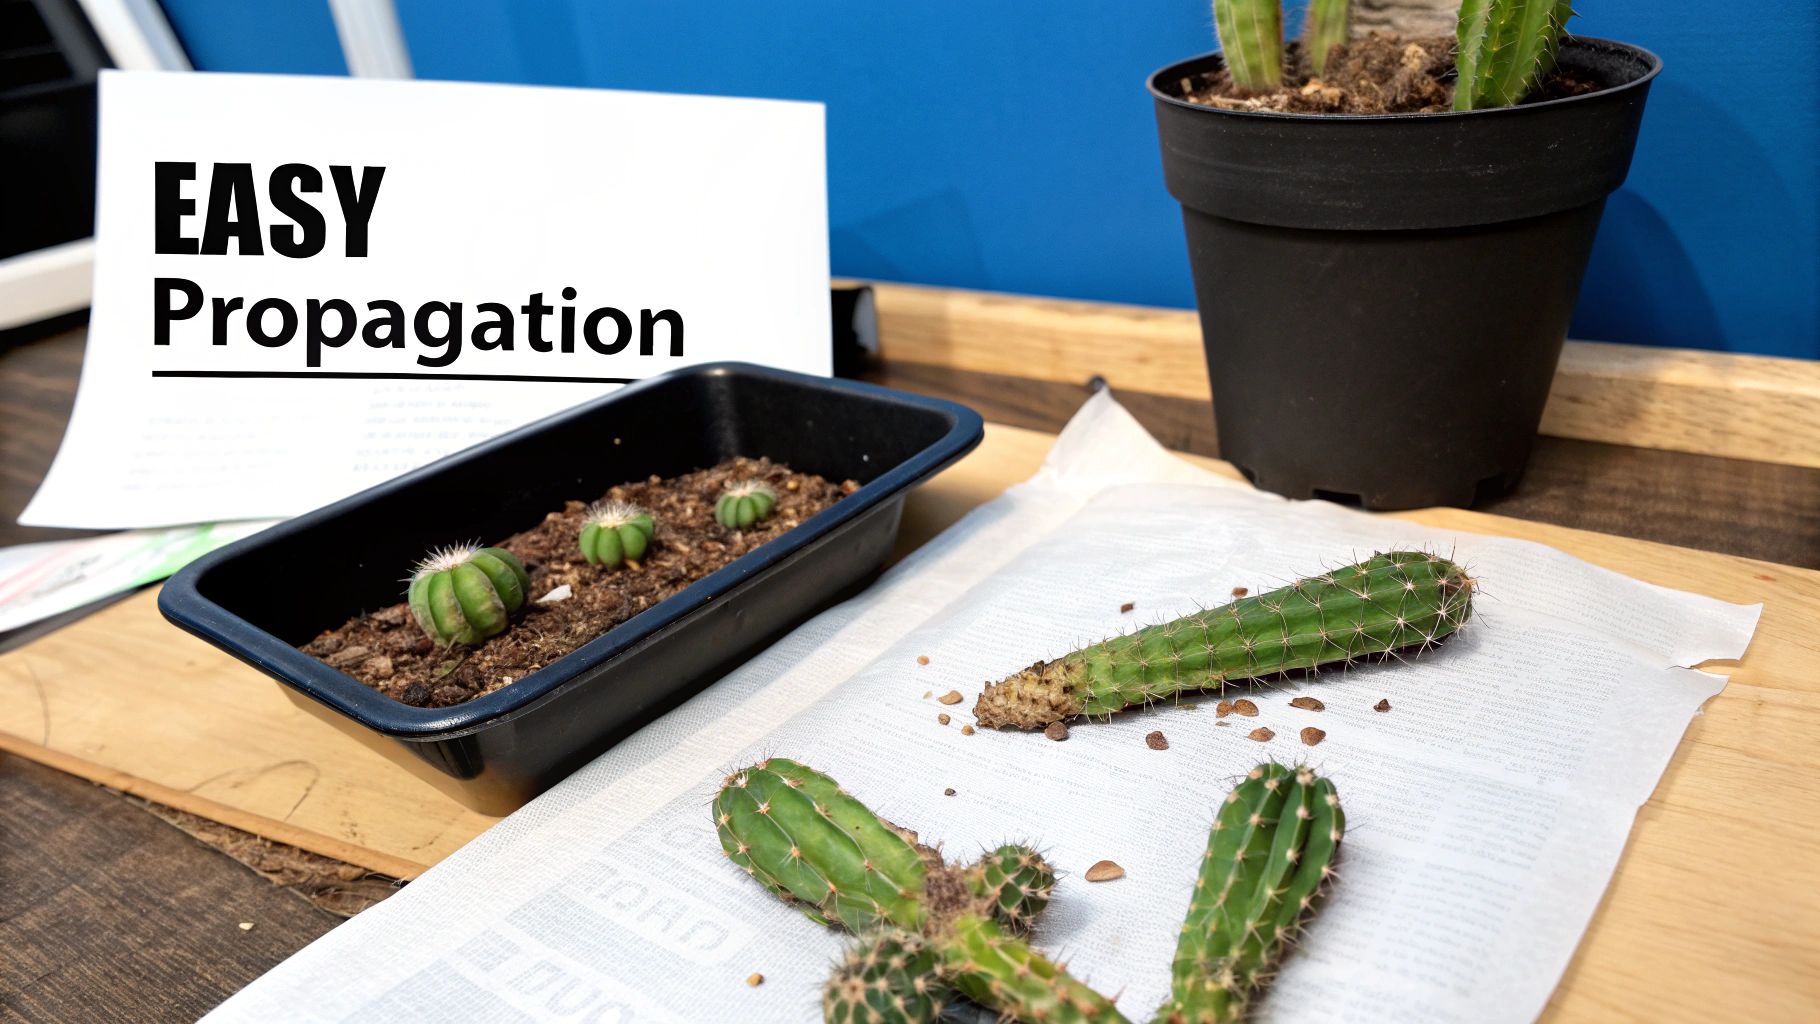
Propagating From Stem Cuttings
The go-to method for propagating a peanut cactus is by using its stem cuttings—the little "peanuts" or offsets that branch off the main plant. For the best results, you’ll want to do this during the active growing season in spring or summer when the plant is full of energy.
Here's how I get it done:
- Take a Cutting: Find a healthy, firm stem segment. Give it a gentle wiggle at the base, and it should pop right off. If it puts up a fight, a clean, sharp knife will do the trick for a neat cut.
- Let it Callus: This is the non-negotiable step. Lay the cutting on a paper towel somewhere dry and out of direct sun for a few days. You’re waiting for the cut end to dry out and form a hard, protective callus. Skipping this is just asking for rot.
- Plant it Up: Once it's callused over, you can stick the cut end about a half-inch deep into a pot filled with dry cactus mix. Honestly, you can even just lay the cutting on its side right on top of the soil—it’ll eventually send roots down all on its own.
Patience is everything here. Whatever you do, don't water your new cutting right away. Let it hang out in that dry soil for at least a week. This encourages it to send out new roots in search of moisture. Watering too soon is the fastest way to turn your cutting into a pile of mush.
From Cutting to New Plant
After a couple of weeks, give the cutting a very gentle tug. If you feel some resistance, you've got roots! That's your cue to start watering very lightly, using the same soak-and-dry approach you use for the parent plant.
From that point on, just give it the same care you would any other peanut cactus, and you'll be seeing fresh new growth before you know it. For a deeper dive into the process, check out our guide on planting a cactus cutting for some extra pointers to guarantee success. It’s an amazing feeling to watch one plant become many with so little fuss.
Troubleshooting Common Cactus Issues
Even the most resilient plants can run into trouble now and then. When your peanut cactus is looking a bit under the weather, don't panic. A little detective work is usually all it takes to get it back on track. Most issues can be traced back to either pesky critters or a simple care mistake, both of which are pretty easy to fix once you know what you're looking for.
The biggest clues are usually changes in color and texture. If the stems look shriveled and wrinkled, it's almost always a cry for water. On the flip side, mushy, brown, or even black stems are the classic calling card of overwatering and the dreaded root rot.
Identifying and Treating Pests
Every once in a while, unwanted guests might show up. For peanut cacti, the two most common culprits are mealybugs and spider mites.
You can spot mealybugs pretty easily; they look like tiny, fuzzy bits of white cotton. They love to tuck themselves into the little crevices where the stems join together. Spider mites are much tinier and harder to see, but they give themselves away by spinning fine, silky webs across the plant.
For a minor pest problem, my go-to fix is simple. Just dip a cotton swab in 70% isopropyl alcohol and dab it directly on the bugs. It gets rid of them instantly without hurting the cactus. If you're dealing with a bigger invasion, mix a 50/50 solution of alcohol and water in a spray bottle and give the whole plant a good misting.
A quick pro tip from personal experience: isolate any infested plant immediately. Pests can travel from one plant to another faster than you'd think. Moving your peanut cactus to its own little quarantine corner for a few weeks while you treat it will save you a world of trouble later on.
Fixing Common Care Mistakes
More often than not, a struggling peanut cactus is reacting to its environment, not an insect attack. Getting a handle on these common care slip-ups is the real secret to keeping your plant happy for years to come.
- Mushy Stems (Root Rot): This is the big one, and it's always caused by too much water. Stop watering right away. If you can, gently slide the plant out of its pot to check the roots. Snip off any that are black and mushy, then repot it in fresh, completely dry cactus soil.
- Yellowing Stems: This can be a tricky symptom. While overwatering is a possible cause, it can also mean the plant is hungry for nutrients or getting scorched by too much intense, direct sun. To figure out exactly what's going on, it helps to understand the different reasons for a cactus turning yellow.
- Shriveled or Wrinkled Stems: This is your cactus's way of saying, "I'm thirsty!" It's a straightforward fix. Just give it a deep, thorough drink until you see water flowing out of the drainage hole. The stems should plump right back up in a day or two.
- Stretched, Pale Growth: Is your cactus growing long, skinny, and a pale shade of green? It's desperately reaching for more light, a process called etiolation. Move it to a much brighter, sunnier location to get it back to its happy, compact self.
Answering Your Peanut Cactus Questions
As you get to know your peanut cactus, a few questions are bound to come up. It's totally normal. Let's tackle some of the most common ones I hear from other growers so you can care for your plant with confidence.
Is This Cactus Safe for My Pets?
This is probably the number one question I get, and I have great news for pet owners. The peanut cactus (Echinopsis chamaecereus) is considered non-toxic to cats and dogs, according to the ASPCA.
While its spines are softer than many other cacti, it's still probably a good idea to keep it just out of reach. You don't want a curious cat or dog taking a test bite, which could still be uncomfortable for them and isn't great for the plant either.
Help! My Peanut Cactus Is Shriveling!
Don't panic! Wrinkled, shriveling stems almost always have a simple cause: thirst. This is just your cactus's way of telling you it's time for a good, deep drink.
Give it a thorough watering, letting the excess drain completely. You'll be amazed at how quickly it bounces back. Within a day or two, those stems should be plump and happy again.
What Does It Mean if the Stems Turn Yellow?
Yellowing stems are a bit more of a puzzle because they can point to a few different things. Your job is to play detective.
- Overwatering: This is often the prime suspect. If the soil is soggy, you're likely dealing with the beginnings of root rot.
- Sunburn: Too much intense, direct sunlight can scorch the stems, bleaching them to a sickly yellow.
- Nutrient Deficiency: Less common, but a lack of nutrients can also cause discoloration.
Start by checking the soil. If it's wet, hold back on watering immediately. If it's bone dry and the plant is in a blazing hot spot, it's probably getting too much sun.
The most important skill in cactus care is simply paying attention. Your plant will give you visual cues. A shriveled stem is asking for water; a pale one might be begging for shade. Learning to read these signs is far more effective than sticking to a rigid, one-size-fits-all schedule.
Can I Plant It With Other Succulents?
Absolutely! The peanut cactus is a fantastic team player in mixed container gardens. Its trailing "fingers" spill beautifully over the edge of a pot, making it a perfect "spiller" component in thriller-spiller-filler arrangements.
The key is to choose companions with similar needs. Pair it with other sun-lovers that prefer to dry out between waterings, like many varieties of Echeveria or Sedum.
Ready to add this charming and forgiving cactus to your plant family? The Cactus Outlet has a fantastic selection of healthy cacti that are ready to be shipped right to your door. Find your perfect peanut cactus today at https://www.cactusoutlet.com.