Growing aloe vera is surprisingly simple once you get the hang of it. The whole secret really boils down to three things: giving it lots of bright but indirect light, using a soil that drains quickly, and watering it thoroughly but not too often. Get these three right, and you'll have a happy, healthy plant for years.
Your First Steps to a Thriving Aloe Vera Plant
So, you're ready to bring an aloe vera into your home. Fantastic choice! Whether this is your first succulent or you're just adding another to the family, I want to make caring for it feel easy and rewarding. It’s one of the best low-maintenance plants out there and brings a bit of green calm to any room.
Think of this as your personal roadmap to aloe success. We'll kick things off with the most important decision you'll make: choosing a great plant from a reputable source like The Cactus Outlet. I'll even share my own mental checklist for picking out a plant that’s set up to thrive from day one.
Why Grow Aloe Vera at Home
There's more to aloe than just its classic, spiky look. When you grow one, you're connecting with a plant that has an incredible history and so many uses. It’s not just another houseplant—it’s a living first-aid kit and a symbol of toughness. Honestly, there's a unique satisfaction in snipping off a leaf from a plant you grew yourself to soothe a sunburn.
It's a smart move from a practical standpoint, too. The global demand for aloe vera is booming, thanks to its widespread use in everything from cosmetics to health drinks. The market is projected to reach an incredible USD 3.15 billion by 2031, which shows just how valuable this plant is. Growing your own gives you direct access to this amazing natural resource. You can actually discover more insights about the aloe vera market on mordorintelligence.com.
My own love for aloe started with a single, sad-looking plant I rescued. Watching it recover and eventually start producing its own little offsets (or "pups") was what really hooked me. It proved to me that with just a bit of know-how, anyone can get these succulents to flourish.
This guide is all about giving you that know-how in simple, straightforward advice. Let's get you started on the right foot.
Choosing the Right Pot and Soil Mix
The secret to a thriving aloe vera plant doesn't start with sunlight or watering—it starts with its home. Getting the pot and soil right from day one is the single best thing you can do to prevent the common problems that trip up new aloe owners.
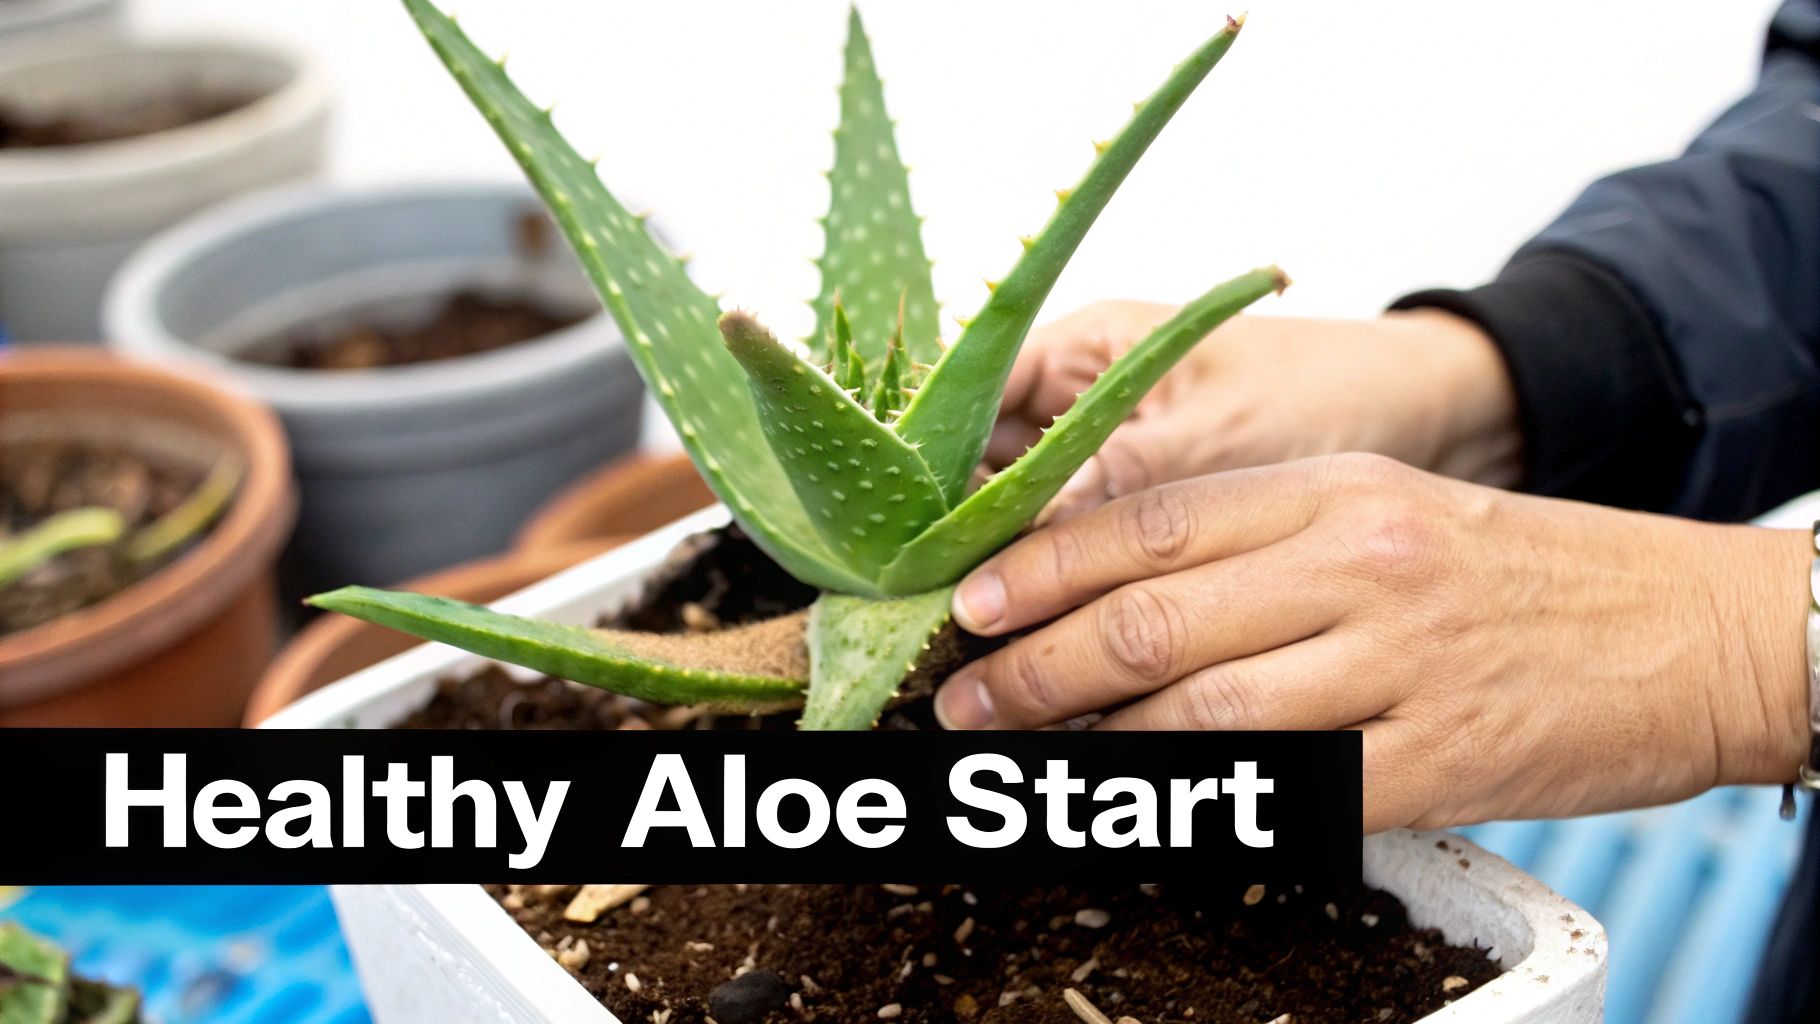
Before we even get to the pot, let’s talk about picking your plant. When you're at The Cactus Outlet or your local nursery, look for an aloe with firm, upright leaves and a healthy, consistent green color. Give it a pass if you see mushy spots, brown tips, or droopy, flattened leaves. These are all tell-tale signs of stress, usually from overwatering.
Selecting the Perfect Pot
The pot you choose has a huge impact on your aloe's health. While it's tempting to grab a beautiful glazed pot that matches your decor, it's often not the best functional choice for a succulent that absolutely hates "wet feet."
My go-to recommendation, both personally and professionally, is always a terracotta or unglazed clay pot. These materials are porous, allowing air and moisture to move right through the walls of the pot. This helps the soil dry out much more evenly and quickly, which is your best defense against root rot—the number one killer of indoor aloes.
Whatever you choose, make sure it has at least one drainage hole. This is non-negotiable. Without proper drainage, water collects at the bottom and will quickly drown the roots.
As for size, don't go too big. Pick a pot that’s just a bit larger than the current root ball, about one to two inches wider in diameter. A pot that’s too large holds a massive amount of soil that stays wet long after the roots have taken what they need, creating a perfect environment for rot.
Crafting the Ideal Soil Environment
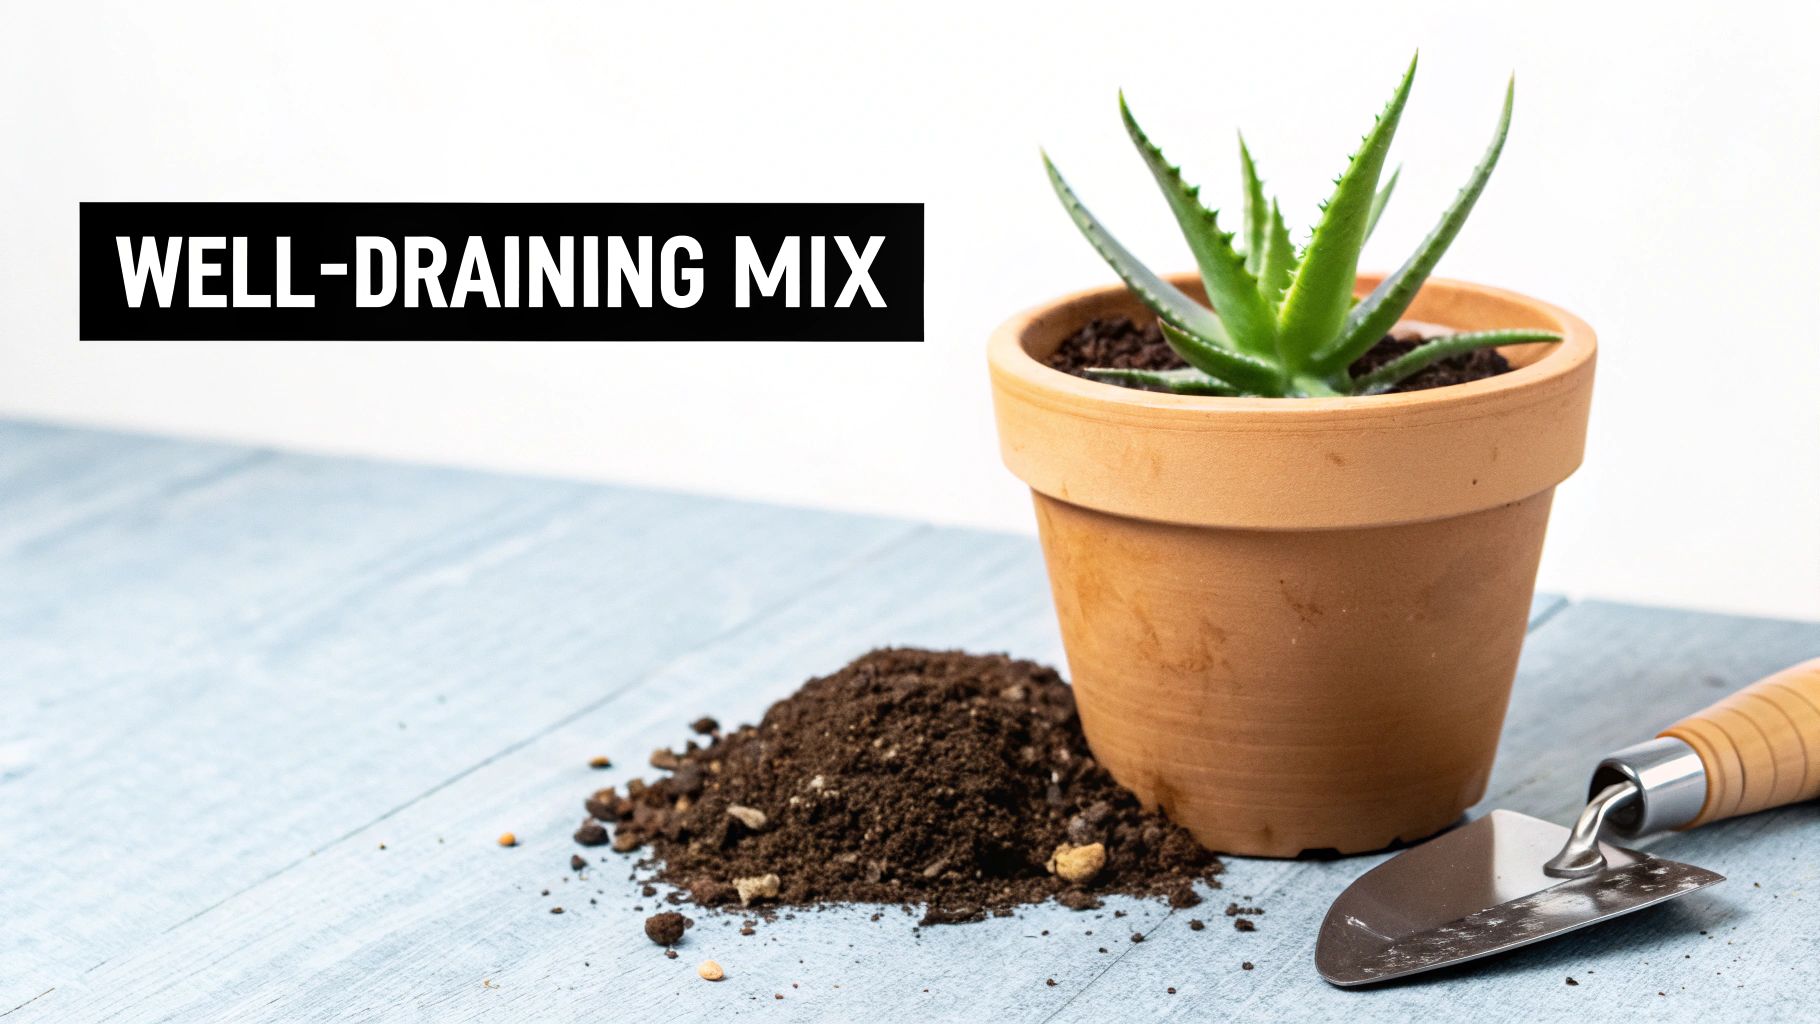
Now for what goes inside the pot. Grabbing a standard bag of all-purpose potting soil is a recipe for disaster. That stuff is designed to hold onto moisture for thirsty plants like tomatoes, which is the exact opposite of what your desert-dwelling aloe wants.
Aloes need a gritty, fast-draining soil that mimics their native arid conditions. You’ve got a couple of great options here:
- Buy a Pre-Made Mix: The easiest route is to grab a commercial cactus and succulent mix. These are already formulated with things like sand, perlite, and pumice to promote excellent drainage.
- Create Your Own Blend: If you like to get your hands dirty, making your own is simple. A fantastic, reliable recipe is a 1:1:1 ratio—one part standard potting soil, one part coarse sand (builder's sand, not fine play sand), and one part perlite or pumice.
Your goal is a soil texture that lets water flow through freely instead of becoming a muddy mess. A good test? When you water your aloe, you should see water start to trickle out of the drainage hole almost immediately. That’s how you know you've nailed it.
To make it even easier, here's a quick checklist to reference when you're setting up your new plant's home.
Aloe Vera Potting and Soil Checklist
This table is your quick reference guide to ensure you have the ideal setup for your Aloe vera plant from day one.
| Component | Best Practice | Why It Matters |
|---|---|---|
| Pot Material | Terracotta or unglazed clay | Porous material helps soil dry out evenly, preventing root rot. |
| Drainage | At least one large drainage hole | Non-negotiable for letting excess water escape and avoiding "wet feet." |
| Pot Size | 1-2 inches wider than the root ball | Prevents excess soil from holding too much moisture, a leading cause of rot. |
| Soil Type | Cactus/succulent mix or a custom 1:1:1 blend | Ensures fast drainage, mimicking the aloe's natural arid environment. |
| Soil Additives | Perlite, pumice, or coarse sand | Creates air pockets and improves drainage, keeping roots healthy. |
Getting the pot and soil right is the foundation of good aloe care. For an even deeper dive into soil blends, check out our guide on the best potting soil for aloe. Taking the time to create this perfect environment sets your plant up for a long, healthy life.
Getting Light and Water Just Right for Your Aloe
If you can get the hang of light and water, you've pretty much won the battle with your Aloe vera. These two things are the cornerstone of its care. Once you get a feel for what your plant needs, it'll thank you with vibrant, healthy growth. Let's dig into exactly what that looks like.
Finding That Sweet Spot of Sunlight
People always say aloes need "bright, indirect light," but what does that really mean in your home? It’s not as complicated as it sounds. You're looking for a spot that's sunny but where the plant isn't getting blasted by the most intense, direct rays of the sun, which can easily scorch the leaves.
A perfect example? Place your aloe a few feet away from a south- or west-facing window. Another great spot is right on the sill of an east-facing window, which gets that gentler morning sun. If your only option is a window that gets hit with strong afternoon light, just put up a sheer curtain. It acts like a perfect filter, giving the aloe the brightness it loves without the risk of sunburn.
Your plant will give you signals if the light isn't right:
- Not Enough Light: The leaves might turn a pale, washed-out green and start to look long and leggy. This is called etiolation, and it's your aloe literally stretching itself out to find more light.
- Too Much Direct Sun: You'll see the leaves take on a reddish or brownish tint, or even develop crispy yellow spots. That's your aloe's way of telling you it's getting burned.
The Art of Watering an Aloe Plant
When it comes to water, the number one mistake people make is loving their aloe to death with too much of it. These are succulents from arid places, which means their roots will rot in a heartbeat if they're left sitting in wet soil. The absolute best way to water is using the "soak and dry" method.
This technique mimics the downpours they'd get in their native habitat—infrequent but thorough. When it's time to water, really go for it. Drench the soil until water flows freely out of the drainage hole. This makes sure every part of the root system gets hydrated.
The most important part of this whole process is what comes next: letting the soil dry out completely. I mean completely. For my own aloes, this works out to about every 2-3 weeks during the active growing season in spring and summer.
But how can you be sure it's time? Don't just glance at the surface. The only reliable way is to stick your finger about two inches down into the pot. If you feel even a hint of moisture, hold off for a few more days and check again. The top 2-3 inches of soil should feel totally dry.
The value of a healthy aloe goes way beyond just being a nice houseplant. Its gel is a major player in the beauty world; in fact, the global market for aloe vera extracts was projected to reach an incredible USD 3.97 billion in 2025. That demand really shows how valuable this plant's natural properties are. You can read more on its market trends from Future Market Insights.
Adjusting for the Seasons
Your aloe doesn't need the same care year-round. When the days get shorter and the temperatures drop in fall and winter, the plant goes into a dormant state. Its growth slows way down, and that means you need to cut back on watering significantly.
During the winter, I might only water my aloes once a month, sometimes even less. The "soak and dry" principle is still your guide, but you'll find the soil takes much, much longer to dry out. Overwatering during dormancy is the fastest way to kill an aloe.
Master these simple rhythms of light and water, and you'll have a gorgeous, thriving Aloe vera for years to come. For a deeper dive, be sure to check out our complete guide to understanding your aloe plant's sunlight needs.
How to Propagate Aloe Vera Pups
One of the best things about growing aloe is that it practically gives you new plants for free. Propagating aloe is incredibly easy, and the most common way to do it is by separating the little offsets, or “pups,” that pop up around the base of the main plant.
These pups are perfect little clones of the mother plant. Once they get big enough, you can gently remove them and give them their own pot. Doing this not only expands your collection (or gives you great gifts for friends) but also keeps the main pot from getting too crowded, which helps the mother plant thrive.
Identifying When a Pup Is Ready
The biggest mistake people make here is getting too impatient. If you separate a pup too soon, it just won't have the strength or root system to make it on its own. It's a classic rookie error that almost always ends in a shriveled, sad-looking pup.
So, how can you tell when a pup is truly ready for its own home? Here’s what I look for:
- Size Matters: The pup should be at least one-fifth the size of the mother plant. As a general guide, I wait until it's a solid three or four inches tall.
- A Full Set of Leaves: A ready-to-go pup will have several of its own leaves, not just one or two tiny green specks. This tells you it’s developing a proper growth structure.
- Its Own Roots (The Ideal Sign): If you're not sure, you can gently brush away a bit of the topsoil. If you see the pup has started growing its own root system, that's a green light.
A strong, well-established pup has a much higher chance of survival. If you're on the fence, it's always better to wait another few weeks. The goal is to get a healthy new plant, not just to separate it quickly.
This simple infographic gives a great overview of the basic care that helps a mother plant get healthy enough to produce strong pups in the first place.
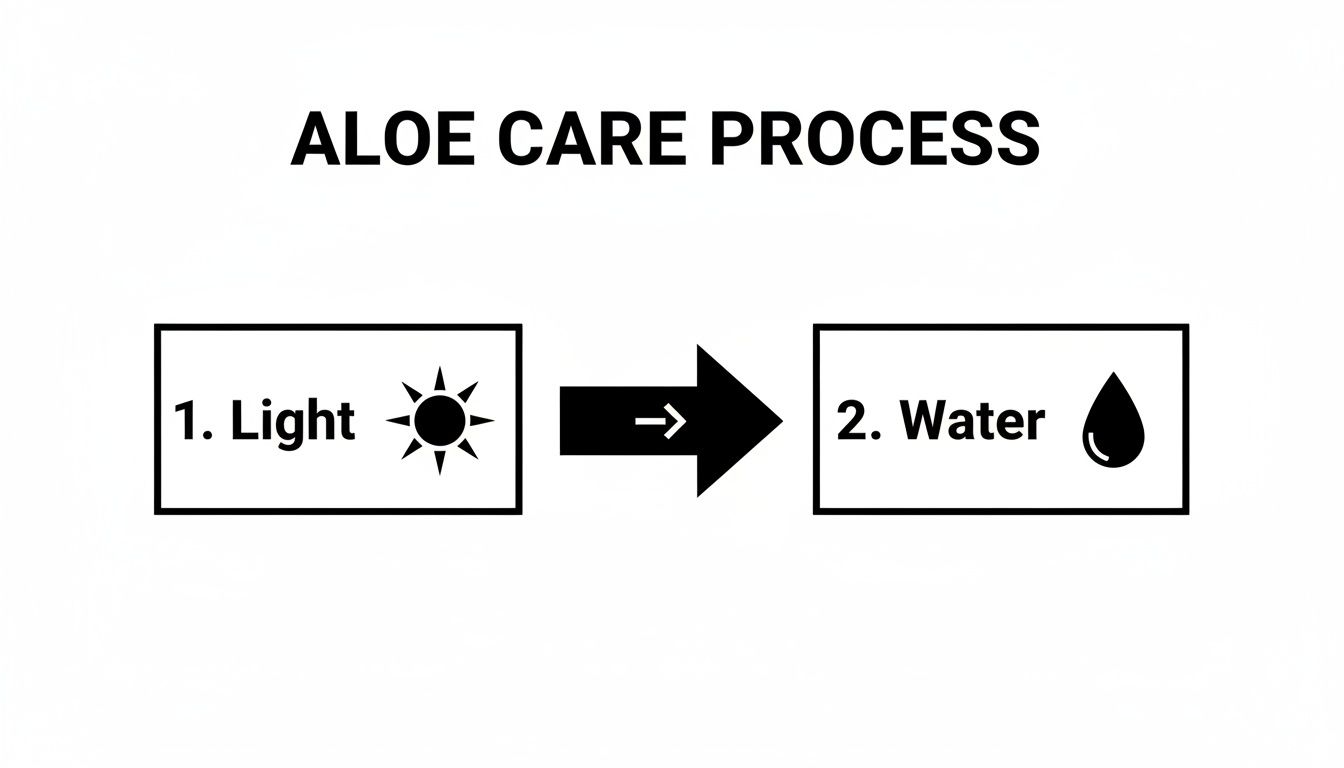
As you can see, getting the light and water right is the foundation for a happy aloe that’s ready to multiply.
The Separation and Potting Process
Once you’ve got a pup that looks ready, it’s time for a little "gentle surgery." Grab a clean, sharp knife or a small trowel. I find it’s easiest to carefully slide the entire plant out of its pot so you can get a good look at what’s going on with the roots.
Locate where the pup connects to the mother plant and make a clean slice, trying to take as many of the pup's own roots with it as you can. Don't panic if it only has a few tiny roots or even none at all—aloes are tough. A pup with no roots will just take a bit longer to get going.
Next, and this part is important, let the separated pup sit out in a dry, shady spot for a couple of days. This step allows the cut surface to dry and form a callus, which is your best defense against rot once you plant it.
After it has callused over, plant your new aloe pup in a small pot with a good cactus or succulent mix. Pot it just deep enough so that it stands up on its own. Then, leave it alone! Wait about a week before giving it its first sip of water. This encourages the new roots to spread out in search of moisture.
While pups are the easiest route, you can also learn how to grow aloe vera from a cutting if you want to try a different method.
Keeping Your Aloe Happy for the Long Haul
Getting the hang of light and water is the first big step, but keeping your Aloe vera thriving for years—even decades—is all about periodic maintenance and learning to spot the little signs of trouble. A healthy aloe is incredibly resilient, but it will eventually need a new home or some help fighting off pesky critters.
This is where you go from just keeping a plant alive to really knowing your stuff. Paying attention to these subtle shifts is the key to long-term success.
Knowing When It’s Time for a New Pot
Sooner or later, your aloe is going to get a little cramped and become "root-bound." This is totally normal. It just means the roots have filled the pot and have nowhere else to go, which can choke off growth because they can't effectively soak up water and nutrients.
Keep an eye out for these tell-tale signs that it's moving day:
- Escape artists: You spot roots sneaking out of the drainage hole.
- Stalled growth: It’s spring or summer, but your aloe just isn't getting any bigger.
- A crowded house: The pot is so packed with baby "pups" that you can barely see the soil.
- Water runs right through: When you water, it seems to drain out the bottom instantly, a sign the root ball is too dense to absorb anything.
When you notice these signs, it's time to act. Pick a new pot that’s just one to two inches wider in diameter than the old one. This part is crucial. Going too big means the pot holds way too much soil and moisture, which is a perfect recipe for root rot. The best time to repot is in the spring or early summer, right when the plant is ready to kick its growth into high gear.
A huge mistake I see people make is buying a massive pot, thinking it'll save them work down the road. It almost always backfires by drowning the roots. A slow, steady upgrade that matches the plant's growth is the way to go.
Dealing With Unwanted Guests
Aloes are pretty tough, but a stressed plant can sometimes become a target for common houseplant pests. The good news? If you catch them early, they’re usually easy to kick to the curb without reaching for harsh chemicals.
The usual suspects are mealybugs and scale. Mealybugs look like tiny bits of white cottony fluff, and they love to hide in the tight spaces where the leaves join the stem. Scale insects are a bit sneakier—they look like small, hard brown bumps latched onto the leaves.
For either pest, your go-to weapon is a simple cotton swab dipped in 70% isopropyl rubbing alcohol. Just dab the pests directly. The alcohol dissolves their waxy protective coating. If you're facing a bigger invasion, you can mix the alcohol and water in a 1:1 ratio, add a drop of dish soap, and put it in a spray bottle to treat the whole plant.
For a deeper dive into maintaining plant vitality, exploring resources on general plant healthcare can provide some excellent insights.
Your Aloe's Seasonal Rhythms
Just like us, your aloe's routine changes with the seasons. Through the spring and summer, it's in full-on growth mode. It’ll be thirsty more often (stick to that soak-and-dry method) and will happily soak up all the bright, indirect light you can give it.
But when fall and winter roll in, your aloe hits the brakes and goes into a dormant phase. Growth slows to a crawl, and its need for water drops dramatically. During these cooler, darker months, you might only need to water it once a month, maybe even less. The rule is the same, though: only water when the soil is completely dry to the touch. Overwatering in winter is probably the number one killer of healthy aloes.
Your Aloe Vera Questions Answered
Even the most seasoned plant parent runs into a hiccup now and then. Growing aloe vera is usually a breeze, but sometimes your plant tries to tell you something isn't quite right. Let's decode some of the most common messages I hear about from fellow growers.
One of the first things people notice is a change in leaf color. If you see your aloe's leaves taking on a brownish or even reddish hue, don't panic. This is just a plant's version of a sunburn. It's getting a bit too much harsh, direct sunlight. The fix is simple: just scoot it back a bit from the window or move it to a spot that gets bright, but indirect, light.
On the other hand, what if the leaves look pale and start stretching out, looking long and thin? That's a classic case of etiolation. Your plant is literally reaching for more light. An east-facing window where it can soak up some gentle morning sun is often the perfect remedy.
Solving Common Leaf Problems
The leaves are your best window into your aloe's health. Are they turning yellow and feeling a little soft or even mushy at the base? That's the number one sign of overwatering, and it's a fast track to root rot. Stop watering immediately. If the soil is soggy, you'll probably need to pull the plant out, let the roots air dry, and repot it in fresh, dry succulent mix to give it a fighting chance.
But what if the leaves are thin, maybe a little curled at the edges, and feel wrinkled? That's your aloe telling you it's thirsty. It's a fine line, I know! You don't want to overwater, but letting it stay bone-dry for too long causes dehydration. Just give it a really good, deep watering until you see it drain from the bottom. The leaves should plump right back up in a day or so.
Think of aloe leaves as a built-in water gauge. When they're firm, full, and plump, your plant is perfectly happy. When they start to look thin and wrinkly, it's time for a good soak.
Why Is My Aloe Not Growing Pups?
This is a question that requires a bit of patience. An aloe plant needs to feel mature, healthy, and just a little bit crowded in its pot before it decides to send out offsets, or "pups." If your plant is still young or has tons of room in its pot, it's putting all its energy into growing bigger itself, not into making babies.
If you want to encourage pups, here's what to do:
- Make sure it’s in a spot with plenty of bright, indirect light.
- Stick to a conservative watering schedule to avoid any stress from wet feet.
- Let it get a little snug in its pot. Being slightly root-bound often triggers reproduction.
Give it these conditions, and a mature plant will often get the signal that it's a good time to multiply. You'll be swimming in pups to share with friends before you know it.
Ready to start your succulent journey with a plant that’s healthy from day one? Explore the beautiful, high-quality aloes at The Cactus Outlet and find the perfect addition to your home. https://www.cactusoutlet.com