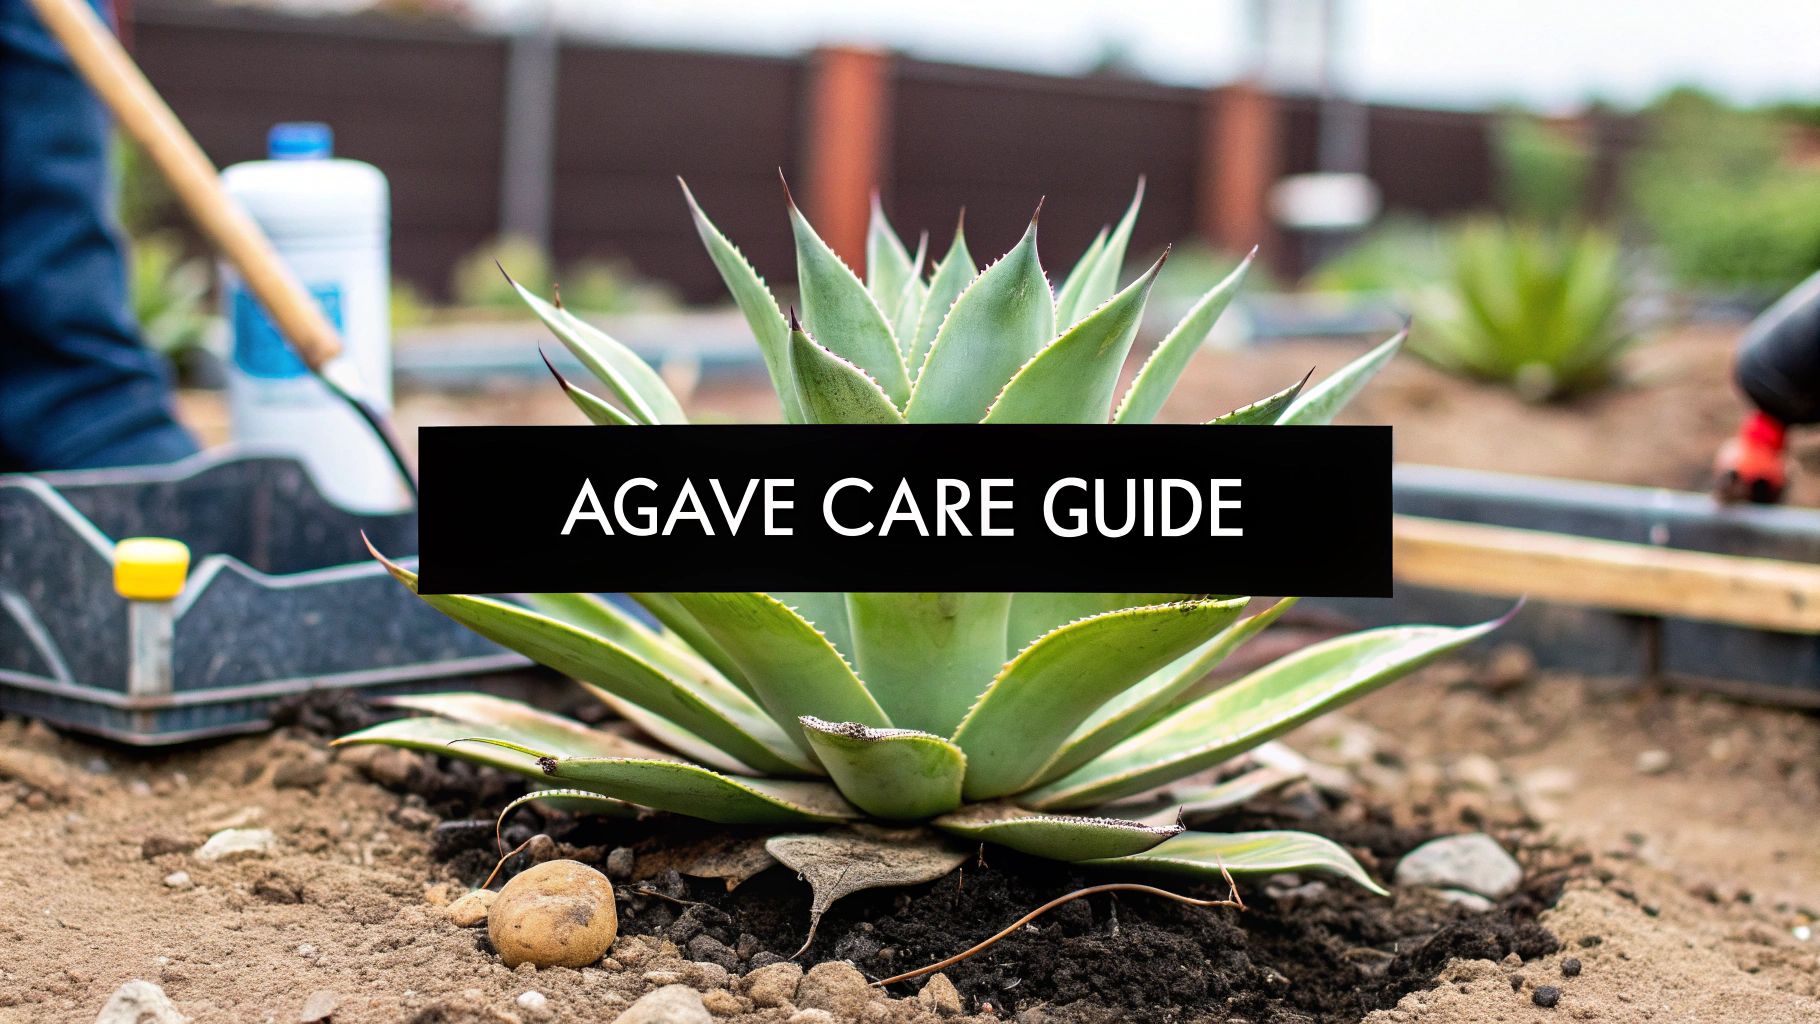
Proper century plant care is all about appreciating its incredibly dramatic, slow-motion life cycle. This isn't a plant you need to coddle or fuss over. Instead, think of it as a long-term companion that actually does best with a bit of "benign neglect," rewarding you with a spectacular, once-in-a-lifetime bloom after 10 to 30 years. Your goal is simply to mimic its native arid environment, and in return, it will provide decades of striking architectural beauty.
What Makes The Agave Americana Unique
The Agave americana, or century plant, is a true master of survival, and its care needs are written right into its evolutionary code. That common name is a little misleading, of course. While it doesn't live for a full 100 years, its incredibly long lifespan is one of its most defining features. This slow, deliberate growth is precisely what makes it such a low-maintenance icon.
Unlike so many other plants that demand constant attention, the century plant is built to thrive where others would quickly fail. Its thick, succulent leaves are brilliant water-storage tanks, allowing it to easily endure long, dry spells. This is exactly why the single biggest mistake people make is overwatering—its roots simply aren't designed to sit in damp soil.
The Grand Finale: A Monocarpic Bloom
What truly sets this plant apart is its incredible life cycle. The century plant is monocarpic, which means it flowers just one time before dying. And what a finale it is! This single blooming event is a jaw-dropping spectacle, sending up a flower stalk that can rocket up to 30 feet high, topped with clusters of yellowish-green flowers. This entire display is the culmination of decades of patiently stored energy.
This unique life-and-death cycle has shaped how we care for them for generations. The plant’s long road to maturity means it needs very little hands-on intervention, but it absolutely requires the right foundational conditions to get there. You can learn more about the history and diversity within the agave family to really appreciate what makes these plants so special.
The plant's primary goal isn't just to grow, but to gather enough energy for its final, spectacular reproductive effort. Understanding this helps you focus on what truly matters: providing the right environment for it to build those reserves over many years.
A Plant Built For a Harsh World
From its waxy coating to its sharp tips, every feature of the Agave americana is a throwback to its rugged origins. Those sharp spines along the leaf margins aren't just for looks; they are a formidable defense against grazing animals. The waxy coating on the leaves, called a cuticle, is a natural sunblock and sealant that dramatically reduces water loss in hot, windy climates. These are anything but delicate.
To really succeed with century plant care, you have to shift your mindset. Think less like a traditional gardener and more like a habitat creator. Your main job is to replicate the dry, rocky, sun-drenched landscape it calls home. This hands-off approach not only simplifies care but ultimately leads to a much healthier and more resilient plant.
Agave Americana Quick Care Reference
To get started, it helps to have a quick cheat sheet. Here is a summary of the essential conditions for keeping your century plant happy for years to come.
| Care Factor | Ideal Condition | Common Mistake to Avoid |
|---|---|---|
| Sunlight | 6-8+ hours of direct sun | Placing it in a shady corner, leading to weak growth |
| Soil | Gritty, fast-draining cactus mix | Using standard potting soil that retains too much moisture |
| Watering | Deeply but infrequently; let soil dry completely | Watering on a fixed schedule instead of checking soil dryness |
| Lifespan | 10-30 years, ending with a single bloom | Over-fertilizing to try and speed up its slow growth |
Getting these four core elements right from the start is 90% of the battle. Focus on providing the right foundation, and the plant will take care of the rest.
Creating The Perfect Agave Environment
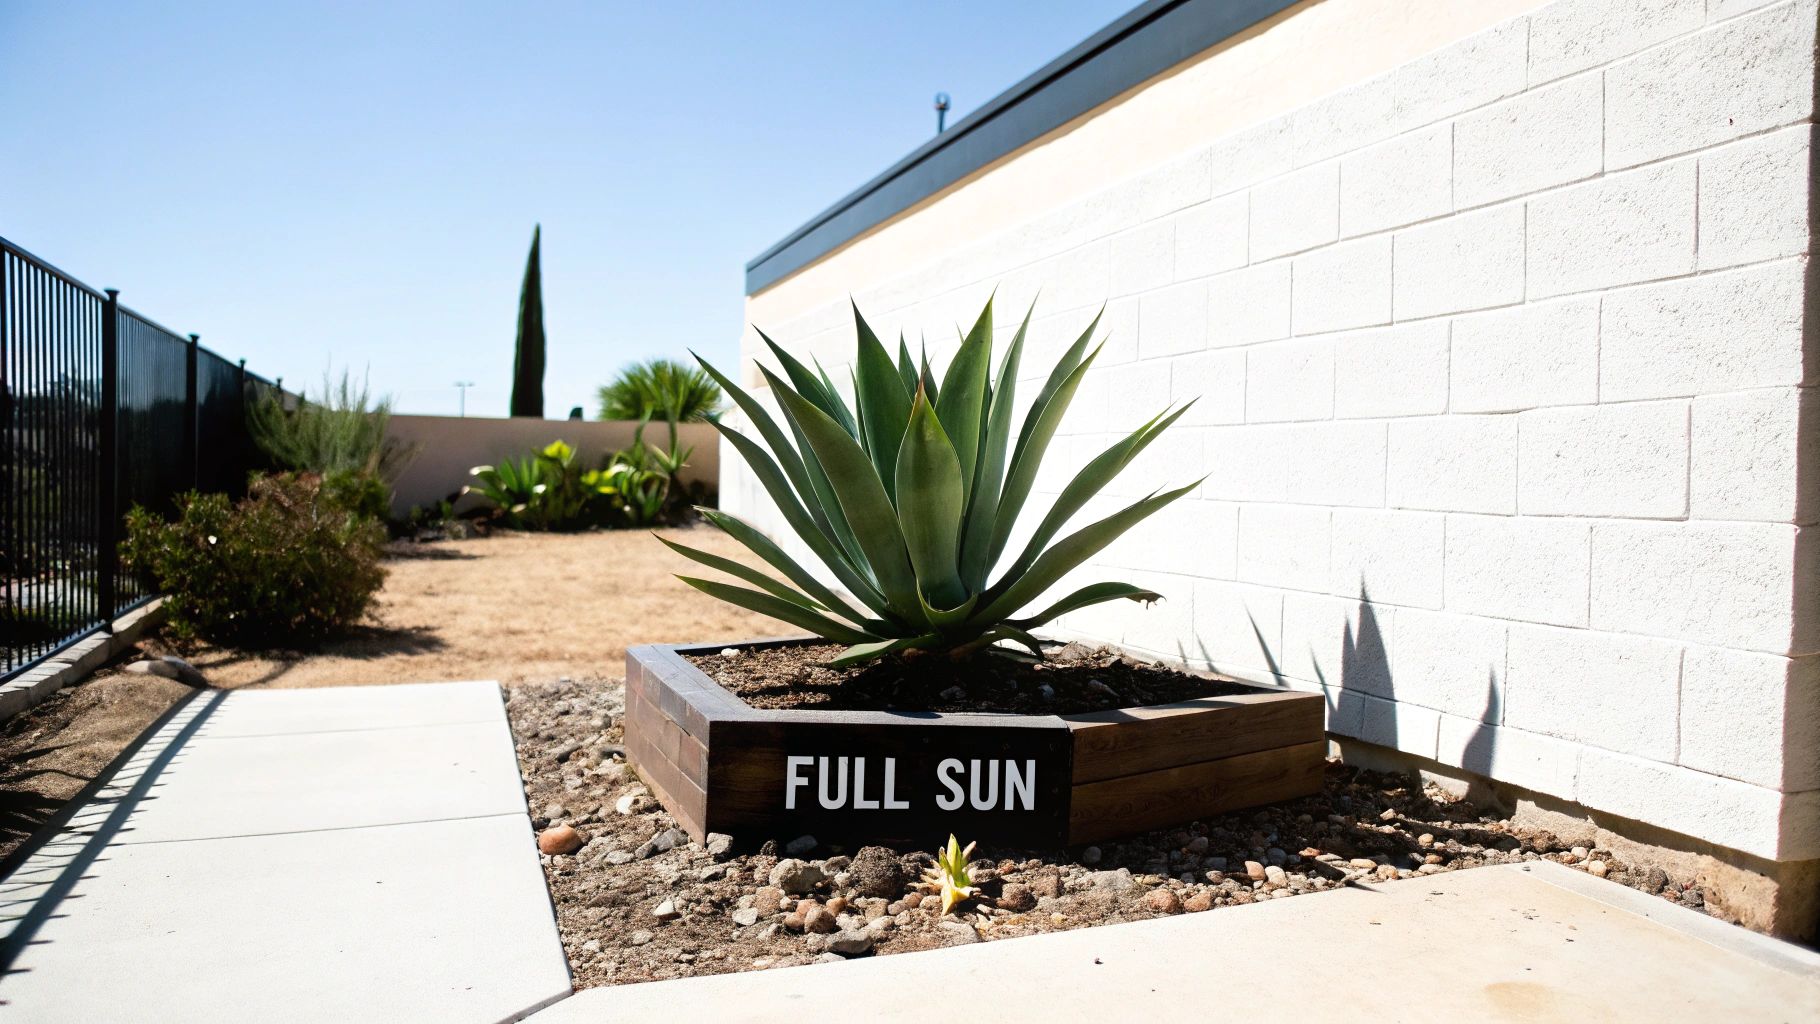
Getting century plant care right isn’t about complicated routines. It really boils down to one thing: successfully mimicking its native, sun-drenched habitat. These plants are built for intensity, and their health is directly tied to getting the basics of their environment right. Success starts long before you even think about watering or feeding—it begins with sunlight and soil.
Your main goal is to find a spot that gets a bare minimum of 6 to 8 hours of direct, unfiltered sunlight every day. This isn't just a friendly suggestion; it's a non-negotiable requirement for a happy agave. An Agave americana will absolutely tell you when it’s not getting enough light. You'll see signs of etiolation, where the plant starts to stretch and get leggy, losing its tight, beautiful rosette shape and looking pale and weak.
Mastering Sunlight Indoors And Out
Outdoors, finding the right spot is usually pretty straightforward. Just look for a south or west-facing area that’s clear of trees or buildings for most of the day. If you can place it near a light-colored wall or fence, that's even better—the reflected heat and light can create a perfect microclimate that these desert natives absolutely love.
Bringing a century plant indoors, however, is a different ballgame. A south-facing window is your best and really only option for providing the intense, direct light it craves. Even then, you’ll probably need to rotate the pot every few weeks. This keeps it from leaning precariously toward the window and ensures all sides get their turn in the sun.
If you notice your indoor agave's leaves look a little too light green, or if new growth seems thin and spindly, that's a cry for help. It needs more light. Don't be afraid to move it outside for the summer to let it "recharge" and build up some energy reserves.
A common mistake I see is people thinking "bright, indirect light" is good enough for an agave. While it might hang on for a while, it will never truly thrive. Direct, sustained sunlight is what gives these plants the dense, architectural form that makes them so stunning.
Building The Perfect Soil Mix
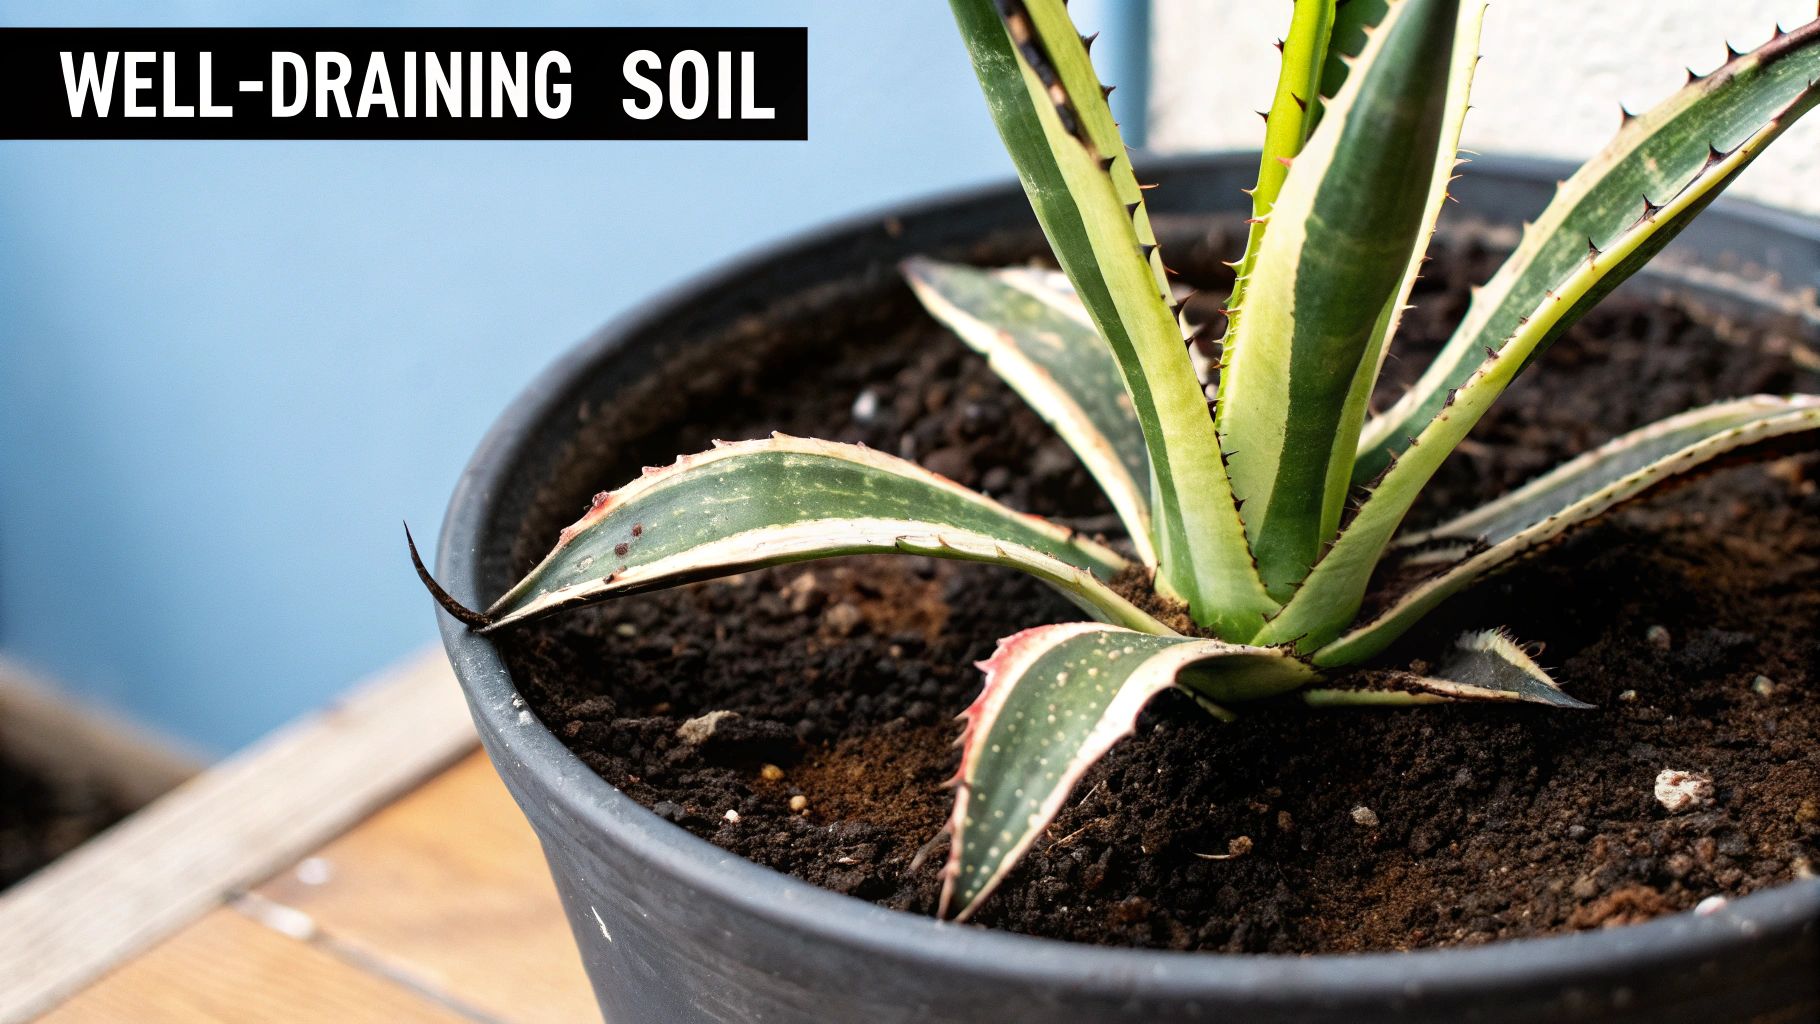
The second pillar of a perfect agave environment is the soil. This is where so many well-intentioned gardeners go wrong. Standard potting soil or heavy garden dirt is a death sentence for these plants. The key is one word: drainage. Agave roots will rot in a heartbeat if they sit in wet soil for too long.
For plants in containers, mixing your own soil is the best way to guarantee you get that drainage just right. A tried-and-true recipe gives you total control.
DIY Agave Soil Recipe:
- 1 part standard potting soil (for a little organic matter)
- 1 part coarse sand or builder's sand (for grit and to prevent compaction)
- 1 part perlite or pumice (to create air pockets and boost drainage)
Mix these three together thoroughly. The final product should feel gritty and light in your hands. When you water it, the water should run through almost immediately. If you'd rather buy a pre-made mix, look for one labeled for "cactus and succulents," but be prepared to add extra perlite or pumice if it feels too dense or peaty.
Amending Soil For Outdoor Planting
Putting a century plant directly in the ground requires a bit more thought, especially if your yard has heavy clay soil. Clay holds onto water like a sponge, which is the exact opposite of what your agave needs. Just digging a hole and dropping the plant in is a recipe for disaster.
To properly amend your garden soil, here's what you need to do:
- Dig a hole that's twice as wide and just as deep as the plant’s root ball.
- Take the soil you dug out and mix it with equal parts coarse sand and small gravel or pumice.
- I strongly recommend using this amended soil to build a small mound or berm to plant the agave on top of. This elevates the root crown, ensuring water always drains away from the most vulnerable part of the plant.
This extra prep work is absolutely crucial. It prevents what’s known as the "bowl effect," where a hole filled with good soil in a sea of clay just turns into a subterranean bucket that collects water and drowns the roots. By taking the time to amend the soil properly, you’re creating a localized environment that lets your century plant build a strong, healthy root system that can last for decades.
A Realistic Guide to Watering Your Agave
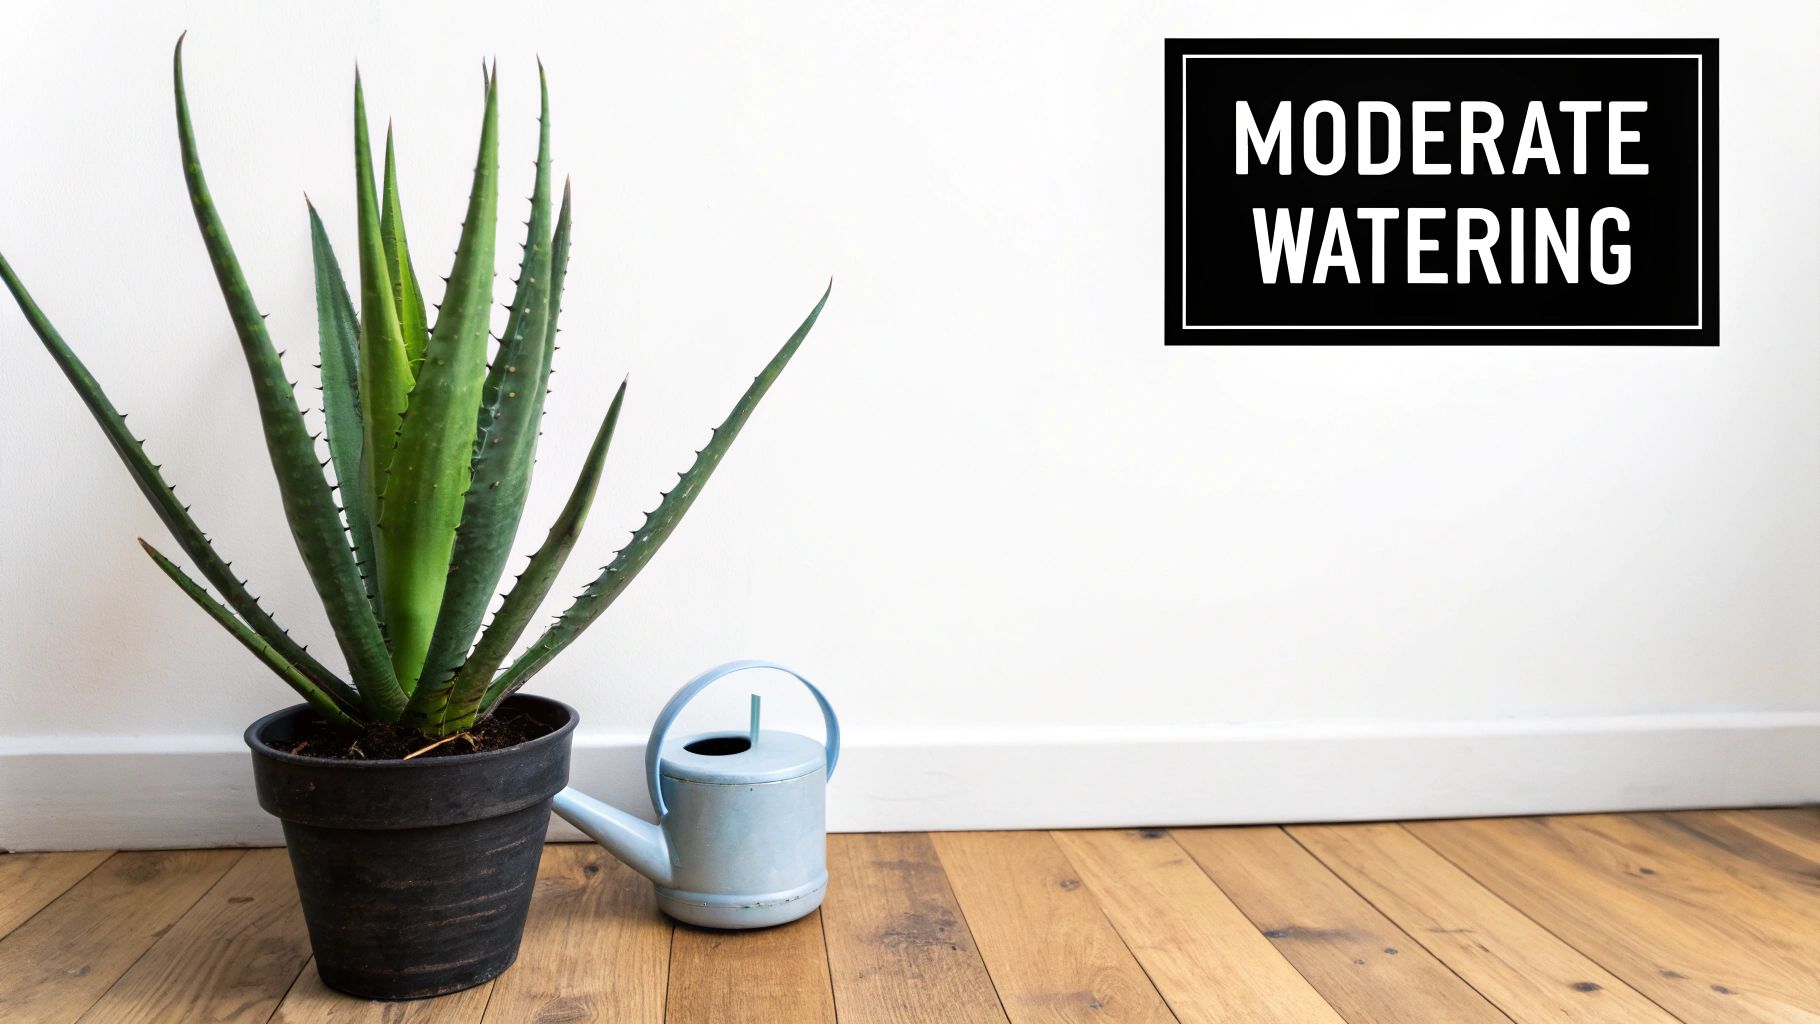
When it comes to caring for a century plant, watering is where most people go wrong. It’s usually an act of kindness that does them in. These plants are survivors, built for desert life, so their biggest threat is often too much love in the form of too much water.
Forget what you know about regular watering schedules. An agave’s thirst changes constantly depending on the season, whether it's in a pot or the ground, and even the week's weather.
The one rule you should never break is the “soak and dry” method. This is the absolute key to keeping succulents happy. The idea is simple: give the plant a deep, thorough watering, and then let the soil dry out completely before you even think about watering it again. This approach mimics the infrequent but heavy rains of their native environment.
Giving your plant little sips of water here and there is a recipe for disaster. It only wets the top inch of soil, which encourages weak, shallow roots. Even worse, it keeps the surface constantly damp, creating the perfect environment for rot and fungus—the number one killer of agaves.
How to Know When to Water
So, how can you tell when the soil is bone dry? Forget the calendar and trust your own two hands. You need to know what’s happening a few inches below the surface, because the topsoil can trick you by drying out much faster than the root zone.
Here are a couple of foolproof ways to check:
- The Finger Test: This is the oldest trick in the book for a reason. Just stick your index finger about 2-3 inches into the soil. If you feel any hint of moisture or coolness, walk away. If it feels dusty and totally dry, it's time to water.
- A Moisture Meter: If you have a really large pot or just want to be more precise, a cheap soil moisture meter is a fantastic tool. You just push the probe deep into the soil and get an instant reading. Wait until that needle is firmly in the "Dry" zone before reaching for the watering can.
When you do water, make it count. For agaves in pots, pour water slowly until it gushes out of the drainage holes. This ensures every last root gets a good drink. For plants in the ground, a slow trickle from a hose for 15-20 minutes at the base of the plant will do the trick, encouraging deep, strong roots.
Adapting to Different Scenarios
A huge part of being a good plant parent is learning to read the room—or in this case, the environment. Your agave's water needs aren't set in stone; they're constantly changing. This is where you get to become a true plant expert.
Think about these common situations:
- Seasonal Changes: In the spring and summer, your agave is actively growing. With longer, hotter days, it will use water much faster, and you might find yourself watering every few weeks. But when winter hits, the plant goes dormant and its metabolism slows way down. You might only need to water once a month, or possibly not at all if you live in a wet climate.
- Potted vs. In-Ground: An agave in a terra-cotta pot is going to dry out way quicker than one planted in the garden. The porous pot and smaller amount of soil mean you'll need to check on it far more often, especially during a scorching heatwave.
- Heatwaves vs. Rain: During a week of extreme heat, your agave will thank you for an extra deep watering to get through the stress. On the flip side, if you get a surprise week of rain, you absolutely must hold off on manual watering until that soil has had a long time to dry out.
The most important takeaway is to be flexible. Don’t let a schedule dictate your actions. Your plant and its soil will always tell you what they need if you take a moment to check.
At the end of the day, your goal is to make sure the roots never sit in soggy soil. By mastering the soak-and-dry method and paying attention to your plant and its environment, you can take the guesswork out of watering for good. For a more detailed look at this technique, check out our guide on how to water succulent plants.
Feeding and Repotting Without The Stress
When it comes to caring for a century plant, remember that these are rugged survivors. They're built for tough, nutrient-poor environments, so one of the quickest ways to kill them is actually with kindness—specifically, too much fertilizer.
Pushing for fast growth with lots of food often backfires. You'll get a plant that's soft and weak, making it an easy target for rot and pests. The real goal is just to supplement its natural rhythm, not force it into overdrive.
A Minimalist's Guide To Fertilizing
You don't need a complicated feeding schedule. A balanced, slow-release fertilizer designed for cacti and succulents is your best friend here. It provides a gentle, steady stream of nutrients instead of a harsh jolt.
Feed your plant just once or twice during its active growing season in the spring. That’s it. For the entire year, that small boost is more than enough to support healthy, strong development.
Before you reach for the fertilizer, make sure the plant actually needs it. Pale leaves or stunted growth can signal a nutrient deficiency, but they can just as easily point to not enough sun or improper watering. On the other hand, if you see brown, crispy leaf tips, that’s a classic sign of fertilizer burn. Back off immediately.
Knowing When It's Time To Repot
Even a slow-growing agave will eventually need a bigger home. This isn't a frequent chore—you'll probably only do it every 2-4 years—but your plant will give you clear signals when it's feeling cramped.
Here’s what to look for:
- Escaping Roots: The most obvious clue is seeing roots poking out of the drainage holes.
- Water Rushes Through: If water flows out the bottom almost instantly, the pot is all roots and no soil. There's nothing left to hold moisture.
- The Pot Looks Unstable: The plant's rosette has grown much wider than the pot, making it look top-heavy and ready to tip.
- Growth Has Stalled: If you haven't seen any new growth over a whole season, your agave has likely run out of room and resources.
Timing is everything. The best time to repot is in the spring, right as the growing season kicks off. This gives your plant the entire season to recover and get settled in its new pot.
The Repotting Process, Step-by-Step
Repotting an agave can feel a bit daunting because of those sharp spines, but with a little prep, it's a straightforward process. First things first: wear thick gardening gloves. I also like to wrap the plant in an old towel or a few layers of newspaper to keep my arms protected.
- Gently Remove the Plant: Tip the pot on its side and give it a few taps to loosen things up. Try to slide the entire root ball out instead of yanking on the leaves.
- Inspect the Roots: Take a good look at the root system. You want to see firm, whitish roots. Go ahead and trim off any that look black, feel mushy, or are completely dried out.
- Choose the Right New Pot: This part is critical. Pick a new pot that is only 1-2 inches larger in diameter. If you go too big, the excess soil will hold too much water for too long, creating a perfect environment for root rot.
- Settle It In: Put a layer of fresh cactus mix in the bottom of the new pot. Center the agave inside, making sure the base of the plant sits at the same soil level it did before. Fill in around the sides with more soil and gently firm it down.
Here’s a crucial final tip: wait at least a week before you water it. This gives any roots that were bruised or broken during the move a chance to callus over, preventing rot from setting in. This brief dry period also encourages the roots to start stretching out into the new soil, helping the plant get established much faster.
Propagating Pups and Managing The Final Bloom
One of the best parts of growing a century plant is watching it create its own little family. As the main plant matures, it sends out small offshoots from its base, which we affectionately call pups. These are perfect little clones of the parent plant, making it incredibly easy to multiply your collection or share with friends.
The trick is knowing the right time to separate them. I always wait until a pup is at least a few inches tall and has started developing its own roots. If you try to remove one that’s too small or hasn't established itself, it's just not going to have the strength to survive on its own. A sturdy, more mature pup is always the better bet.
How to Successfully Propagate Pups
When you're ready to make the separation, you’ll need a clean, sharp tool—a hori-hori knife or even a small, sturdy trowel works wonders. Carefully dig away the soil around the pup's base until you can see the thick, fleshy root connecting it back to the mother plant.
You want to make a clean, decisive cut as close to the parent as you can without nicking its main stem.
Once the pup is free, here comes the most important step, and it requires a little patience. Don't plant it right away. Instead, set the pup aside in a dry, shady spot for several days, maybe even a week. You're waiting for the cut end to dry out and form a callus. This simple step is your best defense against rot when it finally goes into the soil. We cover this technique in more detail in our guide on how to propagate succulents.
After a nice callus has formed, it's time to pot it up. Place it in a container with a fast-draining cactus mix, burying it just deep enough to keep it stable. Now, fight the urge to water it! Give it another week to settle in and encourage new roots to form before you introduce any moisture.
Propagating pups isn't just a gardening task; it's a way to participate in the plant's long and fascinating story. Each successful pup is a direct continuation of the original plant, carrying its resilience and beauty forward for another generation.
Preparing for The Grand Finale
Every century plant is on a one-way journey to a single, spectacular event: its bloom. Because they are monocarpic, these plants flower only once in their lifetime, putting on a dramatic show that marks the culmination of anywhere from 10 to 30 years of growth. When it finally happens, it’s a sight you won't forget.
You'll know it's starting when a thick, asparagus-like stalk shoots up from the center of the rosette. This stalk grows with incredible speed—sometimes several inches in a single day—and can reach heights of up to 30 feet! At the very top, it branches out to display clusters of nectar-rich, yellowish-green flowers that are a magnet for pollinators.
The infographic below shows the simple fertilization routine that helps the plant store up energy for this final performance.
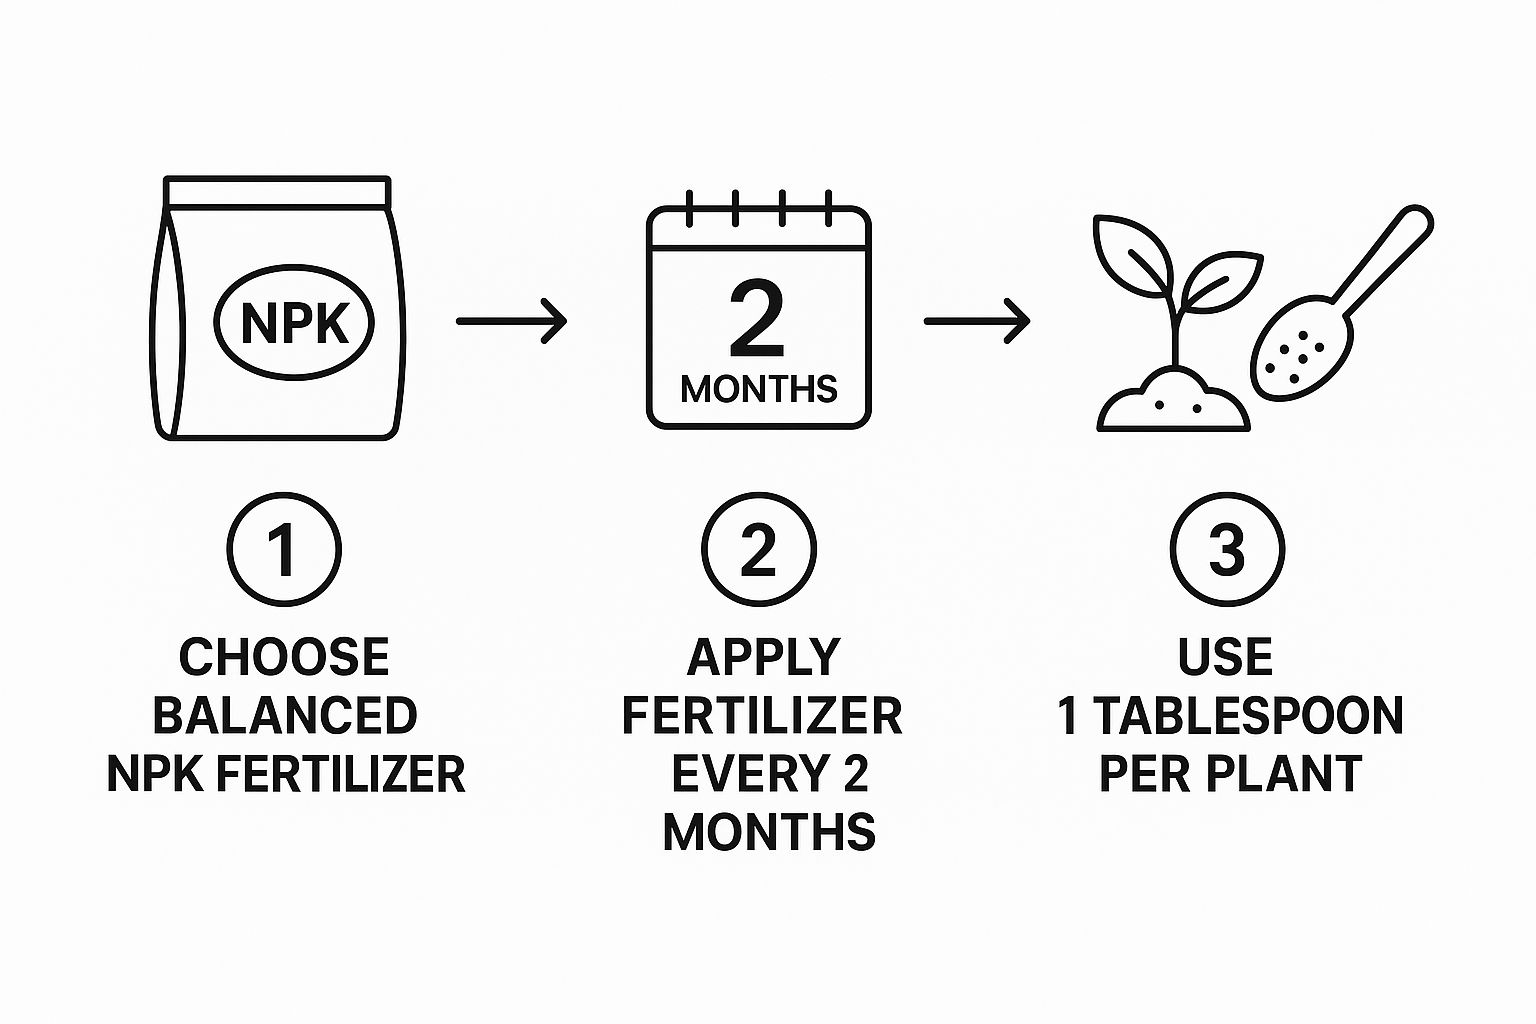
As you can see, a simple and infrequent feeding schedule is all it takes to support your agave's health over the long haul. The entire blooming process, from the stalk first appearing to the flowers fading, can last for months. It’s a long and beautiful goodbye. For generations, gardeners have ensured the plant's legacy lives on by propagating its pups, a method that boasts a survival rate of around 90% under the right conditions.
Once the flowers have faded and the plant has produced seeds or bulbils, the parent plant will begin to die back. This is the natural and expected end of its life cycle. At this point, you can remove the spent plant, making way for one of the pups you wisely set aside to take its place in the garden.
Troubleshooting Your Century Plant
Even the most seasoned gardeners run into a few snags. Century plants are famously tough, but they aren't invincible. Here’s a quick guide to tackling some of the most common issues I see, helping you solve problems before they get out of hand.
Why Are My Agave's Leaves Yellow and Mushy?
Ah, the classic sign of too much love. If your agave's leaves are turning yellow and getting soft and squishy, especially near the base, you're almost certainly looking at overwatering. This is, without a doubt, the number one killer of these plants. Their roots just can't handle sitting in wet, soggy soil.
The first thing to do is simple: stop watering. Immediately. Stick your finger a few inches into the soil. If you feel any moisture at all, let it dry out completely. If the soil is totally saturated, though, you’ll need to perform some plant surgery to save it.
Gently slide the agave out of its pot (or dig it up) and take a good look at the roots. Healthy roots are firm and off-white. Rotted roots will be black, mushy, and might even disintegrate as you touch them. Get a clean, sharp knife or a pair of pruners and trim off every last bit of that rot. You have to be ruthless here—leaving even a small piece behind can let the decay spread again.
After the trimming, I like to let the plant air-dry for a day or two in a shady spot. This allows those fresh cuts to callus over, which is crucial for preventing new infections. Once it's callused, repot it into a fresh, completely dry, gritty cactus mix. Don't even think about watering it for at least a week. It needs time to settle in and heal.
A huge mistake I see people make is "watering in" a plant they just saved from root rot. It's the worst thing you can do. Always give those freshly-trimmed roots time to heal in dry soil before you introduce any moisture.
Can I Really Grow a Century Plant Indoors?
You absolutely can, but there's one major hurdle: light. These plants are true sun-worshippers, and it’s tough to mimic the intense, direct sun they thrive on inside a house.
For an indoor agave, you need to find the absolute brightest, sunniest spot you have. We're talking about a south-facing window that gets a solid 6-8 hours of direct sun every single day. Anything less, and you’ll start to see etiolation—the plant will stretch awkwardly toward the light, losing its beautiful, tight rosette shape and growing pale, weak leaves.
Watering indoors is also a different ballgame. The soil in a pot inside your home dries out much slower than it would outside, where the sun and wind help out. You have to be extra careful, only watering when the soil is bone-dry all the way through the pot.
A few tips for indoor success:
- Give It a Turn: Rotate the pot a quarter turn each week so all sides get some sun. This keeps it from leaning.
- Bring in Backup: If your windows just aren't cutting it, a good full-spectrum grow light can be a game-changer.
- Be Patient: An indoor agave is almost always going to grow more slowly than one basking in the great outdoors. Just enjoy its steady presence.
What Are These Brown Bumps on the Leaves?
If you're seeing little brown, bumpy spots that you can flick off with a fingernail, you've got scale insects. They're a common pest that latches onto the leaves, hiding under a hard, waxy shell while they suck the sap from your plant.
For a small-scale invasion (pun intended), the fix is easy. Just dip a cotton swab in some rubbing alcohol and dab it directly on each brown bump. The alcohol dissolves their protective armor and kills them on contact. You'll probably need to do this every few days for a couple of weeks to catch any stragglers that hatch.
If the problem is more widespread, it's time to bring out the bigger guns. A horticultural oil or an insecticidal soap spray will do the trick by smothering them. Just be sure to spray the entire plant—tops and bottoms of the leaves—and always follow the label's directions to avoid accidentally burning the foliage.
How Do I Protect My Outdoor Agave From a Freeze?
While a mature Agave americana is surprisingly tough and can handle a quick dip down to about 15°F (-9°C), a prolonged, hard freeze can do some serious damage, especially to younger plants. When they thaw, the leaves often turn to a discolored mush.
If you know a nasty freeze is on the way, a little temporary protection goes a long way. The idea is to trap the heat radiating up from the ground.
- Cover It Up: Drape the plant with a frost cloth, an old blanket, or even a big cardboard box. The key is to make sure the cover reaches all the way to the ground on every side.
- Create an Air Gap: If you can, use a few stakes to prop the cover up so it isn't touching the agave's leaves. That pocket of air is a fantastic insulator and stops frost from forming directly on the plant.
- Uncover in the Morning: This is critical! As soon as the temperature gets back above freezing, take the cover off. The plant needs that morning sun and air circulation, and you don't want to accidentally cook it.
At The Cactus Outlet, we provide healthy, high-quality agaves and other succulents that are ready to thrive in your home or garden. Explore our collection and find the perfect architectural plant for your space at https://www.cactusoutlet.com.

