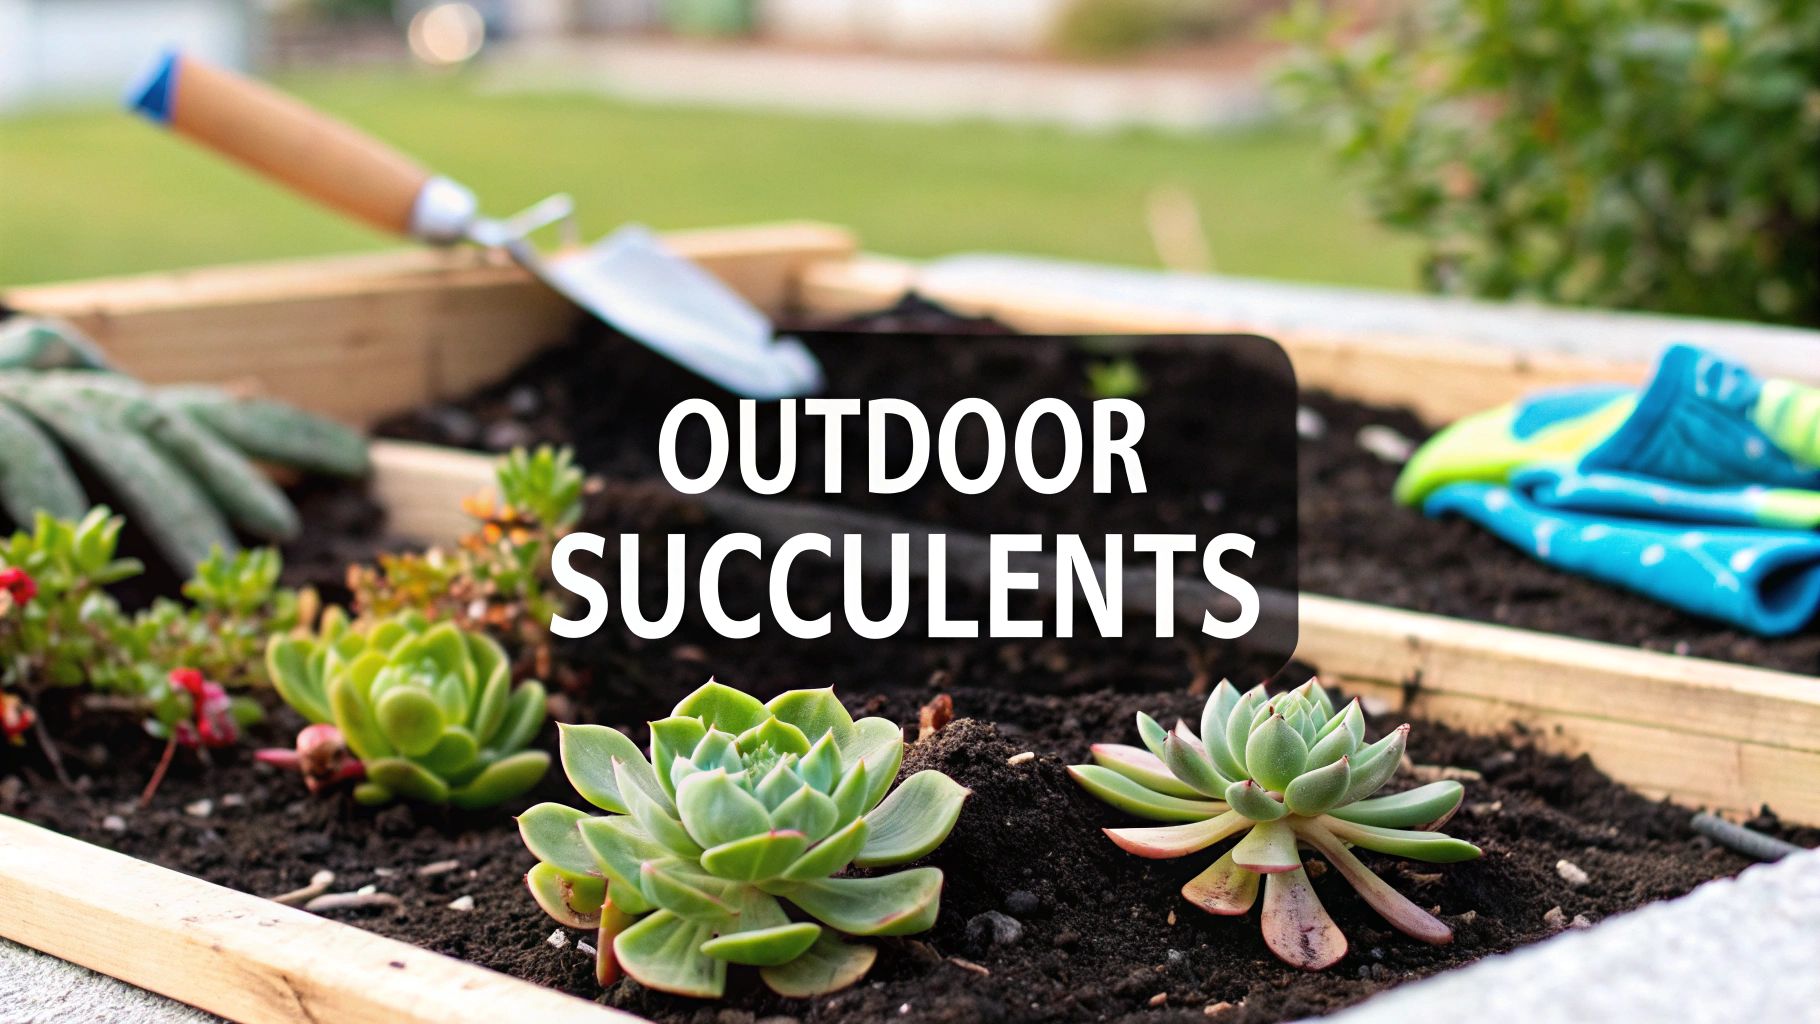

Planting succulents outside is a fantastic way to build a vibrant, low-maintenance garden that barely sips water. It all comes down to picking the right spot, getting the soil to drain quickly, and knowing what your local climate can throw at them. Nail these basics, and you'll have a stunning landscape that actually thrives on a little neglect.
Why Outdoor Succulents Are a Game Changer for Your Garden
Bringing these tough little plants into your garden beds and containers adds a sculptural beauty that’s hard to find elsewhere. Their incredible variety of shapes, textures, and colors—from the cool blues of Echeverias to the deep burgundies of certain Sedums—creates visual interest that lasts all year.
Even better, succulents are champions of sustainability. They are literally built to handle dry conditions, which makes them a perfect match for any water-wise gardening plan.
The Real-World Benefits of Planting Succulents Outdoors
Beyond just looking great, outdoor succulents offer some seriously practical advantages for gardeners. Their adaptability and simple needs can make your life a whole lot easier.
- Genuinely Low Maintenance: Once they’re settled in, most outdoor succulents just want to be left alone. You can forget about constant pruning, deadheading, and feeding.
- Serious Water Conservation: Succulents are the cornerstone of xeriscaping, a landscaping approach designed to slash the need for irrigation. Their natural ability to store water means they can cruise right through a drought—a technique gardeners in dry climates have relied on for centuries.
- Naturally Pest Resistant: These hardy plants are far less likely to be bothered by the common garden pests and diseases that can decimate more delicate flowers and shrubs.
Succulents are way more than just a passing trend; they represent a smarter way to garden. When you choose these plants, you're not just creating a beautiful landscape—you're creating one that's kinder to the planet.
If you’re aiming to build a garden that can handle dry spells, it's worth exploring other tough plants, too. You can find more ideas in our guide to the best drought-tolerant plants.
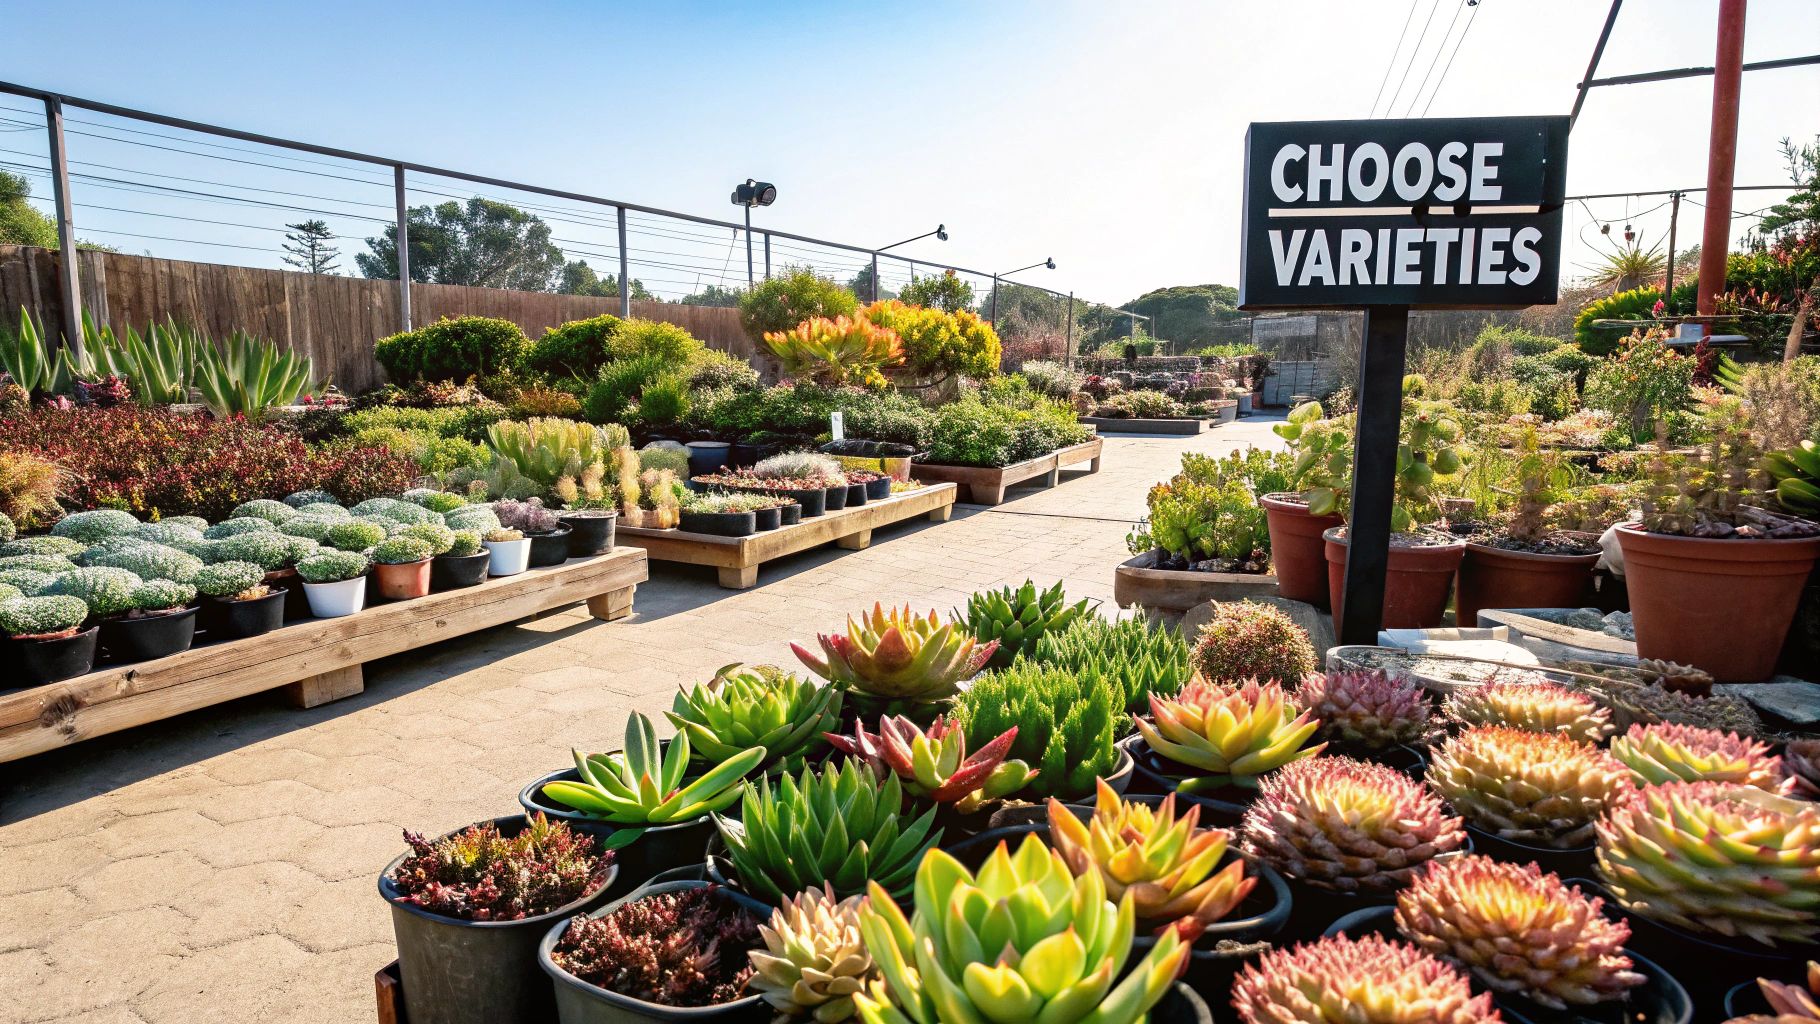
Choosing the Right Succulents for Your Climate Zone
The secret to a thriving outdoor succulent garden isn't just a green thumb—it’s starting with the right plants. Before you even think about digging, you need to match your succulents to your specific climate. Get this part right, and you’re halfway to success.
Succulents generally fall into two camps: hardy and tender.
Hardy succulents are the tough ones. Think Sempervivum (Hens and Chicks) or the many varieties of Sedum (Stonecrop). These guys can handle freezing temperatures, and many will happily spend the winter under a blanket of snow, popping back up in the spring. If your winters are cold, these should be at the top of your list.
Tender succulents, like most Echeveria and Senecio varieties, are a different story. They’re built for warmer weather and a hard frost will kill them. If you live in a colder zone but can't resist these beauties, you have two options: treat them as annuals or plant them in containers that you can bring indoors before the first freeze.
Hardy vs Tender Succulents for Outdoor Planting
Choosing between hardy and tender varieties is the first major decision you'll make. This table breaks down some popular examples to help guide your selection based on your local conditions.
| Succulent Type | Common Examples | Ideal Climate | Sunlight Needs |
|---|---|---|---|
| Hardy | Sempervivum, Sedum, Jovibarba | Zones 4-9; can tolerate frost and snow | Full sun to light shade |
| Tender | Echeveria, Crassula, Aeonium, Senecio | Zones 9-11; needs protection from frost | Bright, indirect light to full sun (varies by species) |
Ultimately, hardy succulents offer a "plant it and forget it" approach for cold climates, while tender varieties give gardeners in warmer regions a wider, more exotic palette to work with.
Look Closer: Understanding Your Garden's Microclimate
Your USDA Hardiness Zone is a great starting point, but every yard has its own little pockets of weather, or microclimates. A spot next to a south-facing brick wall will be significantly warmer than a shady corner by the fence. A west-facing slope might get blasted with intense afternoon sun that could scorch even a sun-worshipping succulent.
The real trick is to become an observer of your own space. Watch how the sun travels across your garden during the day. Note the hot spots, the cool spots, and the areas that stay damp longer. This hands-on knowledge is often more valuable than what’s on the plant tag.
It’s no surprise these plants have become so popular. The global succulent market recently hit around USD 5.97 billion, showing just how much people are embracing low-water gardening. You can find more details on this trend and its drivers in this market analysis.
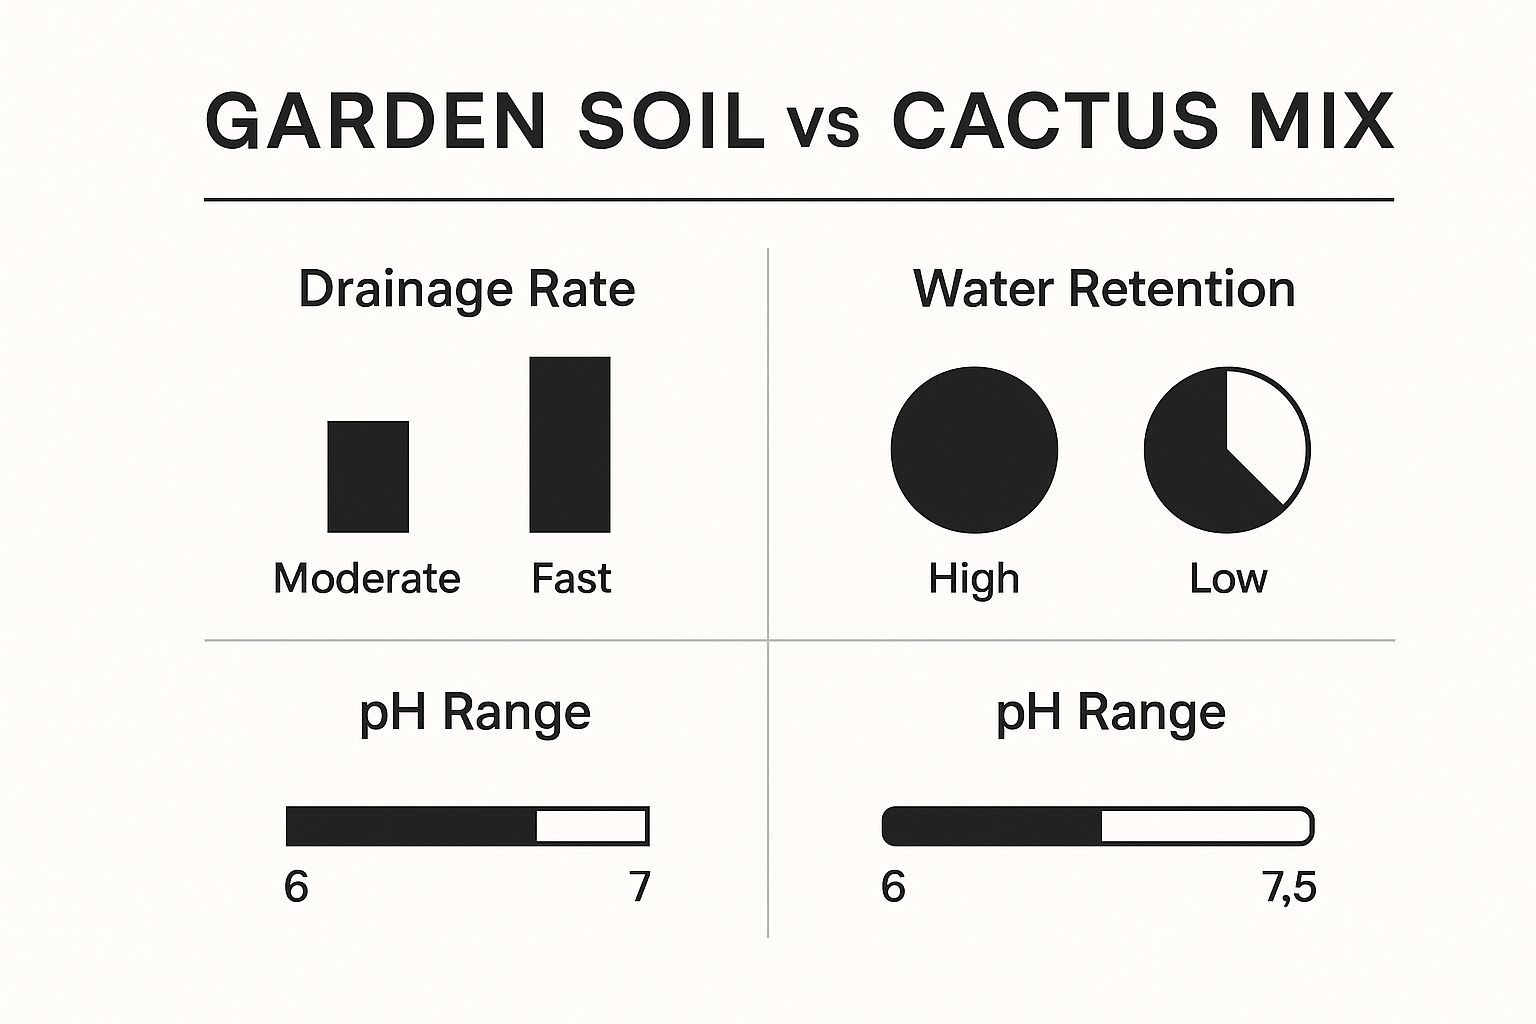
This image perfectly illustrates why getting the soil right is non-negotiable. For succulents, standard garden soil is often a death sentence. A specialized cactus or succulent mix provides the excellent drainage they need to keep their roots healthy and prevent rot.
Creating the Perfect Soil Foundation
When you're getting ready to plant succulents outside, let's talk about the single most important factor: the soil. It's not just dirt; it’s their entire support system. These plants evolved in places where water vanishes almost instantly. Your job is to mimic that gritty, fast-draining environment.
The biggest mistake you can make is underestimating how much succulents hate "wet feet." If their roots sit in soggy, dense soil, it’s a fast track to root rot. Standard garden soil or that bag of all-purpose potting mix from the hardware store holds onto way too much moisture, and for a succulent, that's a death sentence.
Building Your Own Succulent Soil Mix
Mixing your own succulent soil is one of the most rewarding and foolproof things you can do. It's surprisingly simple, and it gives your plants exactly what they need to thrive. The goal is a light, airy, and gritty blend.
I've found the most reliable recipe is a simple 1-1-1 ratio. Just combine equal parts of these three ingredients:
- 1 Part Potting Soil: This gives your plants a bit of organic matter and a base of nutrients to get started.
- 1 Part Perlite or Pumice: These lightweight volcanic rocks are non-negotiable. They create crucial air pockets in the soil, which is the key to excellent drainage and aeration for the roots.
- 1 Part Coarse Sand: Be sure to use builder's sand or horticultural sand. Fine-grain play sand or beach sand will just compact and defeat the purpose.
This blend creates a perfect balance—enough substance for roots to anchor into, but porous enough for water to drain right through. If you want to really get into the nitty-gritty, we have a detailed guide on how to create the ideal [https://www.cactusoutlet.com/blogs/blog/cactus-and-succulent-soil].
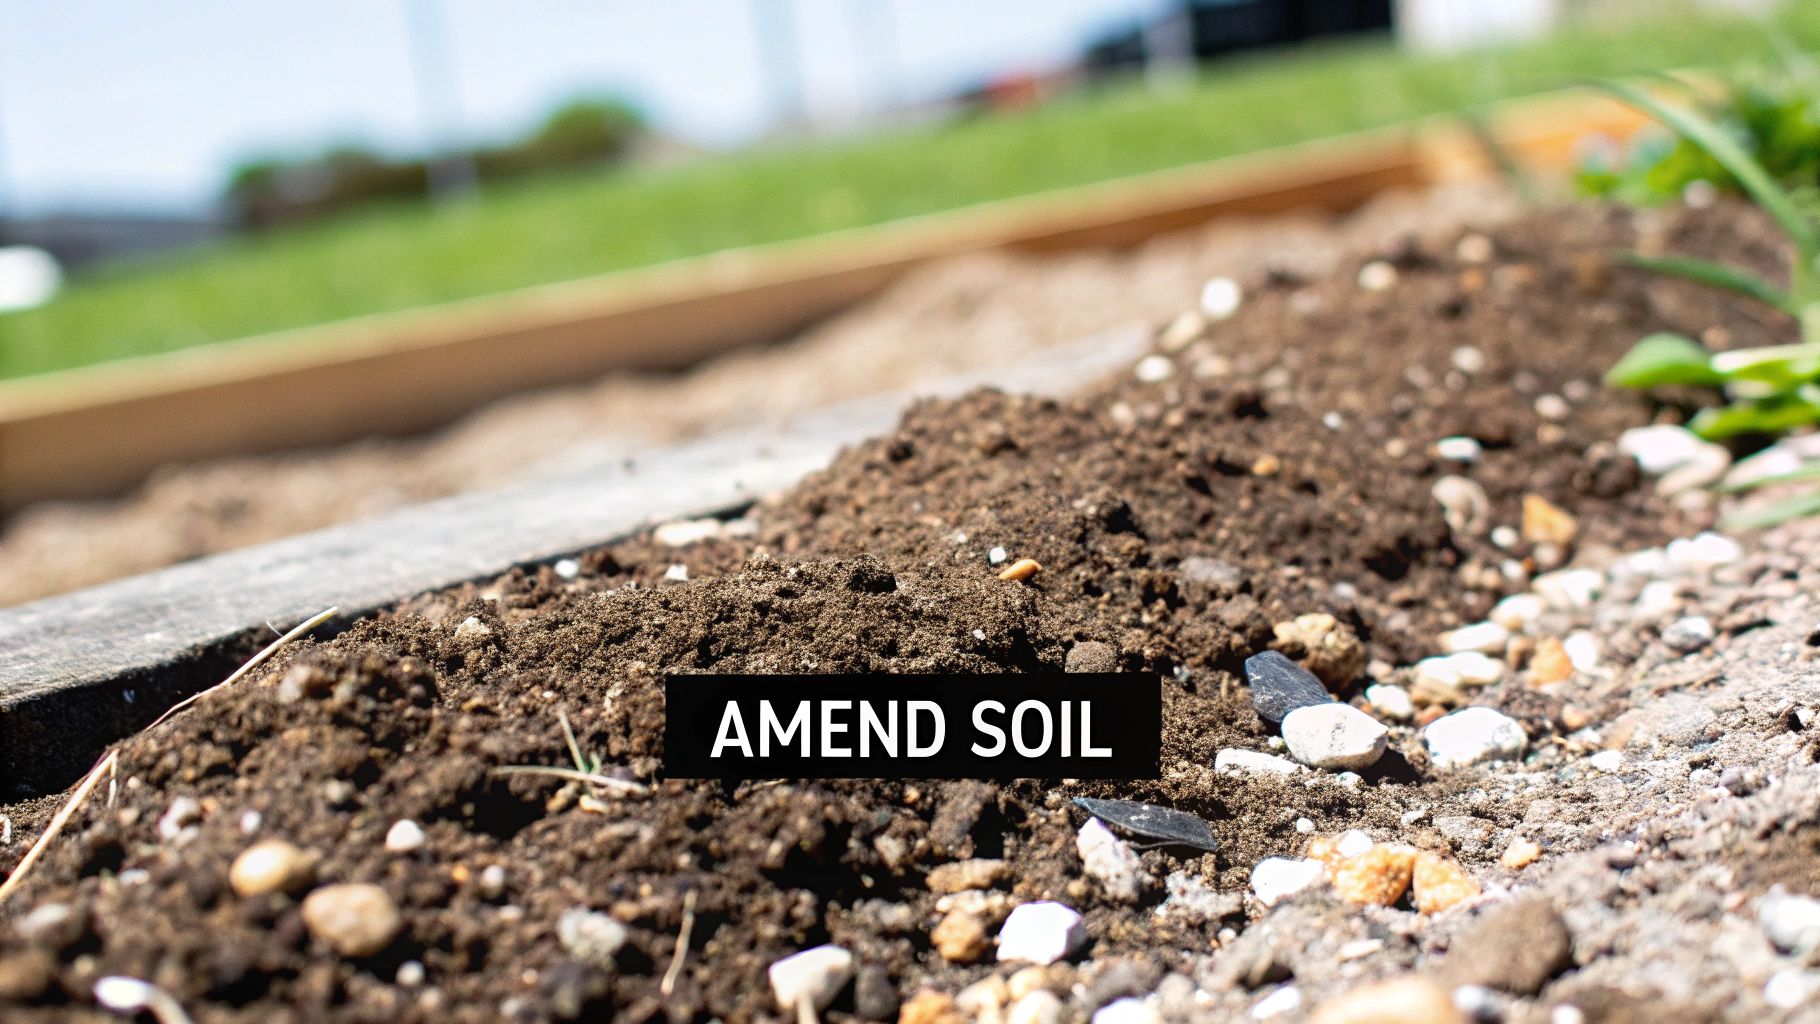
Amending In-Ground Garden Beds
Planting succulents directly into the ground can be tricky, especially if you're dealing with heavy clay soil. Clay is the natural enemy of succulents; it holds water like a sponge and compacts into something resembling a brick. You'll need to do some serious work to amend it.
Start by digging out a generous area and mixing in lots of compost, pea gravel, and pumice. Your goal is to physically break up the dense clay, improving its texture and allowing water to escape.
Here's a pro tip: use your landscape's natural features. Planting on a slight slope or in a raised garden bed is a game-changer. It automatically elevates the root system, using gravity to pull excess water away from your plants.
For those using containers, choosing the right pot is just as important as the soil inside it. Opting for porous clay pots and planters is a fantastic choice. The unglazed terracotta breathes, helping the soil dry out evenly and preventing the roots from staying waterlogged.
Getting Your Succulents in the Ground
You’ve picked the perfect spot and mixed up some fantastic soil. Now for the fun part—actually planting your succulents and watching your garden vision take shape. The trick here is to be gentle. Your goal is to minimize transplant shock and give your plants the best possible start.
First things first, get the succulent out of its nursery pot. Whatever you do, don't yank it out by its stem or leaves. I find it’s easiest to give the plastic pot a few gentle squeezes on the sides, then tip it over. The whole plant and its root ball should slide right into your waiting hand.
With the plant free, take a good look at the roots. If they’re wound up into a tight, compacted ball, don't be shy about gently teasing them apart with your fingers. This is called scarifying, and it’s a crucial step. It encourages the roots to grow outwards into the new soil instead of staying in that cramped, pot-shaped circle.
Finding the Right Depth and Giving Them Space
Time to dig. You'll want a hole that's a bit wider than the root ball but just as deep. Pop the succulent in, making sure the base of the plant—where the leaves meet the roots—sits level with or even slightly above the surrounding soil. Planting too deep is one of the quickest ways to cause problems; it traps moisture right against the stem, which is a recipe for rot.
Fill the hole back in with your gritty soil mix, patting it down lightly around the roots. You want to get rid of any big air pockets without compacting the soil too much.
Don't forget to think about spacing. Crowding plants might look good initially, but it’s a bad long-term strategy. Good air circulation is your best defense against pests and fungal diseases. Plus, you want to make sure every plant gets its share of sunlight. As a rule of thumb, I give low-growing groundcovers like Sedum about 6-8 inches of breathing room, while bigger rosette-formers like Echeverias will need at least a foot to themselves.
Here's the most important tip I can give you, and it feels completely wrong the first time you do it: Do not water your succulents right after planting. You need to wait at least a few days, or even up to a week.
This waiting period is non-negotiable. During transplanting, some roots will inevitably get bruised or broken. Giving them time to heal and callus over in dry soil prevents bacteria from getting into those tiny wounds when you do water. Watering a freshly planted succulent is often the first step toward root rot, so a little patience here will pay off massively.
Mastering Aftercare for a Thriving Succulent Garden
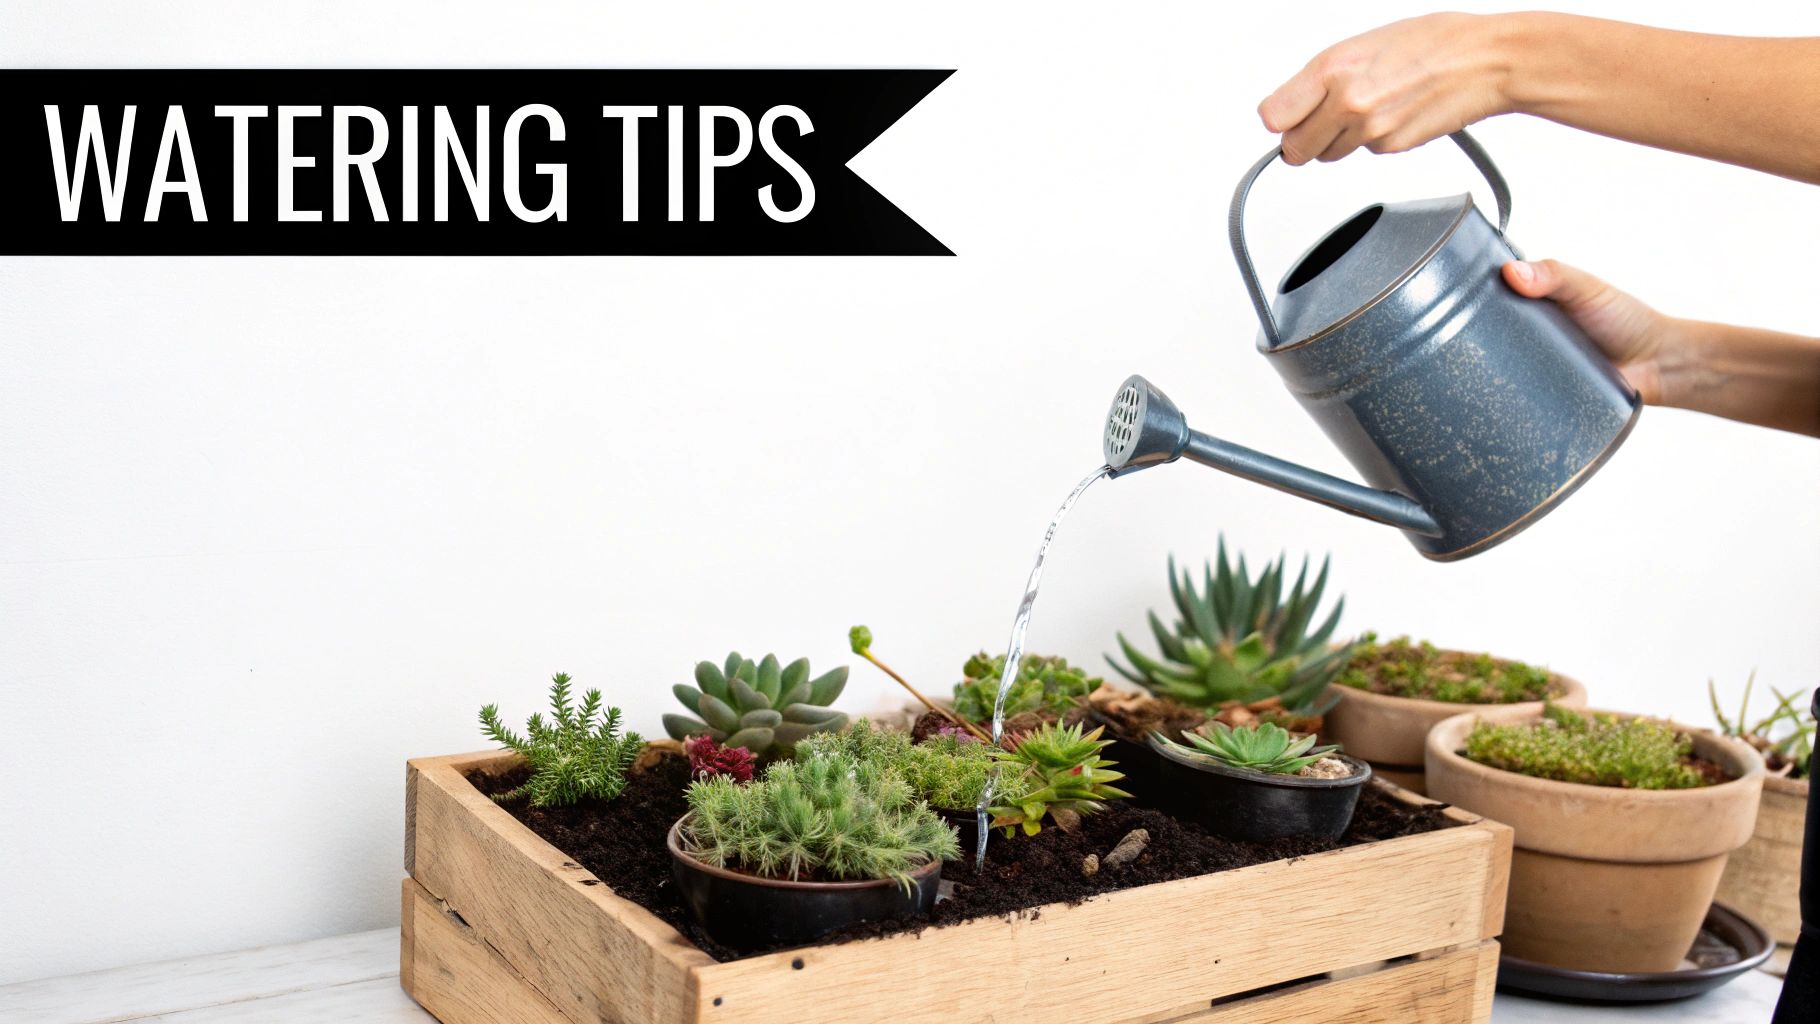
Now that your succulents are in the ground, the real fun begins. Consistent care is what transforms a freshly planted bed into a stunning, mature garden, and it's simpler than you might think. The absolute most important thing to get right is watering.
Succulents live by the "soak and dry" rule. When you water, do it deeply and thoroughly until the soil is completely saturated. After that, you have to let the soil dry out entirely before you even consider watering again. This technique perfectly mimics the infrequent, heavy downpours they'd experience in their native deserts. For a deeper dive into this method, our guide on how to water succulents is a great resource: https://www.cactusoutlet.com/blogs/blog/how-to-water-succulent-plants.
Adjusting to Nature's Whims
Forget a rigid watering schedule; you need to be in tune with the weather. During a scorching heatwave, you'll obviously need to check the soil more often. But after a few days of solid rain, you should hold off on watering for quite a while to prevent root rot.
The resilience of these plants is a big reason they've become so popular, especially for drought-tolerant landscaping. In fact, North America accounted for over 40% of the global market, with revenue reaching a staggering USD 2.08 billion. People are catching on.
When it comes to fertilizer, less is always more. Succulents just aren't heavy feeders. A single, light application of a balanced, low-nitrogen fertilizer in the spring is typically all they need for the entire year. If you overdo it, you’ll end up with weak, stretched-out growth that's a magnet for pests.
Keep an eye out for pests like mealybugs, which show up as little white cottony specks, usually tucked into the base of the leaves. You can usually get rid of them with a simple spray of isopropyl alcohol mixed with water—no harsh chemicals needed.
Finally, a little protection goes a long way. If a surprise frost is in the forecast, cover your more delicate succulents overnight with a frost cloth or a light blanket. In the dead of summer, a bit of temporary shade cloth can be a lifesaver, preventing sunburn on sensitive varieties and keeping your garden looking its best all year. If you're looking for more tips, these general plant care guidelines are a helpful starting point.
Of course, here is the rewritten section with a more natural, human-written tone.
Questions That Pop Up When Planting Succulents Outside
Even the most seasoned gardeners run into questions when moving succulents into the great outdoors. It's all part of the process. Let's walk through some of the most common things people ask, so you can feel confident as you get started.
People often wonder about the perfect time to plant. You'll have the best success in the spring or early fall. Planting during these milder seasons gives your succulents a fighting chance to get their roots settled before the stress of a scorching summer or a frosty winter kicks in.
What about when they get all stretched out and "leggy"? If you see long, pale stems with tons of space between the leaves, your plant is screaming for more sun. This stretching is a process called etiolation. While you can't shrink the leggy parts back down, moving the plant to a brighter spot will encourage the new growth to be tight and compact, just like it should be.
Can I Move My Indoor Succulents Outdoors?
Absolutely! But you can't just toss them out into the bright sun. That’s a surefire way to give them a wicked sunburn on their leaves.
The key is to introduce them to their new home gradually over a week or two. Think of it like easing into a cold pool.
- Start them off in a sheltered, shady spot for just a few hours a day.
- Slowly, day by day, increase their exposure to the gentler morning sun.
- After about 10-14 days of this slow introduction, they should be hardened off and ready for their permanent sunny spot.
One of the biggest mistakes I see is people overwatering their newly planted succulents. Stick with the "soak and dry" method. Wait until the soil is completely dry before you even think about watering again, especially if it has recently rained. The best way to know for sure? Just stick your finger an inch or two into the soil. It's the most reliable moisture meter there is.
Taking your time with this transition makes all the difference and helps your plants adjust without shock.
Ready to build that beautiful, water-wise garden you've been dreaming of? The Cactus Outlet has a fantastic variety of both hardy and tender succulents that will thrive in your landscape. Explore our collection and start planting today!