
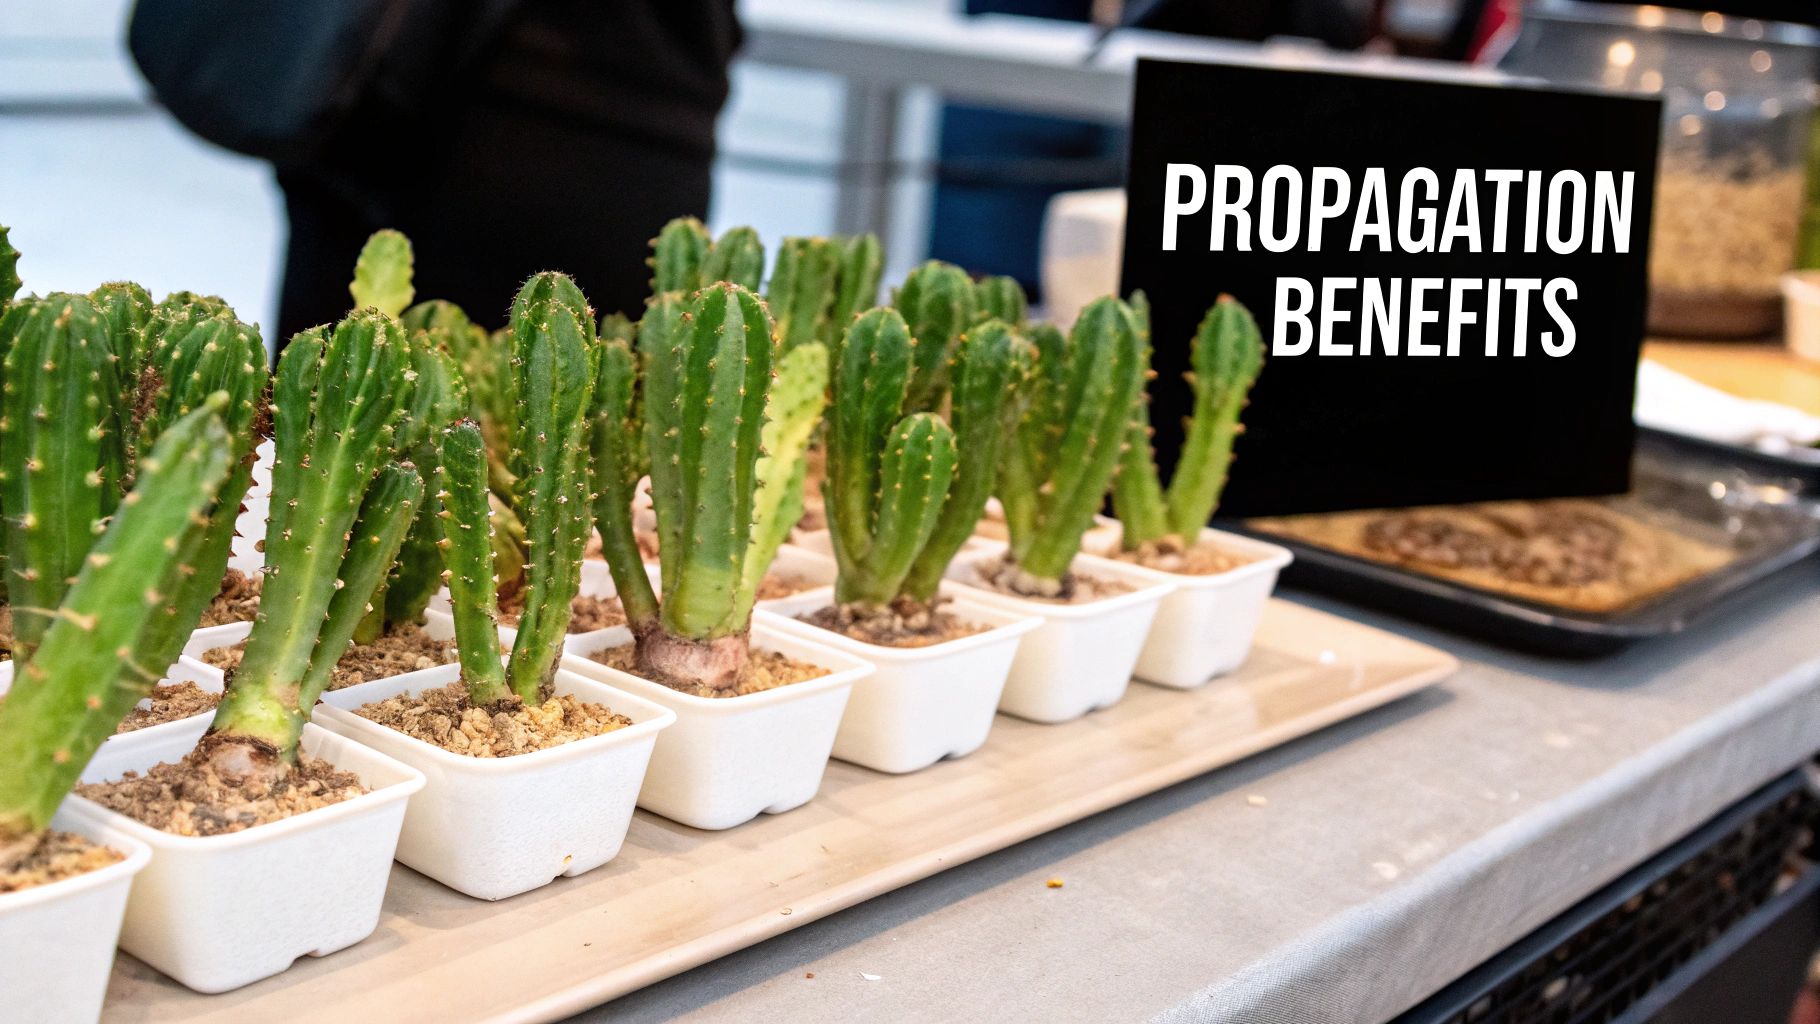
If you're looking to multiply your African milk tree collection, you're in luck. This plant is surprisingly easy to propagate, and the most reliable way by far is through stem cuttings. It's a simple process: you take a piece from a healthy plant, give it some time to heal, and then pot it up to start a brand new succulent.
While you might hear about propagating from seed, it's really not a practical choice for most of us growing these plants at home.
Getting to Know Your Euphorbia Trigona
Before you grab your clippers, it's worth understanding what makes your Euphorbia trigona tick. This isn't actually a cactus; it's a fast-growing succulent that can shoot up a foot or more in a single year when it's happy. This vigorous growth is exactly what makes it such a great candidate for propagation—the parent plant bounces back in no time.
The most important thing to remember is the plant's signature defense: a milky white sap. This latex is a skin and eye irritant and is toxic if ingested, so please, always wear gloves and eye protection when you're cutting it. This trait is common across its relatives, which you can read more about in our guide to different types of Euphorbia.
Propagation Methods At a Glance
So, why is everyone so focused on cuttings? It really comes down to what works. Let's break down the two main options.
| Method | Difficulty | Success Rate | Best For |
|---|---|---|---|
| Stem Cuttings | Easy | Very High | Home gardeners and commercial growers alike. Perfect for creating clones of your favorite plant. |
| Seeds | Very Difficult | Extremely Low | Botanical experts or hobbyists with decades of patience. Not a practical method for most. |
Ultimately, cuttings are the tried-and-true method for a reason. They deliver consistent results and let you get a new plant growing quickly and reliably.
Cuttings vs. Seeds: The Clear Winner
The reason stem cuttings are the go-to method boils down to one simple fact: African milk trees almost never flower indoors. Getting them to bloom can take decades, if it ever happens at all, which makes collecting seeds pretty much impossible for the average plant parent.
In fact, stem cutting is the dominant method for Euphorbia trigona in commercial markets across the U.S. and Europe. The rarity of flowering and seed production makes vegetative propagation the only realistic way to grow these plants on a large scale.
This is actually great news for you. It means that cloning your plant isn't just a fun project—it's the industry-standard approach. With a few basic tools and a healthy parent plant, you have everything you need to successfully propagate your own African milk tree. The team at Growcycle.com explains the commercial viability of this method in more detail.
Gathering Your Propagation Tools and Supplies
Before you even think about taking a cutting from your African milk tree, it’s smart to get all your gear ready. Having everything you need within arm's reach makes the whole process smoother and, more importantly, safer. This isn't just about being organized; it's about protecting yourself from the plant’s irritating sap and giving your new cutting the best possible chance to thrive.
The two things I never skip are a sharp, sterile blade and proper safety gear. A clean cut is crucial for quick healing, and believe me, you don't want that milky white sap anywhere near your skin or eyes. It's a serious irritant.
The Must-Have Toolkit
Let's run through the essentials. Getting these things together first will make all the difference.
- Sterilized Cutting Tool: Whether you prefer a sharp knife or a solid pair of pruners, wipe the blades down with rubbing alcohol. This quick step is your best defense against introducing nasty bacteria or fungi that could rot your cutting from the inside out.
- Protective Wear: This is non-negotiable. Grab a pair of thick gloves and safety glasses. You’ll thank me later when you avoid a painful rash or worse.
- Well-Draining Potting Mix: Your best bet is a pre-made cactus or succulent soil blend. These mixes are gritty and airy, which is exactly what you need to prevent the dreaded root rot.
- Pots with Drainage Holes: Start with a small pot, something around 4 inches in diameter. The key feature here is the drainage hole—if excess water can’t escape, your cutting will likely fail.
Giving Your Cutting an Edge
While you can succeed with just the basics, a few extra items can really boost your odds. I almost always use a rooting hormone. A quick dip of the calloused end before planting encourages roots to form faster and stronger.
For an extra advantage, especially if your home is on the cooler side, consider a heat mat. Placing your pot on one provides the gentle, consistent warmth that really kicks root development into high gear. It’s like giving your cutting a VIP lane to becoming a new plant.
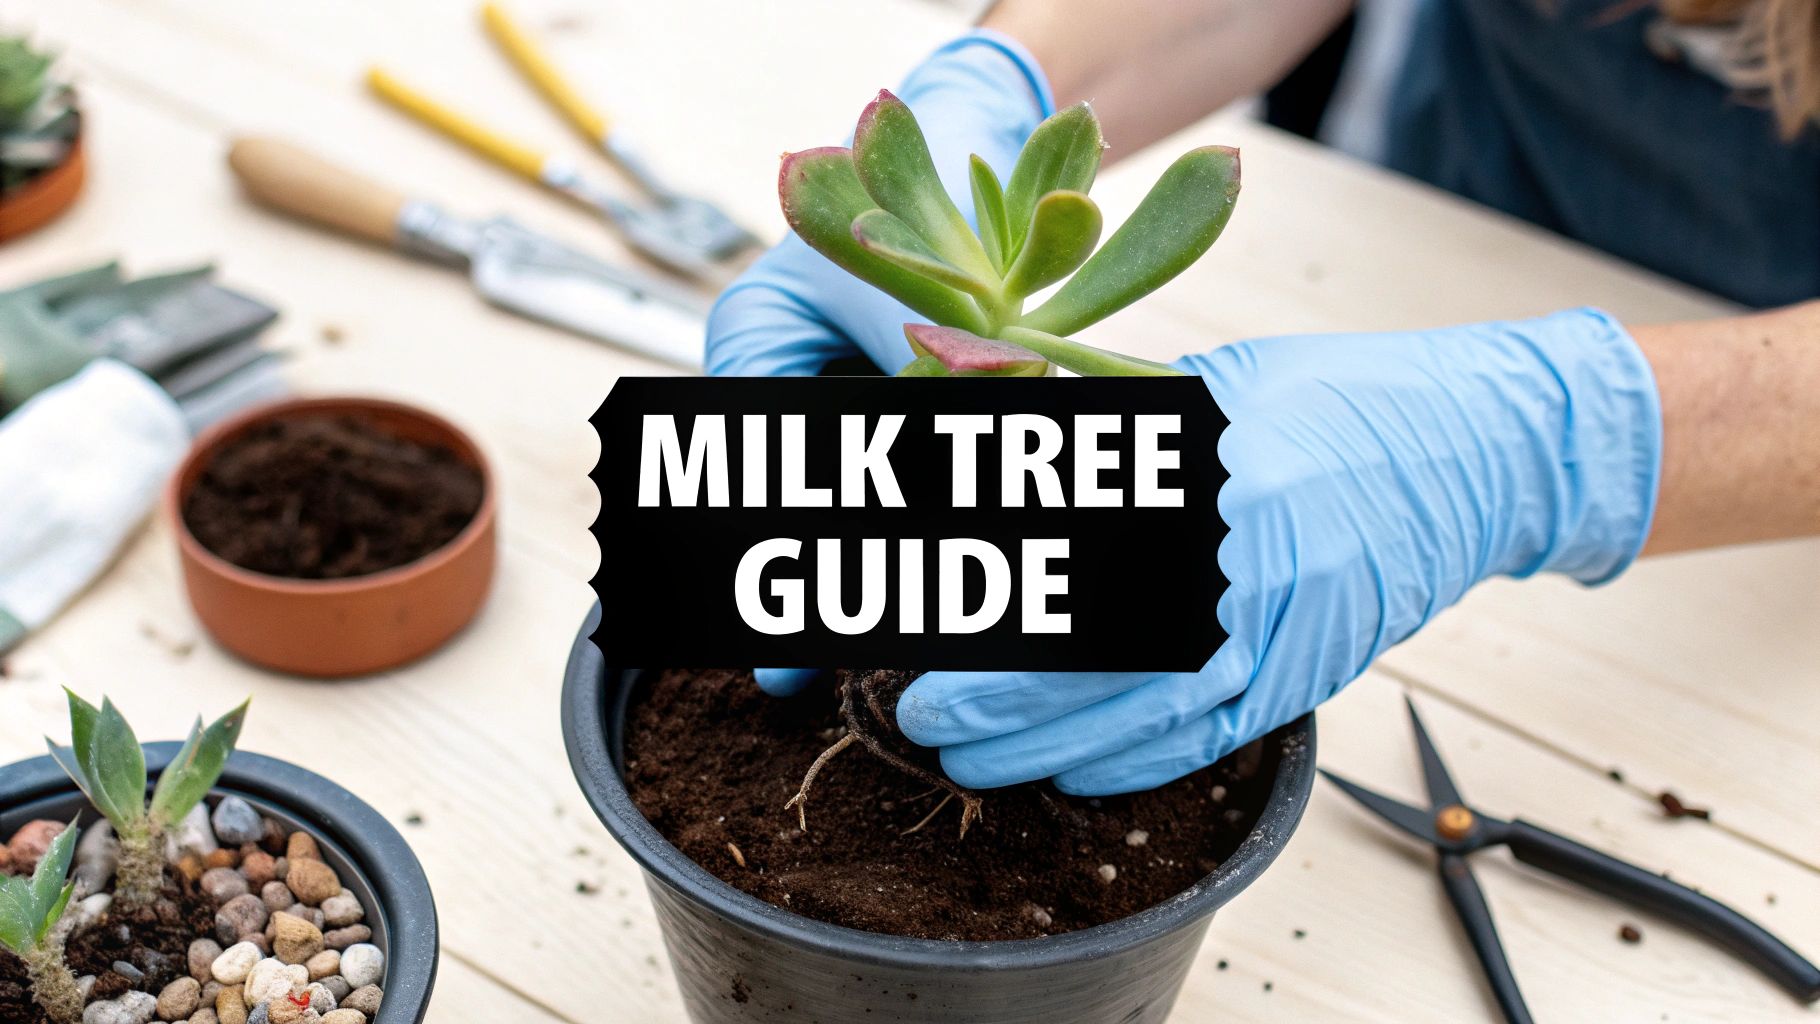
How to Take Cuttings from Your African Milk Tree
Taking a cutting is probably the most rewarding part of propagating your African milk tree. The idea is to find a healthy, thriving arm on the mother plant that looks strong enough to make it on its own.
I always look for a side branch that’s at least 4-6 inches long. A cutting this size has enough stored energy to get through the rooting phase without issue. Give any discolored, shriveled, or damaged stems a miss—they just don’t have the same odds of success.
Making the Cut
Once you’ve picked out the perfect branch, it's time for a little surgery. Grab your sterilized knife or pruners and make one clean, quick cut right where the arm meets the main stem. A swift cut causes less trauma, which helps both the parent plant and your new cutting heal up faster.
Don't forget your gloves and safety glasses for this part! The second you cut, the plant will start bleeding its signature milky white sap. Immediately get the cut end under some cool running water to stop the sap flow. This little trick also keeps the sap from creating a seal over the cut, which can ironically block new roots from forming.
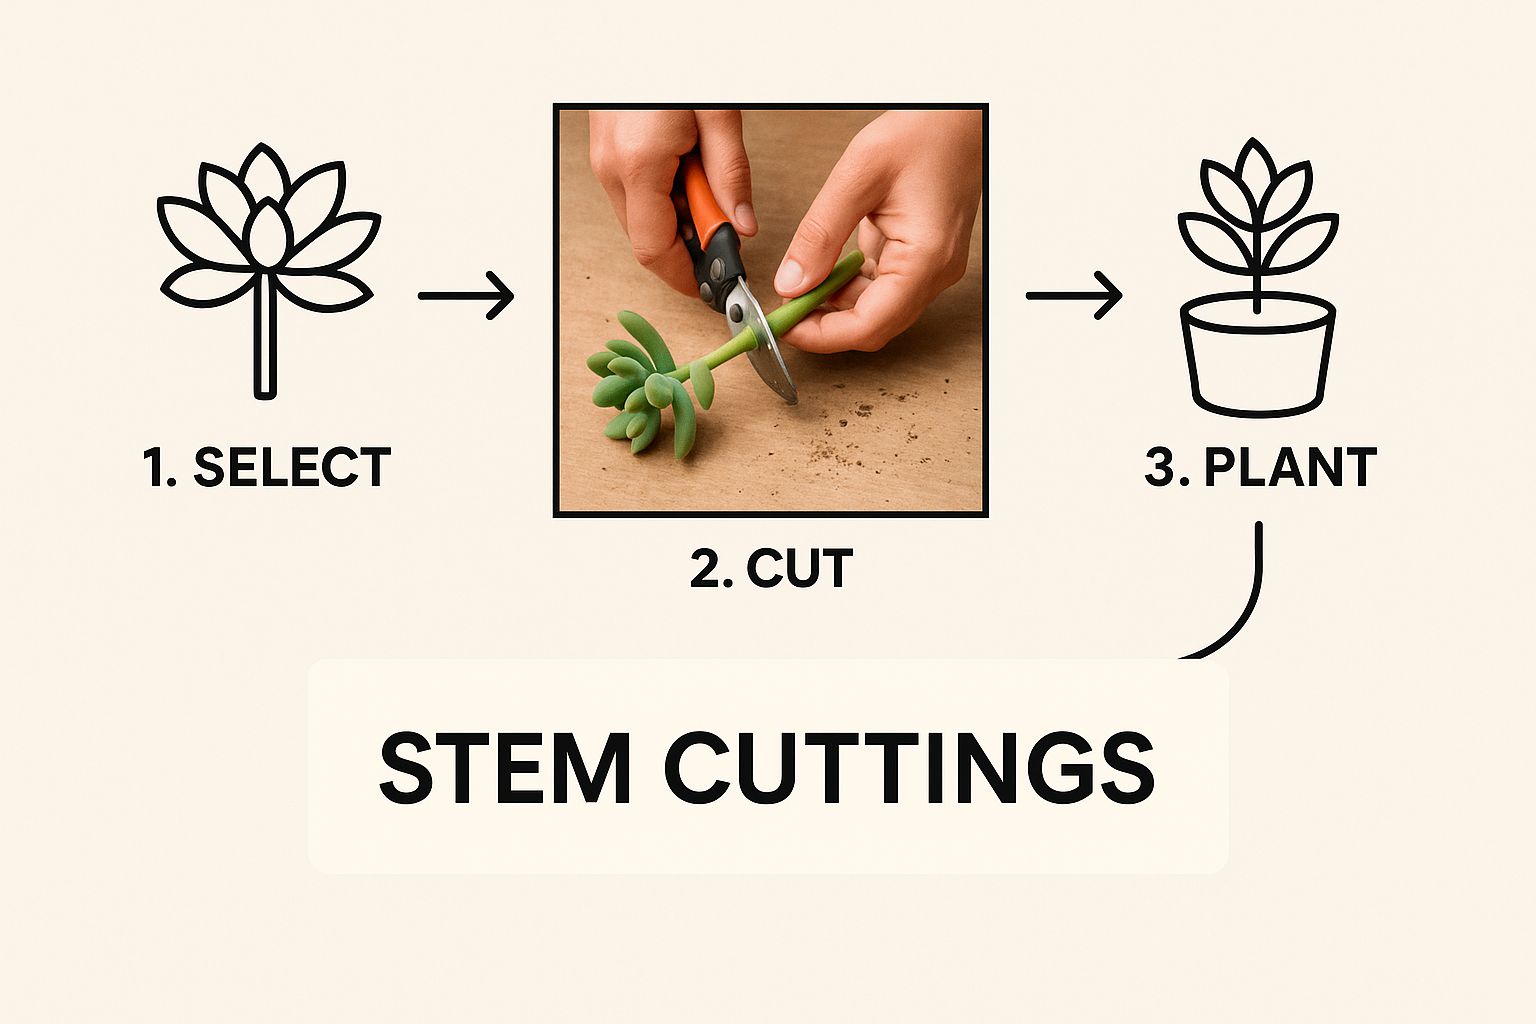
This visual guide breaks down the right way to take stem cuttings, a core skill for anyone who loves succulents. It really highlights how using sharp, clean tools gives your new plant the best possible start.
The Secret to Preventing Rot
Now for what I consider the most crucial step: letting the cutting callous over. You absolutely cannot plant it right away. A fresh, wet wound is an open invitation for rot.
Find a dry, shady spot with good airflow and just let the cutting sit for a few days, maybe even a week. You’ll know it’s ready when the cut end is completely dry to the touch and has formed a tough, scab-like seal.
This callousing period is non-negotiable. Seriously. Skipping this step is the number one reason I see cuttings fail. It puts the moist inner tissue in direct contact with soil pathogens, and rot is almost guaranteed.
After the end is fully hardened, you can give it an extra edge by dipping it into a rooting hormone powder. While not a must-do, I’ve found it really does speed things up and encourages a much more robust root system. For a broader look at this technique, take a peek at our guide on propagating succulents from cuttings.
At this point, your cutting is finally ready to meet its new home in the soil.
Getting Your New Cuttings Planted
Alright, your cutting has a nice, dry callus at the base. That's the green light—it’s ready to be planted. This is the moment we transition it from a simple stem into a plant that can stand on its own.
First, grab a small pot, something around 4 inches will do the trick. The most important thing here is that it has a drainage hole. Fill it up with a gritty soil mix made for cacti and succulents. If you're mixing your own, our guide to cactus and succulent soil has some great recipes.
Now, take your calloused cutting and gently push it about 1-2 inches deep into the soil. You want it deep enough to stand up on its own, but shallow enough that most of the stem is above the soil, which helps prevent rot. If you've got a taller, wobbly cutting, you can prop it up with a few small stakes or decorative rocks for support.
The All-Important First Watering (or Lack Thereof)
This next part is going to feel wrong, but trust me on this: do not water it yet. Your cutting has zero roots, so it can't drink anything. Giving it water right now is the number one mistake people make, and it almost always leads to a mushy, rotten base.
Wait at least a week or two before you even think about watering. This dry period gives the cutting time to push out its first delicate roots in search of moisture. It's a bit of tough love that pays off.
When that waiting period is over, give it just a little water. Don't drench the pot. Just moisten the soil around the base and then let it be.
Nurturing Your Young Plant
For the next couple of months, all the action is happening underground as the root system gets established. Your job is to provide a stress-free environment.
Here’s what to focus on:
- Light is Key: Find a spot with plenty of bright, indirect sunlight. A south-facing window is great, but pull the pot back a bit so it isn't getting scorched by direct afternoon sun.
- Easy on the Water: After that initial light watering, let the soil dry out completely before you water again. For a new cutting without a big root system, this could easily be every 3-4 weeks. When in doubt, wait a little longer.
- The Root Check: After a month or two, you can give the cutting a very gentle wiggle. If you feel some resistance, you've done it! That's the feeling of new roots anchoring the plant in place. Your propagation is a success.
Troubleshooting Common Propagation Issues
Even the most seasoned plant parent can run into a few hiccups when propagating African milk trees. The number one problem I see is rot, and it almost always comes down to too much water at the wrong time. If the base of your cutting feels soft or looks brown and mushy, you’re dealing with stem rot.
This usually happens for one of two reasons: either the cutting was planted before the cut end had fully calloused over, or it was watered before any roots had a chance to form. Once significant rot takes hold, it’s tough to save the cutting. Prevention is truly your best bet here, so be patient and wait until that cut end is completely dry and hard to the touch.
Why Is My Cutting Not Rooting?
So, it's been a few weeks, and... nothing. No roots. Don't throw in the towel just yet! A cutting that isn't rooting is often just waiting for the right conditions, and a few small adjustments can make all the difference.
Here are a few things to check:
- Not Enough Light: Your cutting needs plenty of bright, indirect light to get the energy it needs for root production. A dim corner of the room just isn't going to get the job done.
- The Room Is Too Cold: These are warmth-loving plants. If the room is chilly, the rooting process will slow to a crawl or stop altogether. Aim for a consistent temperature between 65–85°F.
- The Cutting Is Dehydrated: Take a look at the stem. If it appears wrinkled or shriveled, it's losing moisture faster than it can grow roots to absorb more.
If you have a cutting that looks shriveled but isn't rotting, you can give it a little nudge. Try moving it to a spot with slightly higher humidity or lightly misting the soil around the base—never the stem itself—once a week. That tiny bit of moisture can be the perfect encouragement it needs to start rooting.
Common Questions About Propagating African Milk Trees
When you start propagating African milk trees, a few questions always seem to pop up. Getting these right can be the difference between a successful new plant and a pot of mush. Let's walk through the things I get asked about most often.
How Long Until My Cuttings Grow Roots?
This is where a little patience comes in handy. You won't see roots overnight—it typically takes anywhere from a few weeks to a couple of months.
The biggest factor is warmth. A cutting that gets plenty of bright, indirect light and sits in a warm spot will root much faster than one in a cool, dim corner. If you want to give it a real boost, placing the pot on a seedling heat mat provides the consistent, gentle warmth that encourages roots to sprout.
After about a month, you can do a gentle "tug test." Just give the cutting a very light pull. If you feel some resistance, you've got roots!
Is the White Sap from an African Milk Tree Dangerous?
Yes, you definitely need to be careful with it. That milky white latex is toxic and a known skin and eye irritant. I always recommend wearing gloves and safety glasses when you're taking cuttings to avoid any nasty surprises.
If you do get some on your skin, don't panic—just wash it off right away with soap and water. Because it's toxic, make sure you keep your parent plant and any new cuttings well away from curious pets or children.
Handling this plant with care is non-negotiable. The sap is the plant's natural defense mechanism, and respecting that is key to keeping your propagation project safe and fun.
Can I Root an African Milk Tree Cutting in Water?
I see this question a lot, especially since water propagation is so popular for plants like pothos or philodendrons. But for an African Milk Tree, it's a bad idea.
These are succulents built for dry conditions. Leaving a cutting sitting in water is a surefire way to invite stem rot, and it will almost always fail. The best and most reliable way to get a new plant is to let the cutting callous over and then plant it directly into a gritty, well-draining soil mix. You're mimicking its natural environment, which gives you the highest chance of success.
Ready to add a new succulent to your collection? Explore a wide variety of healthy, beautiful plants at The Cactus Outlet and find your next statement piece.