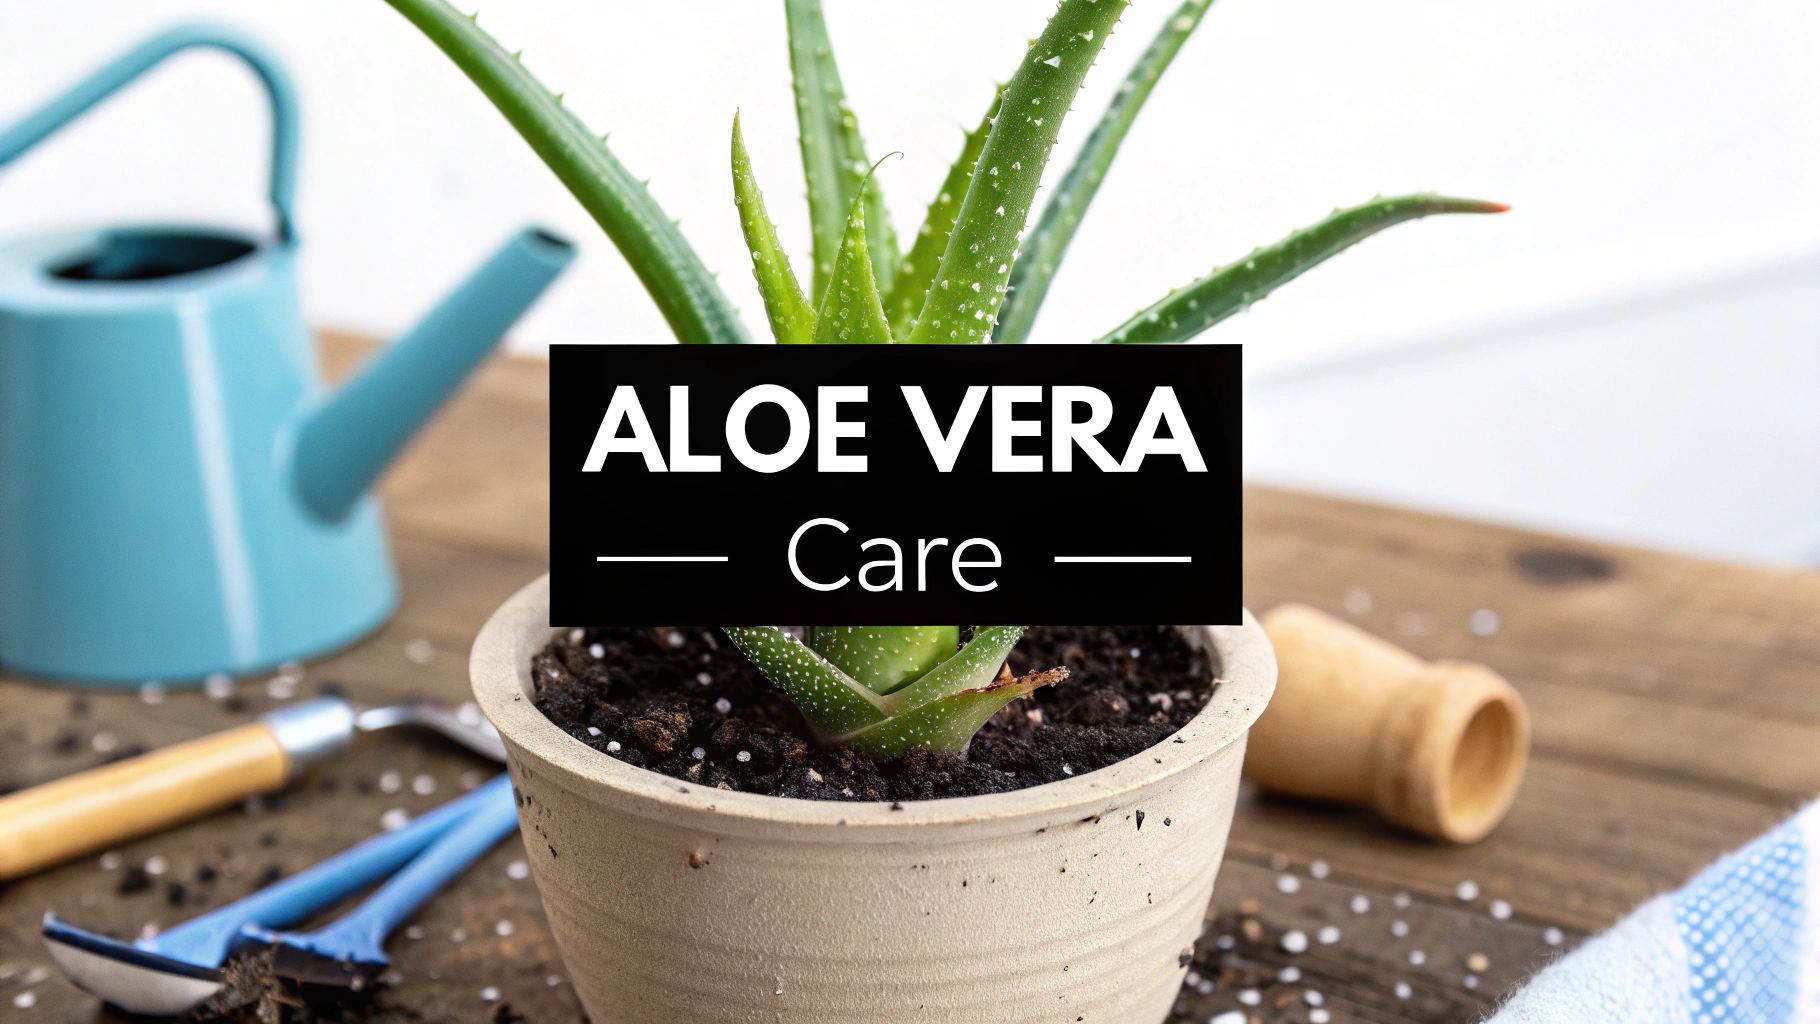

When you get right down to it, keeping an aloe vera plant happy comes down to three things: giving it plenty of bright, indirect light, using soil that drains like a sieve, and watering it like the desert plant it is. If you can nail those basics, your aloe won't just stick around—it'll flourish for years.
Setting Up Your Aloe Vera for Success
Bringing home an aloe vera is exciting, but long-term success really depends on getting the environment right from the very beginning. Forget what you know about typical leafy houseplants that love rich soil and constant moisture. Aloes are a different breed and need conditions that mimic their arid homeland. This means light and drainage are your top priorities.
The biggest mistake I see people make is treating their new aloe like a fern or a pothos. This almost always leads to overwatering, which is hands-down the number one killer of aloe plants. You have to remember these are succulents; they store water in their fleshy leaves, making them extremely susceptible to root rot if they sit in soggy soil.
Finding the Perfect Light Source
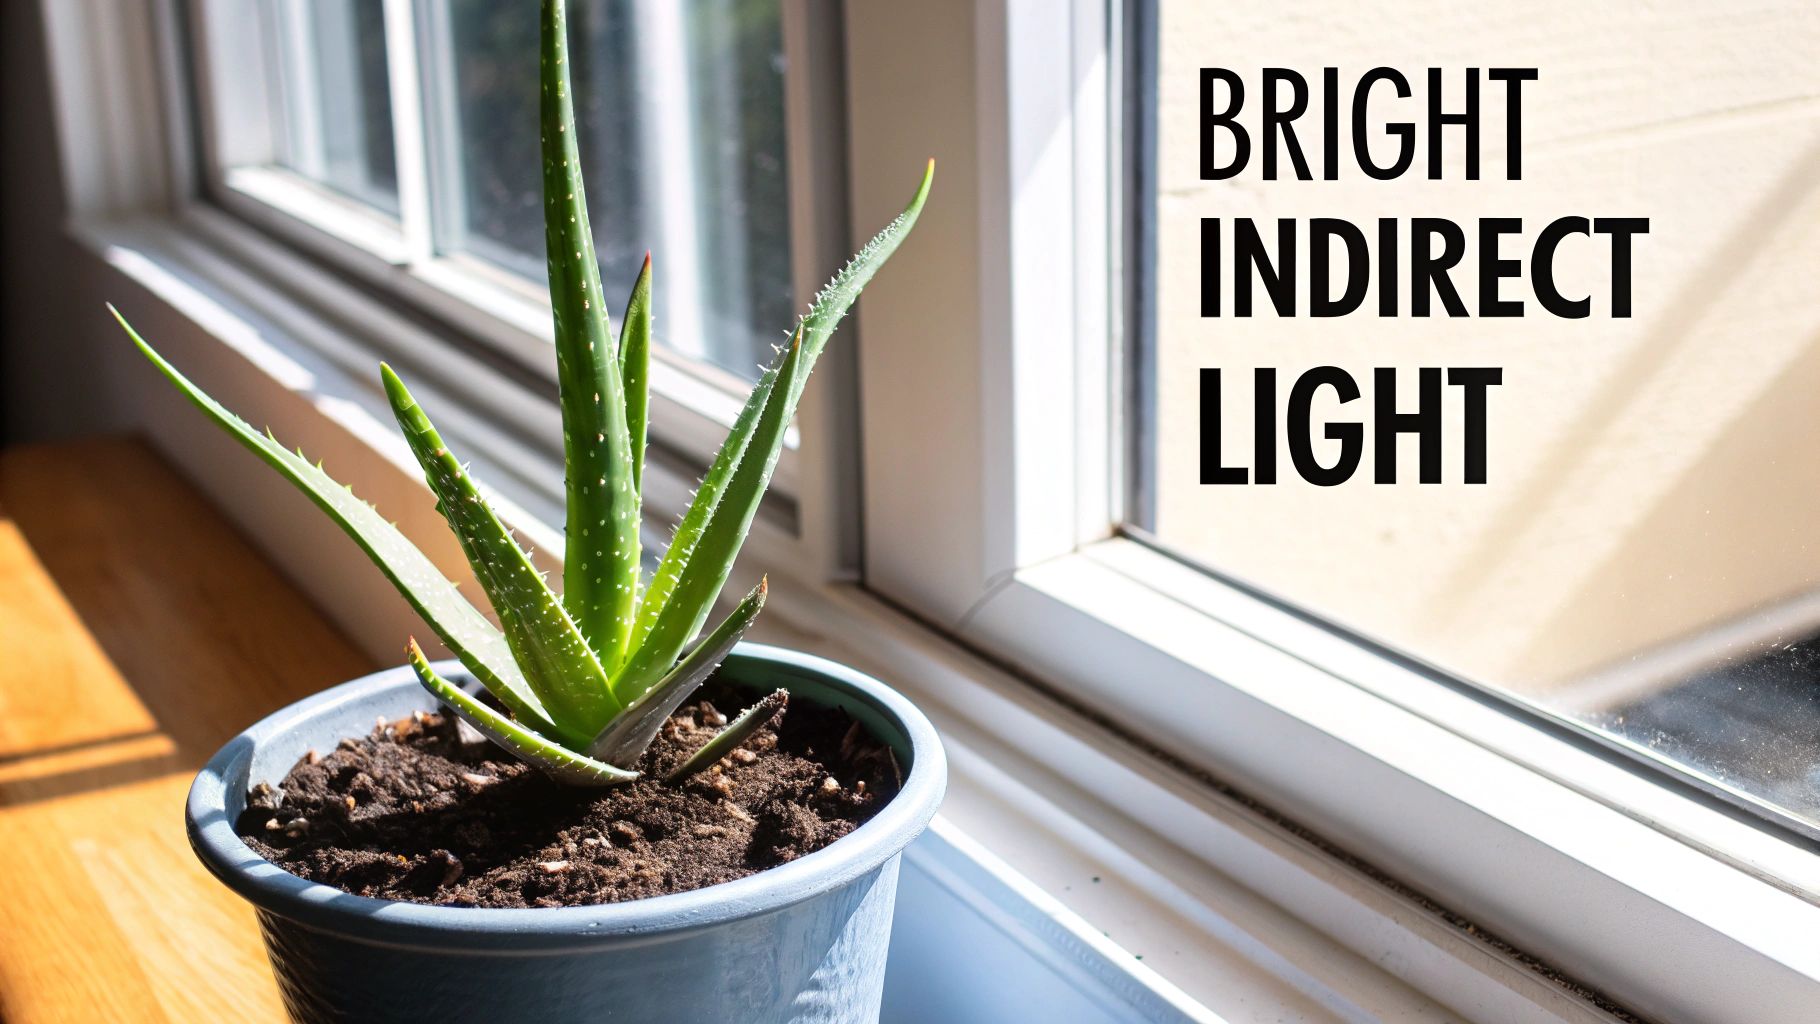
Your aloe is a sun-worshipper, but it prefers its light to be bright and indirect. Think about the kind of light you’d find under a thin-canopied tree in the desert—that’s what you’re aiming for. A spot near a south-facing or west-facing window is usually perfect. Just be careful that the leaves aren’t physically touching the hot windowpane, as the glass can intensify the sun's rays and scorch them.
Is your aloe's leaves taking on a pale, almost reddish-brown hue? That’s its way of telling you it’s getting a sunburn. Don’t panic! Just scoot it back a foot or two from the window or hang a sheer curtain to diffuse the intense rays. For a deeper dive, check out our post on aloe plant sunlight requirements.
The Right Soil and Potting Strategy
Regular old potting mix is a no-go for aloes. It’s far too dense and holds onto water for way too long, which is a death sentence for their sensitive roots. You'll need a specialty soil mix made for cacti and succulents. These blends are gritty and contain ingredients like pumice, perlite, or coarse sand that let water flow through freely, preventing a waterlogged disaster.
The pot you choose is just as crucial as the soil.
- Material Matters: Terracotta pots are, without a doubt, the best choice. The porous clay breathes, pulling excess moisture out of the soil and helping it dry more evenly.
- Drainage is Non-Negotiable: Your pot absolutely must have at least one good-sized drainage hole. A beautiful pot without drainage is just a fancy coffin for your aloe vera.
- Size It Right: Aloes actually like their roots to be a little snug. When you repot, pick one that's only a bit larger than the current root ball. A pot that's too big will hold a lot of extra soil, which means it will also hold a lot of extra moisture.
To help you keep track, here's a quick summary of what your aloe needs to thrive.
Aloe Vera Care Quick Reference Guide
This table breaks down the essentials for keeping your aloe vera in top shape.
| Care Element | Ideal Condition | Common Mistake |
|---|---|---|
| Light | 6-8 hours of bright, indirect sunlight | Placing in direct, harsh sun or a dark corner |
| Watering | Water deeply every 3-4 weeks; let soil dry completely | Watering too frequently or on a rigid schedule |
| Soil | Fast-draining cactus/succulent mix | Using standard, moisture-retaining potting soil |
| Pot | Terracotta with a large drainage hole | Using a pot with no drainage or one that's too large |
Getting these conditions right is the foundation for a healthy, happy plant.
For those interested in general plant parenthood, you might find this a comprehensive indoor plant care guide useful as well. Once you've established this solid foundation, you’ve given your aloe the stable, healthy home it needs to grow.
Mastering Your Watering and Feeding Routine
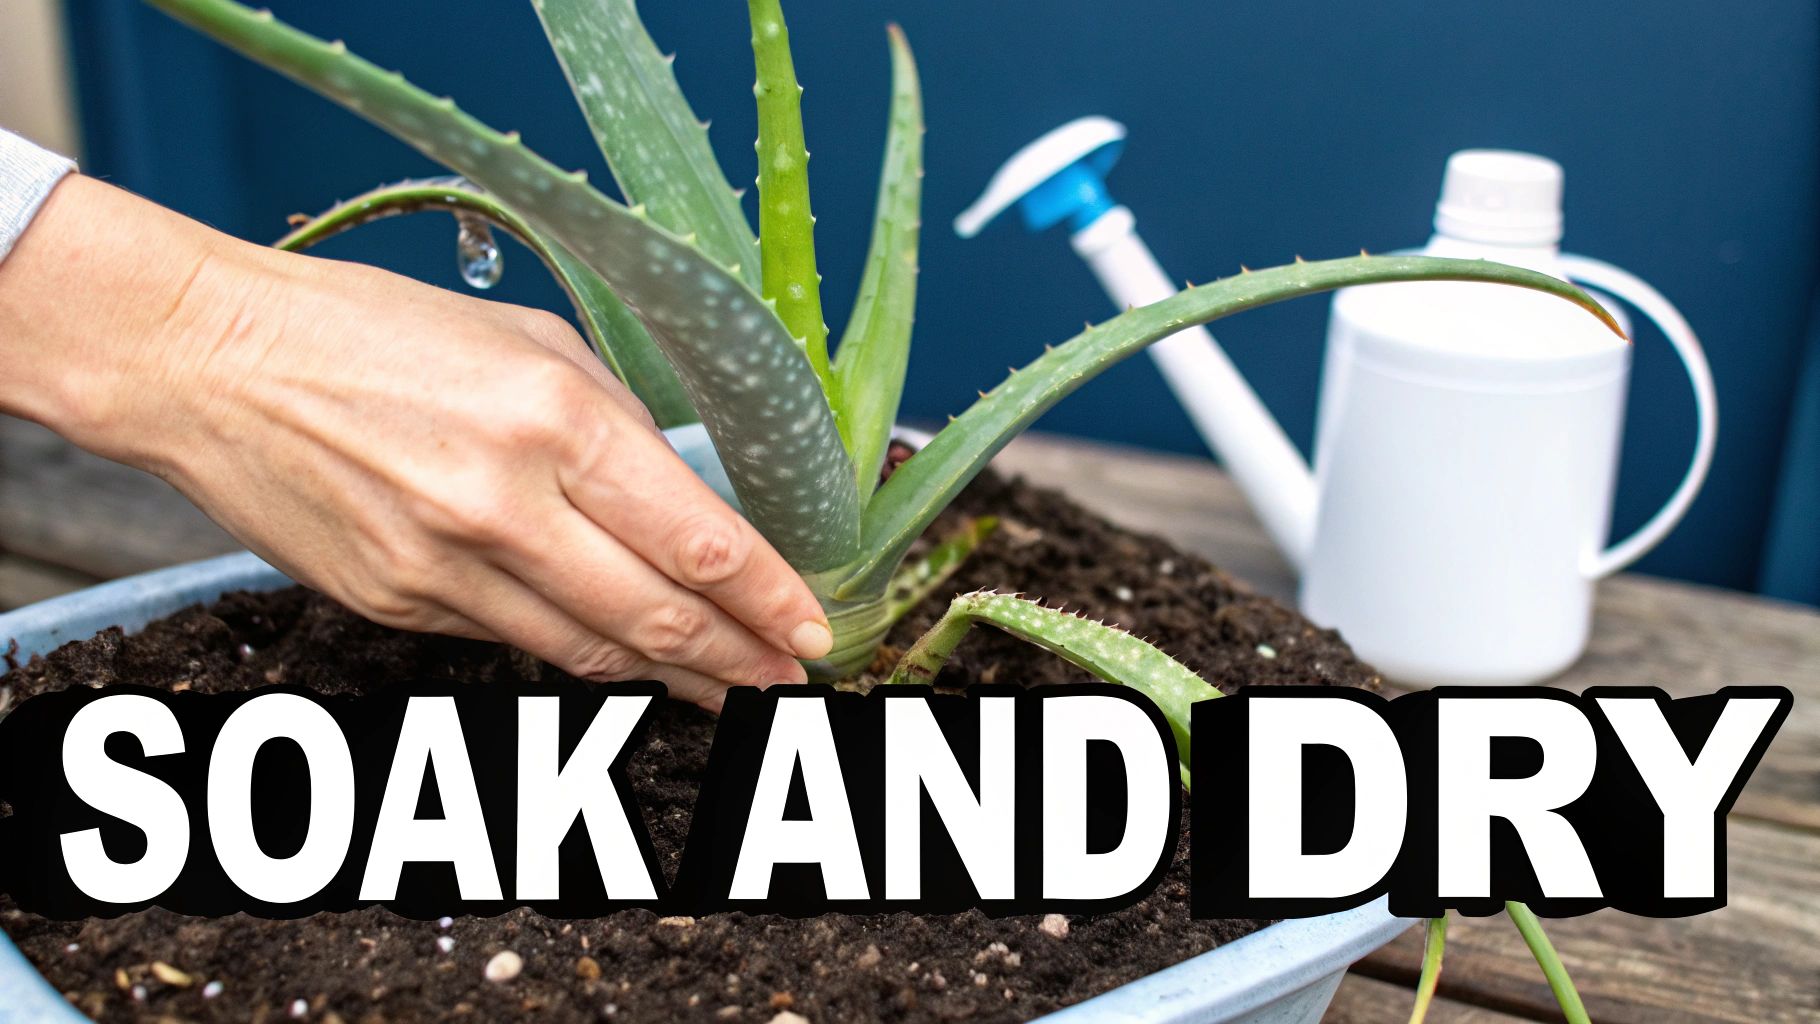
When it comes to keeping an aloe vera happy, watering is where most people trip up. My best advice? Throw out the weekly watering schedule. These succulents are built to store water in their leaves and absolutely hate sitting in soggy soil. Giving them "wet feet" is the quickest way to kill them.
The trick is to use the "soak and dry" method. When it's time to water, give the soil a thorough drenching until you see water flowing freely from the drainage hole. After that—and this is the most important part—let the soil dry out completely. I mean bone dry. This might mean waiting two weeks in the summer or even a month or more during the winter.
Reading the Signs Your Plant Gives You
If you learn to read its cues, your aloe will tell you exactly when it's thirsty. The leaves are your best indicator. A healthy, hydrated aloe has firm, plump leaves that feel solid to the touch. If they start looking off, it's almost always a water issue.
- Overwatered Aloe: Look for mushy, yellowing leaves, especially near the base of the plant. The whole plant might seem droopy and weak. This is a huge red flag for root rot, so you'll want to act fast.
- Underwatered Aloe: The leaves will start to look thin and deflated. You might notice the edges curling inward, and they'll feel soft and a bit flimsy. This is your aloe telling you it has depleted its water reserves and is ready for a good drink.
The most reliable way to check for dryness is to stick your finger about two inches into the soil. If you feel even a hint of moisture, hold off on watering for a few more days. When in doubt, it's always safer to wait.
This watering philosophy is pretty standard for most succulents. To get a better handle on the general principles, you can learn more about how to water succulent plants, as the core concepts are very similar.
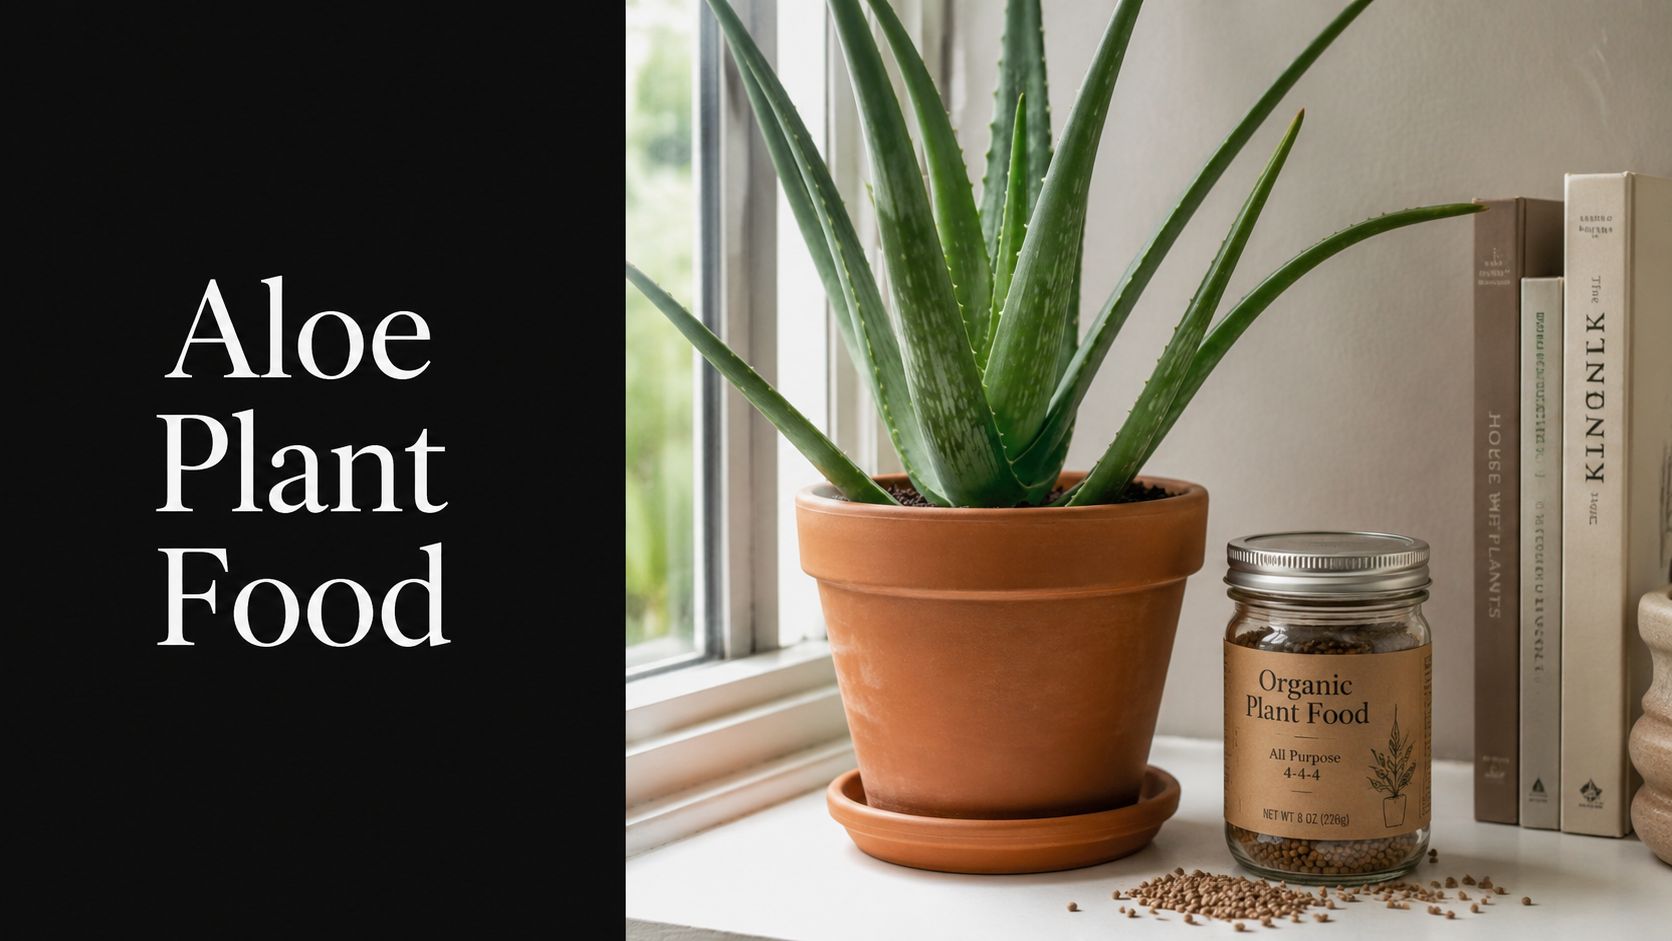
A Minimalist Approach to Fertilizing
When it comes to feeding your aloe, less is absolutely more. These plants naturally grow in nutrient-poor, sandy environments, so they are not heavy feeders. One of the most common mistakes I see is over-fertilizing, which can cause "fertilizer burn" that scorches the roots and turns the leaf tips brown.
Your aloe only needs a little boost during its active growing season in the spring and summer. A balanced, liquid houseplant fertilizer diluted to half-strength is all it takes. Just feed it once or twice during that entire period. That's it. Never fertilize in the fall or winter when the plant is dormant. This hands-off approach gives your aloe everything it needs to thrive without overwhelming its sensitive system.
How to Repot an Aloe Vera Without Stress
https://www.youtube.com/embed/BrX85QUcTi4
Sooner or later, every thriving aloe vera will need a bigger home. Repotting can feel like a big deal, but it's a completely normal part of caring for your plant and key to its long-term health. Don't sweat it—if you know what to look for, the whole process is surprisingly simple.
The most common signal that it's time for an upgrade is when the plant becomes root-bound. This just means the roots have completely filled the pot and have nowhere left to go. You'll often see them poking out of the drainage hole or even creeping up over the soil surface. Another classic sign? Your plant has just stopped growing. If it’s been months and you haven't seen any new leaves, it’s probably run out of room.
Choosing the Right Pot and Prepping for the Move
Picking the right pot is half the battle. Your first instinct might be to go way bigger to give your aloe plenty of space, but that's actually a mistake. A pot that's too large holds onto excess moisture, creating a perfect storm for root rot. Instead, look for a new pot that’s only about 20% wider than the one it's in now.
For aloes, nothing beats a classic terracotta pot. The porous clay breathes, pulling extra moisture away from the roots and helping the soil dry out evenly—exactly what succulents love. Just make sure it has a good-sized drainage hole.
Of course, you'll need the right soil. Always grab a bag of fast-draining cactus and succulent mix. Never, ever use standard potting soil or dirt from your garden; it’s far too dense and will hold water like a sponge.
Here's a little trick I've learned over the years: stop watering your aloe for about a week before you plan to repot. The drier soil helps the entire root ball slide out of the old pot much more easily, with less mess and less stress on the plant.
The Repotting Process
First, carefully ease the aloe out of its current pot. If it’s a little stubborn, try tapping the sides or running an old butter knife around the inside edge to loosen things up.
Once it's out, take a good look at the roots. Healthy roots should be firm and a whitish-tan color. If you spot anything that looks black, mushy, or stringy, go ahead and snip it off with a clean pair of scissors or pruners.
Add a layer of fresh succulent soil to the bottom of the new pot. Place your aloe in the center, making sure the base of the plant sits at the same soil level it did in its old home.
Backfill around the plant with more soil, gently patting it down to get rid of any major air pockets. It's a good idea to leave about an inch of space between the soil and the rim of the pot to prevent water from spilling over the sides later.
Now for the most important part: do not water it yet! Give your aloe a few days to a week to settle into its new home dry. This waiting period allows any roots that were bruised or broken during the move to heal and callus over, which is your best defense against rot. It's the final, crucial step to a successful, stress-free repotting.
Troubleshooting Common Aloe Vera Problems
Even with the best intentions, you'll eventually run into a little trouble with your aloe. It happens to all of us. When your plant starts looking a bit off, don't worry. Most issues are simple to diagnose and even easier to fix once you know what to look for. Think of your plant's leaves as its personal health report—they'll tell you everything you need to know.
Learning to read those signals is the key to becoming a truly confident aloe parent.
What The Leaf Color Is Telling You
Yellowing leaves are probably the most common cry for help I see, and 9 times out of 10, it's from a heavy hand with the watering can. When soil stays waterlogged, the roots suffocate and start to rot. This means the plant can't drink or eat properly, resulting in those sad, mushy, yellow leaves that typically appear at the base of the plant first.
On the flip side, if the leaf tips are turning brown and brittle, you might be looking at underwatering or even "fertilizer burn." If the soil is desert-dry and the leaves feel thin and deflated, your plant is simply thirsty. But if you just fed it recently, you might have overdone it and scorched the delicate roots.
- Yellow and Mushy: This is the classic sign of overwatering. Step away from the watering can and let that soil dry out completely.
- Brown and Crispy Tips: It's likely thirst or too much fertilizer. Think back on your recent care to figure out which one it is.
- Reddish-Brown Hue: This is a sunburn! Your aloe is getting a bit too much direct, harsh sunlight and is stressing out.
The biggest mistake people make is reaching for water as soon as they see a problem. Always, always check the soil first. Stick your finger a couple of inches deep. If you feel any moisture at all, more water isn't the answer.
Fixing Droopy or Stretched-Out Growth
Sometimes the issue isn't the color, but the plant's posture. A happy aloe grows upward in a tight, compact rosette. If yours is starting to look stretched out, pale, and spindly with big gaps between the leaves, it's becoming leggy. This is a dead giveaway that it's not getting enough light. The poor thing is literally stretching itself out, searching for the sun.
A mushy stem or a base that's starting to collapse is a much more urgent problem. This usually signals advanced root rot that has spread from the roots into the plant's core. Saving the whole plant at this stage is tough, but not always a lost cause. For a step-by-step recovery plan, check out our guide on how to save an aloe plant.
Common Aloe Vera Issues and Solutions
Spotting a problem early is the best way to keep your aloe healthy. This quick-glance table can help you play plant detective and figure out exactly what your aloe needs.
| Symptom | Likely Cause | How to Fix It |
|---|---|---|
| Yellow, soft, mushy leaves | Overwatering | Stop watering immediately. Allow soil to dry out completely. Check for root rot. |
| Brown, dry, crispy leaf tips | Underwatering or fertilizer burn | If soil is bone dry, water thoroughly. If recently fertilized, flush the soil with water. |
| Leaves turning reddish-brown | Sunburn (too much direct sun) | Move the plant to a spot with bright, indirect light. |
| Stretched, pale, "leggy" growth | Not enough light | Move to a sunnier location gradually to avoid scorching the leaves. |
| Collapsing base or mushy stem | Severe root rot | This is an emergency. Repotting and trimming away rot is the only chance. |
| White, cottony specks | Mealybugs | Dab individual pests with a cotton swab dipped in rubbing alcohol. |
| Small brown bumps on leaves | Scale insects | Treat the same as mealybugs or use an insecticidal soap for larger infestations. |
Think of this table as your first-response checklist. By correctly identifying the symptom, you're already halfway to a happy, thriving plant.
Dealing With Unwanted Pests
Aloes are pretty tough, but they aren't completely immune to pests. The two most common culprits you might find are mealybugs and scale. Mealybugs look like tiny bits of white cotton, often tucked into the nooks where the leaves join the stem. Scale insects are a bit sneakier, appearing as small, brown, shield-like bumps that don't move.
The good news is you can usually handle a small invasion without resorting to harsh chemicals. My go-to method is to dip a cotton swab in rubbing alcohol and just dab it directly on the pests. It dissolves their waxy protective layer and kills them on contact. If you're facing a more widespread problem, a thorough spray-down with an insecticidal soap should do the trick. Just make sure you get into all the crevices.
A Guide To Propagating Aloe Vera Pups
One of the best parts of growing a happy aloe vera is seeing it produce its own little family. These baby plants, often called "pups" or "offsets," are perfect little clones of the mother plant, giving you an easy way to expand your collection for free. The whole process is surprisingly simple and, if you have a bit of patience, almost always works out.
The secret is all in the timing. You’ll want to wait until a pup is ready to leave the nest, which is typically when it’s a few inches tall—a good rule of thumb is about 20% the size of the main plant. Even more important, though, is that it has started growing a few of its own roots. This gives it a fighting chance once it's on its own. I've seen many people try to separate a tiny pup with no roots, and sadly, it almost never ends well.
How to Separate and Plant the Pups
Once you've spotted a pup that looks ready, it's time for a little plant surgery. Gently move the soil away from the pup's base until you can see where it connects to the mother plant. Take a clean, sharp knife or a pair of pruners and make a decisive cut to detach it. Do your best to keep as much of its own little root system attached as you can.
Now, here's a step a lot of beginners skip: don't plant it right away.
Let the separated pup sit in a dry, shaded spot for a couple of days. You're waiting for the cut end to dry out and form a "callus." This hardened-over layer is vital because it seals the wound, preventing rot-causing bacteria from getting in once it's in damp soil.
After the wound has callused, your new baby aloe is ready for its own pot.
- Pick the Right Home: Grab a small terracotta pot that's just a bit bigger than the pup's roots. A pot that’s too large will hold excess moisture, which is the enemy of any succulent.
- Get the Soil Right: Fill the pot with a well-draining cactus and succulent mix. Regular potting soil is a definite no-go; it just stays wet for far too long.
- Pot it Up: Place the callused pup in the soil just deep enough for it to stand up straight. Pack the soil gently around the base to give it some support.
This infographic is a fantastic visual reference for troubleshooting common problems, helping you keep both the original plant and your new pups in top shape.
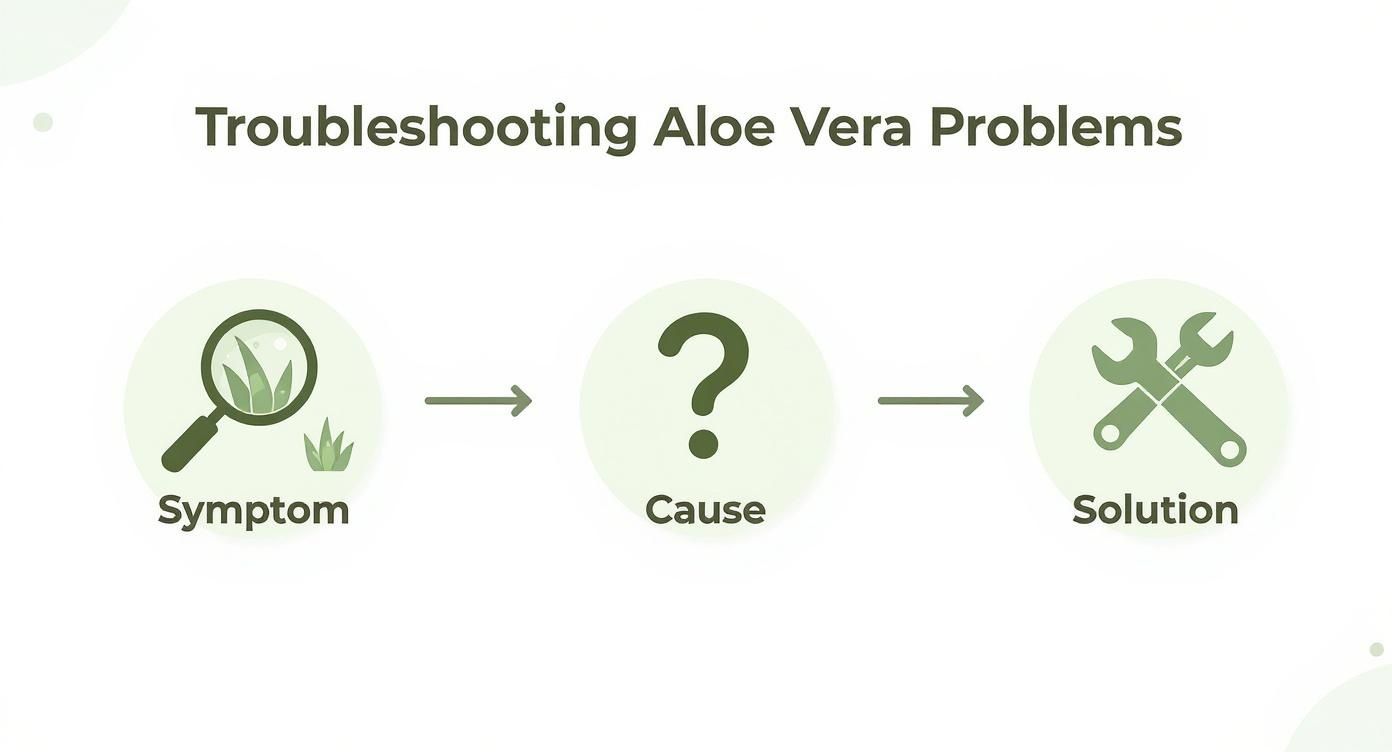
It breaks down the diagnostic process in a simple, visual way, taking the guesswork out of plant care.
Looking After Your New Aloe Plant
Here comes the hardest part: for the first week or so, don't water it. I know it feels wrong, but you need to give those fragile roots time to recover and settle into their new home without the threat of rot.
After about a week has passed, you can give it its first, very light drink. From that point on, just treat it like your mature aloe. Stick to the "soak and dry" watering method, letting the soil become completely dry before you water it again.
Find a spot with plenty of bright, indirect light for your new plant. In a few weeks, you should start to see new growth emerging from the center—that’s your sign that the propagation was a success! If you really get into propagating, you might find that learning about using a plant propagator provides some great ideas for creating the perfect humid environment that helps young plants establish themselves quickly.
Taking Your Aloe Care to the Next Level
So, you've got the basics down. Your aloe is getting the right light, you're not overwatering it, and it's happy in its gritty soil mix. Now for the fun stuff—understanding the elusive aloe bloom and, more importantly, how to actually use the amazing gel packed inside those leaves.
Getting an aloe vera to flower indoors is a rare treat. Honestly, don't feel bad if yours never does. A bloom is a sign that a mature plant is exceptionally happy and has experienced near-perfect conditions, usually a slight winter chill followed by a warm, bright spring, mimicking its native habitat. If you're lucky, you'll see a tall stalk shoot up from the center, capped with beautiful tubular flowers in shades of yellow, orange, or red. Think of it as a bonus trophy for excellent plant parenting.
How to Harvest Aloe Vera Gel
Let's be real—the main reason many of us grow aloe vera is for that incredible, soothing gel. Harvesting it is straightforward, but doing it the right way keeps your plant healthy and gives you the best quality gel.
- Pick the Right Leaf: Always go for a mature, plump leaf from the outer sections of the plant. These are the oldest and most packed with potent gel. Leave the smaller, central leaves alone; they're the plant's new growth engine.
- Make a Clean Cut: Grab a sharp, clean knife and slice the leaf off right at the base, as close to the main stem as you can get. A clean cut heals faster and prevents potential rot or disease.
- Drain the Yellow Stuff: This is the most important step people miss. Stand the leaf, cut-side down, in a small glass for about 10-15 minutes. You’ll notice a yellowish, bitter-smelling liquid seeping out. That’s aloin, a latex that can be irritating to the skin for some people. You want to get rid of it.
Once the aloin is drained, lay the leaf on a cutting board. Trim off the spiky edges, then carefully slice the leaf open lengthwise. Use a spoon to scoop out the clear, beautiful gel and pop it into a clean, airtight container. It'll keep in the fridge for about a week.
Every time you harvest gel from your plant, you're tapping into a massive global industry. What starts in our homes is part of a commercial enterprise valued at nearly $2 billion in 2025 and expected to approach $3 billion by 2030. It's all fueled by the plant's proven benefits, with studies showing its extract can boost skin hydration by up to 30%.
It’s pretty cool to think that the little plant on your windowsill is a piece of that legacy. If you're curious, you can dig into more data on the expanding global aloe vera market. It certainly gives you a new appreciation for what you're growing.
Common Aloe Vera Questions, Answered
Even with the best intentions, an aloe vera can throw you a curveball. Whether you're a seasoned plant pro or just starting out, some questions seem to pop up for everyone. Let's get into the most common ones so you have clear, ready-to-use answers.
Think of this as your go-to troubleshooting guide for those moments when you look at your plant and just aren't sure what it's trying to tell you. We’ll cover everything from worrying leaf colors to getting the sun exposure just right.
Why Are My Aloe Vera Leaves Turning Yellow?
Yellowing leaves are the classic distress signal from an aloe, and overwatering is almost always the reason. When the soil is constantly wet, the roots can't get any air and start to rot. This damage means the plant can't pull up the water and nutrients it needs, and the first sign you'll see is soft, yellowing leaves, usually starting from the bottom.
Before you do anything else, feel the soil. If it’s even a little damp, step away from the watering can. The single most important rule of aloe care is to let the soil dry out completely between waterings.
Can I Use Gel Directly From My Aloe Plant?
You sure can! The gel from a mature Aloe barbadensis miller is fantastic for topical use. The trick is harvesting it correctly. Start by picking a thick, healthy outer leaf and use a clean, sharp knife to slice it off close to the base of the plant.
Now for the most important part: stand the leaf upright in a glass for about 10-15 minutes. You’ll see a yellowish latex, called aloin, drip out. This stuff can irritate the skin, so it’s essential to let it drain away first.
Once it's done draining, lay the leaf on a flat surface, trim off the spiky edges, and carefully filet it open. From there, you can scrape out all that clear, soothing gel. It's great for minor skin irritations, but it's always smart to do a small patch test on your skin first, just in case you have a sensitivity.
How Much Sun Does an Aloe Vera Plant Need?
Aloes love light, but they prefer it to be bright and indirect. Think about the kind of dappled sunlight you’d find under a taller plant in the desert—that's what you're aiming for. A spot near a south or west-facing window is usually perfect, especially if you can diffuse the direct rays with a sheer curtain.
Too much direct, harsh sun will scorch the leaves, turning them a stressed-out reddish-brown. If you see that color, it’s a clear signal to move your plant to a less intense spot. On the flip side, an aloe that isn't getting enough light will often get "leggy," stretching toward the window with pale, weak-looking leaves.
Ready to add a beautiful, low-maintenance succulent to your collection? At The Cactus Outlet, we offer a wide selection of healthy, high-quality aloe vera plants and other succulents shipped directly to your door.
Find your perfect aloe vera plant at The Cactus Outlet today!