
We've all been there. That moment you notice your once-perky aloe plant looking a little... sad. Maybe its leaves are limp, yellowing, or even a bit mushy. The good news is that these plants are incredibly resilient. To save a struggling aloe, you first need to play detective. The clues are almost always in the leaves and soil, pointing to common culprits like overwatering, underwatering, or the wrong kind of light.
Nailing the diagnosis before you act is the key to bringing it back from the brink.
Reading the Signs: What Is Your Aloe Trying to Tell You?
Your aloe can't talk, but its leaves tell a detailed story about what's wrong. Rushing in to "fix" it without understanding the root cause can often do more harm than good. A proper diagnosis is the most critical first step.
From my experience, nearly all aloe problems boil down to three things: water, light, and soil. An imbalance in any one of these will show up fast. For instance, those tell-tale yellow, almost translucent leaves are a classic sign of "too much love" in the form of water. On the flip side, thin, curling leaves are a cry for a good drink.
The goal here is to identify the single biggest problem and tackle that first. Don't panic and repot, move, and water it all at once. An overwatered plant doesn't need more sun; it just needs a chance to dry out.
Common Symptoms and What They Really Mean
Learning to spot the patterns will make you a much more confident plant parent. Brown, crispy tips? That could be sunburn from too much direct sun, but it can also signal severe thirst. If your plant is getting pale and stringy, it’s literally stretching itself thin trying to find more light.
Here’s a breakdown of the most frequent distress signals:
- Mushy, Yellowing Leaves: This is the number one sign of overwatering, which often leads to root rot. The soil is staying soggy, and the roots can't breathe.
- Thin, Curling Leaves: Your aloe is dipping into its water reserves stored in the leaves. It's thirsty and telling you it's time for a deep, thorough watering.
- Brown or Orange Tinge: Think of this as an aloe sunburn. It's getting hit with too much intense, direct sunlight and is producing protective pigments as a stress response.
- Limp, Droopy Stems: While overwatering can cause this, it might also mean the plant is just top-heavy or isn't getting enough light to grow strong and upright.
To make things even easier, I've put together a quick reference table. Think of it as a first-aid guide for your aloe—it connects what you're seeing with the immediate action you should take to stop the problem from getting worse.
Aloe Distress Signal Cheat Sheet
| Symptom | Likely Cause | Immediate Action |
|---|---|---|
| Yellow, mushy leaves | Overwatering / Root Rot | Stop watering immediately. Check roots for rot. |
| Thin, concave, curling leaves | Underwatering | Give the plant a deep, thorough soak. |
| Brown, crispy tips | Sunburn or severe thirst | Move to a spot with bright, indirect light. Check soil moisture. |
| Pale, "leggy" growth | Not enough light | Move to a brighter location gradually over a few days. |
| Leaves are flat, not plump | Dehydration | Water thoroughly, ensuring soil is fully saturated. |
Once you've used this cheat sheet to stabilize your plant, you can move on to the next steps for a full recovery, like adjusting your watering schedule or repotting into better soil.
What To Do About Overwatering and Root Rot
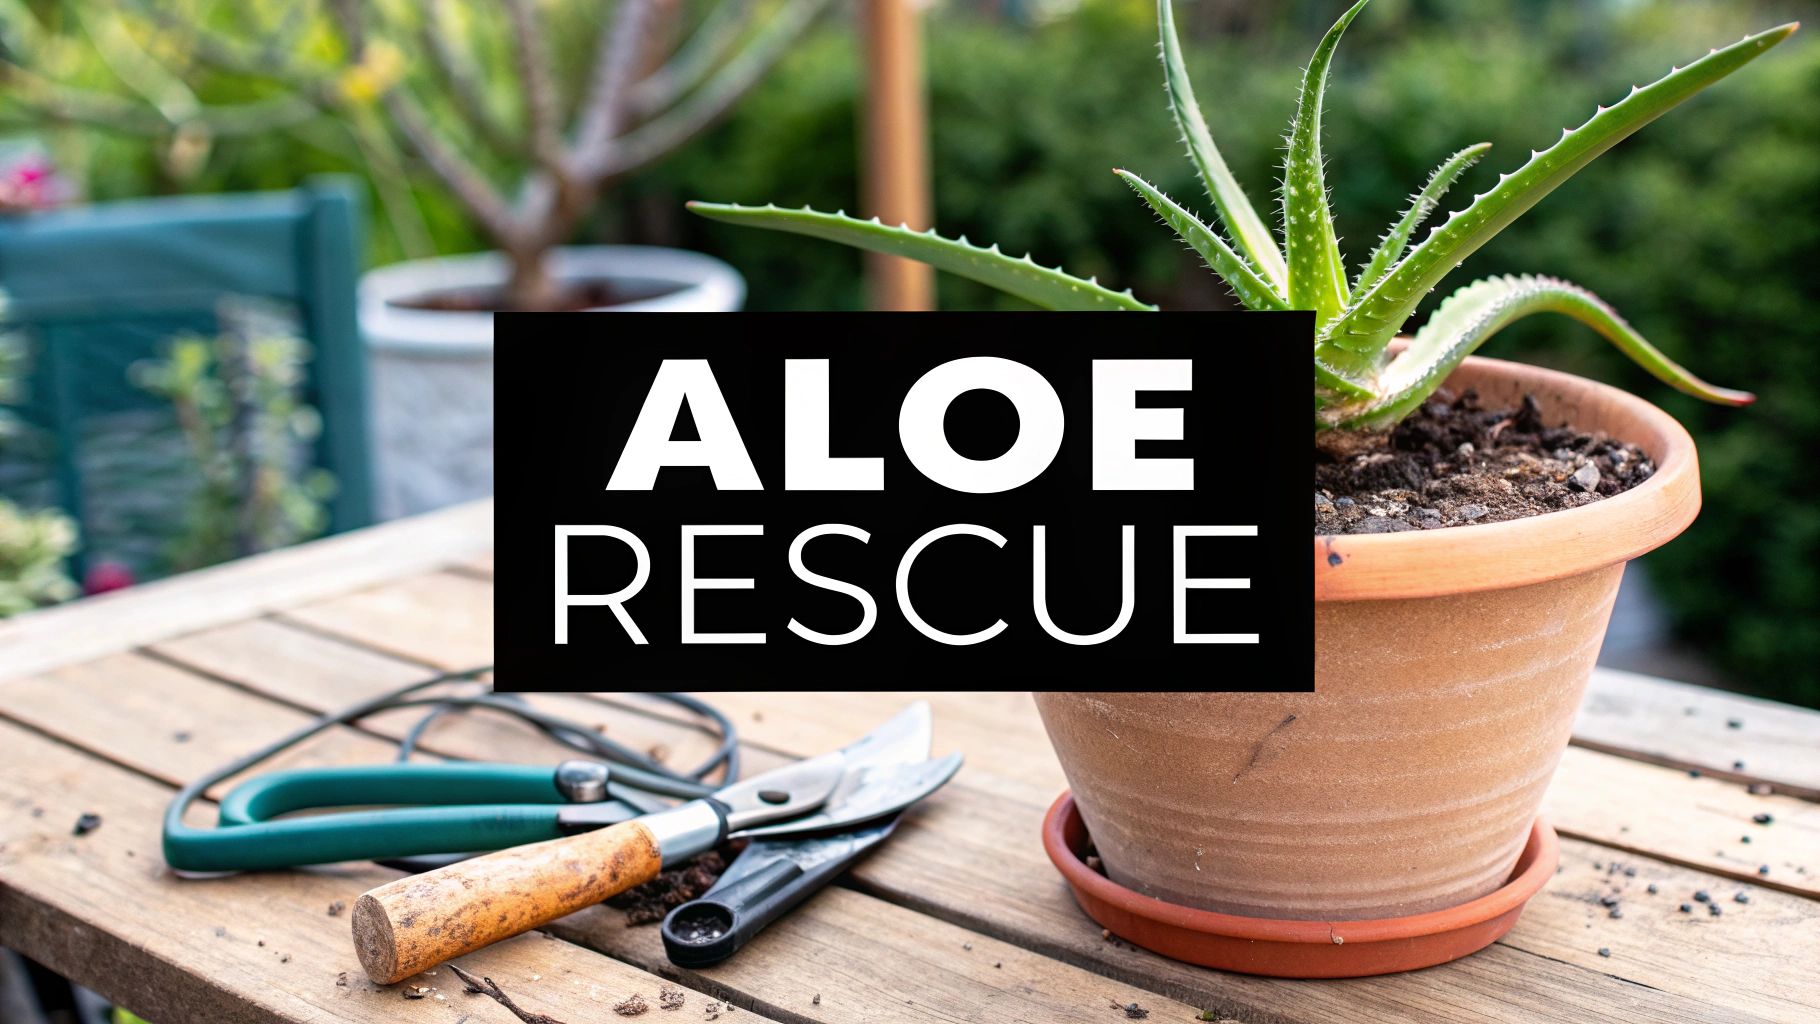
If your aloe’s base feels soft and its leaves are turning yellow, you're looking at the classic signs of overwatering. This is, without a doubt, the most common way people accidentally kill these tough plants, and it almost always leads to a serious problem called root rot. Saving it will take a bit of plant surgery, but it's a straightforward process that can give your aloe a second chance.
First things first, you need to get the plant out of its pot. Don't just yank it by the leaves! Turn the pot on its side and give the bottom a few firm taps until the whole root ball slides out. Now, it's time to play detective and inspect those roots for decay.
Healthy aloe roots should be firm and look white or pale yellow. If you see roots that are brown or black, feel mushy, and maybe even smell a bit swampy—that's the rot. You need to deal with this right away.
Trimming Away the Damage
Once you've spotted the rotted sections, it's time to get trimming. Grab a pair of clean, sharp scissors or pruning shears and carefully cut away every last bit of the affected roots. You have to be ruthless here; leaving even a tiny piece of rot behind can let the infection creep back into the healthy parts of the plant.
After the trim, you'll be left with a much smaller, but hopefully healthy, root system. The next step is absolutely crucial: you have to let the cut ends of the roots dry out and form a callus.
Lay the whole plant on a dry paper towel somewhere with good air circulation but away from direct sun. Just let it sit there for one to three days. This callousing process is what seals the "wounds" and stops new rot from forming once you replant it.
This visual guide shows why getting the watering right is so important for avoiding this mess in the first place.
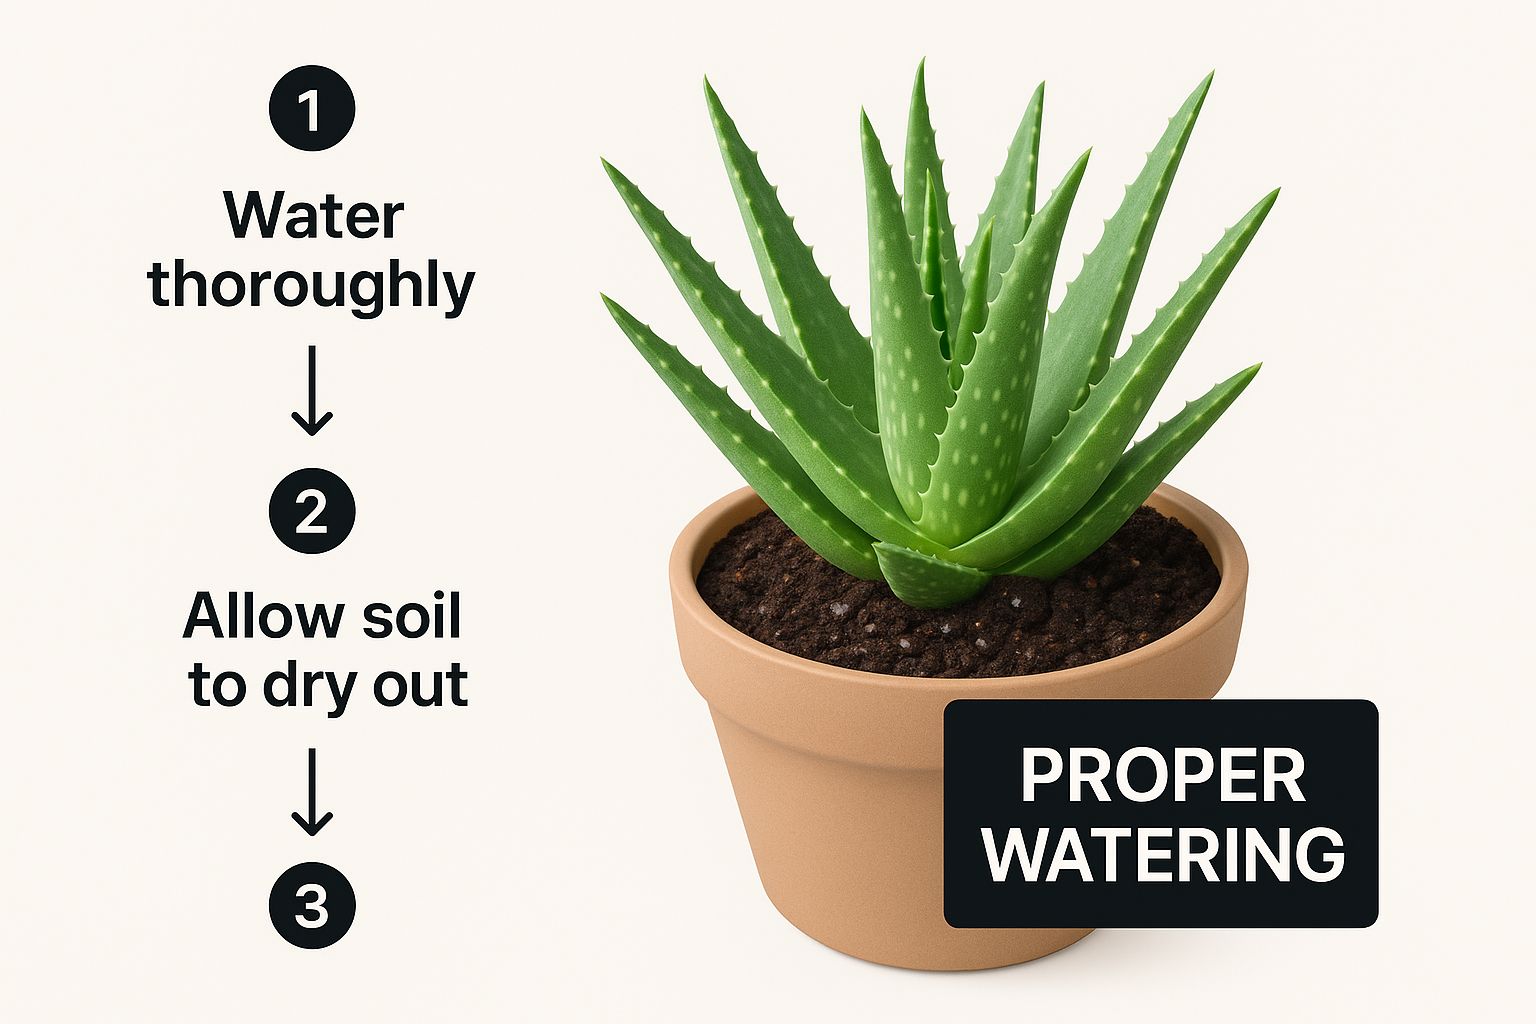
As you can see, letting the soil dry out completely is non-negotiable for a happy aloe. We dive much deeper into this in our guide on how to water succulent plants.
Setting Your Plant Up for Success
Making sure root rot doesn't happen again is all about creating the right home for your aloe. In fact, studies show that over 65% of aloe failures are a direct result of too much water and poor soil drainage. Aloes absolutely need a porous, sandy soil mix—think cactus soil with extra perlite or pumice—so water can drain away quickly instead of drowning the roots.
Once your plant's roots have calloused over, it's ready for its new home. Getting it into the right pot and soil mix is the final, critical step in its recovery journey.
Repotting for a Successful Recovery
Once you've dealt with root rot, giving your aloe a fresh start in the right home is the single most important thing you can do. Just plopping it back into the old pot and soil is asking for the same problem to happen all over again. The goal here is to recreate the dry, arid environment aloes thrive in, and that process starts with the pot itself.

Unglazed terracotta or clay pots are an absolute game-changer. Unlike plastic containers that trap moisture, terracotta is porous. It breathes. This simple quality helps the soil dry out much more evenly, preventing the waterlogged conditions that got your plant into trouble in the first place.
Pro Tip: When you pick a new pot, go for one that's just a little bigger than the healthy root ball you have left. A pot that's too spacious will hold a ton of extra soil and water, creating a perfect storm for another bout of rot before the roots can even think about growing.
Crafting the Perfect Soil Mix
The soil is just as critical as the pot. Your standard, all-purpose potting mix is a death sentence for a recovering aloe—it simply holds onto water for far too long. You need a gritty, fast-draining mix that lets the roots breathe. You can definitely find pre-made cactus and succulent soil, but mixing your own is easy and gives you total control.
I've had great success with this simple DIY recipe:
- Two parts cactus or succulent potting mix
- One part perlite or pumice (for aeration)
- One part coarse sand (for drainage)
This combination strikes the perfect balance. It holds just enough moisture for the plant to drink what it needs but lets the excess drain away quickly. For a deeper dive into soil science, check out our guide on the best cactus and succulent soil.
With your new pot and soil ready, gently nestle the calloused aloe inside and fill in around it with your fresh mix. Now, here's the crucial part: Do not water it immediately. Let the plant sit in its dry new home for at least a week. This "dry-in" period gives any fragile new roots a chance to form and heal without being shocked by moisture.
Fine-Tuning Light and Temperature
Once your aloe is settled in its new pot and soil, the last piece of the recovery puzzle is its environment. Getting the light and temperature just right is crucial for healing. It gives your plant the energy it needs to bounce back without adding new stress.
A common mistake is thinking aloes love scorching, direct sun. While they are succulents, they can definitely get too much of a good thing.
Finding That Perfect Spot
Think of it this way: your aloe craves the brightness of a sunny day, but not the intense, direct sunbeams that come with it. Putting it right up against a south-facing window is a recipe for scorched leaves, which often turn a stressed-out brown or even orange.
Instead, look for a spot that gets plenty of bright, indirect light. A few feet back from a sunny window is a great option. An east-facing window is also fantastic, as it provides that gentler morning sun that aloes really appreciate.
Reading the Leaves
Your aloe's leaves will tell you everything you need to know about its light situation.
- If they look pale, orange, or brown, that’s a clear sign of sun stress.
- If the plant starts looking "leggy"—stretching out with big gaps between the leaves—it's desperately reaching for more light.
For a deeper dive, we have a whole guide dedicated to aloe plant sunlight requirements.
Temperature is just as important. An aloe's comfort zone is surprisingly similar to ours. Sudden, drastic shifts can shock the plant, stalling its recovery and leaving it open to other problems.
The sweet spot for temperature is between 55–80°F (13–27°C). They can handle heat fairly well, but consistent temperatures above 90°F (32°C) can cause damage. On the flip side, anything below 40°F (4°C) can stop growth in its tracks.
A stable indoor environment also helps keep pests at bay, which can account for up to 20% of aloe losses if they get out of hand. You can find more data on the global aloe vera market on mordorintelligence.com.
By finding that perfect balance of bright, indirect light and a stable, comfortable temperature, you’re creating the ideal healing space for your recovering aloe.
Alright, you've brought your aloe back from the brink. Now, how do you keep it there? The key is shifting from reactive rescue missions to a simple, proactive routine. Honestly, a little prevention goes a long way with succulents, and it's what separates struggling plants from the ones that thrive for years.
The biggest mistake I see people make is watering on a strict schedule. Aloes don't work like that. Instead, you need to get comfortable with the "soak and dry" method. This approach is designed to mimic the rare, heavy downpours they'd get in their natural desert home. Wait until the soil is bone dry—and I mean at least two inches deep—then water it thoroughly until you see it pouring out the drainage hole. After that, let it drain completely.
Nailing the Aloe Care Basics
Learning to "read" your plant's thirst is probably the most crucial skill you can develop. Before you even think about picking up the watering can, stick your finger in the soil. If you feel any moisture at all, walk away. Wait a few more days and check again. Getting this one habit right will prevent over 90% of common aloe problems, especially the dreaded root rot.
When it comes to fertilizer, less is always more. Aloes are light feeders and get most of their nutrients from good soil.
A quick word of warning: Never fertilize a stressed or recovering plant. It's like trying to force-feed someone who's sick—it just makes things worse by burning the delicate, new roots.
Wait until you see steady, healthy new growth before you even consider it. Once your plant is back in top form, a single feeding in the spring is plenty. I use a balanced, water-based fertilizer diluted to half-strength. That one small meal is all it needs to power through the growing season without being overwhelmed. It's a simple step that helps you avoid having to figure out how to save an aloe plant all over again.
Finally, make it a habit to give your aloe a quick once-over every week or so. Just a quick look is all it takes. Check for subtle changes in leaf color, firmness, or the way it's growing. Catching an issue when it’s just a whisper is so much easier than dealing with it when it’s a full-blown scream. That little bit of weekly attention is what makes all the difference.
Got More Questions About Saving Your Aloe Plant?
Even with the best intentions, saving an aloe can feel like a bit of a mystery. Things pop up that leave you scratching your head. Let's tackle some of the most common questions I hear from fellow aloe owners when they're in the middle of a plant rescue.
Can an Aloe Plant with No Roots Be Saved?
Believe it or not, yes! But you'll need a healthy dose of patience. When root rot takes over and you're left with nothing, the game plan changes. You're essentially starting over, treating the remaining base of the plant like a fresh cutting.
Once you’ve bravely trimmed away every last bit of black, mushy root tissue, the most important thing you can do is let the plant's base dry out completely. Set it somewhere with good airflow for a few days until it forms a hard, protective callus. After that, just place the callused end right on top of some fresh, dry succulent mix.
Don't even think about watering it normally—that's a recipe for more rot. Instead, just give the soil surface a light misting once a week or so. This tiny bit of moisture is enough to encourage new roots to sprout without soaking the plant. It can take weeks, even a month or more, so hang in there.
Why Are My Aloe's Leaves So Thin and Curling Inward?
That's the classic, tell-tale sign of a very thirsty plant. An aloe’s plump leaves are its water tanks. When those tanks run dry, the leaves start to deflate and curl inward as the plant uses up its last reserves.
It’s true that overwatering is the more common way people kill their aloes, but letting one get bone-dry for too long will also do it in. The fix is simple: give it a really good, deep drink. Water it until you see a generous amount flowing out of the pot's drainage holes. Within a day or two, you should see those leaves plump right back up.
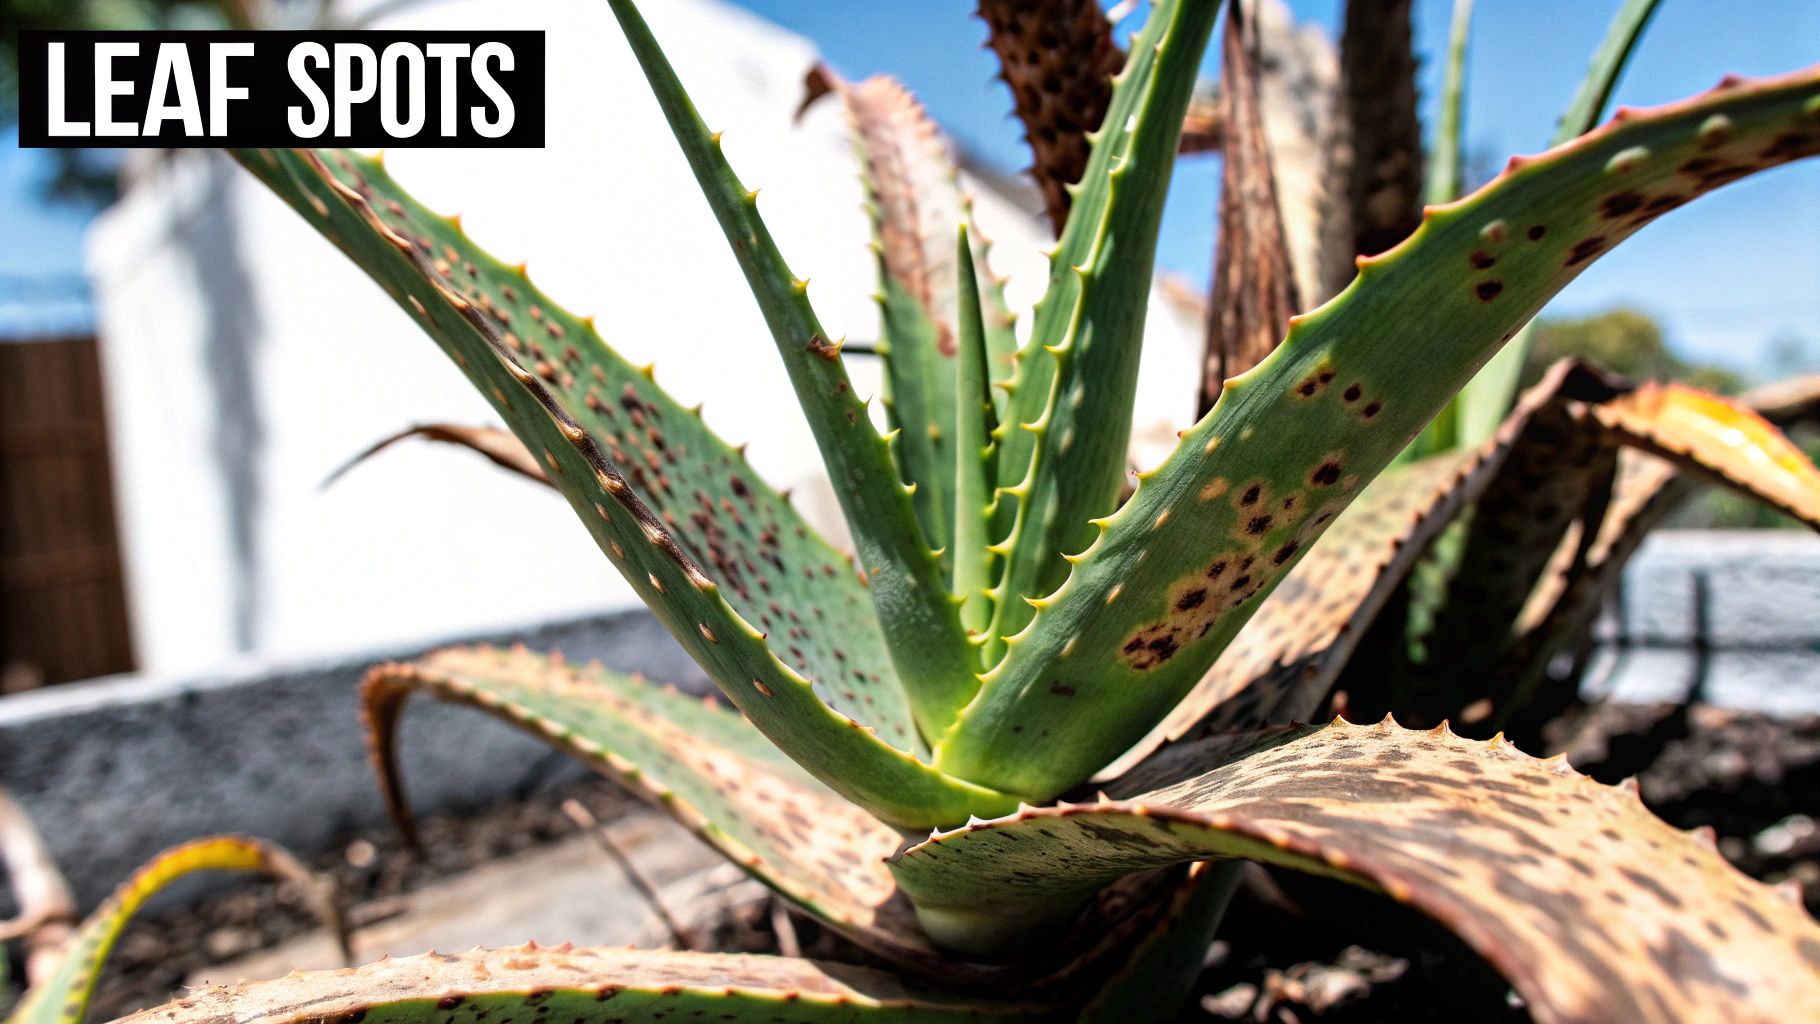
What Do These Little Brown Spots on the Leaves Mean?
Small brown spots are a bit of a head-scratcher because they can point to a couple of different culprits. You have to play detective and look at the context.
- Are the spots soft and mushy? That usually points to a fungal issue, which almost always comes back to overwatering and stagnant air.
- Are they dry, hard, or sunken? This is more likely a sign of sunburn from light that's too direct, or maybe just some physical damage.
Your first move should be to inspect for pests, just to rule them out. If the spots are soft, stop watering immediately and get some more air moving around the plant. If they're dry and scab-like, pull it back from the window into a spot with bright, but indirect, light.
Help! My Aloe Turned Brown After I Put It Outside.
Take a deep breath—this is usually just a temporary tan, not a death sentence. When an aloe is suddenly exposed to much more intense light, it produces reddish-brown pigments to protect itself. Think of it as a plant's version of a sunburn.
If you took it from a cozy indoor spot and plopped it straight into the blazing summer sun, this color change is a totally normal stress reaction. The solution is to acclimate it slowly. Start by putting it in a spot that gets some gentle morning sun but is shaded during the harsh afternoon hours. As it gets used to its new environment, it should return to its familiar green.
Looking to add a healthy, vibrant aloe to your collection? Explore the beautiful and tough options over at The Cactus Outlet. You can find your next perfect succulent at https://www.cactusoutlet.com.