
It's a familiar, sinking feeling for any cactus owner: you notice your plant is looking a little... off. Maybe it's mushy at the base, or perhaps it's looking wrinkled and deflated. Before you declare it a lost cause, take a breath. Most of the time, these are just distress signals, not a death sentence.
Your cactus is trying to tell you something, and with a little detective work, you can usually bring it back from the brink. The key is to shift from panic mode into a practical diagnosis.
Is Your Cactus Dying or Just Stressed Out?
First things first, let's figure out what's actually happening. The most common mistake I see people make is with the watering can. Overwatering is the number one killer of cacti, hands down. You'll know this is the problem if the base of your cactus feels soft, looks yellow or brown, and might even smell a bit foul. That's root rot setting in.
On the flip side, a cactus that's underwatered sends completely different signals. It will look shriveled, thin, and thirsty—almost like a deflated balloon.
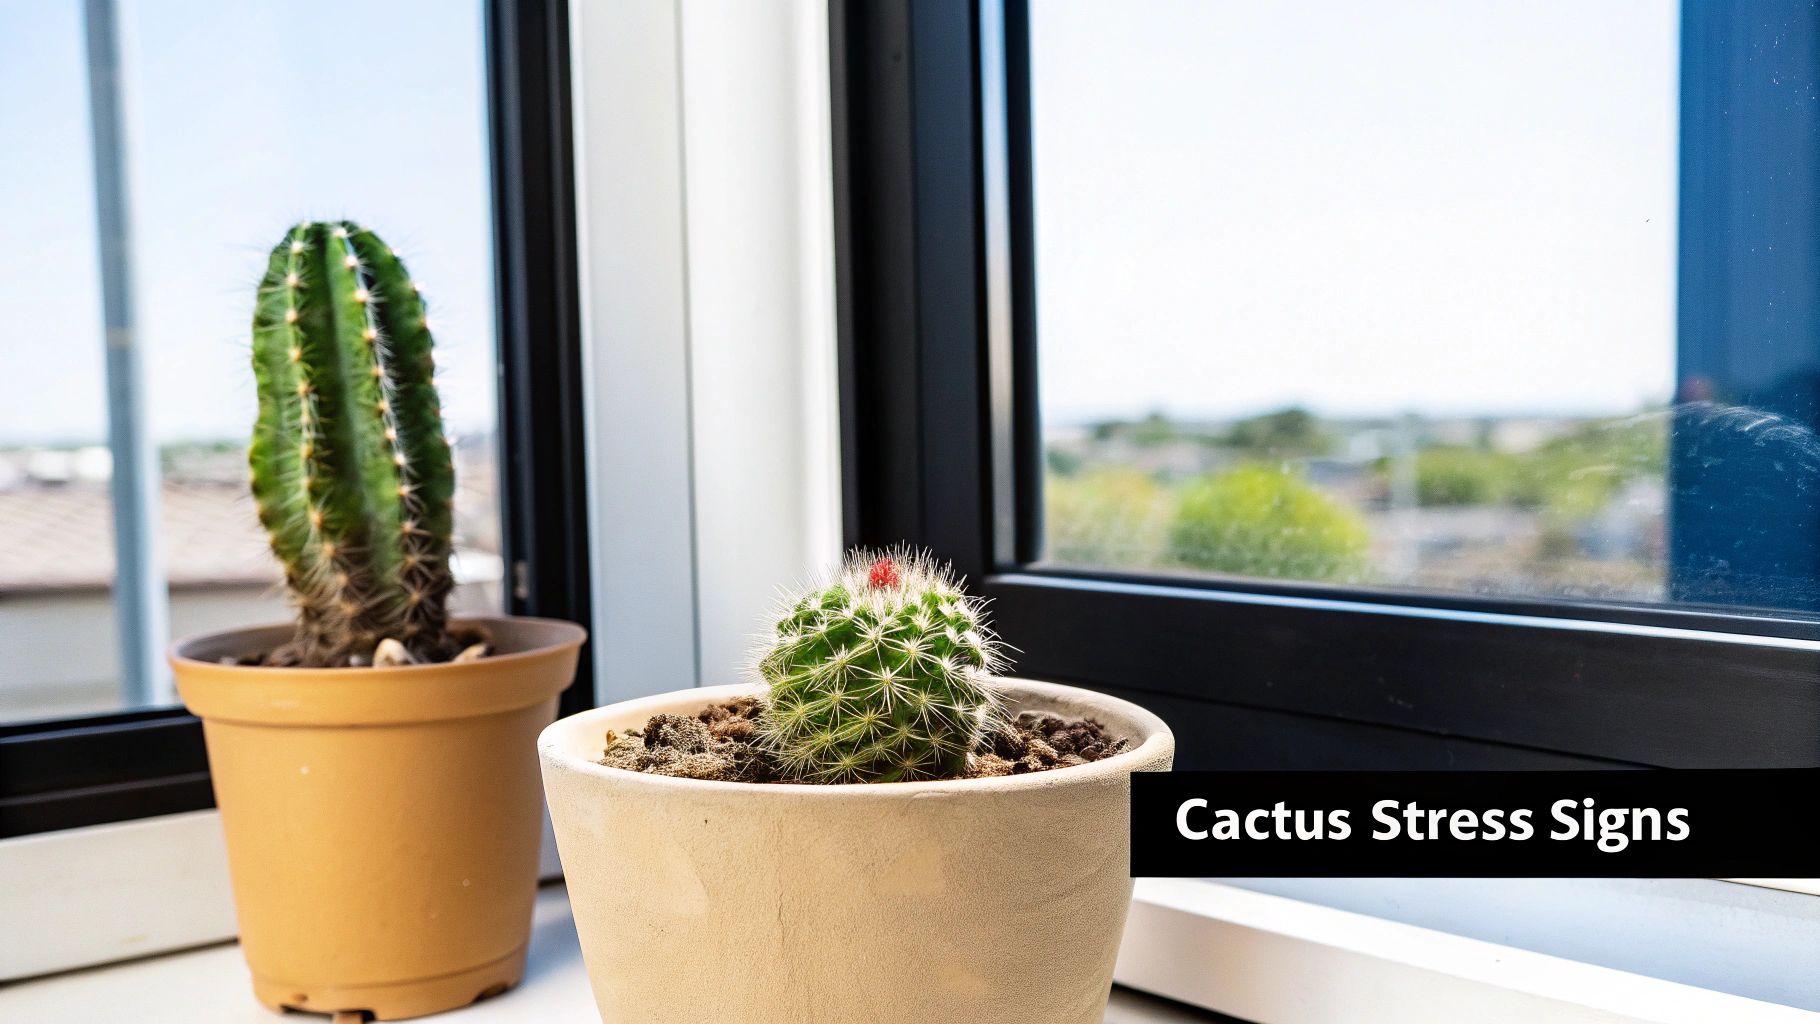
Common Signs of Cactus Distress
Watering issues are the usual suspects, but other problems can crop up. Keep an eye out for pests like mealybugs, which look like tiny white cottony specks tucked into the cactus's crevices.
Lighting is another big one. If your cactus is getting pale and stretching out towards the light, that's called etiolation—it's desperate for more sun. Conversely, if you see scorched, crusty brown patches, it's getting sunburned. Nailing the diagnosis is the first and most important step to getting your plant healthy again.
A thirsty cactus isn’t necessarily a bad thing. For cacti, some stress in the form of being a little water-deprived is a necessary part of their lives, helping them grow in a nice, compact, even way.
This simple visual guide is a great starting point for figuring out what's wrong based on how your cactus feels.
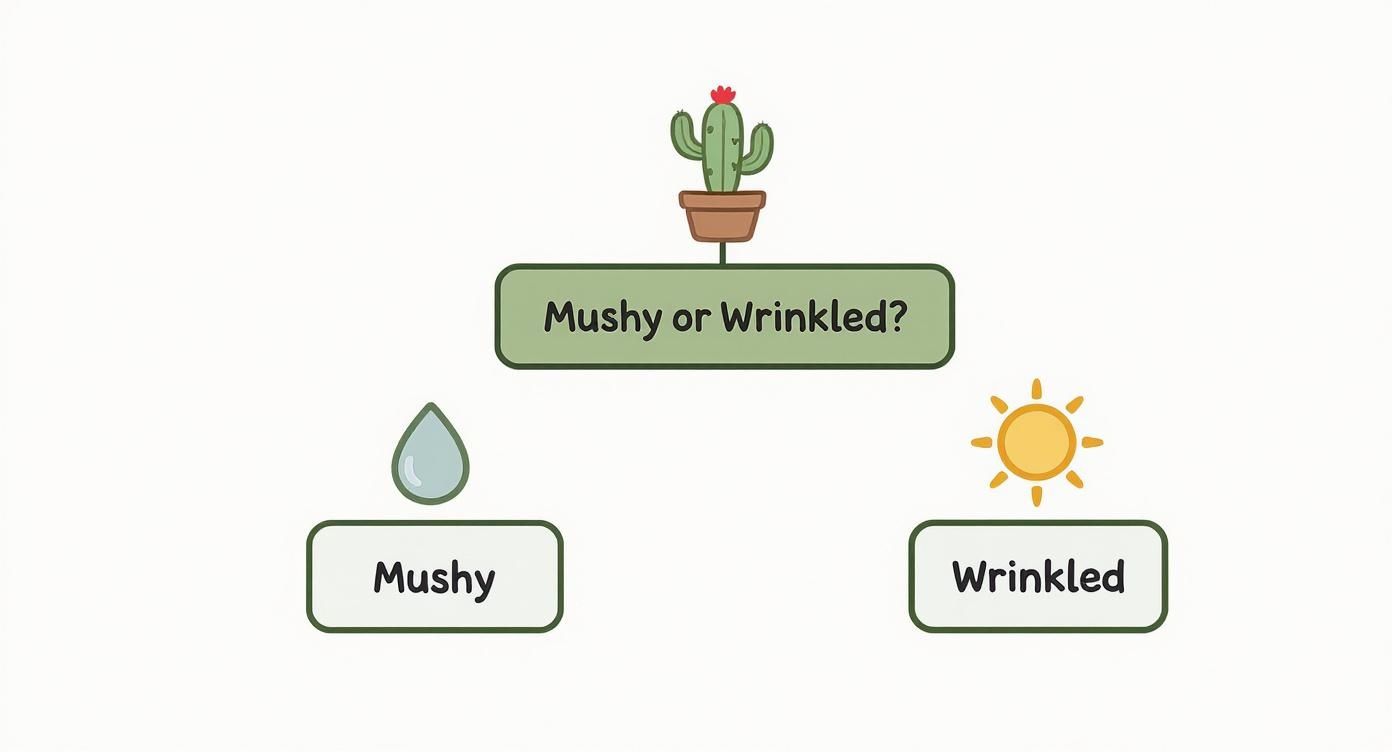
As you can see, the texture of your cactus is a huge clue. Mushiness almost always points to too much water, while wrinkling means it's thirsty.
To make things even clearer, here’s a quick reference table to help you match the symptom to the likely cause.
Quick Diagnosis: Common Cactus Distress Signals
| Symptom | Most Likely Cause | Immediate Action |
|---|---|---|
| Soft, mushy base (yellow/brown) | Overwatering / Root Rot | Remove from pot, inspect roots, and trim away rot. Repot in dry soil. |
| Wrinkled, shriveled appearance | Underwatering / Dehydration | Water thoroughly until it drains from the bottom. Wait for soil to dry completely before watering again. |
| Pale, stretched-out growth | Insufficient Light (Etiolation) | Gradually move to a location with more direct sunlight. |
| White, cottony spots | Pest Infestation (Mealybugs) | Isolate the plant and treat with rubbing alcohol on a cotton swab or insecticidal soap. |
| Brown, crispy, or calloused spots | Sunburn | Move to a spot with bright, indirect light or less intense afternoon sun. |
This table should help you quickly pinpoint the issue and take the right first step toward recovery.
Why Acting Quickly Matters
Even for a plant as tough as a cactus, environmental stress can take a serious toll. Consider the Key Largo tree cactus in the Florida Keys. Its wild population dropped by an astonishing 84 percent between 1994 and 2007. By 2015, a combination of climate change and other pressures had wiped out nearly half of the remaining plants.
You can read about the challenges facing this endangered species to get a sense of the bigger picture. While your houseplant isn’t dealing with the same extreme conditions, this story shows how quickly things can go south when environmental factors overwhelm a hardy species. Spotting the signs of distress early gives you the best possible chance to turn things around.
Getting to the Root of the Problem
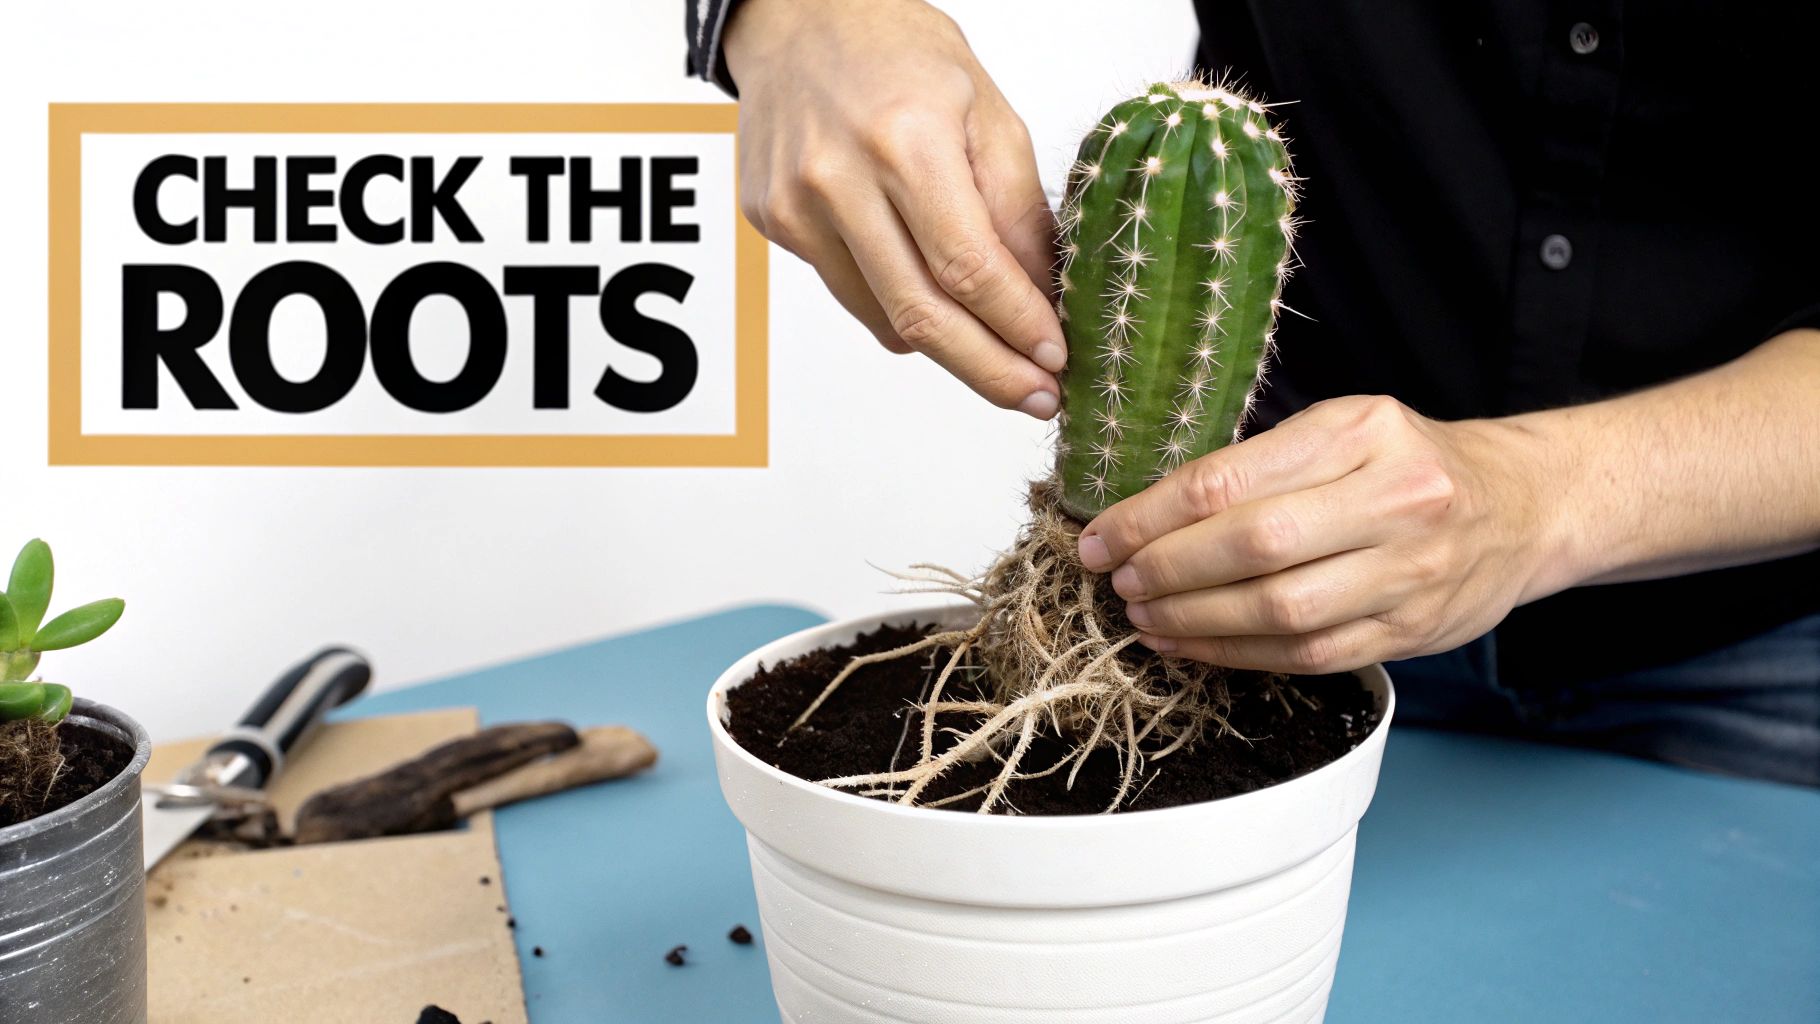
Before you can save a struggling cactus, you have to play detective. Symptoms like a yellowing body or a mushy base are just the surface-level clues. More often than not, the real culprit is hiding below the soil line. The most important thing you can do is get a good look at the roots.
Go ahead and gently slide your cactus out of its pot. If it’s a bit stubborn, a few firm taps on the sides of the pot should help loosen things up. Now, let’s see what we’re working with.
Performing a Root System Check
Healthy cactus roots are what you’d expect: they look alive. They’re typically firm, white, or maybe a light tan, and they should look ready to do their job of soaking up water and nutrients. An unhealthy root system, on the other hand, tells a completely different story.
Keep an eye out for these red flags:
- Dark Color: Roots that are black or dark brown are a dead giveaway for decay.
- Mushy Texture: If they feel slimy to the touch or fall apart easily, rot has definitely set in.
- A Bad Smell: Healthy roots and soil smell earthy. Rot has a distinctly sour, swampy odor you won't miss.
If you're seeing (and smelling) this, overwatering is almost always the cause. The roots have literally drowned, and now the plant can't drink—which is why a cactus sitting in soggy soil can still look wrinkled and dehydrated. For a deeper dive into this common symptom, you might be interested in our guide on cactus discoloration.
The biggest mistake people make is treating the symptom without finding the cause. Repotting a cactus with rotten roots without trimming away the decay first is just moving the problem to a new home.
Analyzing the Soil and Pests
While you have the cactus out, take a good look at the soil itself. Is it a dense, soggy brick of peat moss? That’s a death sentence for most cacti. Good cactus soil should be gritty, loose, and drain almost immediately. If it's compacted and holding onto moisture, it's a huge part of the problem.
This is also the perfect time for a thorough pest inspection, as many of these little freeloaders are experts at hiding.
- Mealybugs: Look for tiny, white, cotton-like fluff, especially tucked into the joints where pads meet the main stem.
- Spider Mites: You’ll need to look closely for incredibly fine webbing, usually near the cactus's growth point. You might even see microscopic specks moving around.
- Scale: These pests look like small, hard, brown bumps firmly latched onto the cactus skin.
Evaluating the Plant's Environment
Finally, step back and assess where your cactus has been living. It’s a common myth that all cacti need to be blasted by direct, scorching sun all day. Many species will get sunburned in that kind of environment. Is it sitting in an intense west-facing window during the peak of summer? Or is it tucked away in a dark corner, stretching and thinning out as it desperately searches for light?
Also, check for drafts. A spot right next to an air conditioning vent or a leaky window can cause constant temperature stress. This weakens the plant's natural defenses, making it an easy target for rot and pests.
Putting all these clues together—from the roots and soil to pests and placement—is the only way to get a full picture. This approach ensures you're treating the core issue, not just reacting to the sad symptoms. It's a critical skill for any cactus owner, especially when you consider that approximately 31 percent of the world's cactus species are threatened with extinction. Your effort to save one plant is part of a much bigger picture.
Your Action Plan to Revive a Dying Cactus
Alright, you've played detective and figured out what’s wrong. Now it's time for a little plant ER. Don't worry—cacti are unbelievably tough, and a solid action plan gives your plant the best possible shot at a comeback.
What you do next depends entirely on the problem you uncovered. Most rescue missions boil down to one of three things: battling rot, rehydrating a parched plant, or evicting unwanted pests. Each one needs a specific touch, but they all start with acting quickly.
Tackling the Dreaded Root Rot
If you’ve found black, mushy, or stinky roots, you’re dealing with root rot. This is a five-alarm fire in the cactus world because it spreads fast. You need to act now.
First, find a clean, sharp knife or a pair of shears. Give the blade a quick wipe with rubbing alcohol to avoid introducing any new nasty bacteria. Now, carefully start trimming away every last bit of the dark, soft root. You have to be a little ruthless here.
Your mission is to leave only healthy, firm, white root tissue behind. If the rot has crept up into the base of the cactus itself, you’ll have to cut away the mushy parts of the plant's body, too. Keep slicing until you only see healthy, vibrant green flesh.
Let the patient heal. After the surgery, set the cactus in a dry, shady spot with good airflow for a few days. This is crucial—it allows the fresh cuts to form a protective callous, which seals the wound and prevents new infections when you repot.
Once a dry, hard callous has formed over the cuts, it’s time for a new home. Grab a brand-new pot or thoroughly sterilize the old one, and fill it with fresh, completely dry, well-draining cactus soil. After you’ve settled the plant in, do not water it for at least a week. This gives the remaining roots time to adjust and heal without being thrown back into a damp environment.
Rehydrating a Severely Thirsty Cactus
When a cactus is wrinkled, shriveled, and feels light as a feather, the first instinct is to drown it with water. Don't do it! A plant with a compromised, dried-out root system can easily go into shock from a sudden flood, which can cause the skin to split or even trigger rot.
The trick is to reintroduce moisture slowly and gently. Start with just a little bit of water—enough to dampen the top inch or two of soil. This sends a gentle wake-up call to the desiccated roots, telling them it's time to start absorbing again.
Wait a few days, and then you can give it a more substantial drink. My favorite method is bottom-watering. Just place the pot in a saucer of water and let it soak up moisture from the base for about 15-20 minutes. This encourages the roots to grow downward and ensures the entire root ball gets hydrated without making the topsoil soggy. For a deeper dive, you can learn more about proper watering techniques for cactus plants in our comprehensive guide.
It might take several weeks and a few watering cycles for your cactus to fully plump back up. Just be patient and always let the soil dry out completely between sessions.
Eliminating Common Cactus Pests
Found some unwelcome guests like mealybugs or spider mites? The first step is quarantine. Move the infected plant far away from your other green friends to stop the infestation from spreading.
For mealybugs (those annoying little bits of white, cottony fluff), a direct approach works best.
- Spot Treatment: Dip a cotton swab in 70% isopropyl alcohol and dab it right onto each mealybug. The alcohol instantly dissolves their waxy protective layer.
- Larger Infestations: If they're all over the place, mix one part alcohol with three parts water in a spray bottle and give the whole plant a good misting. You can also use a commercial insecticidal soap.
Spider mites are a different beast; they hate humidity. Gently wipe the cactus down with a damp cloth or spray it with water, paying close attention to any areas with fine, delicate webbing. You'll need to repeat this every few days to disrupt their life cycle and get the population under control for good.
Here's a quick reference table to help you match the problem to the solution at a glance.
Cactus Rescue Scenarios
| Problem | Solution Steps | Key Tip |
|---|---|---|
| Root Rot (Mushy Base) | 1. Unpot and inspect roots. 2. Trim all black/soft roots and tissue with a sterile knife. 3. Let the cactus callous over for 3-7 days. 4. Repot in fresh, dry cactus mix. | Do NOT water for at least a week after repotting to allow roots to heal. |
| Dehydration (Wrinkled Skin) | 1. Water very lightly to moisten the topsoil. 2. Wait 3-4 days. 3. Begin bottom-watering for 15-20 minutes at a time. 4. Allow soil to dry completely between waterings. | Avoid a sudden, heavy drenching, which can shock the plant and split its skin. |
| Pest Infestation (White Fluff, Webbing) | 1. Isolate the plant immediately. 2. For mealybugs, use a cotton swab with 70% isopropyl alcohol. 3. For spider mites, wipe the plant with a damp cloth. | Consistency is key. Repeat treatments every few days to break the pest life cycle. |
No matter the issue, remember that cacti are survivors. With the right care and a bit of patience, you can often bring them back from the brink.
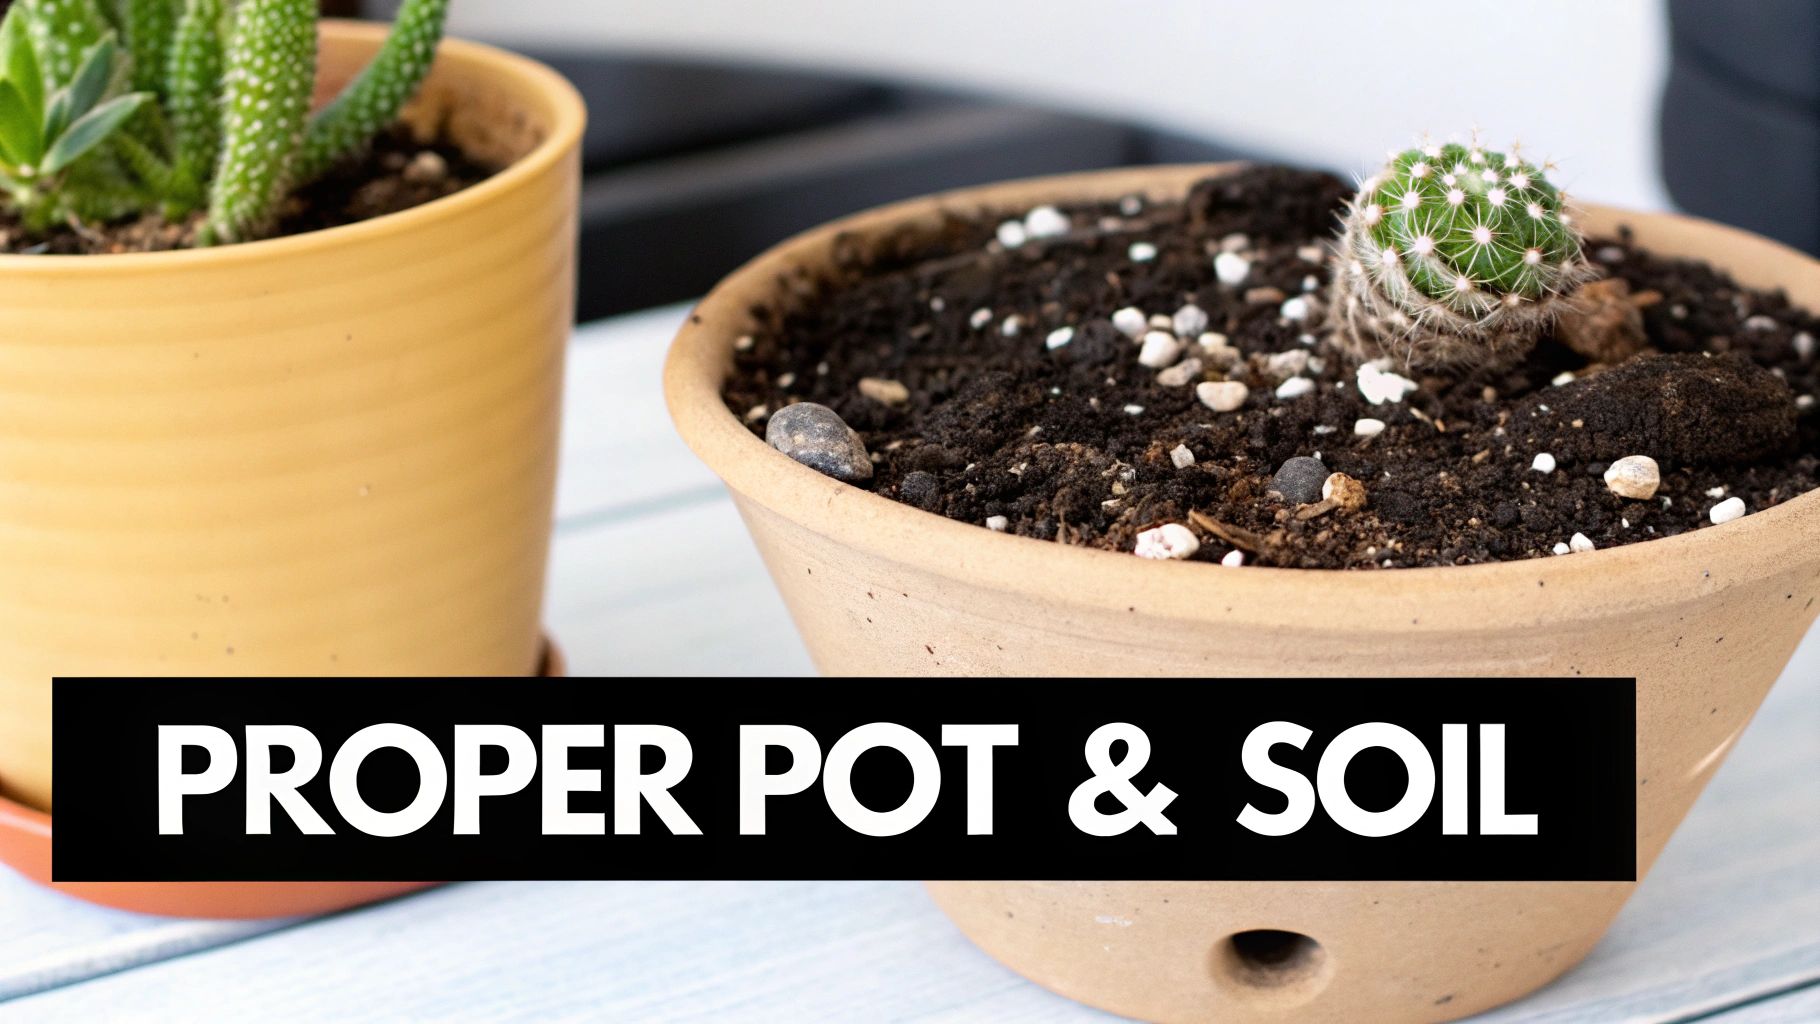
Choosing the Right Pot and Soil for Long-Term Health
After you've performed a bit of emergency surgery on your cactus, where it lives next is probably the single most important factor for its long-term survival. You can't put a recovering plant right back into the same poor environment and expect a different outcome. Getting the pot and soil right isn't just another step—it’s the foundation for all future growth.
Think of it this way: the wrong pot and soil are like forcing your cactus to stand in a puddle forever. That's why a simple terracotta pot with a drainage hole is the gold standard for cactus care. Terracotta is porous, so it literally breathes. This allows moisture to evaporate right through its walls, helping the soil dry out much more evenly.
And that drainage hole? It's completely non-negotiable. Without one, water just pools at the bottom, creating a swampy mess that's a guaranteed invitation for root rot to come roaring back.
Demystifying Cactus Soil
The soil you use is just as critical as the pot you put it in. Grabbing any old bag of standard potting mix from the garden center is practically a death sentence for a cactus. That stuff is designed to hold onto moisture for thirsty, leafy tropicals—the exact opposite of what your desert plant needs. If you see your cactus is dying, nine times out of ten, dense, waterlogged soil is the main culprit.
A good cactus mix should feel gritty and drain almost instantly, mimicking the arid, sandy ground of its native home. You really have two solid options here:
- Buy a commercial mix: Just look for bags specifically labeled for "cacti and succulents." They come pre-mixed with things like sand, perlite, or pumice to ensure fantastic drainage.
- Create your own: A simple, foolproof DIY recipe is to mix one part regular potting soil, one part perlite or pumice, and one part coarse sand.
If you want to get a bit more advanced and create custom blends for different types of cacti, you can learn more about how to make cactus soil. Trust me, this small detail makes a huge difference in preventing problems down the road.
Your goal is to create a home where water flows through quickly, leaving the soil just damp enough for the roots to get a drink before it dries out again. This single preventative measure is your best defense against a relapse.
Whether your cactus has outgrown its current pot or you're just giving it a fresh start after a battle with rot, the right technique matters. Knowing how to repot houseplants properly is a vital skill that ensures a smooth transition and minimizes shock while your plant is recovering. By giving your cactus the right home and a soil mix that drains well, you're giving it the best possible chance to not just survive, but truly thrive.
Creating the Ideal Environment for Recovery and Growth
Now that your cactus has a fresh start in a new pot, the real work of recovery begins. Think of this next phase as creating a little slice of its native habitat right in your home. It all boils down to two key things: light and water. Nail these, and you'll see your cactus bounce back. Get them wrong, and it will keep struggling.
Light is fuel for a cactus. For most desert varieties, the best seat in the house is an unobstructed, south-facing window. This spot delivers the hours of bright, direct sun they crave to stay healthy and maintain their classic, compact shape.
Of course, there can be too much of a good thing. A cactus baking in intense, unfiltered sun can get scorched, leaving ugly, crusty patches. On the flip side, a cactus tucked away in a dark corner will start to stretch and lean, desperately reaching for any light it can find. This process, called etiolation, creates a weak, pale, and gangly plant that’s an easy target for other problems.
Mastering the Art of Watering
When you see your cactus is dying, the first instinct for many is to water it more or stick to a strict weekly schedule. This is one of the biggest mistakes you can make. Cacti don't follow our calendar; their needs change with the seasons, the light they receive, and the temperature of the room.
The key is to ditch the schedule and learn to read your plant and its soil.
The "soak and dry" method is your golden rule. It’s a simple two-part process that mimics how cacti get water in the wild.
- First, Check the Soil: Don't just guess. Stick your finger or a wooden chopstick about two inches down into the soil. If it comes out with any hint of moisture, it’s not time to water yet.
- Then, Water Thoroughly: Once the soil is completely bone-dry, give it a good, long drink. Water until you see it running freely from the pot's drainage holes. This ensures every single root gets hydrated.
This technique mimics the infrequent but torrential rains of a desert and encourages strong, deep roots. It is, without a doubt, the best way to avoid the dreaded root rot.
Remember, it is always safer to underwater a cactus than to overwater it. A thirsty cactus might look a little wrinkled, but a waterlogged one with rotted roots is in far greater danger.
While we focus on our own plants, it's worth remembering the bigger picture. Even these symbols of resilience are facing threats. Current estimates suggest that a staggering 60 to 90 percent of cactus species could be negatively impacted by climate change this century. You can discover more insights about these prickly prospects to understand the global challenges these amazing plants face. By perfecting your cactus’s home environment, you’re giving it the stability it needs to thrive against the odds.
Common Questions About Saving Your Cactus
Even with the best intentions, trying to bring a plant back from the brink can be confusing. When you see your cactus struggling, you need answers, and you need them fast. Let's tackle some of the most common SOS situations cactus owners run into.
Can I Save a Cactus That Is Completely Mushy at the Base?
This is a tough one. If the entire base of your cactus has turned to mush, it means the root system has completely rotted away, and saving the whole plant just isn't in the cards. But don't give up hope just yet—you might be able to save the top!
Think of it as performing a bit of plant surgery. Using a clean, sharp knife, slice off the healthy, firm, green part of the cactus, making sure to cut well above any of the rotted tissue. Let this cutting rest in a dry, airy spot for a few days until the cut end forms a dry, hard callous. Once it's calloused over, you can plant it in a fresh pot of dry cactus soil. The key is to wait a week or two before watering; this encourages it to focus on growing new roots.
My Cactus Is Wrinkled but the Soil Is Soaked. What's Happening?
This classic, confusing scenario is almost always a sign of severe root rot. It’s a paradox: the plant is dying of thirst even though it's sitting in water. The roots have become so damaged and decayed that they can no longer absorb moisture, causing the cactus above to dehydrate and wrinkle.
You need to act immediately. Gently remove the cactus from its pot and examine the roots. Any roots that are black, slimy, or fall apart to the touch need to be trimmed off. After you've removed all the rot, let the plant air-dry for a couple of days before repotting it in completely new, bone-dry cactus mix. Do not water it for at least a week to give it time to recover.
A wrinkled cactus in wet soil is a desperate cry for help. The plant is literally dying of thirst because its root system has drowned. Immediate intervention is its only chance.
How Can I Tell if My Cactus Is Getting Enough Light?
Your cactus will give you some pretty clear visual cues. If it's not getting enough light, it will start to etiolate. This is when a plant literally stretches toward the light, becoming long, thin, weak, and often a much paler shade of green than it should be. It’s a sad sight.
On the flip side, too much direct, scorching sun can give your cactus a sunburn, which shows up as ugly white, yellow, or brownish patches on its skin. The sweet spot is usually a location where it gets several hours of bright, direct sun each day, like a clear south-facing or west-facing window.
What Are These Little White Fuzzy Spots on My Cactus?
Those little cotton-ball-like tufts are almost certainly mealybugs. They're a common pest that loves to suck the life out of cacti, leaving them weak and covered in a sticky honeydew.
The best way to deal with them is to go on the offensive. Dip a cotton swab in 70% isopropyl alcohol and touch it directly to each mealybug. The alcohol instantly dissolves their waxy protective coating and kills them. If you're dealing with a bigger invasion, you might need to spray the whole plant with an insecticidal soap, making sure to get into all the nooks and crannies.
Ready to find a new cactus to add to your collection or give a recovering plant a new friend? The team at The Cactus Outlet has a stunning selection of healthy, high-quality cacti and succulents to choose from. Explore our extensive online shop and find your next perfect plant today at https://www.cactusoutlet.com.