
Caring for an aloe vera plant is refreshingly straightforward once you get the hang of three key things: giving it plenty of bright, indirect sunlight, watering only when the soil has completely dried out, and planting it in a fast-draining succulent soil mix. If you nail these three fundamentals, you’ll easily avoid the common problems that new plant owners often face.
Your Essential Guide to a Thriving Aloe Vera Plant
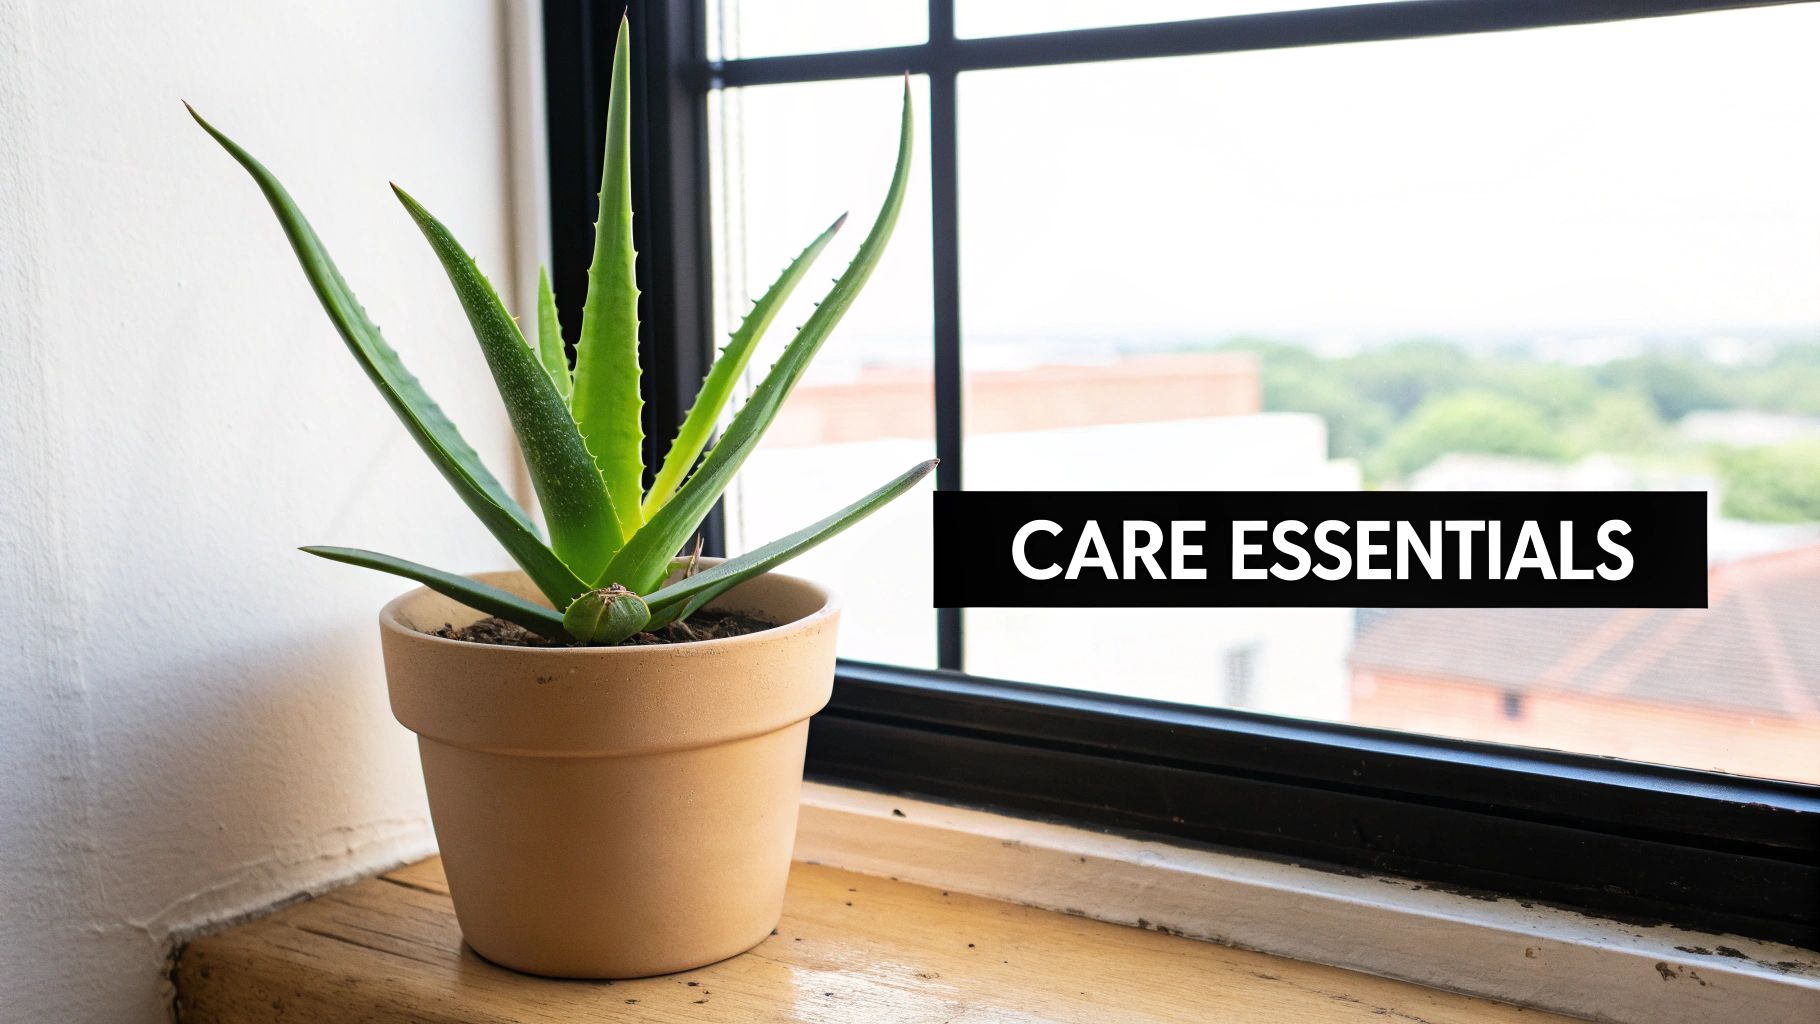
This guide is designed to cut through the noise and give you practical, real-world instructions for keeping your aloe vera healthy. We're going to start by building a strong foundation, focusing on the absolute essentials for a happy plant.
Think of light, water, and soil as the legs of a stool—if one is off, the whole thing gets wobbly. By understanding these core needs right from the start, you can sidestep common pitfalls like root rot and scorched leaves, setting you and your aloe up for success.
The Three Pillars of Aloe Care
Before we get into the nitty-gritty, let's set the scene. Aloe vera’s natural habitat is arid and sunny, and our goal is to mimic that environment as closely as possible inside our homes. This means creating conditions that prevent excess moisture and provide lots of light.
Research on aloe vera cultivation confirms that these plants do best in sandy, well-draining soils that are slightly acidic. This preference is a huge clue, telling us everything we need to know about proper care. Growing aloe indoors means you have to replicate these conditions to avoid root rot, which is by far the most frequent issue caused by overly moist soil. For a deeper dive, you can find more insights about ideal aloe vera growing conditions from this comprehensive report.
Here's the most important takeaway: Your aloe would much rather be too dry than too wet. Remembering this single principle will save you from the number one mistake people make—overwatering. It's a succulent, after all, built to store water in its leaves for the long haul.
To keep these core concepts top of mind, here’s a quick-reference table. Think of it as your cheat sheet for daily care, helping you meet your plant’s needs without any guesswork.
Aloe Vera Care At a Glance
This at-a-glance summary provides a solid starting point before we explore the nuances of each aspect in the upcoming sections.
| Care Aspect | Ideal Conditions | Frequency |
|---|---|---|
| Light | Bright, indirect sunlight; 6-8 hours per day. | Daily |
| Water | Allow soil to dry completely between waterings. | Every 2-4 weeks (varies by season) |
| Soil | Fast-draining cactus or succulent mix. | At time of potting |
With this foundation in place, you’re ready to learn the finer details of keeping your aloe vera not just alive, but truly thriving.
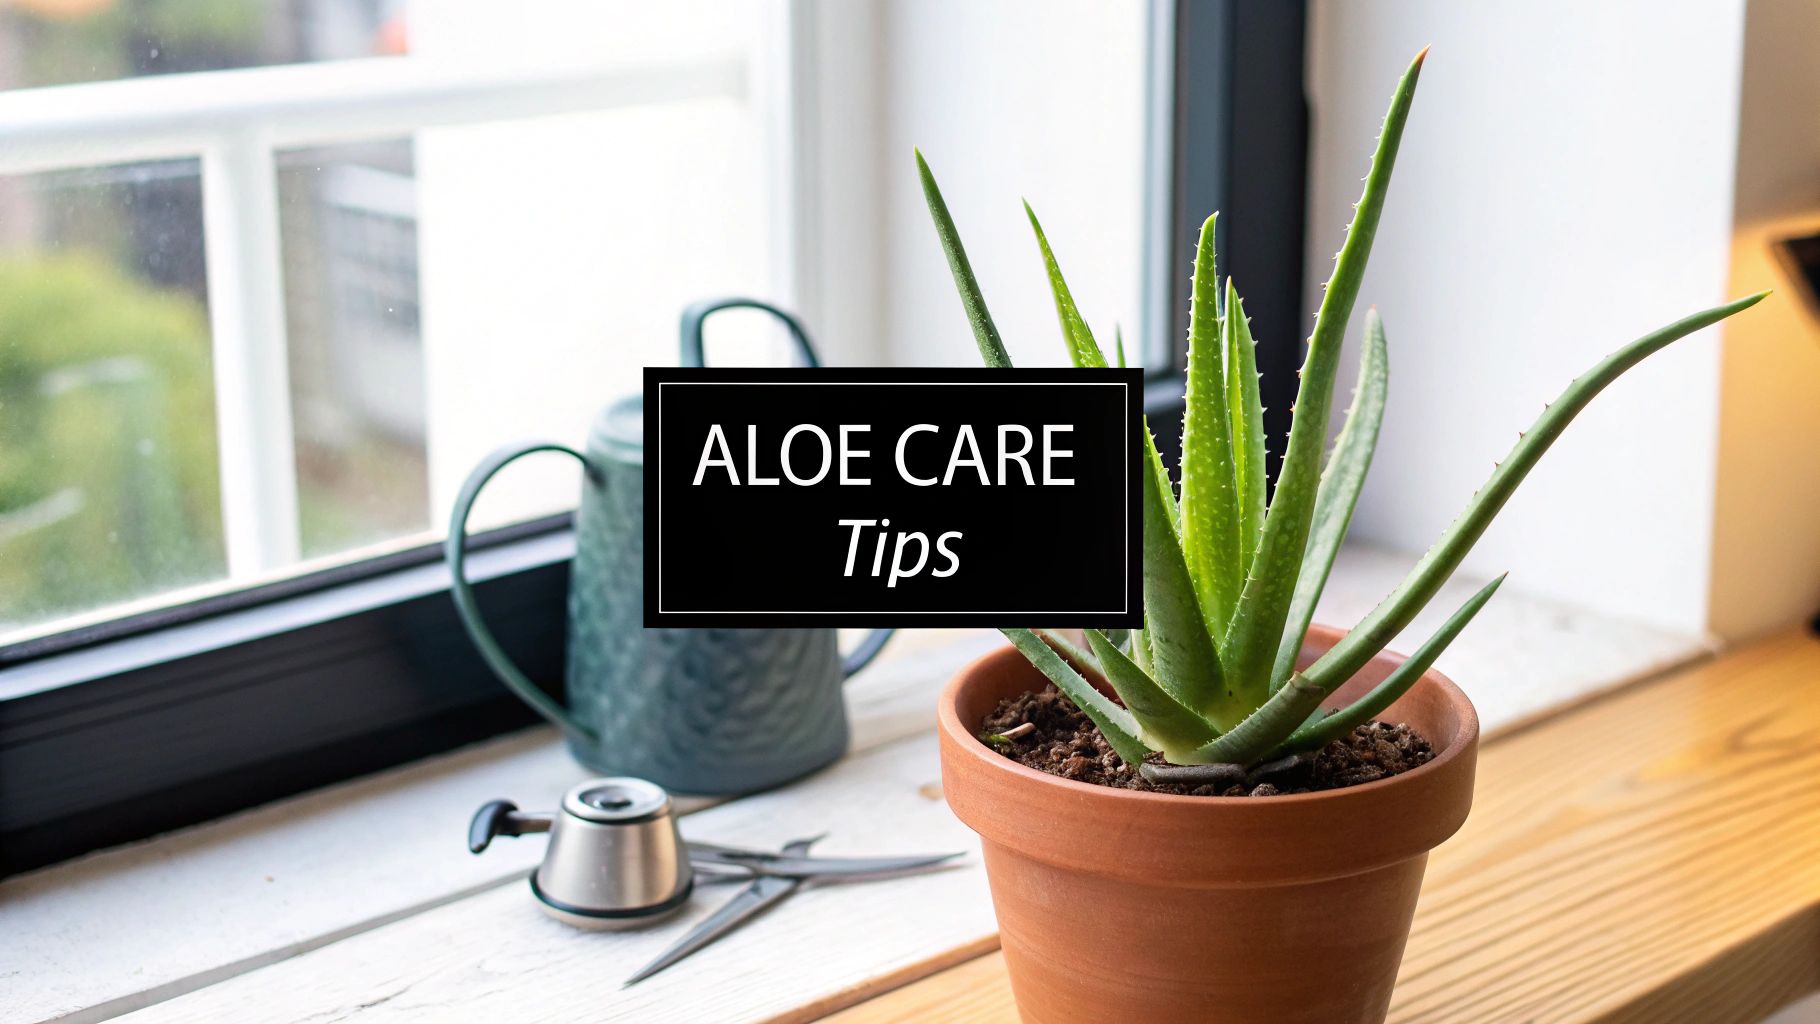
Finding the Perfect Spot for Light and Temperature
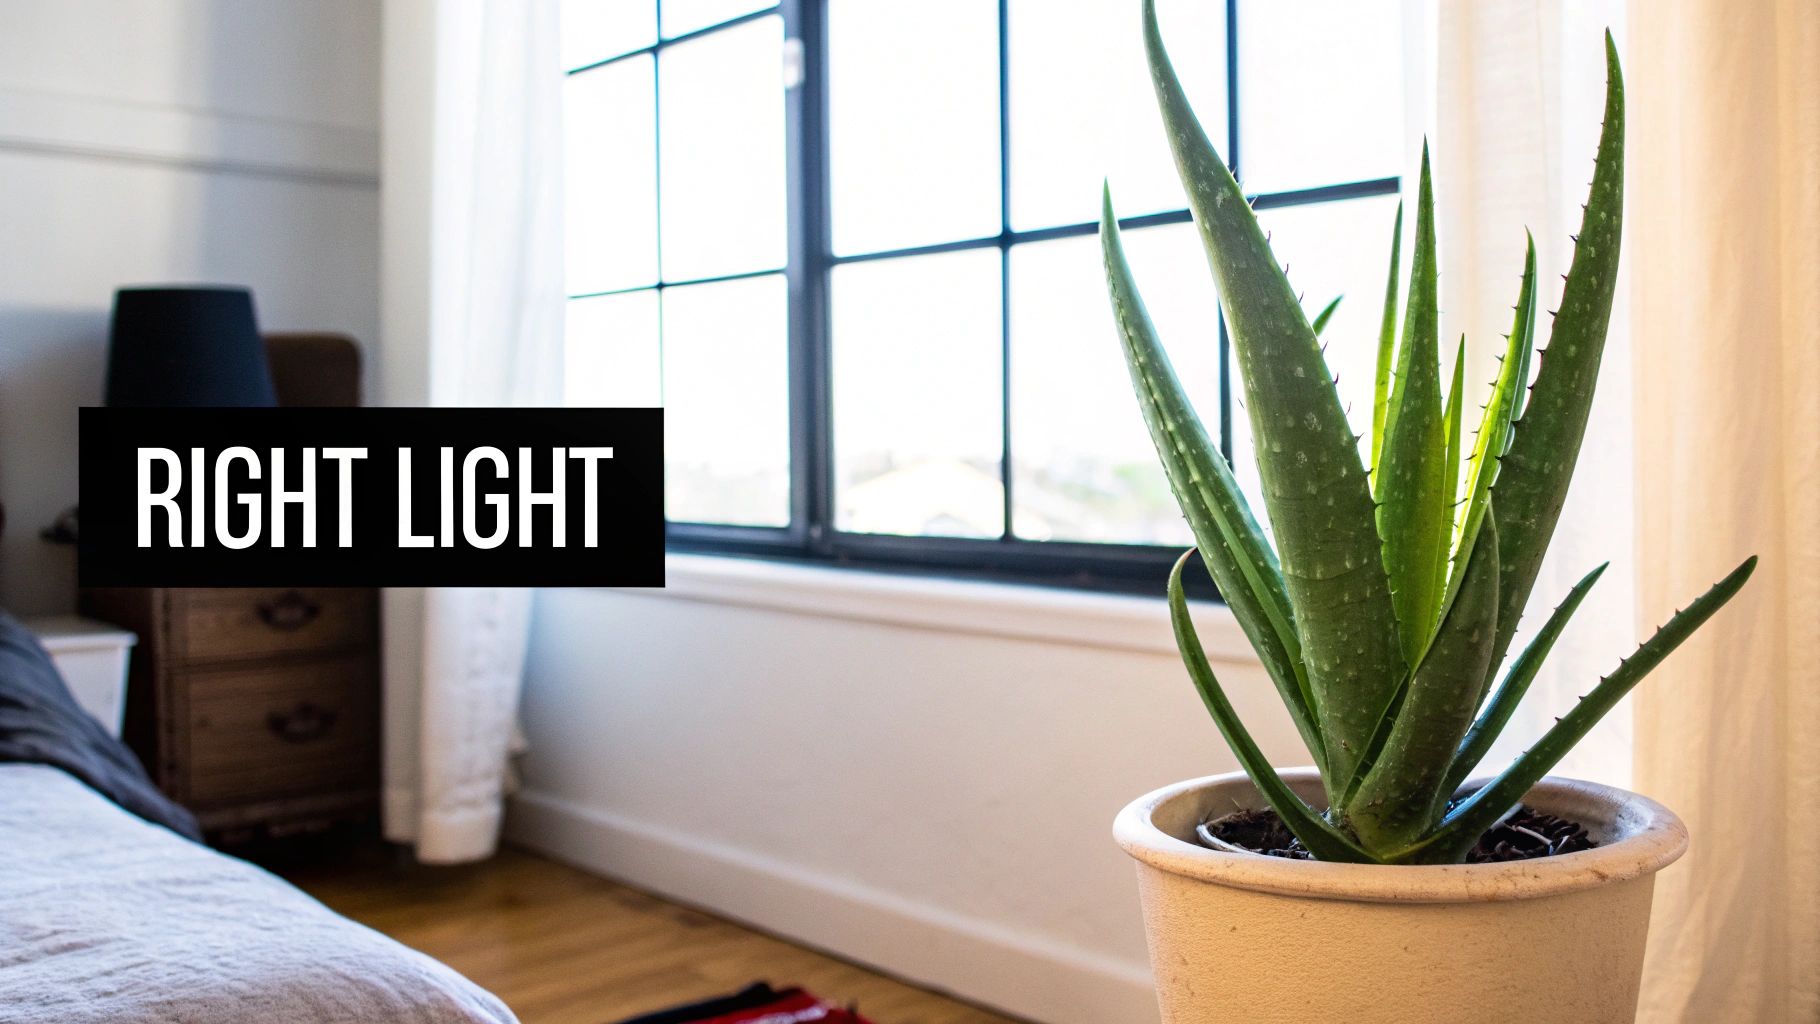
Nailing the right location for your aloe vera is probably the single most important thing you can do for it. We've all heard the phrase "bright, indirect light," but what does that actually look like in your home? It's pretty simple, really. Your aloe wants lots of sunshine, just not the kind that feels like a harsh, direct spotlight for hours on end.
Think of it this way: your plant needs the brightness of being near a window without the stress of being constantly baked. An east-facing window is often the sweet spot, giving it a few hours of gentle morning sun that won't scorch its leaves. A south or west-facing window can work just as well, but you’ll want to pull the plant back a few feet so those intense afternoon rays get filtered a bit.
Decoding Your Plant’s Light Signals
One of the best things about aloe vera plants is that they practically talk to you. You just need to learn their language. Your plant will give you some very clear visual cues when its lighting is off.
- Pale or "Leggy" Growth: Is your aloe looking stretched out, with its leaves growing long and thin toward the window? That’s a classic sign it's starved for light. It's literally reaching for more sun.
- Reddish or Brown Leaves: On the flip side, if you see the leaves turning a rusty red or developing brown, scorched spots, it's getting a sunburn. This is your aloe’s way of screaming that the direct sun is too much.
It’s a defense mechanism, but it’s also your cue to move it to a spot with less direct exposure. To get a better handle on this, you can learn more about aloe plant sunlight requirements and find that perfect balance.
My Favorite Trick: Give your aloe vera pot a quarter turn every week or so. It's a simple habit that makes a huge difference, ensuring all sides of the plant get their moment in the sun. This encourages even, upright growth and prevents that lopsided lean.
Keeping Things at a Comfortable Temperature
Just as crucial as light is a stable temperature. The good news? Aloe vera isn't picky and loves the same temperatures most of us keep in our homes. They are perfectly happy in a range between 55°F and 80°F (13°C and 27°C).
This is what makes them such fantastic houseplants—you don’t need to do anything special. If you're comfortable, they're probably comfortable too.
That said, they do have a few pet peeves when it comes to temperature swings. You’ll want to protect them from anything that might shock their system. Keep them away from drafty windows, doors, and especially air conditioning or heating vents. Those sudden blasts of hot or cold air are no good.
Aloe vera is absolutely not frost-tolerant. If it gets exposed to temperatures dipping below 50°F (10°C), you'll see significant damage—the leaves can get mushy and discolored almost overnight. On a cold winter night, remember that the air right next to a window can be much colder than the rest of the room. It’s a good idea to pull your plant back from the glass to keep it from getting chilled.
The Art of Watering Without Drowning Your Aloe

If there's one mistake that I see kill more aloe vera plants than anything else, it's overwatering. People's good intentions literally drown their plants. The secret is to stop thinking about a watering schedule and start listening to what the plant actually needs.
Your aloe is a succulent, which means its thick, fleshy leaves are designed to store water. This is how it survives long droughts in its native, arid climate. Your job is to mimic this natural cycle: a deep, drenching rain followed by a long, dry spell.
The best way to do this is with the "soak and dry" method. It's as simple as it sounds. You water the plant thoroughly until water runs out the bottom, and then you leave it completely alone until the soil is bone-dry.
Ditch the Schedule and Trust the Soil
Forget about watering "once a week." How often your aloe needs a drink depends entirely on its environment—the light, humidity, time of year, and even the pot it lives in will all change its thirst level.
Instead, get into the habit of checking the soil directly. Your finger is the best tool for the job.
- Do the finger test: Push your finger about two inches down into the soil.
- Feel for moisture: If you feel any coolness or dampness, hold off. It's not time to water yet.
- Water when dry: If it feels completely dry and dusty all the way down, your aloe is ready for a drink.
This hands-on approach is the cornerstone of good succulent care. It takes the guesswork out and ensures you're giving the plant what it needs, when it needs it. This same principle is a key part of learning how to water all kinds of succulent plants.
How to Water the Right Way
When it's finally time to water, don't be timid. A little splash on the surface will only encourage shallow roots. You need to be thorough.
Pour water evenly over the soil until it streams out of the drainage holes. This ensures the entire root system gets hydrated and also helps flush out any mineral buildup from the soil. Once it’s done draining, be sure to dump out any water that has collected in the saucer. An aloe vera sitting in a puddle is an unhappy aloe vera.
Crucial Tip: Never let water collect in the center of the plant, where the leaves form a rosette. Water trapped in the crown is a surefire way to cause rot, which is almost impossible to reverse. Always aim for the soil, not the leaves.
Seasonal Adjustments are Key
Just like us, your aloe's needs change with the seasons. It has a busy growing period and a time for rest.
- Spring and Summer: During the active growing months, your plant is thirsty. You’ll likely find yourself watering every two to three weeks, sometimes more if it's in a hot, sunny spot.
- Fall and Winter: When the days get shorter, your aloe goes dormant. Its growth slows to a crawl, and it uses far less water. You might only need to water once a month or even less during this time.
Overwatering is especially dangerous in the winter. Since the plant isn't actively using the water, the soil stays wet for much longer, creating the perfect conditions for deadly root rot.
Not sure if you're getting it right? Your aloe's leaves will give you clues.
Overwatering vs. Underwatering Symptoms
It can sometimes be tricky to tell if your aloe is getting too much or too little water. This table breaks down the common signs to look for.
| Symptom | Overwatering Sign | Underwatering Sign |
|---|---|---|
| Leaves | Yellow, pale, soft, or mushy. May feel waterlogged. | Thin, wrinkled, or curled inward at the edges. |
| Stem/Base | The base of the plant may become brown, mushy, and unstable. | The plant may look deflated and less plump overall. |
| Feel | Leaves feel overly soft and may fall off easily. | Leaves feel pliable and less firm than usual. |
| Soil | The soil consistently feels damp or soggy to the touch. | The soil is bone-dry and may pull away from the pot's edges. |
Paying attention to these signals will help you correct your watering habits before any serious damage is done. In almost every case, it's safer to underwater an aloe than to overwater it.
Choosing the Right Soil and Pot for Healthy Roots
The secret to a thriving aloe vera plant isn’t just about getting the light and water right. So much of its health is determined below the surface, in the roots. If you get the soil and the pot right from the start, you're building the foundation for a happy, healthy plant for years to come. This is one of those non-negotiable steps.
Don't even think about using that standard bag of all-purpose potting mix. It's a classic mistake and a death sentence for an aloe. That stuff is designed to hold onto moisture, which is great for a fern but disastrous for a succulent. Soil that stays wet suffocates the roots and is a one-way ticket to root rot.
Crafting the Perfect Soil Mix
To really make your aloe feel at home, you need to replicate its natural environment: arid, gritty soil that water rushes right through. You’re aiming for a mix that's airy and fast-draining, not something that gets compacted and heavy.
Making your own is surprisingly easy and far better than most pre-made options. Here’s a tried-and-true recipe:
- Two parts potting soil for a nutrient base.
- One part perlite to create air pockets for the roots to breathe.
- One part coarse sand (like builder's sand, not fine beach sand) to ensure fantastic drainage.
Just mix those three together, and you've got a perfect custom blend. If you'd rather buy a bag, just make sure it’s specifically labeled for cacti and succulents. For an extra boost, you can enrich your mix with a little bit of high-quality compost. Learning a few tips for maintaining a healthy compost bin can give you a fantastic, nutrient-rich amendment for free.
Selecting the Right Potting Container
The pot itself is just as critical as what you put inside it. The two things that matter most are the material it’s made from and whether it has proper drainage.
When it comes to the material, terracotta is the undisputed champion for aloe vera. Its porous clay walls actually breathe, allowing air and moisture to move through. This helps the soil dry out much faster and more evenly than it would in a plastic pot, which holds moisture and raises the risk of accidental overwatering.
No matter what pot you choose, the single most critical feature is a drainage hole. It's non-negotiable. Without it, water pools at the bottom, creating a swampy mess that will rot the roots. If you find a decorative pot you love that doesn't have a hole, you have two options: drill one yourself or use it as a "cachepot" by slipping the nursery pot with drainage inside.
This isn’t just a fussy houseplant tip; it’s a core principle of aloe cultivation worldwide. Mexico, for example, accounts for a massive 34% of global aloe vera production, and commercial growers there and in the arid regions of India know that mimicking the plant's natural dry conditions is key to preventing fungal diseases and maximizing gel quality. What works on a huge farm works just as well in your living room. You can learn more about global aloe vera production insights on Tridge.com.
Knowing When to Repot Your Aloe
Thankfully, aloes are slow growers and actually enjoy being a little snug in their pots. This means you won’t have to repot often—usually only every two to three years. The plant will give you some pretty clear signals when it's feeling cramped.
It's time for a new home when you see these signs:
- Roots are literally escaping through the drainage hole at the bottom.
- The plant has become top-heavy and is constantly tipping over.
- Water seems to run straight through the pot without soaking in, a sign there are more roots than soil.
- The pot is overflowing with pups (the baby aloes), crowding out the mother plant.
When you do move it, resist the urge to give it a mansion. Choose a new pot that is only about one to two inches wider in diameter. A pot that’s too big holds a huge volume of soil that stays wet for too long, putting you right back at risk for root rot.
Propagating and Pruning Your Aloe Vera Plant
One of the most satisfying things about growing aloe vera is just how eager it is to multiply. Before you know it, your single plant will start producing little babies, and you can easily turn that one plant into a whole family to share with friends. This is all thanks to propagation—the simple act of separating the small offshoots that pop up around the base.
These offshoots, which growers affectionately call "pups," are your key to an endless supply of aloe. Paired with some basic pruning, you can keep your main plant looking its best while creating new ones. Don't worry, both tasks are incredibly simple and will help you maintain a vibrant, healthy plant that puts its energy into fresh growth.
How to Propagate Aloe Vera Pups
The great thing about propagating aloe is that the plant tells you exactly when it's ready. You'll want to look for pups that have had a chance to grow a bit—a good rule of thumb is to wait until they're at least one-fifth the size of the mother plant. I usually wait until a pup is a few inches tall and has its own little rosette of leaves.
Once a pup looks ready to leave the nest, separating it is a delicate but straightforward process.
- Ease the whole family out of the pot. Gently slide the entire plant—mother and all her pups—out of its container. This gives you a clear view of the root system and where everything is connected.
- Gently separate the pup. I try to do this by hand first, teasing the pup's roots away from the main root ball. If it's really stuck on there, grab a clean, sharp knife and make a single, clean cut, making sure the pup takes some of its own roots with it.
- Let it heal. This is the step people often skip, but it’s critical. Don't plant the pup right away! Let it sit in a dry, shady spot for 2-3 days. This allows the cut to form a callus, which prevents the new plant from rotting in the soil.
- Pot up your new aloe. After the callus has formed, plant your pup in a small pot filled with a gritty cactus or succulent mix. Give it a light watering, then let the soil dry out completely before you water it again.
This infographic breaks down the basic potting process, which is the same for a new pup as it is for a mature plant.
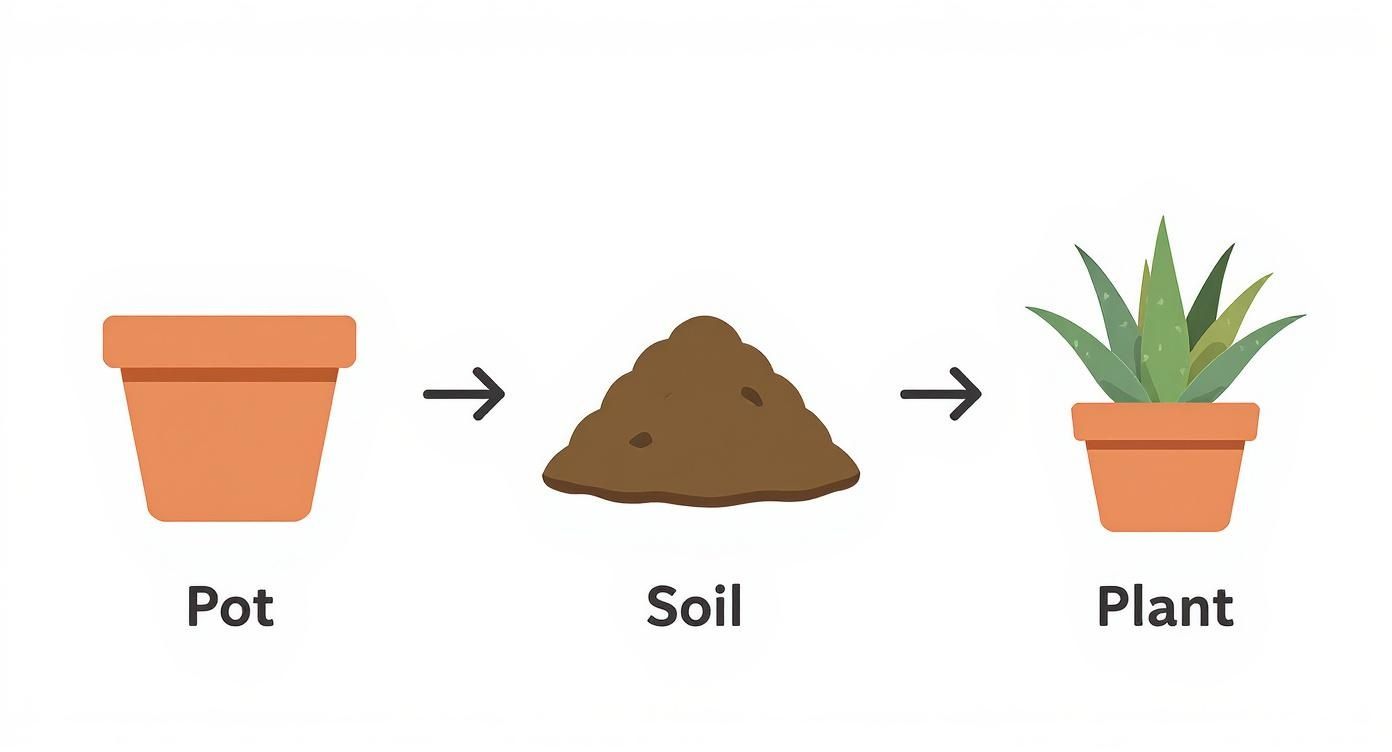
Starting with the right foundation—a terracotta pot and the correct soil—is the best way to set your new aloe up for a long, healthy life.
Pruning for Health and Harvesting
Pruning an aloe plant isn't about shaping it like a hedge; it’s all about practical maintenance and harvesting. You really only need to break out the knife for two reasons: to harvest leaves for their amazing gel or to clean up any dead or damaged growth.
When you're ready to harvest some gel, always go for the outermost leaves. These are the oldest, most mature ones and will be packed with the most potent gel. Use a sharp, clean knife and slice the leaf off as close to the main stem as you can. As a general rule, never take more than one-third of the plant’s leaves at one time, as this can stress it out.
Expert Tip: After you cut a leaf, stand it upright in a glass for about 10-15 minutes. You’ll see a yellowish latex, called aloin, drain out. It’s not harmful on the skin, but it can be an irritant for some people and tastes quite bitter. Letting it drain is a good pro step.
It’s also good practice to remove any leaves that are brown, shriveled, or yellowed. These leaves aren't doing the plant any good and can sometimes invite pests. Just snip them off cleanly at the base to keep your aloe looking tidy and to improve air circulation.
The huge demand for aloe gel is what makes this plant so popular. In fact, the global aloe vera market hit around USD 890 million in 2024 and is expected to keep growing. This just goes to show how many people rely on this plant for health and beauty, making proper care even more important. You can find more details in this report on the expanding global aloe vera market from Mordor Intelligence.
Troubleshooting Common Aloe Vera Problems
Even the most attentive plant owner runs into trouble now and then. Don't worry—it happens. Think of this as your field guide for spotting and fixing the most common issues that pop up with aloe vera.
Most of the time, an unhappy aloe is trying to tell you something about its watering schedule. But sometimes, pests or other environmental hiccups are the culprits. Learning to read your plant's signals is the best skill you can develop.
Identifying and Treating Common Pests
Aloes are tough, but they're not invincible. A few common pests might try to make a home on your plant, but you can usually show them the door pretty easily if you catch them early.
- Mealybugs: These guys look like tiny bits of white cotton, often tucked away in the tight spots where the leaves join the stem. They suck the sap right out of the plant, leading to yellow leaves and stunted growth.
- Scale: These insects look like small, brown, disc-like bumps stuck to the leaves. As adults, they don't move and hide under a hard, protective shell while they feed, which makes them a bit tricky.
For either of these uninvited guests, the solution is straightforward. Grab a cotton swab, dip it in 70% isopropyl alcohol, and just dab it directly on the pests. The alcohol dissolves their waxy coating but won't hurt your aloe.
If you're dealing with a bigger invasion, mix the alcohol with a few drops of dish soap and water in a spray bottle. Isolate the plant and give it a good spray-down to make sure you get them all and prevent them from spreading to your other green friends.
Dealing with Root Rot
Root rot is the number one enemy of an aloe vera plant, and nine times out of ten, it’s caused by giving it too much water. When soil stays wet for too long, it becomes a breeding ground for fungi that attack the roots, turning them black and mushy.
The tricky part? The leaves will start to look yellow and soft, which can sometimes be mistaken for a thirsty plant.
The real tell-tale sign is at the base. If the soil smells sour or the plant itself feels wobbly and unstable, you’re almost certainly looking at root rot. The whole plant might even start to lean as its foundation rots away.
You have to act fast. Slide the plant out of its pot and take a look at the roots. Healthy roots are firm and off-white. Rotted roots are dark, slimy, and fall apart when you touch them. A severe case is tough to come back from, but it's not impossible. If you find yourself in this situation, there are great guides on how to save an aloe plant that walk you through trimming off the damage and starting fresh.
Other Common Concerns
Sometimes the problem is less dramatic than a full-blown infestation or rot. Here are a few other common cosmetic issues you might see.
- Brown Leaf Tips: This is usually a sign of either underwatering or a mineral buildup from tap water. Try giving it a more thorough soak next time you water, or make the switch to filtered or distilled water.
- Floppy or Bending Leaves: When a healthy-looking aloe starts to droop, it’s begging for more light. The leaves grow weak when they don't get enough sun and can no longer hold themselves up. Find a spot with more bright, indirect sunlight, and it should perk up.
Answering Your Aloe Vera Questions
Even the most straightforward plants can throw you a curveball now and then. Let's tackle some of the most common questions that pop up when you're getting the hang of aloe vera care.
Why Are My Aloe Leaves Getting Yellow and Mushy?
This is almost always a classic sign of overwatering. When the soil stays soggy for too long, the roots can't breathe and they begin to rot, leading to those tell-tale yellow, soft, or downright mushy leaves.
The first thing to do is stop watering immediately. Check that your pot has a good drainage hole. Let the soil dry out completely before you even think about watering it again. If it looks really bad, you may need to gently pull it out of the pot, trim off any black or slimy roots, and repot it in fresh, dry succulent mix.
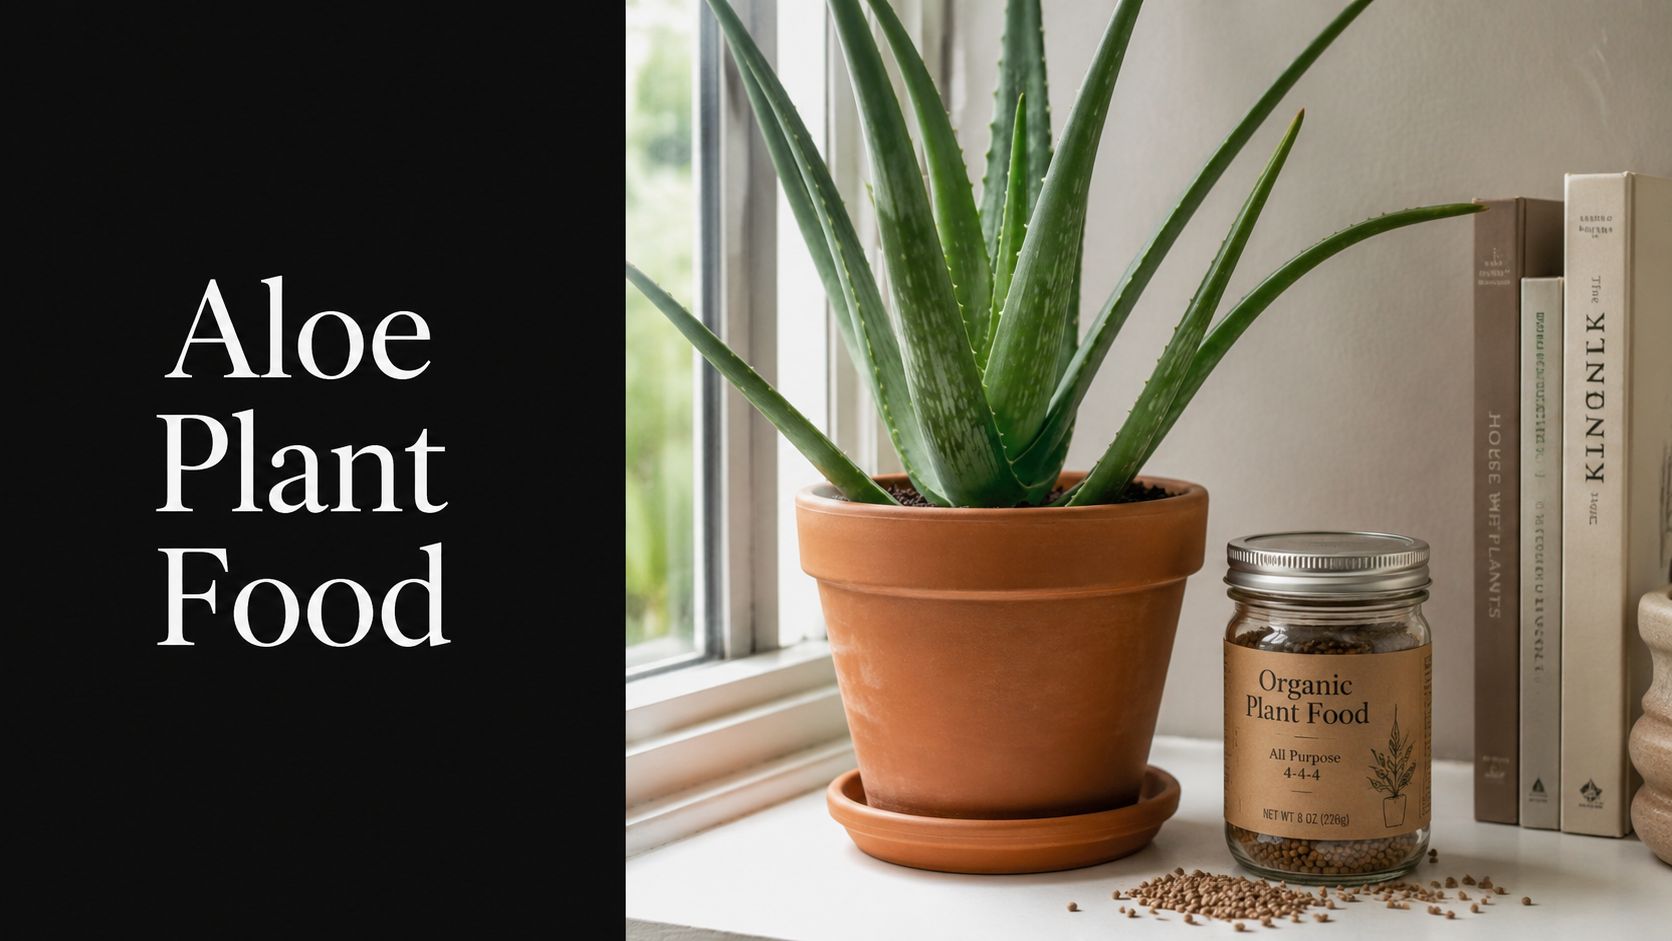
How Often Should I Be Fertilizing My Aloe?
This is one area where less is definitely more. Aloe vera plants just aren't big eaters. If you feel the need to fertilize, a single feeding once a year in the spring is plenty.
When you do, use a balanced houseplant fertilizer diluted to half-strength. Pushing too many nutrients can actually harm your plant, causing weak growth or even burning the roots.
Expert Tip: It's far better to slightly underfeed your aloe than to overdo it. One light feeding per year is all it needs to thrive without the risk of nutrient burn.
Can I Grow My Aloe Vera Plant Outside?
You absolutely can, as long as your climate cooperates! Aloes are right at home outdoors all year in the warmer USDA zones 9-11. If you live in a cooler region, you can treat your aloe to a summer vacation outside.
Just be sure to introduce it to the direct sun gradually to avoid a nasty sunburn. Start it off in a spot with partial shade for a few days before moving it into more light. And always, always bring it back inside before the first frost hits—they have zero tolerance for the cold.
Inspired to expand your succulent family? Check out the incredible variety of healthy, stunning plants at The Cactus Outlet. You’re sure to find the perfect new addition for your space. Take a look at our collection.