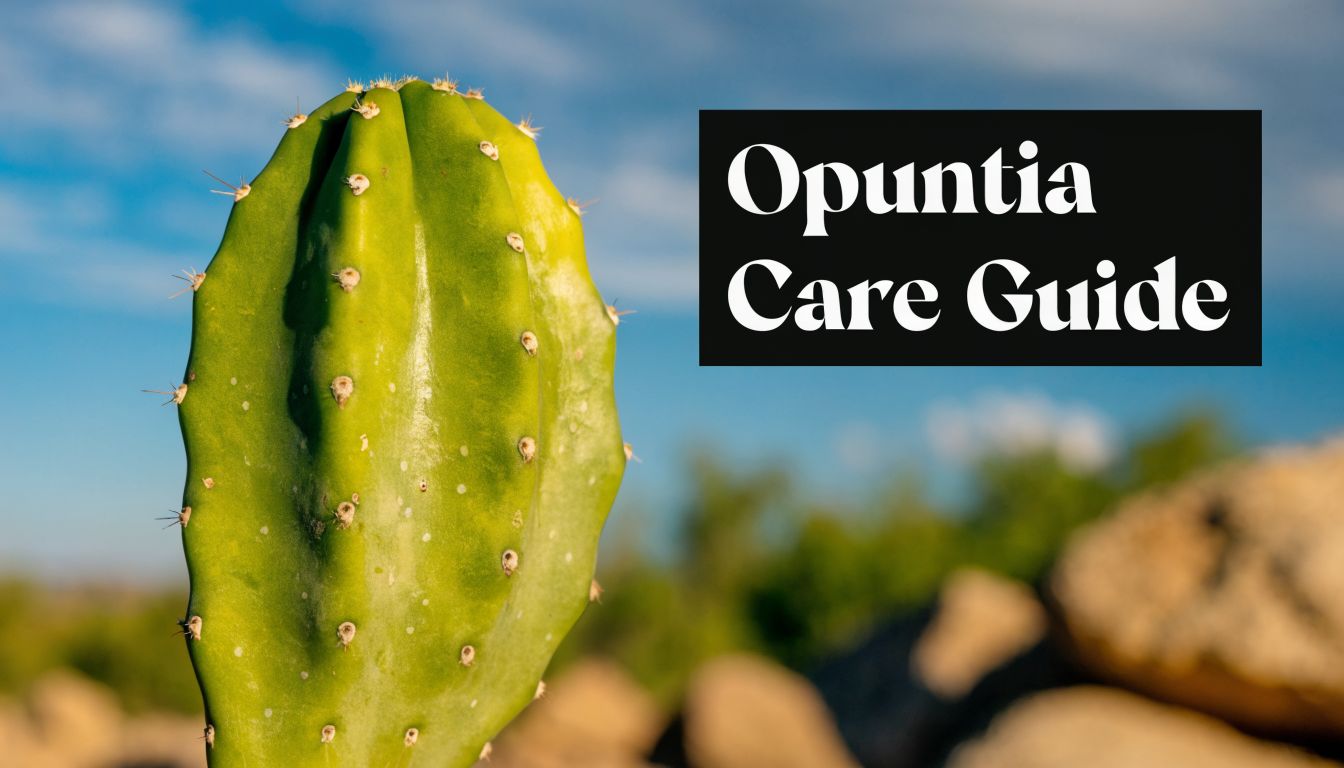

You’re probably here because you want a plant that does more than sit in a corner of the yard. Maybe you need a bold focal point for a dry setting, a sculptural container plant for a sunny patio, or an edible cactus that earns its space. That’s where opuntia ficus-indica starts to make sense.
I’ve worked with a lot of desert plants, and this one keeps pulling people in for the same reason. It looks dramatic, asks for less water than most garden plants, and rewards good placement with years of structure, flowers, and fruit. The trick is knowing what it is, what it needs, and where many growers get misled, especially on winter survival.
Meet the Amazing Opuntia Ficus-Indica
You plant a young prickly pear in the hottest, brightest part of your outdoor space, the spot where many shrubs struggle by midsummer. A few seasons later, it has turned that hard patch into a strong visual anchor, and it can also feed you. That combination explains why Opuntia ficus-indica has stayed in cultivation for so long.
This species has a long agricultural history in central Mexico, with deep roots in food production and everyday use, as noted by the University of Arizona Campus Arboretum profile. Over time, growers selected it for useful traits, especially larger pads, edible fruit, and reliable production. For gardeners, that history matters. You are working with a cactus people kept because it earned its place.
The appeal is easy to understand once you know how the plant works. Those flat pads are modified stems. They work like solar panels and water tanks at the same time, gathering light while storing moisture for dry periods. That is why the plant can hold a strong, upright form in heat where thirstier plants often fade.
It also fills several roles at once:
- A bold specimen for gravel gardens and dry planting schemes
- A living barrier in hot, exposed areas
- An edible crop that can provide both pads and fruit
- A low-input choice for sunny sites with fast drainage
Beginners often see it as a novelty cactus. Experienced growers know better. Opuntia ficus-indica is one of the workhorses of warm-climate gardening because it combines structure, usefulness, and stamina in one plant.
That said, it is not indestructible. Its strengths show up best when you match it to the right climate, soil, and winter conditions. That is one reason we put so much emphasis on hardiness limits and shipping quality at The Cactus Outlet. A large, healthy specimen with firm pads and a well-handled root system gives you a much better start than a stressed plant that has been overwatered, bruised, or chilled in transit.
For a beginner, the big takeaway is simple. Treat this cactus like a plant built for sun, heat, and restraint, not pampering. Do that, and you get a prickly pear with real presence, practical uses, and the kind of staying power that only comes from centuries of selection.
Identifying Your Prickly Pear Cactus
Not every flat-padded cactus is opuntia ficus-indica, and that’s where people get confused. They see a prickly pear and assume they’re all the same. They aren’t.
The easiest way to identify this species is to look at the overall habit first, then the pad details. Mature plants often develop a broad, upright, almost shrubby to tree-like form rather than staying low and sprawling. The pads are typically large, flattened, and oval to oblong.

What to look for on the pads
Each pad is a modified stem, not a leaf. On those pads you’ll find areoles, the small cushion-like dots where spines, glochids, flowers, and new pads emerge.
Here’s what matters when you’re checking a plant:
- Pad shape: Broad, paddle-like pads are the first clue.
- Surface pattern: Evenly spaced areoles create a regular dotted pattern.
- Spines and glochids: Some forms are heavily spined, while others appear nearly spineless. Even “spineless” types can still carry tiny irritating glochids.
- Growth habit: Older specimens often stack pads into a branching framework rather than staying close to the ground.
Flowers, fruit, and structure
When the plant is happy, it flowers at the pad edges. After flowering, it produces the familiar prickly pear fruits, often called tunas. Those fruits are one of the easiest ways to confirm you’re looking at an edible prickly pear type rather than a purely ornamental oddball.
The trunk can also tell you a lot. A young plant may look like a cluster of paddles. An older one starts to look architectural, with woody lower growth and a more raised crown.
A good identification habit is to stop looking at a single pad and study the whole plant. Shape, branching, and pad size together tell you more than spines alone.
Common Opuntia Ficus-Indica Varieties
Below is a simple buying guide. These are functional categories growers and buyers commonly use when deciding what kind of plant suits the site and the people around it.
| Variety Type | Primary Use | Spines | Fruit Color | Mature Size |
|---|---|---|---|---|
| Spineless type | Edible garden, family spaces, easier harvesting | Few to minimal visible spines, but may still have glochids | Often varies by cultivar | Large, upright, broad |
| Spiny type | Security planting, barrier use, rugged landscapes | Obvious spines present | Often varies by cultivar | Large, upright, broad |
| Fruit-focused selection | Home orchards, edible landscaping | Varies by cultivar | Red, yellow, or other cultivar-dependent shades | Large, productive with age |
| Ornamental landscape form | Statement planting, xeriscape design | Varies | Varies | Large, sculptural, tree-like with time |
What should you choose? If you have kids, pets, or a narrow walkway, a less spiny form makes life easier. If you need a defensive screen along a dry property edge, spiny forms make more sense.
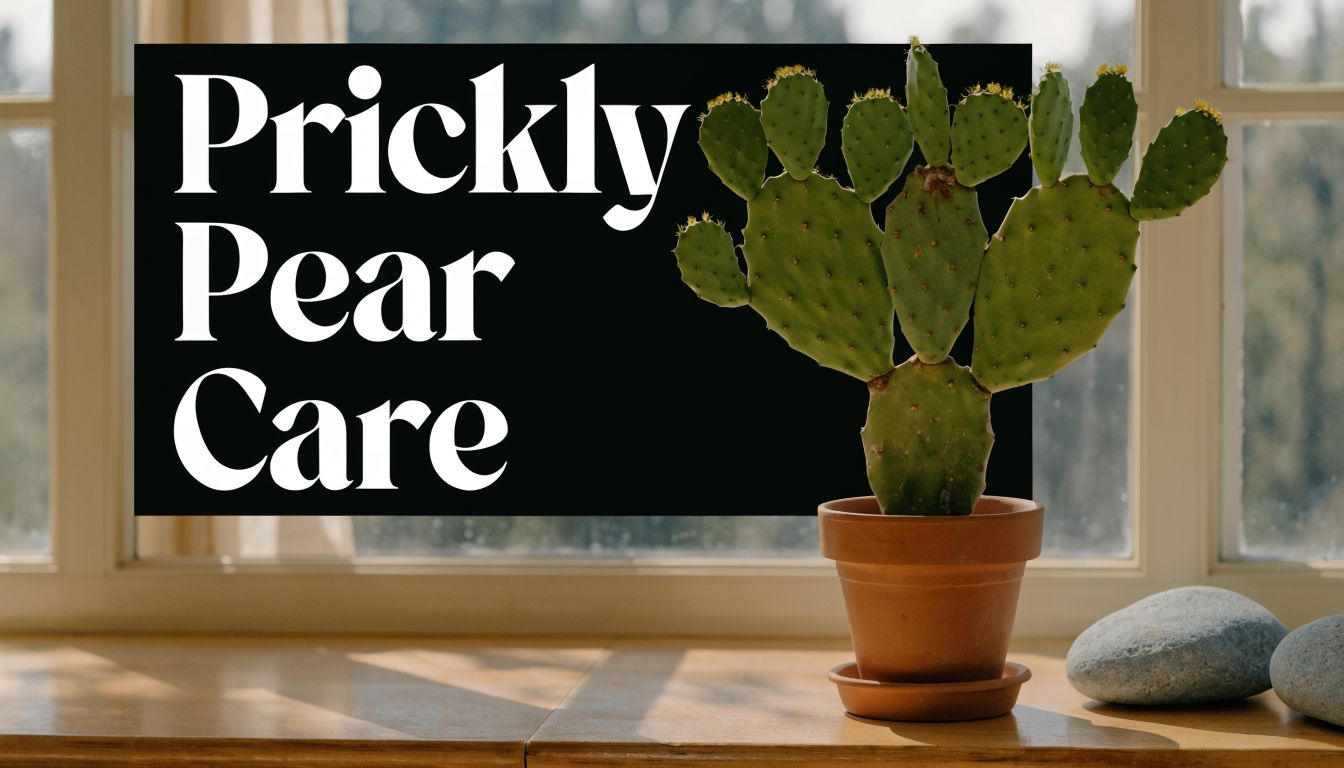
Your Guide to Essential Prickly Pear Care
Good opuntia ficus-indica care comes down to four things. Light, water, soil, and feeding. Most failures happen when one of those is off, especially soil.

Give it the sun it was built for
This is a full-sun plant. Don’t tuck it into a dim side yard and expect strong pads.
The pads do the work that leaves do on other plants. I tell beginners to think of them as flat batteries charged by sunlight. More sun means stronger growth, tighter structure, and better overall performance. Too little light usually leads to weak, stretched growth and a plant that looks tired instead of sturdy.
For containers, the brightest outdoor location is usually the safest bet during active growth. Indoors, only very bright exposures make sense for the long term.
Water deeply, then leave it alone
People either drown this plant or neglect it right after planting. Neither helps.
A healthy routine is simple:
- Water thoroughly after planting so the root zone settles.
- Let the soil dry well before watering again.
- Reduce watering in cool or low-light periods because the plant uses moisture more slowly then.
- Watch the pads instead of following a rigid calendar.
Pads that stay firm usually mean the plant is carrying enough moisture. Softness, wrinkling, or a dull, deflated look can suggest thirst. On the other hand, yellowing with soggy soil points more toward excess water than drought.
A prickly pear usually tolerates being a bit too dry better than being a bit too wet.
Soil matters more than beginners expect
If I could fix one mistake in every new grower’s setup, it would be drainage.
According to the CABI overview on Opuntia ficus-indica, the plant requires well-drained soil, does best when clay content doesn’t exceed 15 to 20%, and has a superficial root system sensitive to salinity. That tells you two important things. First, heavy wet soil is dangerous. Second, the root zone doesn’t need depth as much as it needs air and fast drainage.
How to build a workable planting mix
For in-ground planting, the goal is to avoid a bowl that traps water around the base. If your native soil is dense, open it up with gritty mineral material and plant slightly high rather than low.
For containers, look for a cactus mix that drains quickly and doesn’t stay muddy after watering. If a mix compacts into a sticky mass, it’s wrong for this species.
Use this checklist:
- Choose a fast-draining mix that dries evenly rather than staying wet at the bottom.
- Avoid heavy clay pockets in garden beds.
- Be careful with salinity if your irrigation water or soil already runs mineral-heavy.
- Use pots with drainage holes. Decorative cachepots are fine only if the inner growing pot can drain freely.
Feeding and pruning without overdoing it
Opuntia ficus-indica doesn’t need pampering. It responds best to restraint.
A light feeding during the growing season is enough for most plants, especially in containers. Choose a balanced, low-nitrogen product and apply sparingly. Too much fertilizer can push weak, overly lush growth that’s more vulnerable to damage.
Pruning is more about management than necessity. Remove damaged pads, overcrowded growth, or awkward arms that throw off the balance of the plant. Always use thick gloves, long sleeves, and tongs or folded newspaper when handling cut sections.
Reading the plant like a horticulturist
Collectors often ask for a formula. I’d rather teach the pattern.
If a plant gets strong sun, fast drainage, and patient watering, it usually looks upright, firm, and clean. If something starts going wrong, the first suspects are usually poor soil, too much water, or weak light.
That’s the core skill. Don’t memorize random rules. Learn what the plant is trying to tell you.
How to Propagate Opuntia Ficus-Indica
Propagation is one of the most satisfying things about opuntia ficus-indica. You can turn one healthy plant into several without complicated equipment.
The easiest route is pad propagation. It’s straightforward, forgiving, and ideal for beginners.

Propagating from pads
Start with a mature, healthy pad. Don’t use one that’s mushy, scarred, or clearly stressed.
Then follow this sequence:
- Remove the pad cleanly using a sterile knife or pruners.
- Set it aside to dry in a bright, shaded, airy place.
- Wait for the cut end to callous before planting.
- Insert the base shallowly into dry or barely moist, fast-draining mix.
- Hold off on heavy watering until it begins to root.
That drying period matters. If you plant a fresh, wet wound into damp soil, rot can move in before roots do.
For readers who like seeing another succulent cutting method explained in simple terms, this step-by-step NZ succulent guide is a useful companion resource. The principles of clean cuts, drying time, and patient rooting overlap well with cactus propagation.
Small warning: “Spineless” pads can still carry glochids. Handle every pad like it can bite back.
What rooting usually looks like
A newly planted pad won’t do much above the soil at first. That’s normal. It’s building roots before it spends energy on new top growth.
Keep it in bright light, but avoid scorching it while it’s unrooted. Once the pad resists a gentle tug and begins to push fresh growth, you can treat it more like an established plant.
If you want a more detailed cactus-specific walkthrough, The Cactus Outlet has a helpful guide on how to propagate cactus from cuttings.
Growing from seed
Seed growing is slower, but some collectors love it because it gives them the full life cycle.
You can collect seeds from ripe fruit, clean off the pulp, and sow them in a very well-drained mix. Seedlings need more patience than pad cuttings. They’re slower to establish, more sensitive to overwatering, and less practical if your goal is to build size quickly.
Here’s a simple way to decide:
- Choose pad propagation if you want a reliable weekend project.
- Choose seed propagation if you enjoy experimentation and don’t mind waiting.
- Keep records of where each pad or seed batch came from if you’re building a collection intentionally.
Later on, a single mature plant can become a small planting group, a hedge line, or a set of giftable starts.
Here’s a quick visual demonstration of the process:
Harvesting and Enjoying Edible Fruits and Pads
One of the pleasures of growing opuntia ficus-indica is that it’s both ornamental and edible. The same plant that gives your garden structure can also give you nopales and tunas.
The journey usually starts with flowers at the pad edges. After that, fruit swells and ripens. Young pads, harvested at the right stage, become a vegetable. Older pads become tougher and more fibrous.
Harvesting fruit without regretting it
Prickly pear fruit looks inviting, but it has defenses. Even fruit from less spiny plants can carry fine glochids that lodge in skin easily.
Use gloves, tongs, or a folded paper towel when harvesting. Twist or cut the fruit off cleanly. Then remove spines and glochids before bringing it into the kitchen.
Good handling habits include:
- Wear gloves that you don’t mind dedicating to cactus work.
- Use tongs for fruit instead of bare hands.
- Rinse and scrub carefully before peeling.
- Keep harvested fruit separate from tender produce like lettuce or herbs
Preparing the tunas
Once cleaned, the fruit can be peeled and eaten fresh or processed into juice. The flavor varies by cultivar and ripeness, but many people describe it as sweet and refreshing.
Nutritionally, the fruits have drawn attention for antioxidant content. The opuntia ficus-indica entry on Wikipedia notes that Mexican red fruit juice contains around 111.7 mg Gallic Acid Equivalents per 100 mL, which helps explain its use in juices, peels, and seeds for health-focused agro-food applications.
That doesn’t mean every fruit from every garden tastes the same. It means there’s a real edible tradition behind this plant, and the fruit is more than a novelty garnish.
Fresh prickly pear fruit is easiest to enjoy when you treat cleaning as part of the recipe, not as an annoying extra step.
Harvesting nopales
Young pads are the ones to target for eating. They’re tender, easier to clean, and better in the pan.
Use a clean knife to cut a young pad where it joins the plant. Then scrape off spines and glochids, trim the edges if needed, and rinse thoroughly. After that, you can slice the pad into strips or cubes.
The texture surprises many first-time cooks. When raw or lightly cooked, nopales can be slick. That’s normal. Grilling, roasting, sautéing, or blanching can change the texture and make them easier to work into meals.
A few easy uses:
- Grilled nopales with salt and lime
- Sautéed strips with onion and eggs
- Diced nopalitos in salads
- Blended fruit juice from peeled tunas
If you want more background on the edible side of this cactus, The Cactus Outlet’s guide to nopal cactus uses and care adds helpful context.
Landscape and Container Design Ideas
A mature opuntia ficus-indica changes the whole feel of a space. One well-placed plant can give a bed, courtyard, or entry the kind of structure that smaller succulents never quite manage.
Its pads work like stacked panels. They catch light, hold water, and create a bold outline that reads clearly from across the yard. That is why I usually treat this cactus as an anchor plant in garden design, then build the rest of the composition around its shape.

For in-ground planting and xeriscape projects
In the ground, opuntia ficus-indica shines where you need strong form, heat tolerance, and low-water performance. It looks especially convincing in spaces built around gravel, decomposed granite, stone, and other plants with clear shapes rather than soft, leafy growth.
A few effective uses:
- Entry focal points that need immediate visual weight
- Property edges and living boundaries in dry climates
- Banks and slopes where a spreading cactus helps cover bare soil
- Mediterranean-style and xeriscape beds that rely on texture and silhouette
Spiny forms also serve a practical role. They create a quiet barrier. People and pets usually choose another path without being told.
For professionals planning larger dry-garden compositions, The Cactus Outlet shares useful examples in these cactus garden design ideas.
For patios, courtyards, and container growing
In a container, this cactus becomes easier to position and easier to feature as a specimen. The plant still has presence, but the pot gives you boundaries, which matters once the pads begin to branch and gain weight.
Choose a broad, stable container with a simple shape. Concrete, ceramic, and other heavy materials usually look right because they match the plant’s visual strength and help prevent tipping. A narrow, lightweight pot often looks out of scale, much like putting a mature shrub in a vase.
Keep the setting uncluttered. Flat pads already create plenty of pattern, so companion plants should play a supporting role rather than compete. I usually suggest one of two approaches. Either let the cactus stand alone, or pair it with a few low growers that stay visually quiet.
Why the plant adapts so well to both settings
Some species are useful but plain. Others are dramatic but fussy. Opuntia ficus-indica gives you structure, drought performance, and a sculptural habit in the same plant.
That flexibility matters at buying time too. If you are choosing a larger specimen from The Cactus Outlet, it helps to decide early whether the plant is headed for a container or an in-ground planting area. A patio specimen can be selected for symmetry and silhouette. A plant for a bed or xeriscape project can be chosen for spread, presence, and how it will relate to boulders, walls, and open gravel areas. That kind of planning makes planting day much smoother and gives the cactus room to look intentional from the start.
Winter Protection and Hardiness Zones
Many plant tags fail people. They say “cold hardy” and leave out the part that matters. How cold, for how long, and in what kind of site?
For opuntia ficus-indica, the key limit is simple. The Experimental Farm Network project note reports documented plant death around 19°F (-7°C) and states it’s generally not viable for year-round outdoor cultivation in USDA zones colder than 8.
What that means in practice
If you garden in warm, frost-light regions, this plant is often straightforward outdoors. If you garden where winter dips hard and repeatedly, you need a plan.
A useful working approach looks like this:
- Zones 9 to 12: Usually the easiest fit for outdoor planting in well-drained, sunny sites.
- Zone 8: Possible in favorable microclimates, but not automatic. Placement matters.
- Colder than zone 8: Treat it as a container specimen or provide serious seasonal protection.
Don’t read “dry climate plant” as “winter-proof.” Dry and cold are not the same challenge.
Cold damage often starts with optimism. A gardener assumes a sunny cactus can handle every winter night because it looks tough.
Smarter wintering strategies
In borderline climates, the site can make the difference between survival and collapse. A south-facing wall, reflected warmth, excellent drainage, and protection from winter wet all help.
For container plants, you have more control. Move them under cover before severe cold arrives. A bright protected space is safer than gambling on a freeze event. Reduce watering while the plant is resting, because wet roots and cold conditions are a bad combination.
If you’re planting outdoors near the edge of its range, keep these points in mind:
- Choose the warmest microclimate on the property.
- Keep winter drainage sharp.
- Use frost cloth during cold snaps.
- Avoid low spots where cold air settles.
This is one plant where honesty beats wishful thinking. If your winters regularly push beyond its limit, container culture is the smarter choice.
Buying and Troubleshooting Your Cactus
A prickly pear can look perfectly tough in the box, then struggle a week later because the match between plant, site, and handling was off from the start. Buying well matters, especially with large opuntia ficus-indica. Bigger plants give you instant presence, but they also arrive with more weight, more stored water, and more need for a calm first transition.
That is why I tell customers to shop with the planting plan already in mind.
Buying the right plant for the right site
Start with the job you want the plant to do. Pads work like solar panels and water tanks, so size, spine density, and form affect both appearance and day-to-day practicality.
If the cactus will sit near a front walk, choose a form that is easier to pass safely. If it will go along a dry back boundary or property edge, stronger spination can be useful. If you want fruit and tender young pads, edible performance matters more than defensive traits.
It helps to sort your priorities before you order:
- Edible use if you want pads and fruit for the kitchen
- Structure if you want a bold specimen with strong form
- Barrier function if you want a living boundary
- Container suitability if your winter temperatures make portable growing the safer option
Online ordering adds one more step. Read the size description closely, then prepare the planting area or container before delivery day. The Cactus Outlet offers Nopal Prickly Pear plants for indoor or outdoor planting, which is useful if you are choosing between a container specimen for a colder climate and a larger plant for a warm, well-drained outdoor bed.
For buyers in colder regions, this point is easy to miss. A healthy large plant is only a good purchase if you can protect it through winter. In zones near the edge of its hardiness, container growing is often the smarter investment because you can move the plant under cover before damaging cold arrives.
What to do when your cactus arrives
Resist the urge to plant it the minute the box is open.
Shipping can leave a cactus warm, slightly dehydrated, or unsettled. A short inspection gives you a clearer picture of what the plant needs first. Minor scuffs, a rubbed areole, or a broken spine usually matter far less than pad firmness, a stable root ball, and the absence of soft tissue.
A simple arrival routine prevents a lot of early mistakes:
- Open the package carefully and use gloves, folded paper, or tongs instead of grabbing pads directly.
- Set the plant in bright shade for a short rest if it arrived hot or visibly stressed.
- Check the root zone and soil moisture before adding water.
- Wait on major repotting or in-ground planting if the plant looks stressed and would benefit from a day or two to settle.
Large specimens respond best to steady handling. One thoughtful move is better than repeated shifting from pot to patio to planting hole.
Common problems and what they usually mean
Most problems after purchase are easier to solve than they first appear. Start with the pads, because they show stress early, much like leaves do on a shrub.
Drooping pads
Drooping pads usually point to transplant stress, weak light, or a watering mistake. Check those first. A newly moved cactus may pause while it reorients, especially after shipping or repotting.
Then feel the plant and check the soil. Wet soil plus soft tissue suggests you should stop watering and improve drainage or light. Dry soil on a recently planted cactus can call for one deep watering, followed by time to let roots reestablish.
Yellow or brown spots
Spots worry people, but many are cosmetic. Sun exposure during transition, old pad aging, bruising in transit, or moisture stress can all leave marks.
Use a simple test. Dry, corky spots are often old scars. Soft, dark, or expanding spots deserve prompt attention because they can signal rot or ongoing tissue damage.
Rot at the base
Base rot usually starts below the part you were watching. The common causes are heavy soil, poor drainage, and watering too often in cool conditions.
If you catch it early, remove damaged tissue, let the cut area dry properly, and correct the root-zone conditions before replanting. If the base is badly compromised, saving a healthy upper pad for propagation may be the better route.
Pests and handling concerns
Scale and other cactus pests often show up on stressed plants or in sheltered crevices. Check areoles, pad joints, and the hidden spots where pads overlap.
For homes with pets or children, physical placement matters as much as plant health. The main risk is contact with spines and glochids, so keep spiny forms away from walkways, play areas, and places where people brush past in a hurry.
A simple troubleshooting mindset
When a prickly pear looks off, work through the basics in order:
- Light
- Soil and drainage
- Watering rhythm
- Cold exposure
That sequence solves a surprising number of problems. It also helps you buy more wisely next time, because you begin to see whether you need a sunnier spot, a faster-draining mix, or a plant that is better suited to container culture in your climate.
When you troubleshoot in that order, the answer usually appears faster. That kind of steady observation sets you up well, whether you are choosing a large outdoor specimen or a container-friendly prickly pear for a colder region. If you want to put those principles into practice, you can browse the plant selection at The Cactus Outlet and choose a plant that fits your temperatures, your space, and the way you plan to grow it.