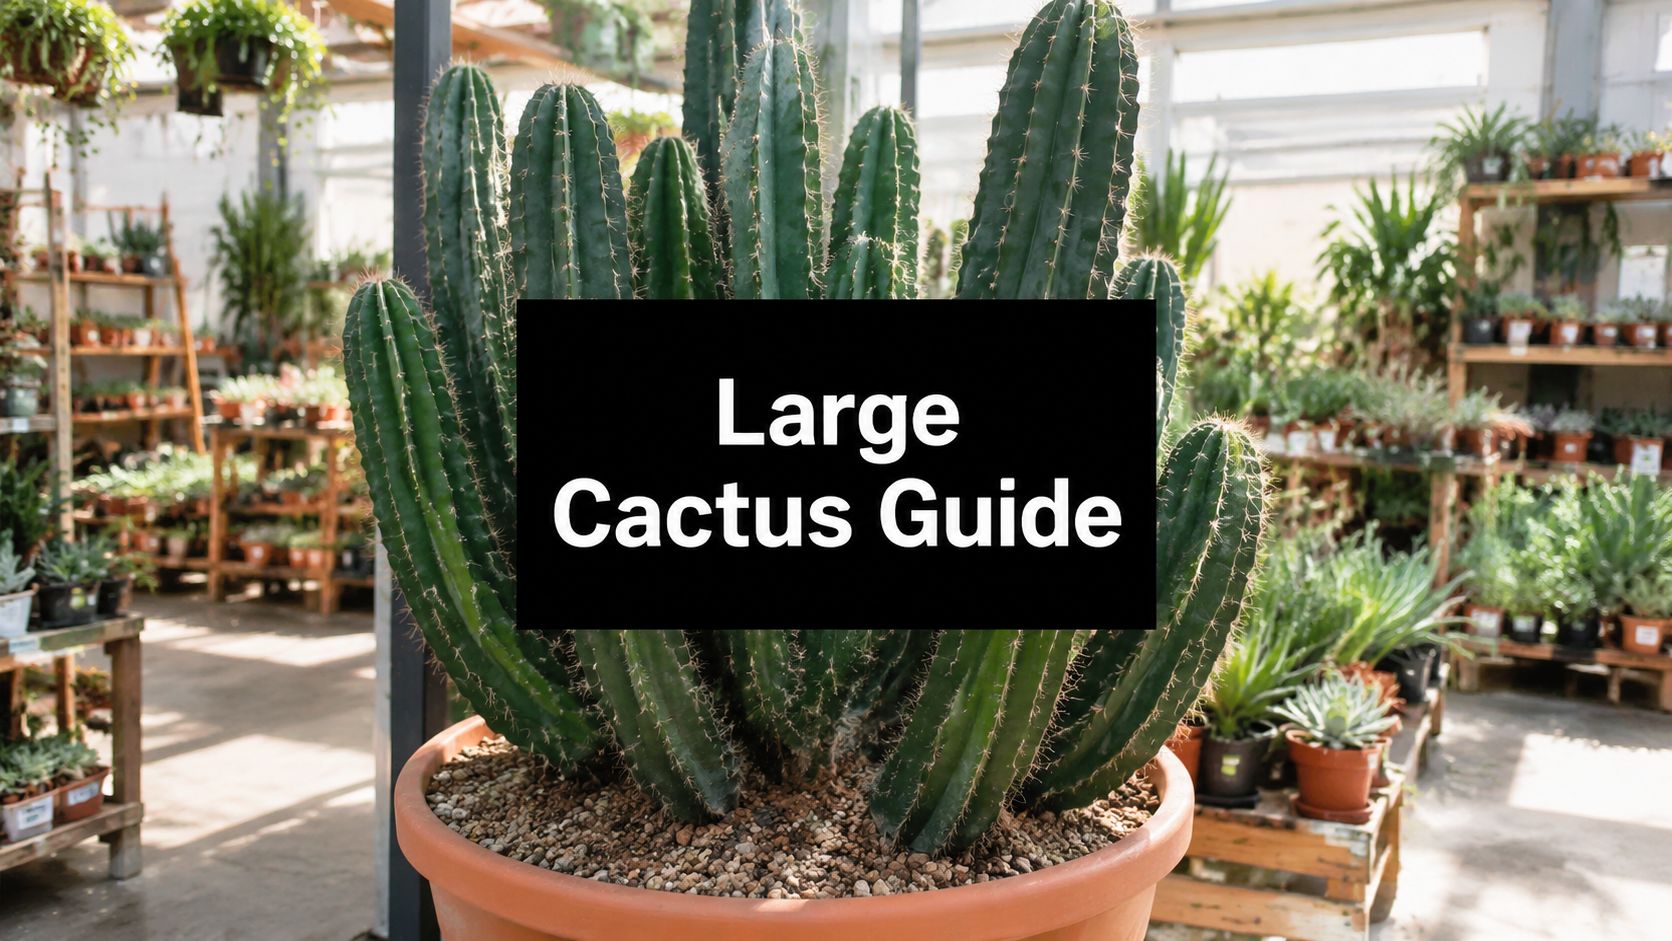

Potting a cactus is all about giving it a little slice of the desert. That means one thing above all else: excellent drainage. If you get the pot and the soil right, you’ve won half the battle. These two pieces are the foundation for a healthy, happy cactus that will thrive for years.
Creating the Perfect Foundation for Your Cactus
Before you even think about grabbing your gloves to handle those spines, you need to set the stage. A cactus isn't your average houseplant. It evolved to survive in some of the toughest, driest places on earth, and your job is to mimic that environment as best you can.
The two biggest mistakes I see people make are picking a pretty pot with no drainage hole and using regular, all-purpose potting soil. Both of these lead to the same grim outcome: soggy, waterlogged roots that quickly rot. Your mission is to create a home for your cactus that lets water flush through quickly and allows the roots to breathe.
Selecting the Ideal Cactus Pot
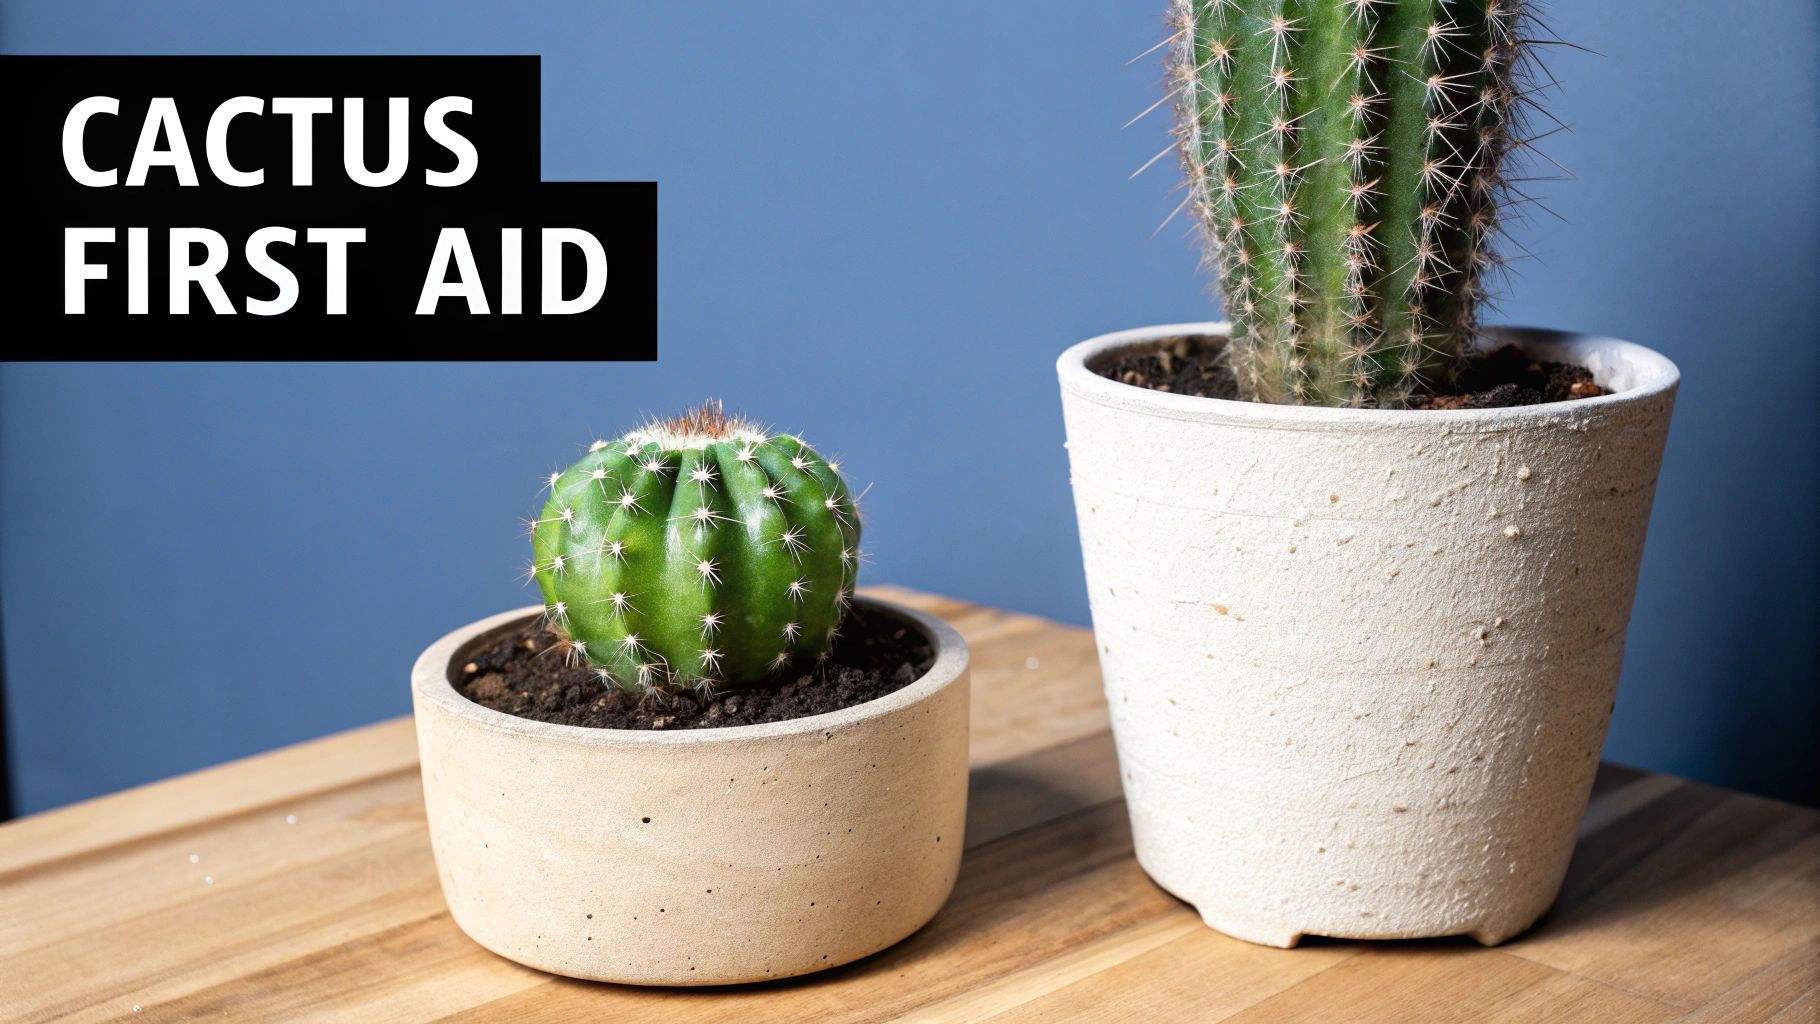
It’s tempting to grab the first beautiful glazed pot you see, but for a cactus, function has to trump fashion. The best pots are made from materials that actually help pull moisture out of the soil.
-
Terracotta and Unglazed Ceramic: These are the gold standard for a reason. They're porous, which means air can pass through the walls of the pot. This helps the soil dry out much faster and more evenly than it would in a plastic or glazed ceramic container.
-
Drainage is Non-Negotiable: I can't stress this enough. Whatever pot you choose, it absolutely must have a drainage hole at the bottom. If it doesn't, water has nowhere to go, creating a swamp that will rot your cactus roots in no time.
-
Size Matters: It seems logical to give a small cactus a big pot with plenty of room to grow, right? Wrong. A pot that's too large holds way more soil than the plant needs, and that extra soil stays wet for far too long. A good rule of thumb is to choose a pot that is only 1-2 inches wider in diameter than the cactus itself. This gives the roots enough room to expand without drowning them.
Choosing the right container is the first step in preventative care. A breathable terracotta pot acts like an insurance policy against overwatering, giving your cactus the arid environment it craves.
To help you decide, let's look at the most common materials and how they stack up for growing cacti.
Cactus Pot Material Comparison
| Material | Drainage & Airflow | Best For | Potential Drawback |
|---|---|---|---|
| Terracotta | Excellent | Beginners; anyone prone to overwatering. | Dries out very quickly in hot climates; fragile. |
| Unglazed Ceramic | Very Good | Most indoor environments; balances aesthetics with function. | Can be heavier and more expensive than terracotta. |
| Glazed Ceramic | Poor | Experienced growers who have watering down to a science. | Traps moisture; significantly increases the risk of rot. |
| Plastic | Poor | Nurseries (lightweight & cheap); very dry climates. | Holds water for a long time; not breathable. |
Ultimately, unglazed materials like terracotta are your safest bet, especially when you're just starting out. They provide that extra margin of error that can save a plant from a moment of over-enthusiastic watering.
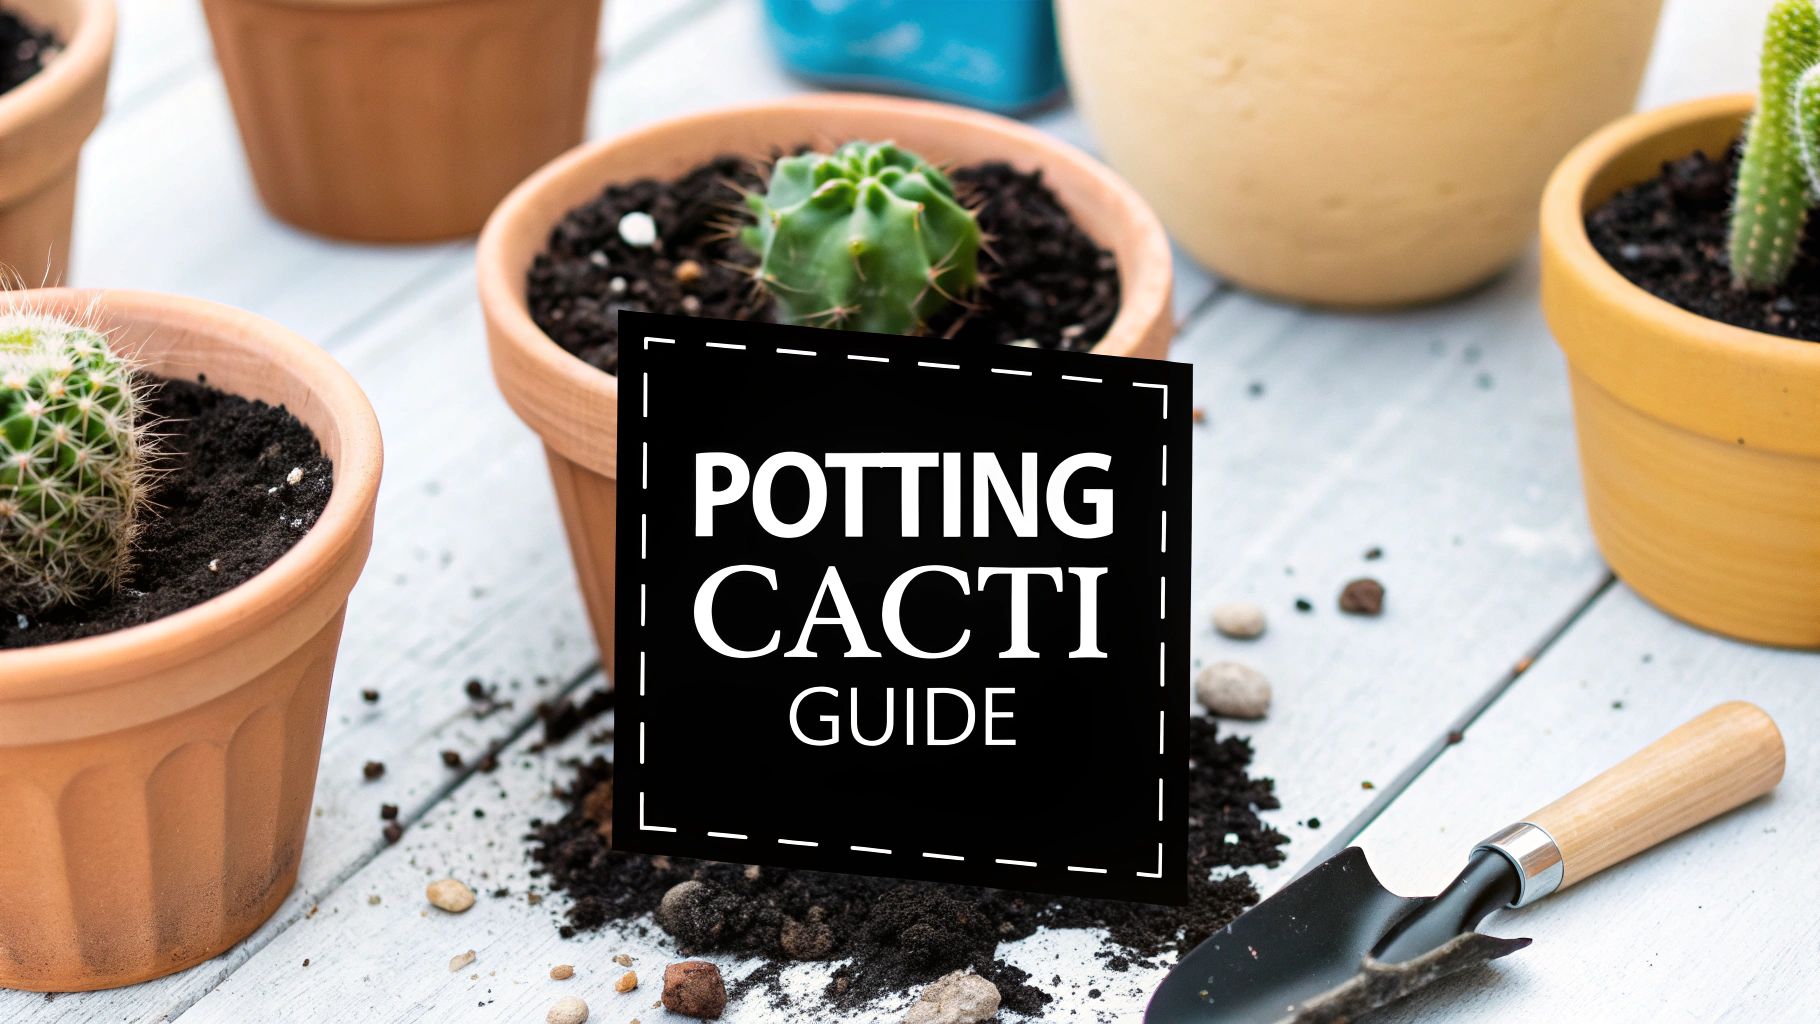
Crafting the Perfect Soil Mix
Soil is the other half of the equation. That bag of all-purpose potting mix you have in the garage is designed to hold moisture for thirsty ferns and tropicals. For a cactus, it's a death sentence. You need something gritty, airy, and so well-draining that water seems to run right through it. In fact, over 75% of cactus species do best in mixes created specifically to mimic those desert soils.
You've got two paths here: mix your own or buy a pre-made blend.
DIY Cactus Soil Recipe
Making your own soil is easy, cheaper in the long run, and gives you total control over the ingredients. Here’s a classic, no-fail recipe:
- One part potting soil: This provides a bit of organic matter.
- One part coarse sand: Make sure it's horticultural sand, not fine play sand.
- One part perlite or pumice: These volcanic rocks are key for creating air pockets and preventing compaction.
Just toss all three into a bucket and mix them up. The final product should feel loose and gritty in your hands, not dense and spongy like traditional soil. If you're ready for a deep dive into soil science, check out our complete guide to cactus and succulent soil mix.
Pre-Bagged Cactus Mix
If you're short on time, specialty cactus and succulent mixes are a fantastic, convenient option. You can find them at any good nursery. My one piece of advice here is to feel the mix before you buy it. Some commercial brands can still be a little too heavy on the organic material. If it feels dense, don't be afraid to buy a small bag of pumice or perlite and mix in an extra handful to lighten it up.
Getting Your Cactus Potted Up
Alright, you've got your pot and soil ready to go. Now for the fun part—getting your hands dirty and giving your cactus its new home. And don't worry about the spines! You don’t need any fancy equipment to handle them safely.
I find simple household items work best. For smaller cacti, a pair of kitchen tongs gives you a great grip. For bigger plants, I like to create a sling by folding a newspaper, an old towel, or even a yoga mat into a thick strip. This lets you lift and move the plant around without getting pricked.
Prepping the Plant for Its New Digs
First things first, you need to get the cactus out of its old nursery pot. Those flimsy plastic pots are usually pretty flexible, so give the sides a gentle squeeze to loosen everything up. Then, just tip the pot on its side and tap it a few times until the plant slides out.
Take a good look at the roots. Healthy ones are firm and typically a whitish or light tan color. If the cactus has been in its pot for a while, the roots might be a tight, tangled mess—that’s totally normal. Just gently tease them apart with your fingers. This encourages them to spread out and explore the new soil.
Keep an eye out for any roots that look dark, feel mushy, or smell a bit funky. That's a classic sign of rot. Grab some clean, sharp scissors and snip those bad sections off. It’s a crucial step that prevents the rot from spreading once you've repotted.

Getting your supplies organized like this beforehand makes the whole process go so much smoother.
The Potting Process
Now it’s time to put it all together. Start by scooping a layer of your gritty soil mix into the bottom of the new pot. You'll want to add just enough so the base of the cactus sits about one inch below the pot’s rim.
My Biggest Tip: Never plant your cactus too deep. The part where the green stem meets the roots needs to be level with or even slightly above the final soil line. If you bury the stem, you're just inviting rot by trapping moisture against it.
Using your tongs or newspaper sling, hold the cactus steady over the center of the pot. Start filling in the gaps with your soil mix. As you add soil, give the pot a few gentle taps on the side. This is a great little trick to help the soil settle around the roots and get rid of any sneaky air pockets.
Keep filling until the soil is about a half-inch to an inch from the top. That little bit of extra space is a lifesaver—it prevents water and soil from spilling over the edge every time you water. You can gently firm the soil with your fingers, but don't pack it down. Cacti need light, airy soil to be happy.
If you're tackling a really big, mature plant and want a more in-depth look, check out our guide on how to repot cacti.
The Final, Crucial Step (Don't Skip This!)
So, you've successfully potted your cactus. It looks great. Your first instinct is probably to give it a nice, big drink of water, right?
Don't do it.
This is the most common mistake I see people make, and it’s the most important one to avoid. The repotting process is stressful for the plant, and it’s almost guaranteed that some of those delicate little roots got bruised or broken. Watering right away introduces moisture to those open wounds, which is like rolling out the red carpet for root rot.
You have to be patient. Let your newly potted cactus sit in its dry soil for at least a week—some growers I know even wait two. This gives any damaged roots time to callous over and heal. It’s a simple test of patience that can make all the difference. For now, just place it in a spot that gets bright, indirect light, and keep it out of the harsh sun until it’s ready for that first watering.
Post-Potting Care for a Thriving Cactus
You've done it! Your cactus is all settled into its new pot. The next few weeks are all about helping it recover from the move and get comfortable. Think of it as a little rest and recovery period. Getting the care right from the start is the secret to a happy, healthy plant for years to come.
The biggest piece of advice I can give you right now is to be patient. I know it's tempting to fuss over your new plant, but resist the urge to water it immediately. Its roots were just disturbed and need a little time to heal before they're ready for a drink. That's why we always recommend waiting at least a week.
The First Watering and Beyond
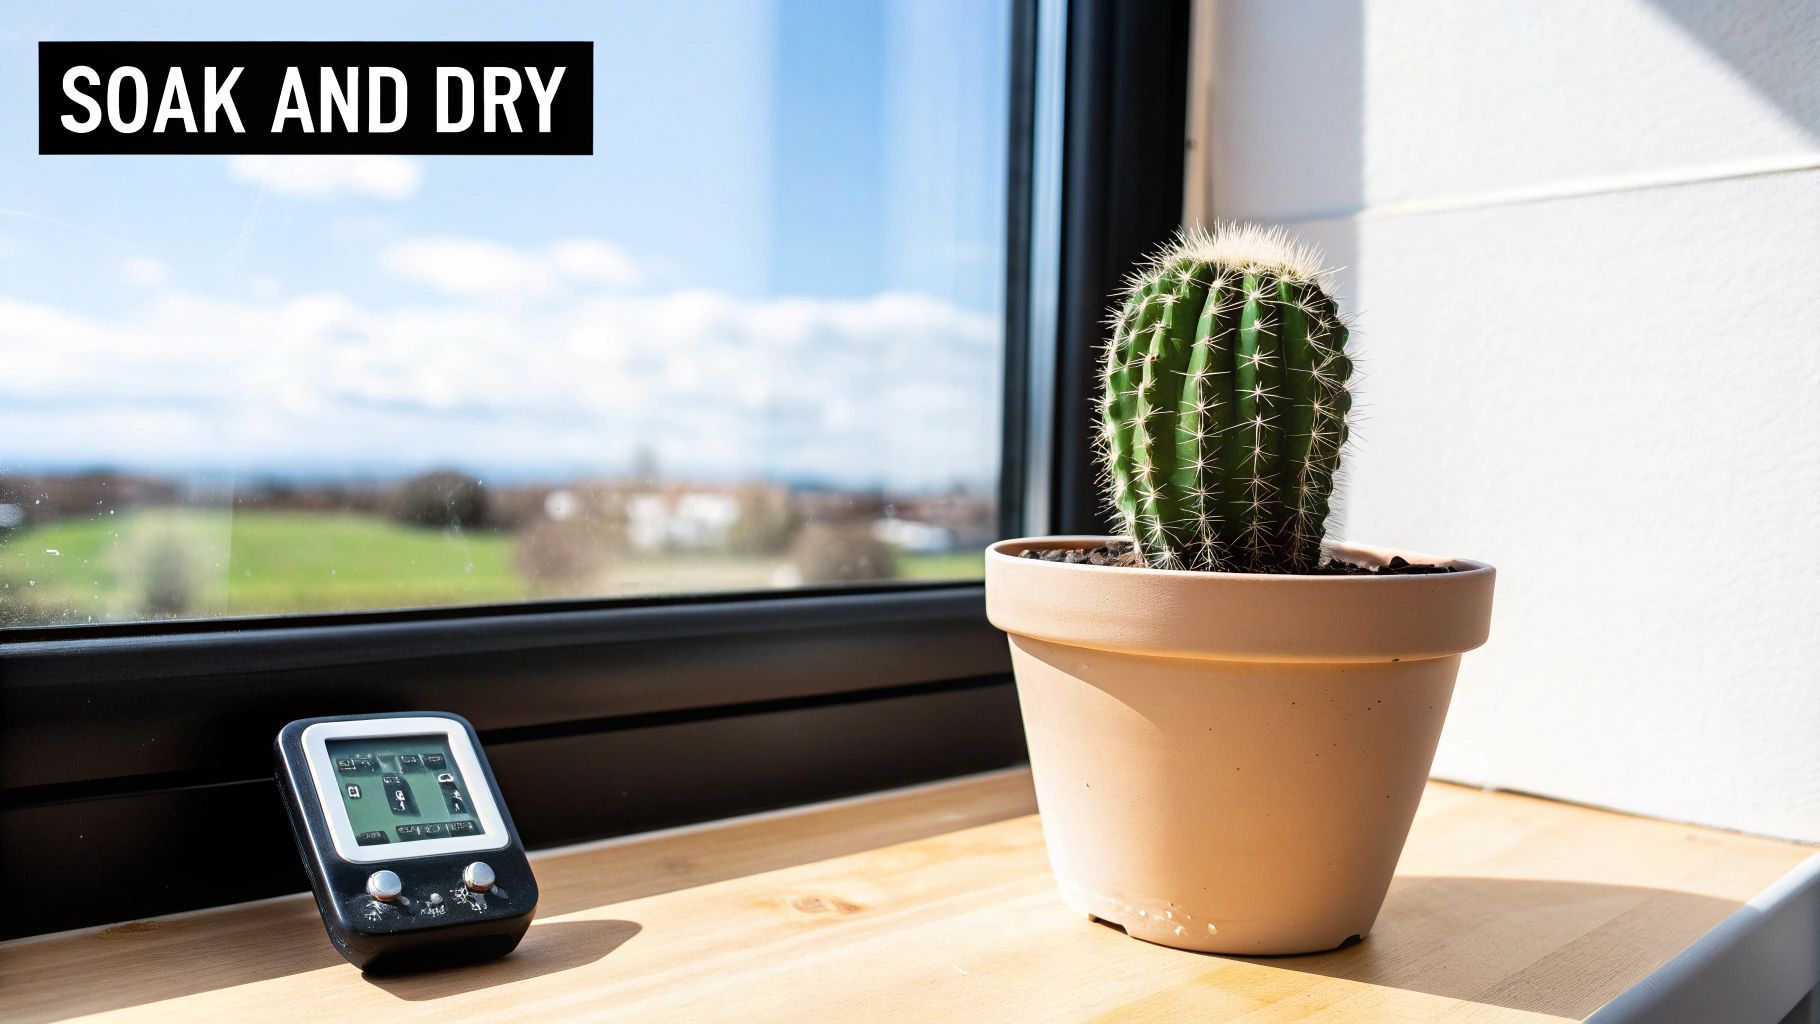
Once that first week has passed, you can introduce your cactus to the golden rule of watering: the soak and dry method. This technique is the best way to mimic the natural, drenching-then-drought cycle cacti experience in the desert. It's less about a strict schedule and more about paying attention to your plant.
When it's time to water, give it a good, thorough drenching. Slowly pour water over the soil until you see it running out of the drainage hole. This ensures the entire root ball gets access to moisture. Then comes the most important part: let that soil dry out completely.
Do not even think about watering your cactus again until the soil is bone-dry all the way through. Depending on your home's humidity, the size of the pot, and the time of year, this could be anywhere from two to six weeks.
Not sure if it's dry enough? Here are a few tricks I use:
- The Finger Test: The classic method. Stick your finger a couple of inches into the soil. If you feel even a hint of moisture, hold off.
- The Chopstick Trick: A wooden skewer or chopstick pushed deep into the pot will come out completely clean when the soil is dry.
- Feel the Weight: Get a feel for how heavy the pot is right after you've watered it. A pot with bone-dry soil is surprisingly light in comparison.
Trust me, overwatering is the fastest way to kill a cactus. Sticking to the soak and dry method is your best line of defense. For a deeper dive, learning how often you should water a cactus can help you master this skill.
Finding the Perfect Sunny Spot
Light is just as crucial as water. Cacti are sun-worshippers, but that doesn't mean you should immediately stick your newly potted plant in the most intense sunbeam in your house. That's a recipe for sunburn.
Ease it into its new home. Start by placing your cactus somewhere it will get plenty of bright, indirect light. Near an east-facing window is usually a great starting point, as it provides gentle morning sun. A few feet away from a south or west-facing window works, too.
After a week or so, you can slowly start introducing it to more direct sun. Move it a bit closer to the window or into a spot that gets an extra hour of direct light each day. Keep a close eye on it for any signs of stress, like pale, bleached-out, or scorched-looking spots. That means it’s getting too much, too fast.
Once it's fully acclimated, most cacti are happiest with four to six hours of direct sunlight every day.
To Feed or Not to Feed
What about fertilizer? Think of it as a vitamin boost—helpful, but not something you need to worry about right away. The fresh potting mix you used is packed with nutrients that will keep your cactus happy for several months.
Wait until you see active new growth—like new pads, stems, or even just fresh spines—before you even think about fertilizing. This typically happens during the spring and summer.
When you do decide it's time for a feeding, just remember a few things:
- Get the Right Stuff: Look for a fertilizer made specifically for cacti and succulents. It should be low in nitrogen.
- Weaker is Better: Cacti are light feeders. Always dilute the fertilizer to half or even a quarter of the strength recommended on the label to avoid burning the roots.
- Timing is Key: Only feed your cactus during its growing season (spring and summer). Lay off the fertilizer completely in the fall and winter when the plant is dormant.
Following these simple steps after potting sets your cactus up for success. You're giving it the stable, gentle introduction it needs to settle in and truly thrive.
Troubleshooting Common Cactus Potting Problems
So you've followed every step, given your new cactus a great home, and suddenly... it looks a little off. Don't worry! This is completely normal. Think of these signs as your plant's way of talking to you. Learning to spot these signals early is the best skill you can develop as a cactus owner.
Most of the time, a stressed-out cactus is pointing to one of three classic culprits: water, light, or pests. By figuring out which one it is, you can make a few simple tweaks and have your plant looking happy and healthy again in no time.
Identifying and Fixing Water Woes
Watering is, without a doubt, the number one stumbling block for new cactus keepers. The tricky part is that the signs of too much and too little water can look surprisingly similar at first glance. But once you know what to look for, the differences are clear.
An overwatered cactus is a plant in serious trouble. It will often look sickly yellow and feel soft or even mushy, especially at the base where it meets the soil. This is a tell-tale sign of root rot, and you need to act fast.
- The Fix: Your best bet is to gently slide the cactus out of its pot and take a look at the roots. If they're black, slimy, or smell bad, trim them off with a clean knife. Let the plant sit out in a dry, shady spot for a few days so the cuts can heal over, then repot it into a fresh, bone-dry cactus mix.
On the flip side, an underwatered cactus looks exactly how you'd imagine: thirsty. It will appear shriveled, wrinkled, or a bit deflated. The vibrant color might fade, and the whole plant just looks sad. Thankfully, this is a much easier fix.
- The Fix: Simply give it a good, deep drink. Water the pot thoroughly until you see it running out of the drainage hole. Let it drain completely, then just wait. Your cactus should plump right back up within a day or two.
Decoding Light-Related Issues
While cacti are famous sun-lovers, there's definitely a "too much" and a "not enough" when it comes to light. Finding that sweet spot is key.
If your cactus starts stretching out, looking thin, pale, and weak, it's a condition called etiolation. This is your plant literally reaching for more light. It's a clear signal that its current spot is just too dim.
The opposite problem is sunburn, which looks like white, yellow, or tan patches on the side of the cactus facing the sun. These are permanent scars caused by sunlight that was just too intense for the plant to handle.
I see this all the time: people move a cactus from a shady spot in the store straight into the most intense sun on their patio. You have to acclimate it! Gradually introduce your plant to more direct sun over a week or two, adding an hour or so each day to prevent shock and sunburn.
Dealing with Unwanted Pests
Bringing a potted cactus indoors creates a cozy, stable environment that, unfortunately, pests can also enjoy. The trick is to catch them early before a few annoying bugs turn into a full-blown infestation.
The most common pest you'll likely encounter is the mealybug. These are tiny, white, cotton-like insects that hide in the nooks and crannies of your cactus and feed on its sap. The first thing you might notice is a sticky, clear substance on the plant, which is politely called "honeydew."
Here's my go-to plan for getting rid of them:
- Isolate the Patient: The moment you spot pests, move that plant far away from any others. Mealybugs spread fast.
- Spot Treatment: Grab a cotton swab, dip it in 70% isopropyl alcohol, and dab it directly onto any mealybugs you can see. The alcohol instantly dissolves their waxy, protective coating.
- Spray for Backup: For a more widespread issue, mix a 50/50 solution of the alcohol and water, add a couple of drops of mild dish soap, and put it in a spray bottle. Thoroughly spray the entire cactus, making sure to get into all the hidden ribs and joints.
- Stay Vigilant: You'll probably need to repeat this process every few days for a week or two to make sure you get any newly hatched pests.
Sometimes it's tough to figure out what's wrong just by looking. I put together this quick-reference table to help you play detective and diagnose your cactus's symptoms at a glance.
Potted Cactus Symptom Checker
| Symptom | Potential Cause | Recommended Solution |
|---|---|---|
| Yellowing & Mushy Base | Overwatering / Root Rot | Unpot, trim rotten roots, let dry, repot in fresh soil. |
| Shriveled & Wrinkled | Underwatering | Water thoroughly until it drains, then allow soil to dry completely. |
| Stretching & Pale Growth | Insufficient Light (Etiolation) | Gradually move the plant to a location with more direct sunlight. |
| White or Tan Scorch Marks | Sunburn | Move to a spot with less intense direct sun; scars are permanent. |
| White, Cottony Spots | Mealybugs | Isolate the plant and treat with 70% isopropyl alcohol. |
| No Growth | Dormancy / Poor Conditions | Check if it's the dormant season. If not, evaluate light, water, and soil. |
| Rotting from the Top Down | Fungal or Bacterial Infection | Cut away the infected part with a sterile knife until only healthy tissue remains. |
Hopefully, this chart makes it a little easier to pinpoint the problem and get your cactus back on the road to recovery. Remember, a "sick" plant is usually just a plant asking for a change in its environment.
Growing Your Indoor Cactus Collection
Once you've mastered how to plant a cactus in a pot, you might just find yourself with a new obsession. It’s a familiar story: that one perfect specimen soon needs a few friends, and before you know it, you’re curating your own stunning indoor desert. The best part? Growing that collection is easier than you think.
The world of cacti is just brimming with incredible diversity in shape, texture, and color. The secret to a successful collection is starting with species that are known to be forgiving and happy in containers. This way, you build confidence while creating a beautiful, low-maintenance display that’s uniquely yours. If you're looking for some inspiration to get started, you can find some beautiful arrangements in collections like Fiore Designs' Succulent Garden collection.
Beginner-Friendly Potted Cactus Species
Choosing the right plants from the get-go can make all the difference between frustration and success. While some cacti are notoriously fussy, many are incredibly resilient and will thrive indoors even if you're still learning.
Here are a few fantastic choices to get your collection started:
-
Zebra Haworthia (Haworthiopsis attenuata): Okay, technically it's a succulent, but its spiky look and laid-back attitude make it a perfect fit for any cactus gang. Those striking white stripes offer incredible visual contrast.
-
Moon Cactus (Gymnocalycium mihanovichii): You've probably seen these—the little cacti with vibrant red, yellow, or pink tops grafted onto a green base. They're small, full of personality, and add a pop of color that really stands out.
-
Golden Barrel Cactus (Echinocactus grusonii): This is a true desert classic. Its iconic spherical shape and neat rows of golden spines make it a showstopper, and since it’s a slow grower, it stays happy in a pot for a very long time.
These varieties are popular for a reason. They're easy to find, won't break the bank, and can tolerate a bit of neglect while you're still getting the hang of things.
Essential Tools for the Cactus Enthusiast
As your collection grows, you’ll find that a few specific tools can make caring for your plants much easier and more effective. You don’t need a ton of fancy equipment, but these items are game-changers.
A moisture meter is hands-down one of the best investments a new cactus owner can make. It completely eliminates the guesswork in watering and helps you avoid root rot—the number one killer of potted cacti.
Consider adding these to your toolkit:
- Moisture Meter: This simple probe instantly tells you how wet or dry the soil is deep inside the pot. No more wondering, "Should I water it yet?"
- Long-Spouted Watering Can: Lets you direct water right to the soil, avoiding splashes on the cactus itself, which can help keep fungal problems at bay.
- Soft-Bristled Brush: A small, clean paintbrush is perfect for gently dusting off your plants and clearing away debris from between their spines.
Another fantastic addition is a decorative top dressing. A layer of small pebbles, volcanic rock, or horticultural grit spread over the soil surface not only looks sharp but also helps stop the soil from compacting and keeps pesky fungus gnats from moving in.
This passion for prickly plants is more than just a niche hobby. The global cactus plants market was valued at around USD 5.18 billion in 2023 and is expected to keep growing, showing just how much people love bringing these resilient plants into their homes. With the right species and a few helpful tools, you're all set to create a beautiful collection of your own.
Common Questions About Planting a Cactus in a Pot
Even with a perfect step-by-step guide, you're bound to have a few questions when you're elbows-deep in soil with a spiky plant. It happens to all of us. Think of this as the part of the conversation where we tackle those nagging "what ifs" that pop up after the main work is done.
Getting these final details right can be the difference between a cactus that thrives and one that... well, doesn't. So, let's get into some of the most common things people ask.
Watering and Soil Questions
Water and soil are the two biggest variables in cactus care, and honestly, they're where most new growers stumble. It's completely normal to feel a little anxious about getting them just right.
Can I just use regular potting soil for my cactus?
I get this question all the time, and the short answer is no, please don't. At least, not by itself. Standard potting mixes are designed like sponges—they hold onto moisture for thirsty tropical plants and ferns. For a desert-dweller, that's a recipe for disaster, leading straight to root rot.
Now, if regular potting soil is all you've got on hand, you can make it work in a pinch. You just have to amend it heavily. A good rule of thumb is to create a 50/50 blend: mix one part of your potting soil with one part of an inorganic material.
Your best bets for this are:
- Perlite: Those little white styrofoam-like balls. They create air pockets and help water drain right through.
- Pumice: A porous volcanic rock that keeps the soil from turning into a dense brick.
- Coarse Sand: Not play sand! You need the gritty stuff to ensure water flows out fast.
This simple mix transforms a soggy soil into the gritty, fast-draining home your cactus is dreaming of.
How soon can I water my cactus after I pot it?
Hold off on watering for about a week. This is probably the most counterintuitive but crucial piece of advice I can give. Repotting is a bit rough on a plant, and it's almost certain that some of the tiny, delicate roots got bruised or broken in the process.
This dry waiting period gives those little wounds time to heal and form a callus. If you water right away, you're essentially inviting moisture into an open wound, which is a fast track to root rot. Patience here is your best friend.
Timing and Health Concerns
Knowing when to do things and how to spot trouble early can save you a lot of heartache down the road.
What's the best time of year to repot a cactus?
The best time to plant or repot is during the cactus's active growing season, which for most species is spring or early summer. When the plant is actively growing, it has the energy to quickly recover from the stress of the move and send out new roots into its fresh pot.
Try to avoid repotting in the late fall or winter. The plant is dormant then, and it will just sit there, stressed and slow to heal, making it much more vulnerable to problems.
Help! My cactus is yellow and soft at the base. What did I do wrong?
This is the one that always comes with a sense of panic, and for good reason. A yellow, soft, or downright mushy base is the classic sign of overwatering and root rot. It means the soil has been staying wet for far too long, and the roots are suffocating and dying.
To save it, you have to act fast.
- Gently pull the cactus out of its pot.
- Inspect the roots and trim off anything that looks dark, slimy, or mushy. Be ruthless.
- Let the entire plant sit out in the air for several days until the cuts have calloused over.
- Finally, repot it into a brand new, completely dry cactus mix. And whatever you do, don't water it for at least another week.
Ready to start your own stunning cactus collection? At The Cactus Outlet, we have a huge selection of healthy, beautiful cacti ready for their new homes. Explore our diverse range of plants today!