
Growing a cactus is more than just sticking a plant in a pot and forgetting about it. It’s a rewarding journey into cultivating some of nature’s most resilient and architectural beauties. If you get three things right—plenty of light, a well-draining soil mix, and a ‘soak and dry’ watering method—you'll have everything you need to build a thriving indoor desert.
Why Growing Cactus Plants Is So Rewarding
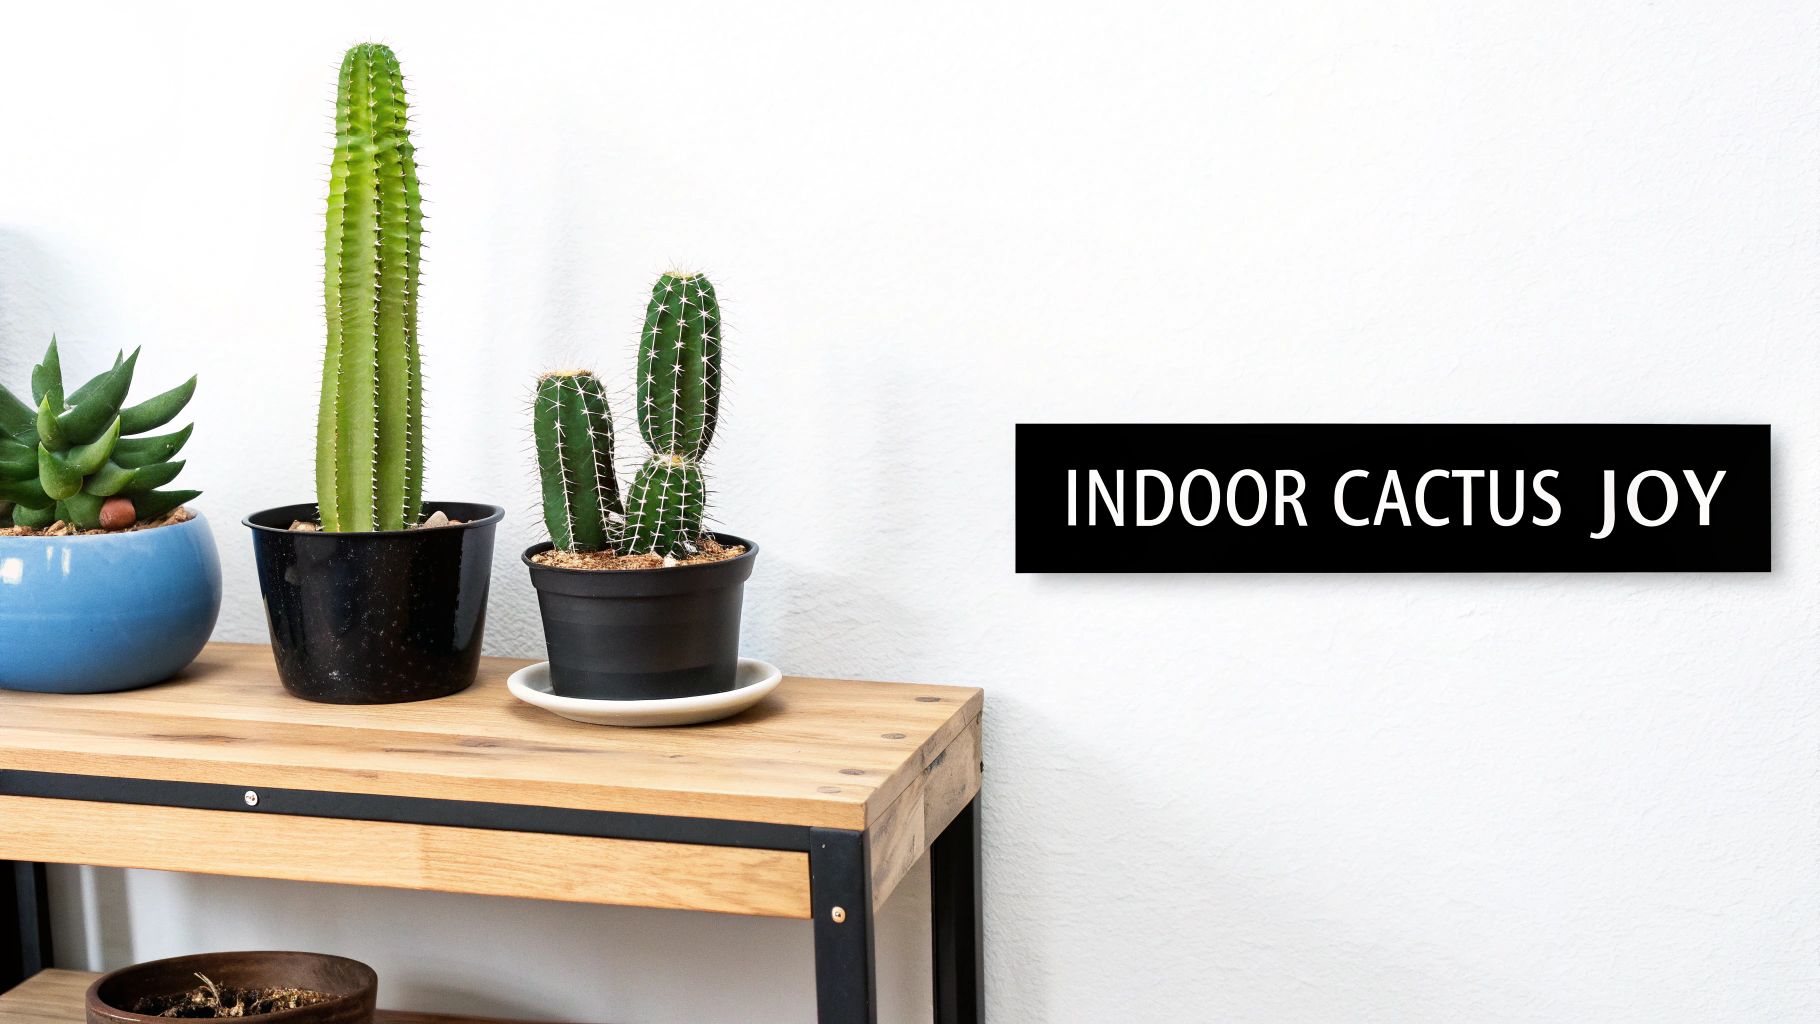
Welcome to the world of indoor cactus growing! It’s a hobby that’s far more nuanced and gratifying than the old ‘set it and forget it’ myth lets on. These unique desert dwellers have become staples in modern homes, not just because they’re easy-going, but for their striking, sculptural forms. Each one is like a living piece of art with its own personality.
This guide is your roadmap. We’ll walk through the essentials of cactus care without the complicated jargon, focusing on the practical steps that actually work. The goal is to get you started with confidence, proving that anyone can cultivate a flourishing collection of these fascinating plants.
More Than Just a Low-Maintenance Plant
The real appeal of growing cacti goes way beyond convenience. It's about bringing a piece of nature into your home that embodies patience and resilience. Unlike leafy plants that shoot up overnight, cacti grow on their own time. Seeing that new pad emerge or watching a flower unexpectedly bloom feels like a real achievement.
This slow, deliberate pace makes them perfect companions for both busy beginners and seasoned plant lovers. It's a connection that's backed by a massive trend. The global cactus market is booming, with a projected size of around $500 million by 2025. This surge is fueled by a new wave of indoor gardeners, especially in cities, who appreciate a plant that can handle a little neglect.
The simple joy of watching these resilient plants grow offers a quiet, mindful escape. They teach us that growth doesn't always have to be rapid to be beautiful.
What You Will Learn
This guide will give you the knowledge to help your cactus truly thrive, not just survive. We'll cover the core pillars of care that every aspiring cactus grower needs to master.
- Choosing the Right Plant: Not all cacti are created equal. We'll help you pick a species that actually fits your home's light and space.
- Perfecting the Potting Mix: I'll show you why the right soil is the absolute foundation for a healthy root system. It’s non-negotiable.
- Mastering Light and Water: Learn to read the signs your cactus gives you, so you'll know exactly when it's thirsty or needs more sun.
- Troubleshooting Common Issues: We'll get you ready to spot and handle common problems before they spiral out of control.
A great first step is to explore the different types of succulents and cacti to see what catches your eye and might suit your space. Let’s get started.
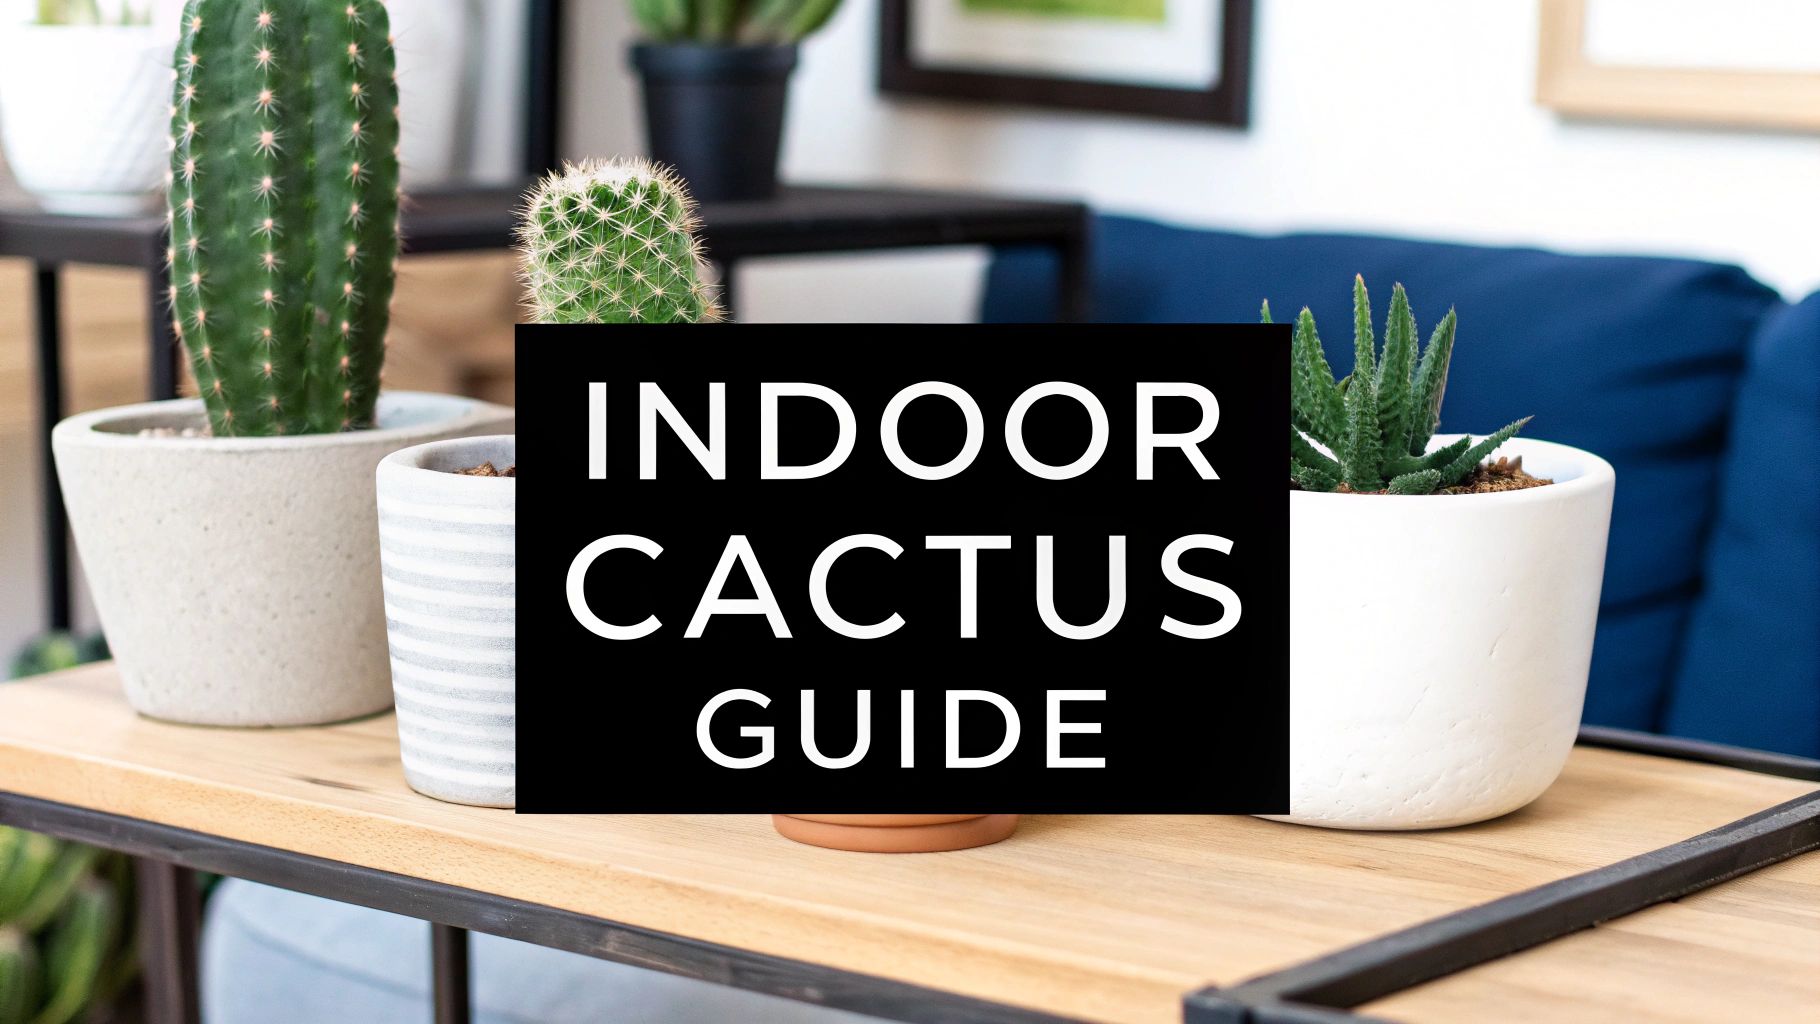
How to Choose the Right Cactus for Your Space
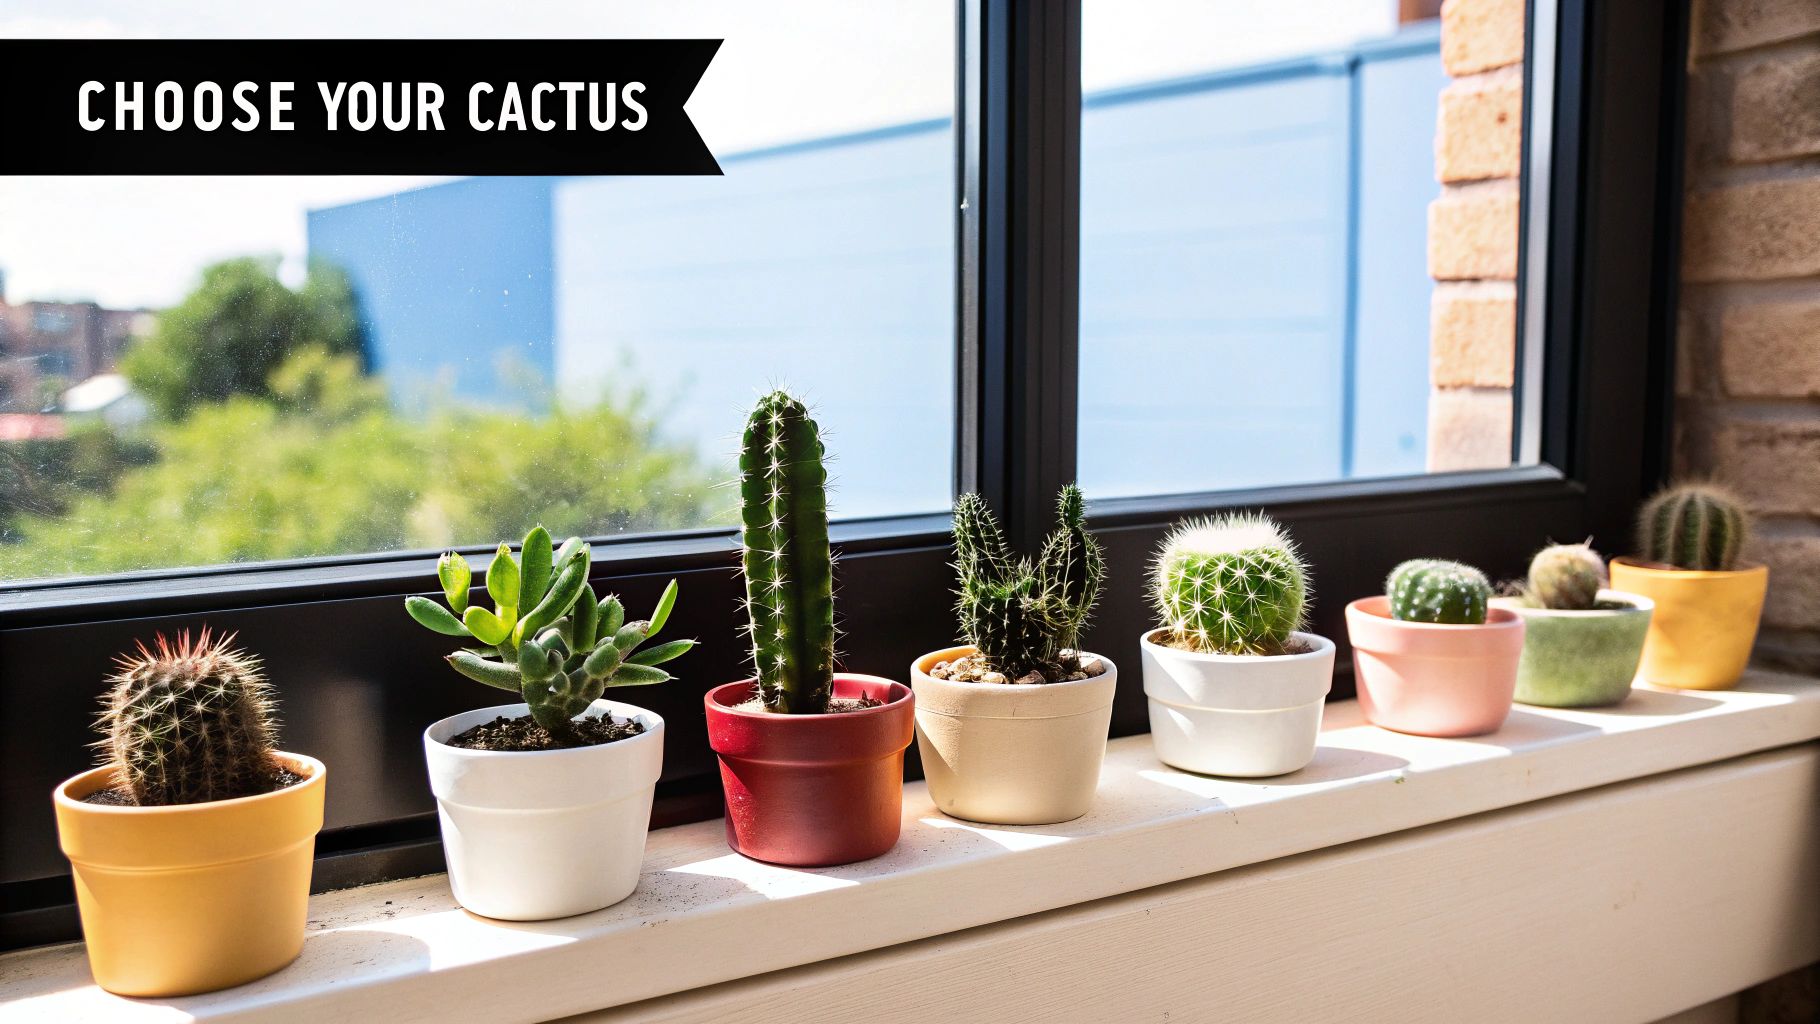
So, you’re ready to bring home a cactus. The first step, and honestly the most important, is picking the right one. It's tempting to just grab the coolest-looking one at the nursery, but that desert-dweller might not be too happy in your living room. The secret is simple: match the plant to your home’s environment, especially the light.
Instead of guessing, let’s get real about what your space offers. Your success hinges on being honest about the sunlight you have. A big, south-facing window is a world away from a shadier north-facing sill, and your cactus will definitely notice the difference.
Matching a Cactus to Your Home's Light
Think of light as the main course on your cactus's menu. Some are total sun-worshippers that need hours of direct, intense light to thrive. Others are surprisingly chill about living in bright but indirect light. Getting this right from day one saves you from dealing with a sad, stretched-out cactus (a phenomenon called etiolation) or, worse, a scorched one.
If you're lucky enough to have a spot that gets blasted with sun all day, your options are wide open. But for most of us, bright, indirect light is a more realistic starting point.
My Best Advice: Before you even go shopping, spend a day just watching the light in your home. See where the sunbeams land and for how long. This simple bit of observation is worth more than any generic guide you'll ever read.
For a great list of specific plants that do well inside, check out this guide on https://www.cactusoutlet.com/blogs/blog/best-cactus-for-indoors. It’s a fantastic resource for narrowing down your choices before you even leave the house.
Beginner-Friendly Indoor Cactus Comparison
To make things easier, here’s a quick reference guide comparing some of the most popular and forgiving indoor cacti. Use it to see which one best fits the light and space you have available.
| Cactus Name | Light Requirement | Watering Needs (Growing Season) | Maximum Indoor Size |
|---|---|---|---|
| Christmas Cactus (Schlumbergera) | Bright, Indirect Light | Every 1-2 weeks | 1-2 feet wide |
| Bunny Ears Cactus (Opuntia) | Full Sun (6+ hours) | Every 2-3 weeks | 2 feet tall |
| Zebra Haworthia (Haworthiopsis) | Bright, Indirect to Low Light | Every 2-3 weeks | 6-8 inches tall |
| Fairy Castle Cactus (Acanthocereus) | Bright, Direct Light | Every 2-4 weeks | 1-2 feet tall |
Choosing one of these proven winners is a great way to build your confidence as you get started on your cactus-growing journey.
Top Beginner-Friendly Cactus Varieties
If you're just starting, do yourself a favor and pick a plant that’s a little more forgiving. Some species are just naturally better at handling indoor life and the occasional "oops" moment from their owner.
- Christmas Cactus (Schlumbergera): This isn't your typical desert cactus. It's actually a forest native that prefers bright, indirect light over intense sun. Its unique, cascading stems and stunning winter flowers make it a really rewarding plant to grow.
- Bunny Ears Cactus (Opuntia microdasys): This one gives you that classic desert look without taking over your house. It needs plenty of bright light and has charming pads covered in fuzzy glochids instead of scary spines, making it a little friendlier to handle.
- Zebra Haworthia (Haworthiopsis attenuata): Okay, so it’s technically a succulent, but it's always in the cactus section and is an absolute star in lower-light spots. Those bold white stripes and its compact size make it perfect for a desk or bookshelf.
A new cactus can be a great way to liven up your decor. If you're looking for more inspiration on how to use plants to style your home, you might get some great ideas from this article about transforming your space with natural home decor.
What to Look For at the Nursery
Once you have a few ideas, it’s time for the fun part: picking out your plant. A healthy start makes all the difference, so put on your detective hat and give any potential candidates a good once-over before you head to the checkout.
A Quick Health Checklist:
- Look for Pests: Get up close and personal. Check the base of the plant and in between any ribs or pads. Little white cottony bits? Those are mealybugs. Fine, spidery webs? Spider mites. See any of this? Hard pass.
- Check for Rot: Gently squeeze the base of the cactus. It should feel solid and firm. If it’s mushy, soft, or discolored, that’s a huge red flag for root rot, which is almost impossible to come back from.
- Find Even Growth: A healthy cactus should look vibrant and symmetrical. Steer clear of plants that are pale, skinny, or look like they're stretching toward the light—they're already weak.
- Peek at the Roots: If you can, gently slide the plant out of its pot. You want to see white or light-colored roots that fill the pot but aren't a tangled, solid mass. Dark, smelly, or mushy roots are a dealbreaker.
Picking a healthy plant that’s right for your home is more than half the battle. If you get this part right, you’re setting yourself up for years of enjoyment.
Getting the Soil and Pot Just Right
If there's one mistake I see people make over and over again, it's using the wrong soil. Grabbing a bag of standard, all-purpose potting mix from the garden center is practically a death sentence for a cactus. That stuff is engineered to hold onto water, which is fantastic for a fern but a total disaster for a desert plant. It’s a fast track to root rot.
The whole idea is to mimic what a cactus experiences in its natural habitat—a gritty, airy soil that water rushes through. You want the roots to get a good drink, but you never want them sitting in a soggy, waterlogged mess. A happy cactus starts with happy roots, and the right soil is where it all begins.
Mixing Your Own Cactus Soil
Don't let the idea of making your own soil mix intimidate you. It’s actually incredibly easy and gives you total control over what your cactus is living in. You really only need three basic things to create a fantastic substrate that your plants will thrive in.
Here’s the simple, effective recipe I’ve relied on for years:
- Two Parts Potting Soil: This is your base. It provides a little organic matter and some essential nutrients for the plant.
- One Part Perlite or Pumice: These lightweight volcanic rocks are the magic ingredient for aeration. They create tiny air pockets throughout the mix, keeping it from compacting and letting the roots breathe.
- One Part Coarse Sand: This is all about drainage. It helps water move straight through the pot. Just be sure you're using coarse horticultural sand—fine play sand will clump up and do the opposite of what you want.
Just dump all three into a bucket or onto a tarp and mix them together thoroughly. When you’re done, the soil should feel light and gritty to the touch, not dense and spongy like a typical potting mix. If you want to get even more specific about ingredients and other recipes, you can dig deeper into how to make cactus soil in our detailed guide.
What to Look for in a Store-Bought Mix
If you’d rather just buy a pre-made mix, that’s totally fine! You just have to be a smart shopper. A lot of bags labeled "Cactus & Succulent Mix" are still way too heavy on organic materials like peat moss that hold excess water.
When you're at the store, pick up the bag and look for one where you can actually see the inorganic stuff. You should be able to spot the little white bits of perlite or pumice and see the sandy texture. If it just looks dark, dense, and feels like regular soil, either leave it on the shelf or be prepared to amend it yourself with a few extra handfuls of perlite.
A great little test: If you can squeeze a handful of the soil and it forms a tight, dense clump, it’s probably going to hold too much water. A good cactus mix should feel much looser and more crumbly.
Choosing the Perfect Pot
The pot you choose is every bit as important as the soil that goes in it. Sure, you want it to look good, but function has to come first. The single most important, non-negotiable feature is at least one drainage hole. Without it, water has nowhere to go, and even the best soil in the world can't save your cactus from rotting.
When it comes to the pot's material, you’ve got a couple of fantastic options, and each has its own distinct advantages.
| Pot Material | Key Advantages | Best For |
|---|---|---|
| Terracotta | It's porous, which means air and moisture can pass right through the walls. This helps the soil dry out much faster and more evenly, which is a huge benefit in preventing overwatering. | Beginners, because it gives you a safety net against watering mistakes. It's also perfect if you live in a humid climate where soil takes forever to dry. |
| Glazed Ceramic | Because it's non-porous, it holds onto moisture longer than terracotta. It also comes in an endless variety of colors and styles to match your home's decor. | Growers who are a bit more experienced and have their watering routine down, or for certain types of cacti that don't mind staying moist a little longer. |
Honestly, both materials work great as long as they have that crucial drainage hole. And if you find a beautiful decorative pot that doesn't have one? Just use it as a "cachepot." Plant your cactus in a cheap plastic nursery pot that fits inside the pretty one, and just pull it out when it's time to water.
Mastering Your Watering and Lighting Strategy
Let's talk about the two things that cause the most headaches for cactus owners: water and light. If you can get a handle on these, you're 90% of the way to a happy, healthy plant. People often think cacti don't need much water at all, but that's not quite right. They need a very specific kind of watering—deep, infrequent, and perfectly timed.
More indoor cacti have met their end from overwatering than from any other cause. A rigid schedule like "water every Tuesday" is the fastest way to kill your plant. Your goal is to let the soil get completely bone-dry between drinks, which copies the flood-and-drought cycle of their native desert habitat. This is often called the "soak and dry" method.
The Art of Watering a Cactus
To figure out if it's time to water, you have to get your hands dirty. Don't just tap the surface; it always dries out first. The best way is to stick your finger or a wooden chopstick a couple of inches into the soil. If it comes out with any damp soil clinging to it, wait. If it's totally clean and dry, it's go-time.
When you do water, don't be shy about it. Take the plant over to the sink and give it a thorough soak until you see water streaming out of the drainage hole. This ensures every single root gets a chance to hydrate. Let it drain completely for a few minutes before putting it back in its decorative pot or saucer—you never want it sitting in a puddle.
The golden rule of cactus care is simple but critical: When in doubt, don't water. A cactus can bounce back from being too dry far easier than it can recover from the fatal damage of root rot.
Adjusting for the Seasons
A good watering routine isn't set in stone; it changes with the seasons. Cacti have natural growing and resting cycles, and you need to work with them.
- Growing Season (Spring and Summer): During these warm, bright months, your cactus is in full-on growth mode. The soil will dry out much faster, so you’ll likely be watering every 2-4 weeks, depending on how warm and sunny your home is.
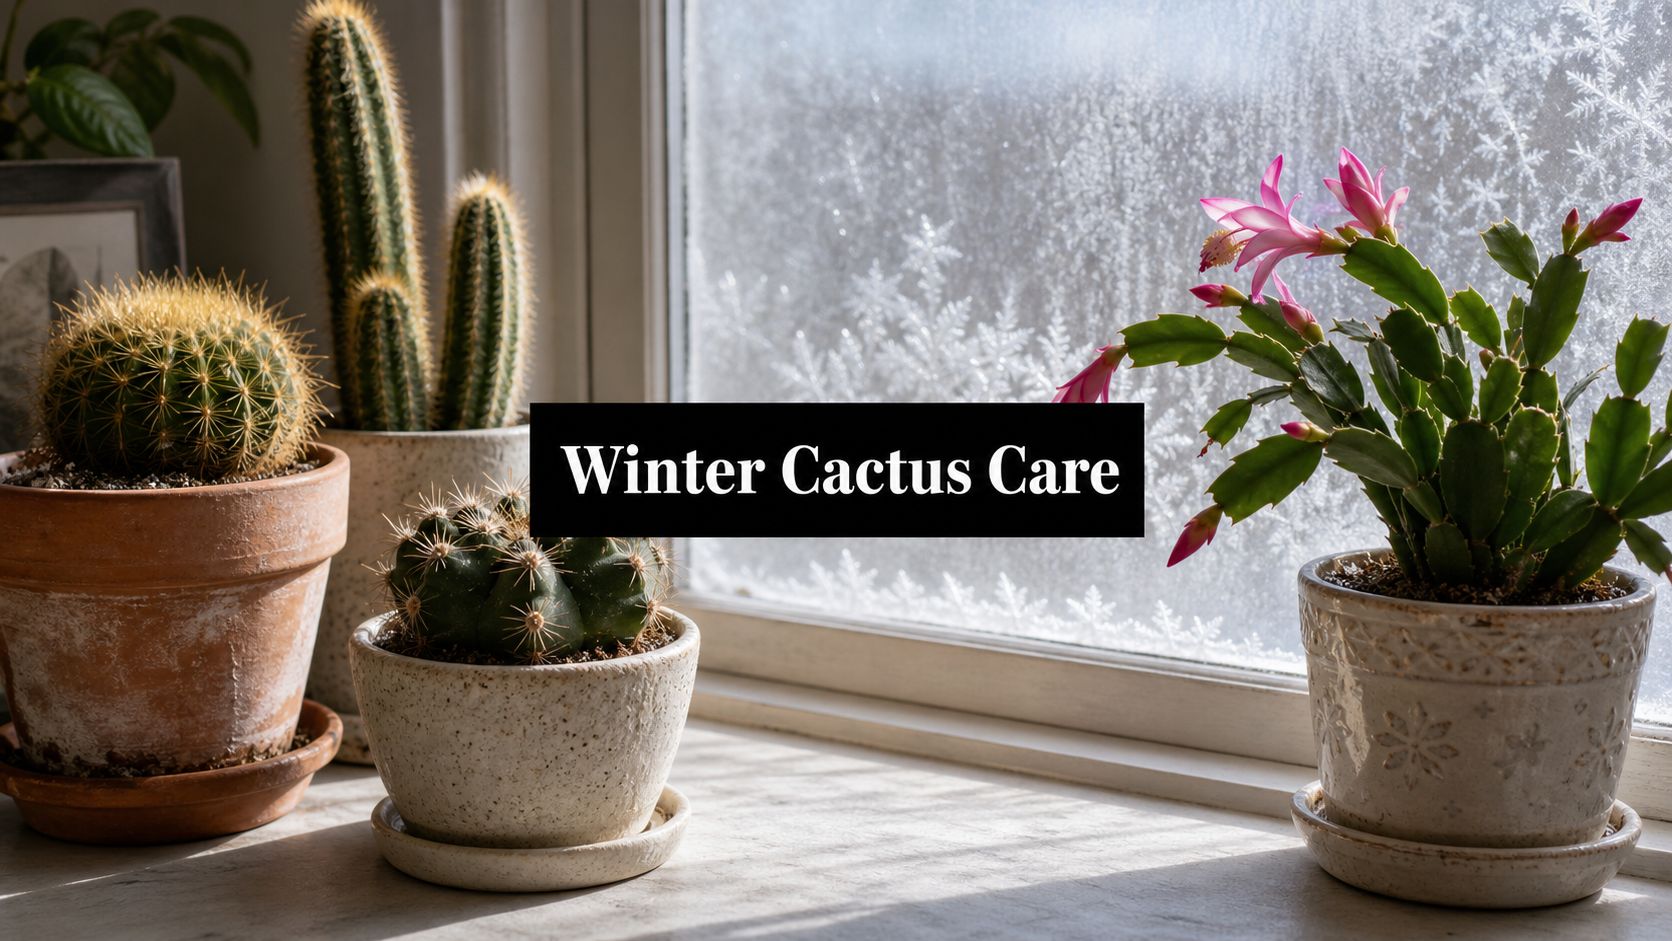
- Dormancy Period (Fall and Winter): When the days get shorter and cooler, most cacti take a nap. Their growth slows to a crawl, and so does their thirst. You’ll need to cut back watering dramatically, maybe to just once every 6-8 weeks or even less for some species.
This infographic gives you a great visual for what goes into a healthy cactus soil mix, which is key for the drainage we've been talking about.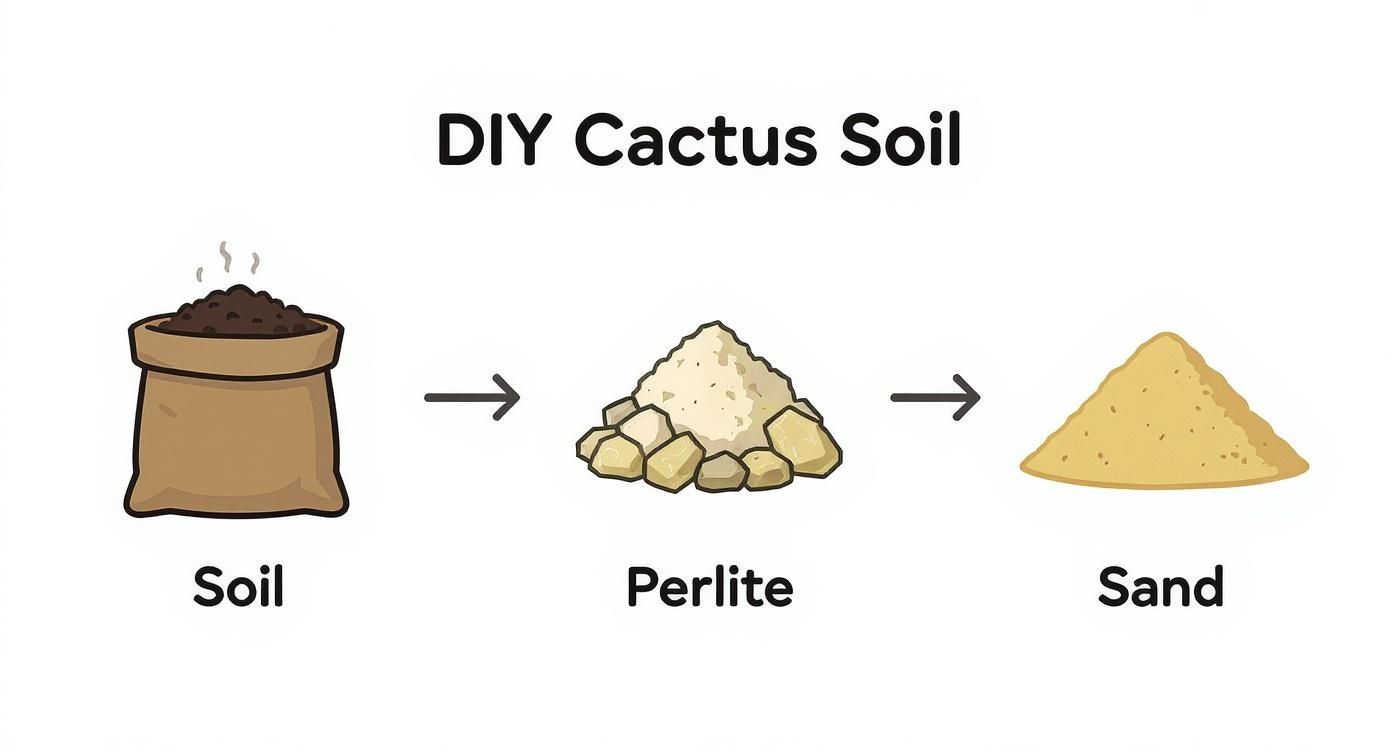
Notice how perlite and sand are the stars of the show? They create that airy, fast-draining foundation that prevents water from suffocating the roots.
Finding the Perfect Light
Light is the other half of the puzzle. Most cacti are total sun-worshippers, craving several hours of bright, direct sunlight every day. For many of us, a south-facing window is the prime real estate for these desert dwellers.
But what about that "bright, indirect light" you always hear about? That usually means a spot right by an east-facing window that gets some gentle morning sun, or maybe a few feet back from an intense south or west window. The light is still bright, but it's not scorching hot.
If you really want to get it right, a digital lightmeter can take all the guesswork out of finding the perfect spot.
Signs of Lighting Trouble
The good news is that your cactus will tell you if it's unhappy with its lighting. Learning to read these clues means you can fix the problem before it gets serious.
Is it getting too little light? Look for:
- Stretching (Etiolation): This is the classic sign. The cactus starts growing tall, thin, and pale as it literally reaches for a light source.
- Fading Color: Those deep, vibrant greens might start to look dull and washed out.
- No New Growth: In the spring or summer, a healthy plant should be growing. If it’s just sitting there, it might need more sun to fuel its growth.
Is it getting too much light? Watch for:
- Scorching: You might see yellow or brown crispy patches on the side of the plant that gets the most sun. It's a plant sunburn.
- Bleached Look: The whole plant can take on a faded, almost yellowish or whitish appearance.
If you spot any of these signs, don't panic. Just move the plant to a better spot. The key is to do it gradually over a week or two so it can acclimate. A sudden jump from a dark corner to an intense windowsill can shock the plant and cause even more stress.
Advanced Cactus Care for Long-Term Health
So you've mastered the basics of light and water. Your cactus is alive, and that's a huge win! But if you want to see it truly flourish for years to come—producing robust new growth and maybe even a few surprise blooms—it's time to fine-tune your approach.
These next steps are what elevate cactus care from simple survival to long-term success. We're talking about fertilizing, repotting, and pest control. Getting these right is what helps your plant build resilience, fight off stress, and live its best, spikiest life.
Fertilizing Your Cactus for Optimal Growth
It’s a common misconception that desert plants don’t need any food. While they're built for tough, nutrient-poor environments, a little boost during their growing season makes a massive difference. Think of it as replenishing the energy they burn pushing out new growth and building stronger spines.
The trick is to be gentle. Cacti are extremely sensitive to too much nitrogen, which can cause weak, fleshy growth that's a magnet for rot and pests. Less is always more.
A Few Tips for Feeding Your Cactus:
- Pick a Low-Nitrogen Formula: Look for a fertilizer specifically designed for cacti or succulents. A good ratio to aim for is something like 5-10-10, where the first number (Nitrogen) is significantly lower than the others.
- Always Dilute It: Whatever the instructions on the bottle say, I always dilute it to half-strength. You can't undo fertilizer burn, so it's much safer to under-feed.
- Timing is Everything: Only feed your cactus when it's actively growing—typically from spring through late summer. Once fall hits, stop completely to let it go dormant for the winter.
- Never Fertilize Dry Soil: This is a fast way to scorch the roots. Water your cactus normally, wait a day or two, and then give it the diluted fertilizer.
A Practical Guide to Repotting
The thought of wrestling a spiky plant out of its pot can be daunting, but repotting every few years is non-negotiable for good health. Fresh soil provides essential nutrients and gives the root system room to breathe and expand. Without it, the plant becomes "root-bound," effectively choking itself and stunting its growth.
Most slow-growing cacti will be happy in the same pot for 2-4 years. You'll know it's time for a change when you see roots poking out of the drainage holes, the plant looks unstable or top-heavy, or the soil dries out almost immediately after you water it.
When choosing a new home for your cactus, pick a pot that's only 1-2 inches wider in diameter. A pot that's too big holds excess soil, which stays wet for too long and creates the perfect conditions for dreaded root rot.
To handle your cactus without getting poked, grab some tools. A pair of kitchen tongs, thick leather gloves, or even a newspaper folded into a thick strap can give you a secure, prickle-free grip to lift the plant.
Dealing with Common Cactus Pests
Even the most meticulously cared-for indoor cactus can attract pests. The secret to winning this battle is catching them early, before a small problem becomes a full-blown infestation. This is why it’s a great idea to quarantine any new plant for a few weeks before introducing it to your collection.
The two intruders you're most likely to see are mealybugs and spider mites.
Mealybugs: These look like tiny, fuzzy white specks, almost like bits of cotton, and they love to hide in the joints and crevices of your cactus. They feed by sucking sap, which slowly weakens the plant.
- How to Handle Them: Grab a cotton swab, dip it in 70% isopropyl alcohol, and just dab it directly on the mealybugs. The alcohol instantly dissolves their waxy coating and gets rid of them.
Spider Mites: These are incredibly tiny and almost impossible to see with the naked eye. The first clue is usually a very fine, silky webbing around the spines or new growth. You might also notice tiny yellow or brown spots on the cactus skin where they've been feeding.
- How to Handle Them: Spider mites despise humidity. A strong spray of water from a hose or showerhead can physically blast them off. If they're persistent, a good dousing with neem oil or an insecticidal soap will do the trick.
Got Questions About Your Cactus? We’ve Got Answers.
Even the most seasoned plant parent runs into issues now and then. Cacti have a reputation for being tough, but that doesn't mean they won't throw you a curveball. The good news? Most of the common problems are surprisingly easy to fix once you know what to look for.
The boom in indoor gardening has put cacti and succulents in the spotlight, and for good reason. They're stunning and relatively low-maintenance. You can see just how much this trend has grown and shaped what's available to hobbyists. But "low-maintenance" isn't "no-maintenance," and it's totally normal to have questions.
Let's walk through some of the most frequent head-scratchers I hear from fellow cactus enthusiasts.
"Help! My Cactus Is Turning Yellow."
A yellowing cactus is the plant equivalent of a check-engine light, and nine times out of ten, it’s screaming "too much water!" When the soil stays soggy, the roots can't breathe and they begin to rot. A plant with rotten roots can't pull up nutrients, which leads to that sickly yellow hue.
- Yellow at the bottom? If the base of your cactus is turning yellow and feels soft or mushy to the touch, you've got a classic case of root rot. This is a serious one.
- Yellow on the top or sides? Sometimes, this can be a sign of sunburn, especially if you just moved your cactus into a much sunnier spot without letting it adjust first.
Before you do anything else, check the soil. If it’s even slightly damp, put the watering can down. A cactus will bounce back from being a little thirsty far better than it will from having its roots drowned.
"How Do I Know When to Repot?"
Repotting can feel like a daunting task, especially with a spiky plant, but it's essential for its long-term health. Thankfully, most cacti are slow growers and only need a new pot every 2-4 years. Your plant will give you some pretty clear hints when it's time for a bigger home.
Keep an eye out for these signs:
- Roots are literally escaping through the drainage hole.
- The cactus has become top-heavy and looks like it could tip over any second.
- The soil dries out almost immediately after you water it, meaning it's all roots in there.
- It's been over a year, and you haven't seen any new growth during the spring or summer.
My biggest piece of advice here: only go up one pot size. That means choosing a new pot that’s just 1-2 inches wider. A pot that's too big holds onto way too much moisture, which puts you right back on the fast track to root rot.
"Can I Really Grow a Cactus in a Low-Light Room?"
Let's bust a common myth: not all cacti need to bake in the desert sun. While it’s true that no cactus will survive in a dark basement, some species are surprisingly happy without direct, intense light. You just have to pick the right ones.
If you're working with a less-than-sunny space, look for forest cacti. These guys naturally grow in the dappled light under tree canopies.
- Christmas Cactus (Schlumbergera) is a fantastic choice. It tolerates bright, indirect light beautifully and rewards you with stunning flowers.
- Rhipsalis (often called Mistletoe Cactus) has these cool, trailing stems and thrives in the gentle morning light from an east-facing window.
These types are your best bet for adding some cactus cool to a room that doesn't get blasted with sun all day.
"What Are These White Fuzzy Spots on My Plant?"
Seeing little white tufts that look like bits of cotton is a sure sign you've got mealybugs. These common pests are sap-suckers that will weaken your plant if you don't step in. The moment you spot them, it's time for action.
First thing's first: isolate the infected plant. You don't want those little critters hopping over to your other houseplants.
To get rid of them, grab a cotton swab and some 70% isopropyl alcohol. Just dip the swab in the alcohol and dab it directly onto each white fuzzball. The alcohol instantly dissolves their waxy protective layer and kills them. If you're dealing with a bigger infestation, you may need to spray the whole plant with a neem oil solution to catch any you missed.
At The Cactus Outlet, we're all about giving you a great start with healthy, beautiful plants. If you're ready to grow your indoor desert, check out our incredible collection of cacti and succulents at https://www.cactusoutlet.com.