Proper care for a century plant really boils down to three key things: giving it tons of direct sun, ensuring it has fantastic drainage, and watering it deeply but not very often. These striking, low-maintenance succulents thrive on a "drench and dry" watering cycle. This makes them a perfect match for gardeners who love bold, architectural plants but don't want to spend all their time fussing over them.
Why Gardeners Love the Majestic Century Plant
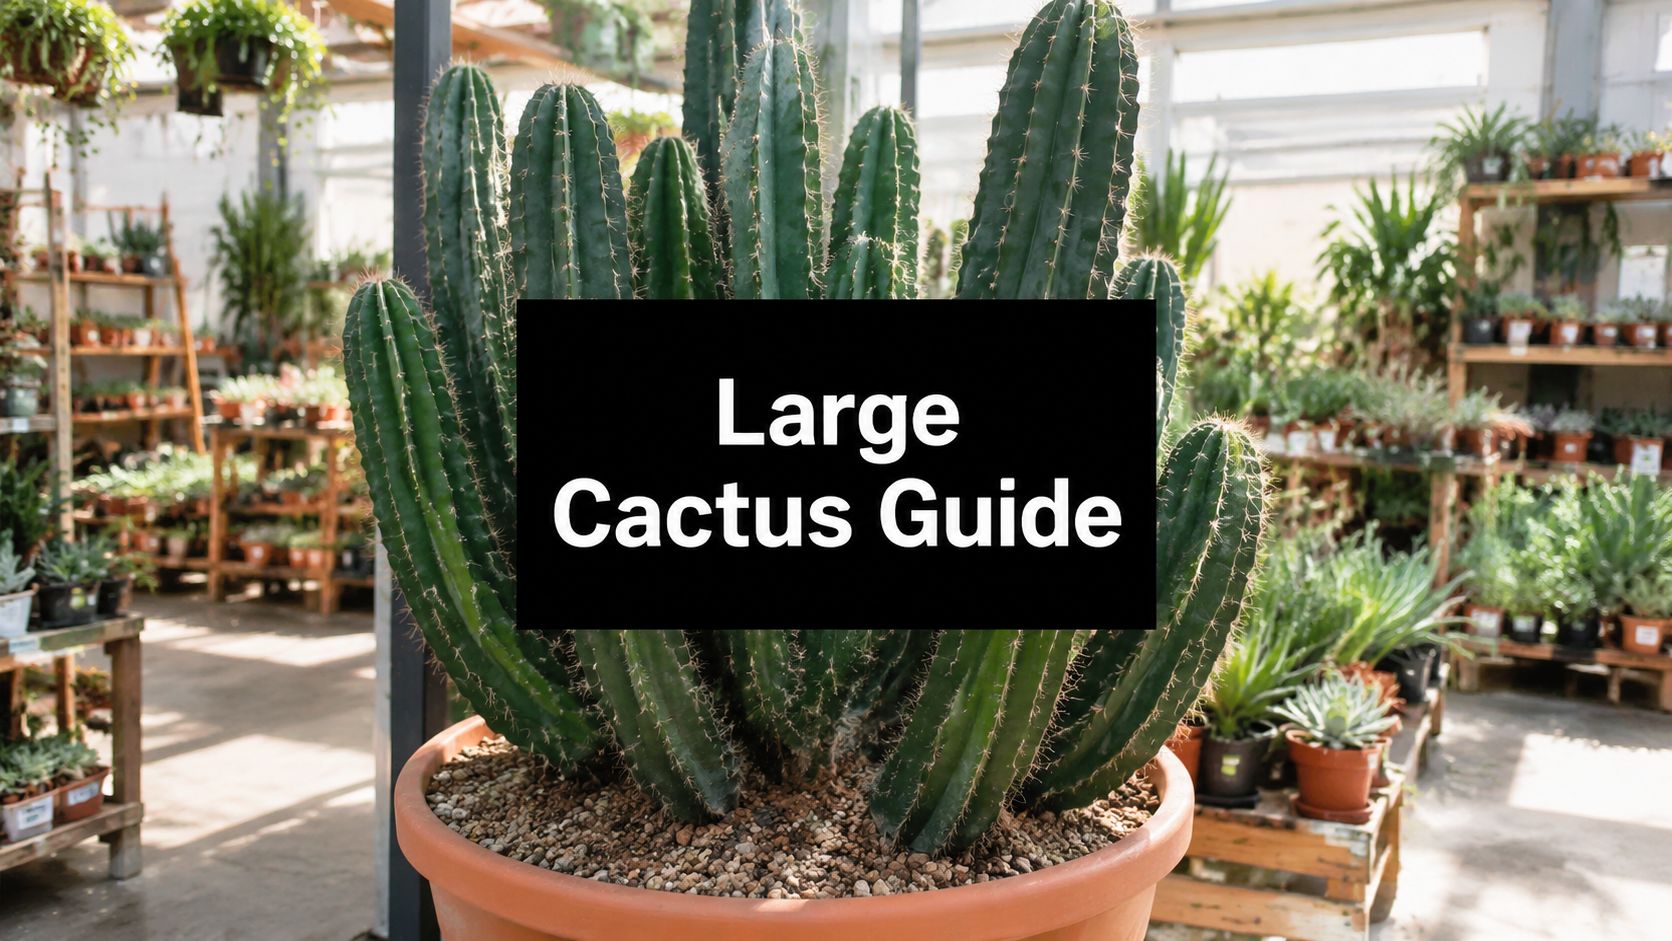
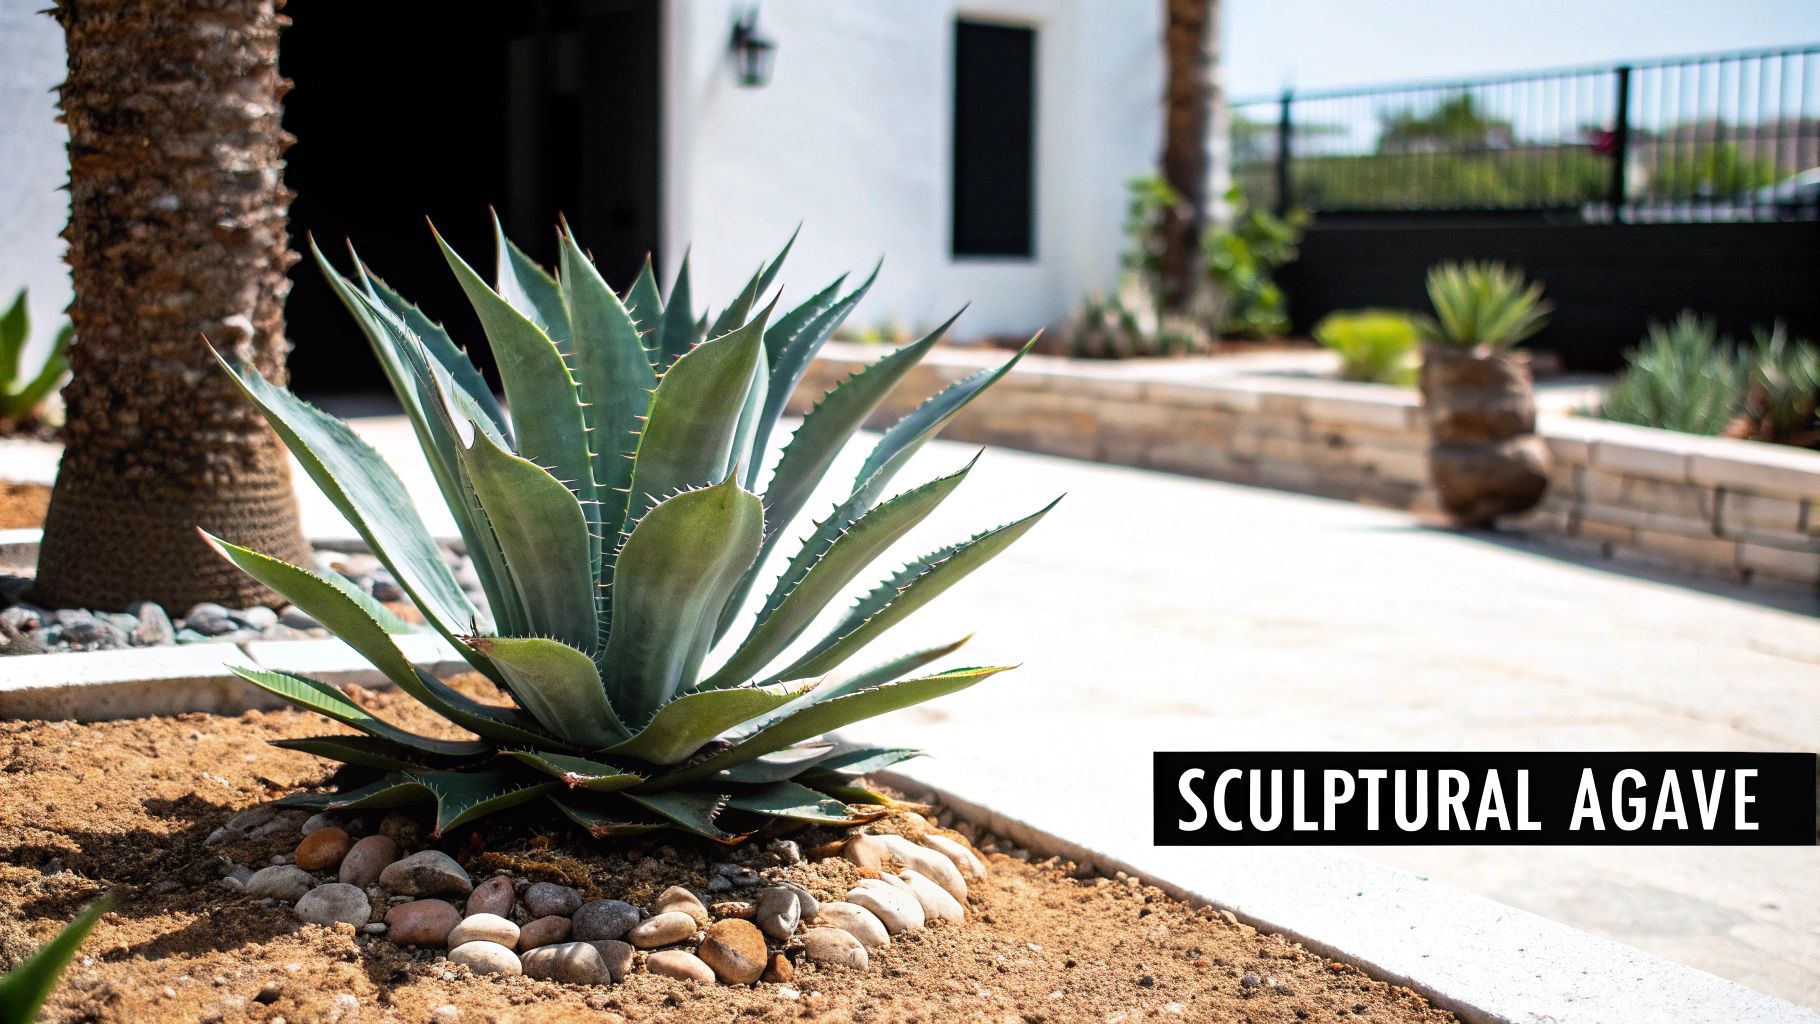
The Century Plant, or Agave americana, is so much more than just another plant in the garden. It's a living sculpture, a true statement piece whether it's in the landscape or a massive container. Its dramatic rosette of thick, spiky leaves can eventually get as big as a small car, creating a powerful focal point that you just can't ignore.
But its incredible form is only half the story. This plant is the embodiment of resilience and patience. It grows for decades before putting on its legendary, once-in-a-lifetime show: a towering flower stalk that can shoot up an astonishing 30 feet high. This combination of stunning looks and minimal care is why its popularity has skyrocketed, especially in water-wise landscaping where drought-tolerant plants like agave are the stars.
A Growing Fascination with Agaves
The buzz around these plants isn't just a feeling; it's a major shift in the gardening world. The global market for succulent plants was valued at USD 14,250.75 million and is expected to grow by 8.45% each year through 2032, largely because people want more low-maintenance options. We’ve seen this trend up close at The Cactus Outlet, where our own century plant sales have jumped 25% year-over-year. More and more people are discovering just how tough and beautiful these plants are.
And while the classic Agave americana is a stunner, it's just the beginning. If you're drawn to their unique shape, I highly recommend exploring the wonderful world of agaves. You'll find a huge variety of species, each with its own personality, perfect for any climate or space.
The real magic of a Century Plant is how it combines raw, natural power with surprising simplicity. It asks for so little—just sun, gritty soil, and your patience—and in return, it gives you a lifetime of visual impact and one spectacular farewell.
This guide is designed to walk you through everything you need to know about caring for your century plant, so it doesn't just survive, but becomes a magnificent centerpiece. We'll cover everything from getting the soil just right to handling common problems, giving you the confidence to grow this iconic succulent with success.
Century Plant Care at a Glance
Here's a quick summary of the essential care parameters for a thriving Century Plant, providing an easy-to-reference guide for beginners and experienced growers alike.
| Care Aspect | Optimal Conditions | Common Mistakes to Avoid |
|---|---|---|
| Light | 6-8 hours of direct sunlight daily. | Placing it in deep shade, which causes weak, stretched growth. |
| Soil | Fast-draining cactus/succulent mix. | Using heavy garden soil that retains too much moisture. |
| Watering | Deeply water, then allow soil to dry out completely. | Frequent, shallow watering that leads to weak roots and rot. |
| Temperature | Thrives in hot, dry climates; tolerates temps down to 15-20°F. | Exposing non-acclimated plants to a sudden hard freeze. |
| Fertilizer | Minimal; balanced, low-strength fertilizer once in spring. | Over-fertilizing, which can cause unnatural, soft growth. |
This table serves as a great starting point, but remember that every plant and environment is a little different. The key is to observe your agave and adjust your care based on its needs.
Creating the Ideal Habitat for Your Century Plant
When it comes to keeping a century plant happy, getting the environment right is everything. You can be a little forgetful with watering, but an agave will never truly thrive if it's stuck in the wrong spot. Whether it's destined for a pot on the patio or a prime location in your landscape, building the perfect habitat from the get-go is the single most important thing you can do for it.
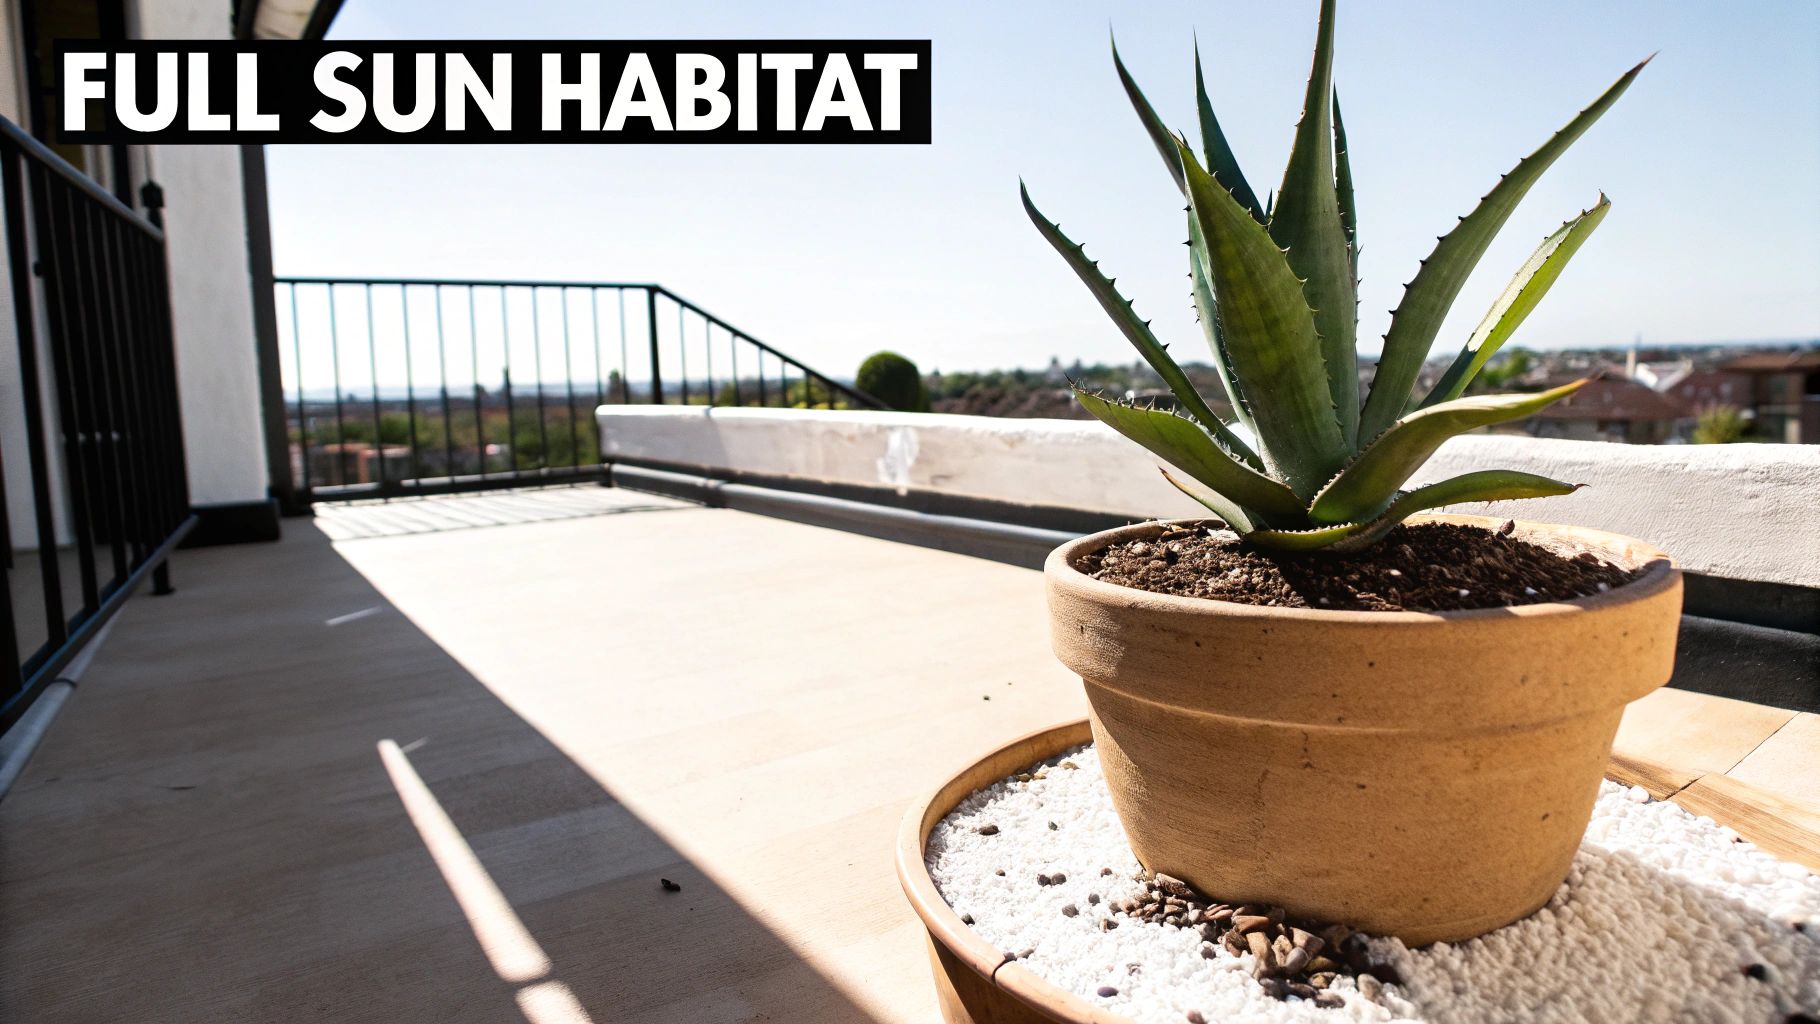
Think of these desert natives as solar-powered sculptures. They crave sun, and giving them at least 6-8 hours of direct, unfiltered sunlight every day is essential. The amount of sun they get directly impacts their growth rate, the vividness of their color, and their overall vigor. Without enough light, they start to look pale and stretched out—a sad state called etiolation.
The Right Light and Temperature
If you're planting outdoors, find the sunniest, most open spot in your yard. It’s a good idea to watch the area for a full day to make sure it doesn’t get unexpectedly shaded by the house or a tree during those critical afternoon hours. This ensures your agave can soak up all the energy it needs for its impressive (and eventual) bloom.
Growing one indoors is a bit trickier but totally doable. A south-facing window is your best friend here, as it provides the most intense light for the longest period. If your home is a bit on the darker side, don't worry. A good-quality, full-spectrum LED grow light will keep your agave compact and healthy, preventing that weak, leggy look.
Century plants are also a bit particular about temperature. They’re tough, but their growth really kicks into gear with warmth. For optimal photosynthesis, they prefer a sweet spot between 60-85°F (15-29°C). Once temperatures dip below 50°F, their growth pretty much grinds to a halt. In fact, studies on succulents have shown 92% survival rates in pots with 8-10 inch depths, which gives their deep taproots plenty of room to anchor down.
Perfect Soil and Flawless Drainage
If sunlight is the fuel, then excellent drainage is the engine. I can't stress this enough: agaves absolutely despise "wet feet." They are incredibly prone to root rot, a deadly condition that happens when their roots sit in soggy soil. Using heavy clay or standard potting mix straight from the bag is a recipe for disaster.
The secret is a gritty, porous soil that lets water drain away quickly, just like in their native rocky habitats.
When you think about soil for an agave, don't think about nutrition. Think of it as a well-aerated anchor. The goal is to get water to the roots, and then get it away from them as fast as possible.
You can find pre-made cactus and succulent soils, but mixing your own is easy and gives you better control. Here’s a tried-and-true recipe that works wonders for both pots and in-ground plantings:
- 2 parts quality cactus mix
- 1 part perlite or pumice (for aeration)
- 1 part coarse sand or horticultural grit (for drainage)
This blend creates the perfect structure for strong roots without becoming a waterlogged mess. If you're planting in the ground and have heavy soil, it's vital to amend a large area around the plant with this kind of mix. For a truly robust outdoor setup, learning about effective yard drainage solutions can be a game-changer for the long-term health of your plant.
Choosing the Right Container and Location
For those of us growing century plants in containers, the pot itself makes a huge difference. Terra cotta or other unglazed ceramic pots are hands-down the best choice. Why? Their porous walls breathe, allowing moisture to evaporate and helping the soil dry out much more evenly. And, of course, make sure any pot you choose has at least one large drainage hole.
When placing your agave outdoors, look beyond just the sun. Try to find a spot that offers a bit of a shield from relentless, drying winds that can tatter the leaves. It's also smart to avoid any low-lying spots in your yard where rain might puddle, especially in the winter. A gentle slope or a slightly raised bed is perfect for encouraging natural runoff and keeping the plant’s base dry and rot-free.
Getting Watering and Feeding Right for Your Agave
Watering is, without a doubt, the area where most folks run into trouble with their century plants. It's not because it's complicated—it's just a different way of thinking. The number one mistake I see isn't underwatering these tough desert survivors, but accidentally loving them to death with too much water. Forget what you know about keeping houseplants consistently moist; for an agave, that's a one-way ticket to root rot.
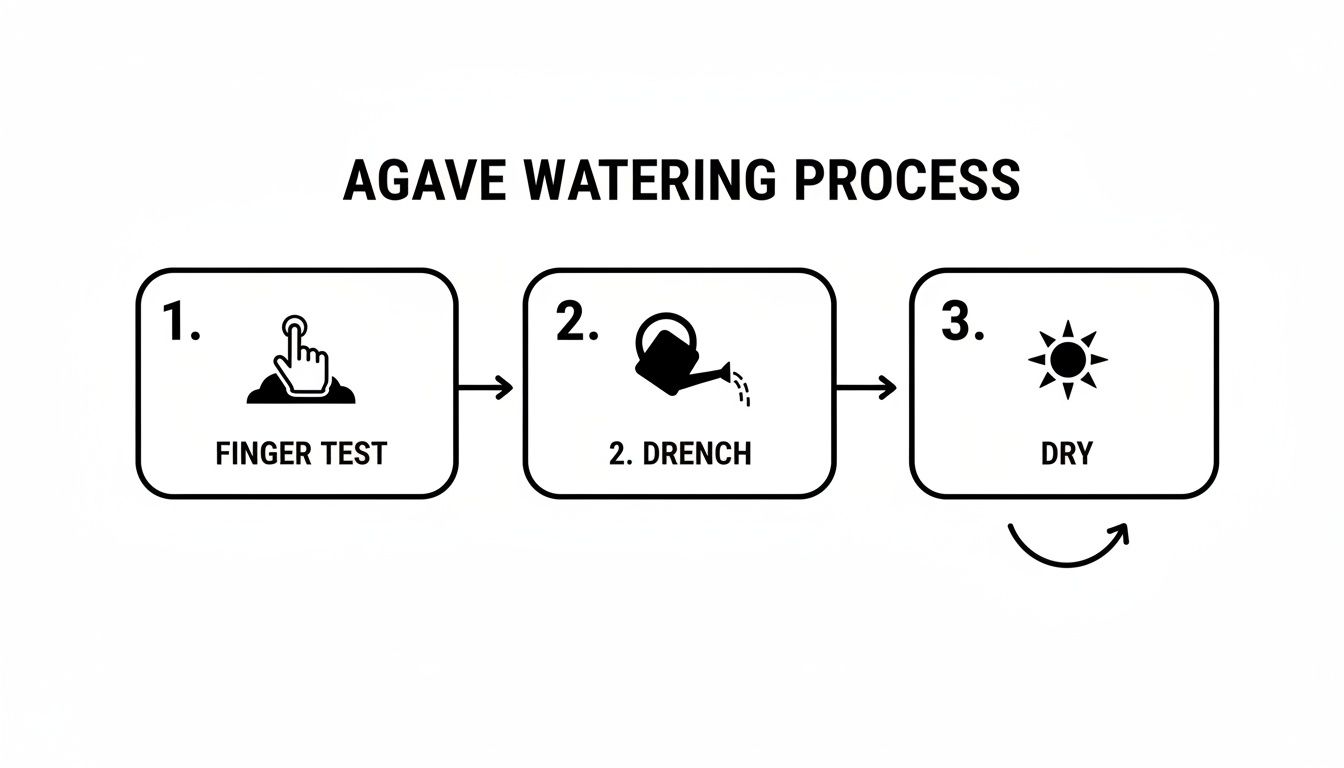
The key is to mimic nature. Think about how a desert gets rain: not often, but when it does, it's a downpour. That’s exactly what we're going for with the “drench and dry” method.
The "Drench and Dry" Philosophy
It’s a simple rhythm: soak the plant completely, then let it go bone dry before you even think about watering again.
When it's time to water, don't be shy. If your agave is in a pot, keep pouring water until it gushes out of the drainage holes. This ensures every last root gets a drink and helps flush out any mineral buildup in the soil. For agaves in your landscape, give them a long, slow soak at the base with a hose for several minutes. You want that water to penetrate deep, which encourages a strong, resilient root system.
The most important lesson I've learned is to ditch the watering schedule. Your calendar has no idea what your plant needs, but the soil does. Checking the soil moisture is the only truly reliable signal.
In the active growing season of spring and summer, you might water every 2-4 weeks, depending on how hot and sunny it is. During the cooler, dormant months of fall and winter, that can easily stretch to once a month or even less.
How to Tell When It’s Time to Water
So, how do you really know when the soil is "completely dry"? Here are a few tried-and-true tricks.
- The Finger Test: Honestly, this is the best way. Shove your finger a good two or three inches into the soil. If you feel even a hint of coolness or moisture, back away from the watering can. Give it a few more days.
- The Pot Lift: This works wonders for potted plants. After you give it a good drenching, pick it up and feel how heavy it is. A few weeks later, lift it again. You’ll be shocked at how much lighter it feels when the soil is completely dry.
- Look at the Soil: Dry, gritty soil often looks paler and will shrink back a little from the sides of a terracotta pot.
Mastering these cues is the heart of good agave care. For a deeper dive, you can learn all about how to water succulents correctly in our specialized guide.
A “Less is More” Approach to Fertilizer
When it comes to feeding your agave, think minimalist. These plants are built to survive in soils where nutrients are scarce, so they just don't need much. Going overboard with fertilizer is a classic rookie mistake that leads to weak, lanky growth, making the plant an easy target for pests.
One feeding in early spring, right as the plant is waking up for its growing season, is plenty for the whole year. That little boost is all it needs.
Grab a balanced fertilizer made for cacti and succulents—something with a 5-10-5 ratio works well. Here’s the crucial part: dilute it to half-strength, or even quarter-strength, of what the label says. Full-strength fertilizer can easily scorch an agave's sensitive roots. Mix it into your watering can and apply it to slightly damp soil. And that's it. You're done feeding until next spring.
Pruning, Repotting, and Propagating Pups
Century plants are as low-maintenance as they come, but a little hands-on care now and then will keep them looking sharp, feeling healthy, and even help you grow your collection for free. Don't be intimidated by their spikes; tasks like pruning, repotting, and propagating are much simpler than they look. Once you know the right way to approach it, you'll be able to manage your agave's growth with total confidence.
Tidying Up Your Agave
Pruning an agave isn’t about shaping it—it’s more like basic housekeeping. As the plant matures, the lowest leaves naturally die off, turning brown and papery. If you leave this dead foliage attached, it creates a perfect hiding spot for pests like mealybugs and can trap moisture right up against the base of the plant.
All you need is a long, sterile knife or a clean pair of loppers. Slide the blade between the dead leaf and the main stem, cutting it off as cleanly as possible without nicking any healthy tissue. It’s easiest to wait until the leaves are completely dry, as they’ll come off with much less effort.
Think of this as preventative healthcare. When you clear away old, dead leaves, you’re doing more than just improving the plant's appearance. You're boosting airflow around its base, which is one of the best ways to head off fungal problems and pests.
This simple cleanup, maybe once a year, is pretty much all the pruning a century plant ever needs.
Knowing When to Repot
Eventually, your potted century plant is going to need a bigger home. The tell-tale signs are roots peeking out of the drainage hole or the rosette of leaves stretching all the way to the edge of the pot. Don't rush it, though—agaves actually prefer being a little snug in their pots. A good rule of thumb is to repot every 3-5 years.
When you do repot, choose a new container that’s only one size up—about 1-2 inches wider in diameter. This is critical. A pot that's too big holds a ton of extra soil that stays wet for too long, which is a perfect recipe for root rot. Protect yourself by wearing thick leather gloves and wrapping the plant in an old towel or blanket to manage those sharp spines. Many of the same principles apply to cacti, so for a more detailed walkthrough, check out our guide on how to repot cacti.
The Reward of Propagation
Here’s the fun part: making more plants! As they mature, most agaves send out offsets, or "pups," from their base. These little clones are incredibly easy to turn into brand-new plants.
The success rate is fantastic, too. Research shows that pups propagated in the spring have an 85% chance of taking root, growing into a mature plant much faster than starting from seed. Our customers have had great success, with 98% reporting thriving plants when following our guides. Simple things, like biweekly soil moisture checks, can prevent the root rot that claims up to 60% of neglected agaves. You can explore the full research here for more insights.
Ready to give it a try? Here’s how you do it:
- Wait for the Right Size: Let the pup grow to be about one-third the size of the mother plant. This gives it enough stored energy to make it on its own.
- Separate Gently: Carefully dig away the soil around the pup’s base to find the thick root connecting it to the parent. Use a clean, sharp knife to cut it, making sure the pup has some of its own roots attached.
- Let It Callous: This is a step you can't skip. Place the pup in a dry, shady spot for several days up to a week. The cut end needs to dry out and form a callus, which prevents it from rotting when you plant it.
- Plant and Wait: Pot the calloused pup in a small container with a fast-draining cactus mix. Here’s the key—don’t water it right away. Give it about a week to settle in before its first light watering. This encourages it to send out new roots in search of moisture.
That’s all there is to it. This simple process lets you expand your collection or share these incredible plants with friends and family, continuing the legacy of your magnificent century plant.
How to Troubleshoot Common Century Plant Problems
Even a plant as tough as an agave can run into trouble now and then. The great thing is, they're not shy about showing you what's wrong. Learning to read the signals is the secret to fixing small issues before they spiral into big problems. Most of the time, a simple tweak to your care routine is all it takes to get things back on track.
Watering is, by far, the most common hurdle. If you see yellowing, soft, or mushy lower leaves, your plant is sending out an SOS. It's screaming that it's getting too much water. This is the first, and sometimes only, warning sign of root rot—a fatal condition where the roots drown in soggy soil. If you spot this, stop watering immediately. Don't even think about watering again until the soil is bone-dry all the way through.
On the flip side, a thirsty agave has a completely different look. Wrinkled, shriveled, or thin-looking leaves are a dead giveaway for underwatering. The plant is draining its own water reserves just to survive. Don’t panic! A deep, thorough soak will usually have it looking plump and happy again in a day or two.
Decoding Common Agave Ailments
Figuring out what’s wrong is half the battle. Once you know the cause, the solution is usually straightforward. This quick guide will help you translate your agave’s visual cues into action.
| Symptom | Likely Cause | Actionable Solution |
|---|---|---|
| Yellow, Mushy Leaves | Overwatering / Root Rot | Stop watering right away. Check the roots for rot. If they're black and mushy, repot in fresh, dry soil. |
| Wrinkled, Thin Leaves | Underwatering | Give it a deep, satisfying drink. Let the water run through the drainage holes until the soil is saturated. |
| Brown or White Scorch Marks | Sunburn | The sun is too intense. Move it to a spot with morning sun and afternoon shade, or slowly introduce it to full sun over a week or two. |
| Pale, Stretched Growth | Insufficient Light | It's reaching for light. Find a new home with at least 6-8 hours of direct sun or add a grow light. |
The number one rule when you’re not sure what’s wrong: check the roots. Healthy roots are firm and white or light tan. Unhealthy roots are black, mushy, and might even smell bad—a sure sign of root rot.
Catching these symptoms early can make all the difference. An overwatered plant can often be saved just by letting it dry out completely.
Battling Pests and Diseases
While agaves are pretty resilient, they have one major nemesis: the agave snout weevil. This nasty black beetle lays its eggs at the base of the plant. The real damage comes from its grubs, which burrow into the plant’s core, turning its heart into a collapsing, mushy mess. An infested agave often looks perfectly healthy one day and completely collapses the next.
Prevention is your best strategy here. Applying a systemic insecticide drench to the soil in spring can protect the plant from the inside out. It's also a good habit to regularly inspect the base of your agave for any signs of trouble.
A few other less common problems can pop up:
- Fungal Leaf Spots: These show up as circular brown or black spots on the leaves. They're usually a sign of poor air circulation and damp conditions. Give the plant more space and try to avoid wetting the leaves when you water.
- Mealybugs: Look for small, white, cottony insects hiding in the tight crevices at the base of the leaves. You can wipe out small infestations with a cotton swab dipped in rubbing alcohol.
The good news is that major pests like the agave weevil affect less than 5% of well-cared-for plants. A preventative spritz of neem oil now and then can keep most bugs at bay. To build a strong defense, plant in a quality cactus mix amended with 50% perlite or pumice to keep roots aerated. Water like it's in its native desert—every 3-4 weeks in summer and maybe monthly in winter, mimicking the 10-15 inches of annual rainfall it would naturally get. And don't skimp on the sun; 6-8 hours of direct light can boost growth rates by up to 40%. For more information on plant care trends, you can learn more about succulent market trends and care data. Other insects like stink bugs can be a nuisance in the garden, and learning how to effectively manage stink bug infestations can provide some useful strategies for keeping your plants pest-free.
Your Century Plant Care Questions Answered
Let's wrap things up by tackling some of the most common questions I get from fellow agave lovers. Think of this as your quick-reference guide for those little uncertainties that pop up along the way.
Does a Century Plant Really Take 100 Years to Bloom?
This is easily the biggest myth out there! While it makes for a great story, the name is a bit of an exaggeration. Most Agave americana will bloom once in their life, but it’s usually somewhere between 10 and 30 years old, not a full century. It all depends on the climate and how well it's been cared for.
The plant literally saves up energy its entire life for this one grand finale. It shoots up a massive flower stalk that can be truly breathtaking. After the show is over, the main plant dies, but it's not really the end. It leaves a legacy of new “pups” around its base to start the cycle all over again.
Can I Successfully Grow a Century Plant Indoors?
You absolutely can, but there's one major catch: light. These are sun-worshipping plants, and getting them enough light indoors is the number one challenge. They need a spot that gets at least 6-8 hours of direct, unfiltered sun every single day. A south-facing window is your best bet, hands down.
If you don't have that kind of natural light, a powerful, full-spectrum grow light isn't just a suggestion—it's a requirement. And don't forget, these plants are built to get big, so make sure you have the space for them to grow. Good air circulation is also key to keeping fungal problems at bay when they're inside.
What Are the First Signs of Root Rot?
Catching root rot early is everything. The first thing you'll likely notice is the lowest leaves turning yellow and feeling soft or even a bit mushy. Another giveaway is when those affected leaves pull away from the base with almost no effort.
The classic, confusing sign of root rot is a plant that looks thirsty even when the soil is wet. That’s because the rotted roots can't absorb water anymore.
If you even suspect it, you need to act fast. Pull the plant out of its pot and take a hard look at the roots. Using a clean, sterile knife, cut off anything that’s black, slimy, or mushy. Then, let the plant air-dry in a shady spot for a few days so the cuts can callous over before you repot it into fresh, completely dry, fast-draining soil.
How Should I Protect My Outdoor Agave in Winter?
While Agave americana is pretty tough—it can usually handle temps down to about 15-20°F (Zone 8b)—its true winter enemy is the combination of cold and wet soil. Your best defense is making sure it's planted in soil with perfect drainage.
If you live where hard freezes are a regular thing, cover your plant with a frost cloth before the first freeze hits. Never use plastic, as it just traps moisture right against the leaves. For potted agaves, the solution is much simpler: just move them into a dry, protected spot like an unheated garage or shed until spring arrives.
Agaves have a long history of being both beautiful and useful. Back in 1930s Arizona, there were 10,000 acres of century plants cultivated for fiber. Today, their ornamental value is clear, making up 12% of sales in the USD 796.70 million cacti market segment as of 2018. Simple care goes a long way; pruning dead leaves annually can slash disease risk by 40%, and most plants are happy being repotted every 3-5 years once the rosette hits 2-3 feet wide. For more on the plant care industry, you can explore detailed market data.
Here at The Cactus Outlet, helping you grow these incredible plants is what we do. We have a fantastic collection of healthy, nursery-grown agaves ready to become the next standout feature in your home or garden. Check us out at https://www.cactusoutlet.com to find your perfect plant.