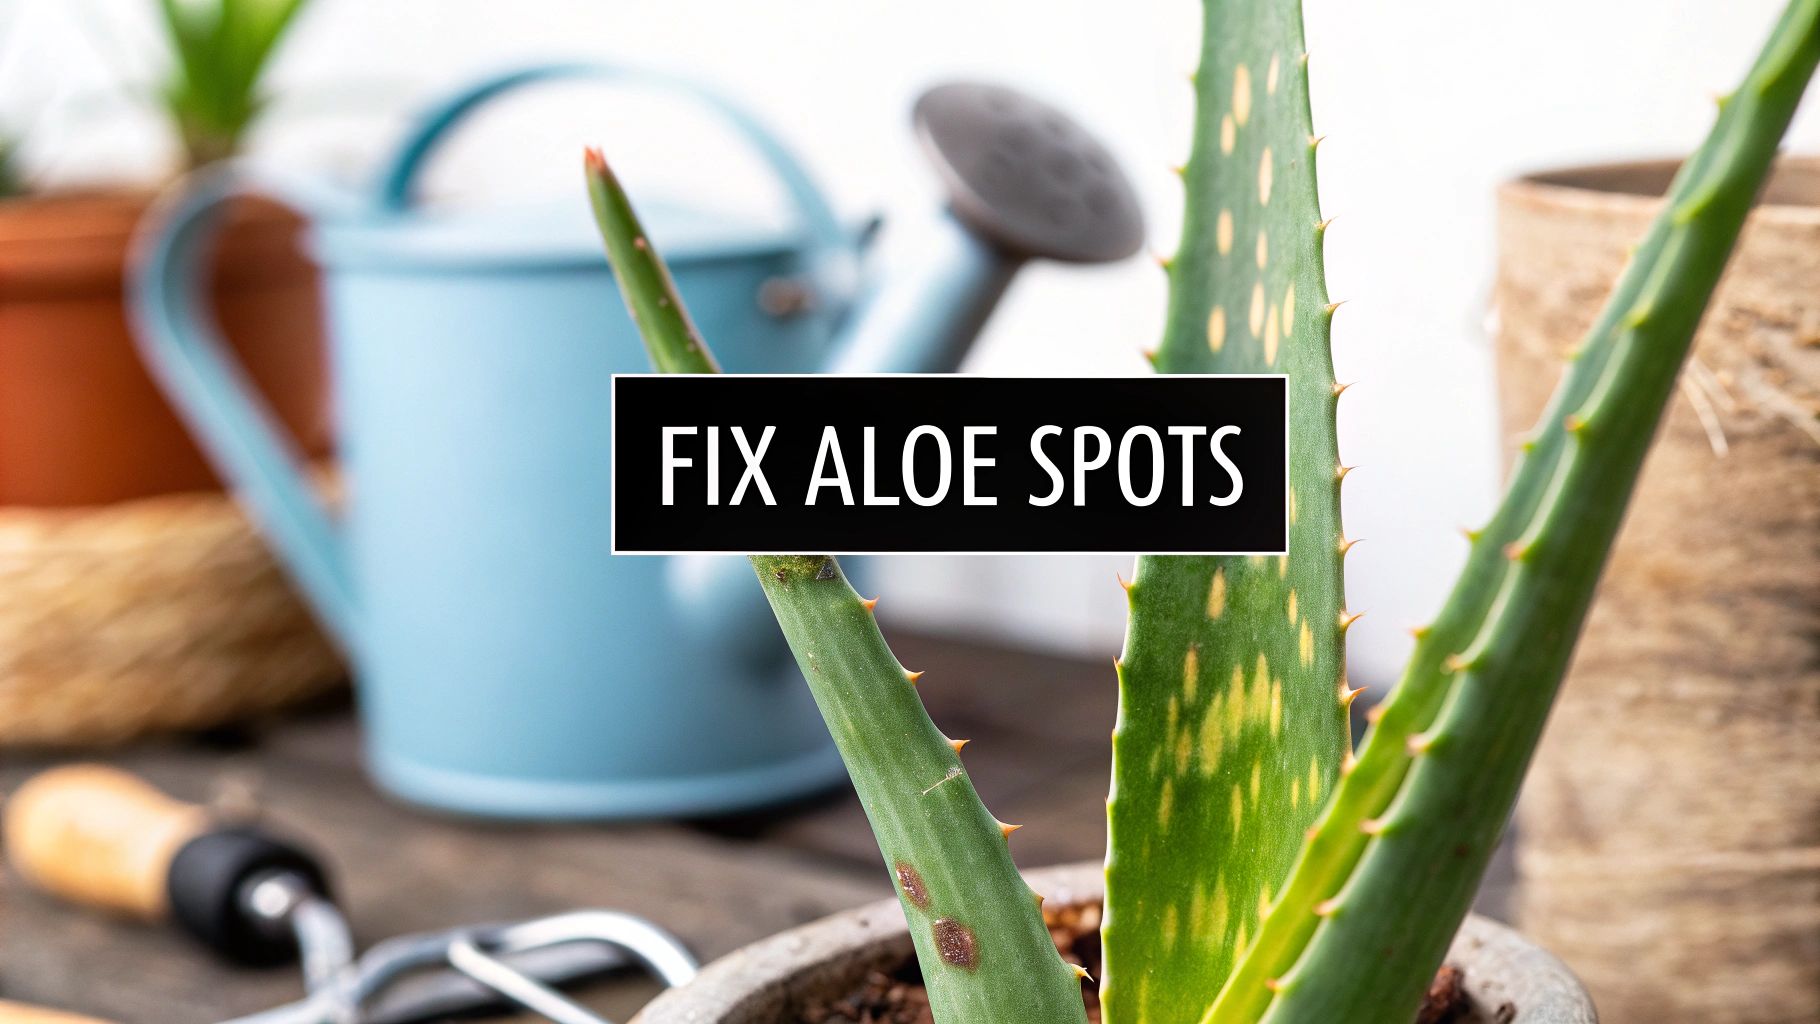

Seeing brown spots on your aloe vera can be alarming. It’s your plant's way of telling you something isn't quite right. Most often, these spots are a sign of common issues like sunburn, overwatering, or maybe even a pest problem. The trick is to figure out what's really going on before you jump into a fix.
What Do Brown spots on an Aloe Plant Mean
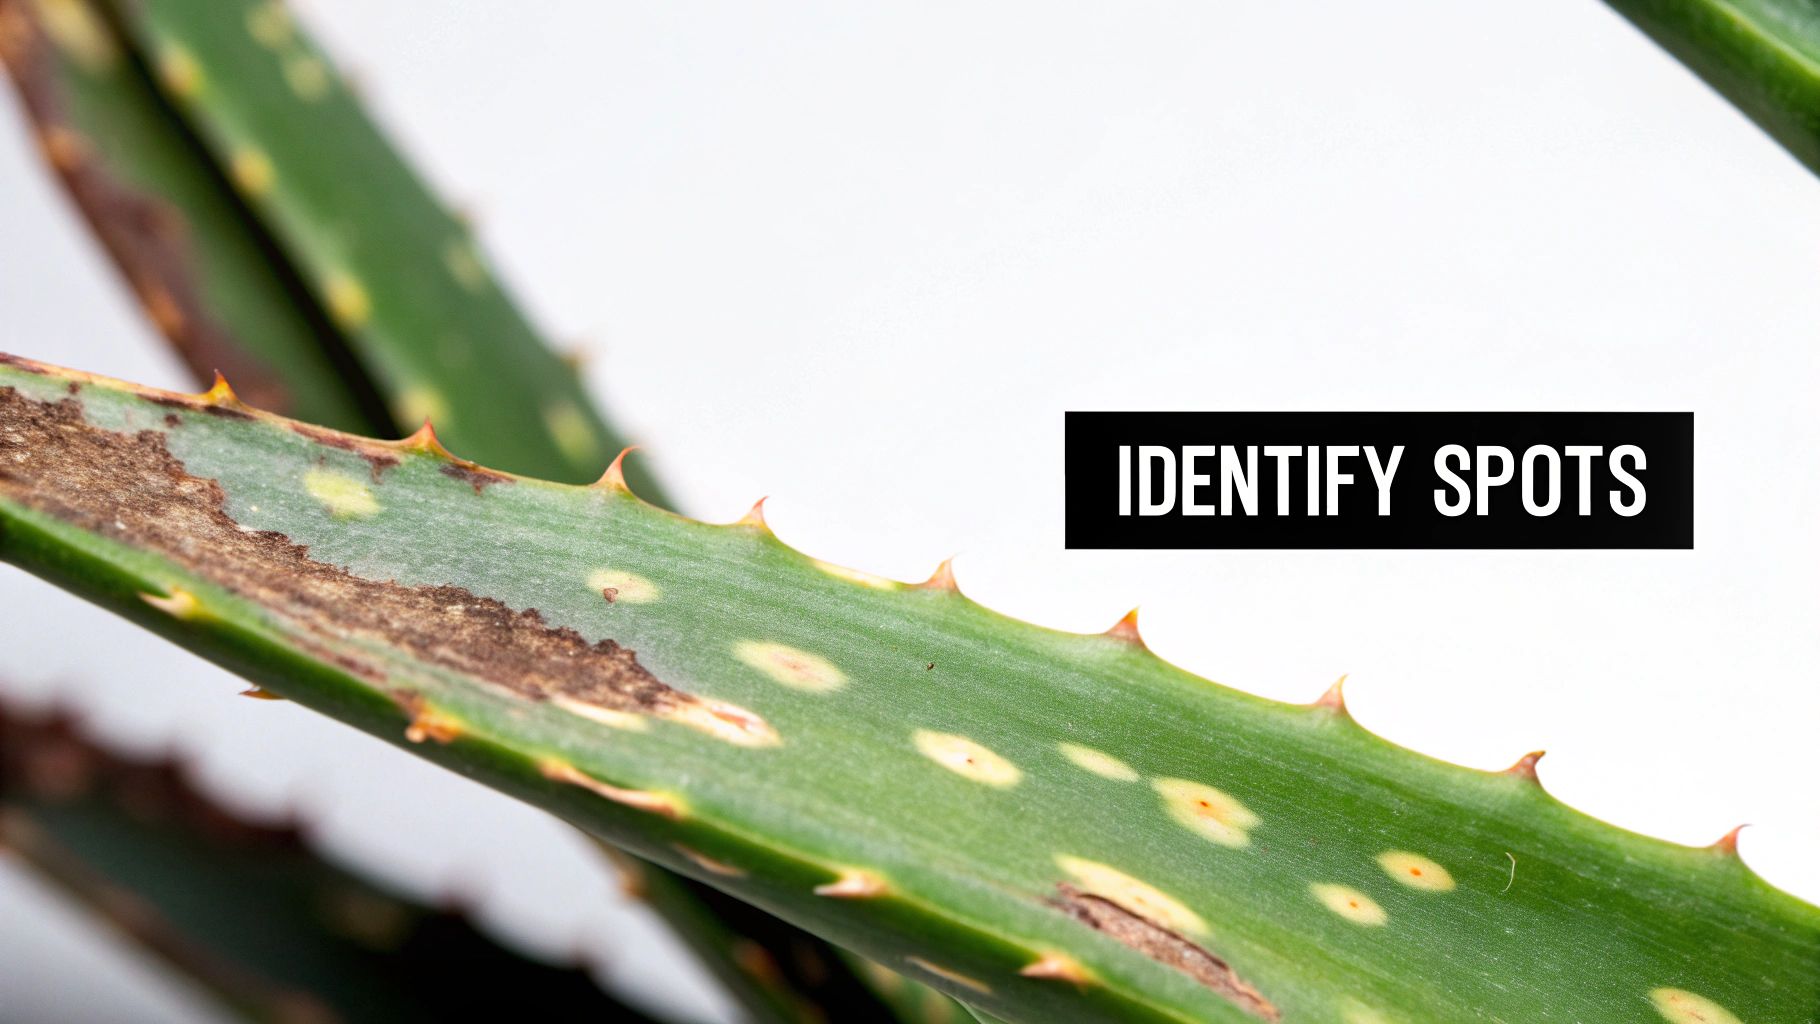
Don't panic! Finding a few brown spots on your aloe is rarely a death sentence. Think of it more like a visual language your plant is using to communicate. Your mission is to play detective and decipher what your aloe is trying to tell you. The way the spots look and where they are on the plant are your biggest clues.
Once you learn to read these signs, you can shift from worrying to problem-solving. Is the spot soft and mushy to the touch? Or is it dry and almost crispy? Is it near the base of the plant, close to the soil, or showing up on the leaf tips? Every little detail tells a part of the story.
Decoding the Visual Clues
The first thing to do is just take a close look. A simple visual check is often all it takes to narrow down the suspects. You don't need any fancy equipment—just your eyes and a bit of attention.
When you're examining the aloe vera brown spots, keep these things in mind:
- Texture: Soft, squishy spots almost always scream "overwatering" and could signal root rot. On the other hand, dry, brittle spots usually point to underwatering or too much direct sun.
- Location: Are the spots starting at the base and creeping up? That’s a classic sign of trouble in the root department. If they're popping up on the middle or tips of the leaves, it’s more likely an environmental stressor like sunburn or a fungal issue.
- Color and Shape: Dark brown or black, mushy spots are a red alert for decay. Lighter, tan-colored, or almost bleached spots suggest sun damage. If you see sunken spots with a clear border, you might be dealing with a fungal infection.
Simply figuring out if a spot is mushy or crispy solves half the mystery right there. This one detail is often the most critical clue for telling a watering problem apart from an environmental one.
To help you get started, here’s a quick-glance table to compare what you're seeing with the most likely causes.
Quick Diagnosis Guide for Aloe Vera Brown Spots
| Symptom Appearance | Likely Cause | Immediate Action |
|---|---|---|
| Soft, mushy, dark brown/black spots near the base | Overwatering / Root Rot | Check the soil moisture immediately; prepare to repot. |
| Dry, crispy, tan or light brown spots on tips/sides | Sunburn / Underwatering | Move the plant to a spot with less direct sun; check soil dryness. |
| Small, dark, sunken spots with a yellow halo | Fungal or Bacterial Infection | Isolate the plant; remove affected leaves with a sterile tool. |
| White, cottony spots (often with brown damage) | Pest Infestation (Mealybugs) | Inspect for pests; treat with rubbing alcohol or neem oil. |
| Brown, dried-out leaf tips | Fertilizer Burn / Low Humidity | Flush the soil with water; hold off on fertilizing. |
This table is a great starting point, but a visual guide can make things even clearer. This decision tree helps you narrow things down by focusing on the texture first.

As the chart shows, soft spots usually lead back to a water-related issue, while dry spots point toward a problem with light or heat. Grasping this basic difference is the first, most important step you can take toward getting your aloe healthy again.
The Hidden Danger of Overwatering and Root Rot
If you’re seeing soft, dark brown spots on your aloe’s leaves, especially down near the soil, the most likely culprit is an excess of kindness. It’s a classic mistake. Overwatering is the number one reason these tough succulents get into trouble. Aloes are desert natives; they expect neglect and absolutely hate sitting in soggy soil.
When the soil is constantly wet, the roots can't breathe. They're effectively suffocating. This decay, or root rot, then creeps up the plant, showing up as those mushy, brown blemishes on the leaves.
Why Your Soil and Pot Matter
That standard bag of potting mix from the garden center? It’s usually far too dense for an aloe vera. It holds onto water like a sponge, creating the exact swampy conditions that lead to rot. A happy aloe needs a gritty, fast-draining soil that feels more like its natural home.
The pot you choose is just as critical. A pot without a drainage hole is a death sentence, trapping water at the bottom and all but guaranteeing root rot.
Here’s a quick rundown of what works and what doesn't:
| Potting Component | The Right Choice (Happy Aloe) | The Wrong Choice (Sad Aloe) |
|---|---|---|
| Soil Mix | A gritty succulent/cactus mix with extra perlite or pumice. | Standard, peat-heavy potting soil that stays wet. |
| Container | A porous pot (like terracotta) with at least one big drainage hole. | A decorative plastic or glazed ceramic pot with no drainage. |
| Watering Can | A long-spout can to soak the soil without drenching the leaves. | Misting the plant or giving frequent, tiny sips of water. |
If you suspect root rot is behind your aloe vera brown spots, you have to act fast. The only way to know for sure is to gently slide the plant out of its pot and take a look at the roots. Healthy roots are firm and white. Rotted ones will be black, mushy, and might even fall apart when you touch them. For a detailed walkthrough, check out our complete guide on how to save an aloe plant.
Adopting a Desert Watering Mindset
The trick is to let the soil dry out completely between waterings. I don't just mean the top inch; the whole pot should feel noticeably lighter. A simple wooden skewer or a chopstick is a fantastic tool—if you stick it all the way to the bottom and it comes out clean and dry, it’s time for a drink.
When you do water, be thorough. Drench the soil until water flows freely from the drainage hole. This "soak and dry" method gives the roots a deep drink without ever leaving them sitting in a puddle. Honestly, mastering this simple shift is the single most effective way to prevent those brown spots from ever coming back.
Tackling Fungal and Bacterial Infections
When those brown spots on your aloe look sunken, have a well-defined border, or seem to be spreading, it's time to shift your focus from watering schedules to potential pathogens. These are the classic calling cards of a fungal or bacterial infection trying to take hold. While that sounds alarming, don't panic—these issues are usually quite manageable if you act quickly.
One of the most common culprits is fungal leaf spot. It creates those tell-tale dark, depressed patches on the leaves. Think of it like a skin infection for your plant; if you leave it alone, it's only going to spread. Ignoring the signs gives the pathogens a chance to multiply, which will weaken your aloe over time.
Identifying and Treating the Infection
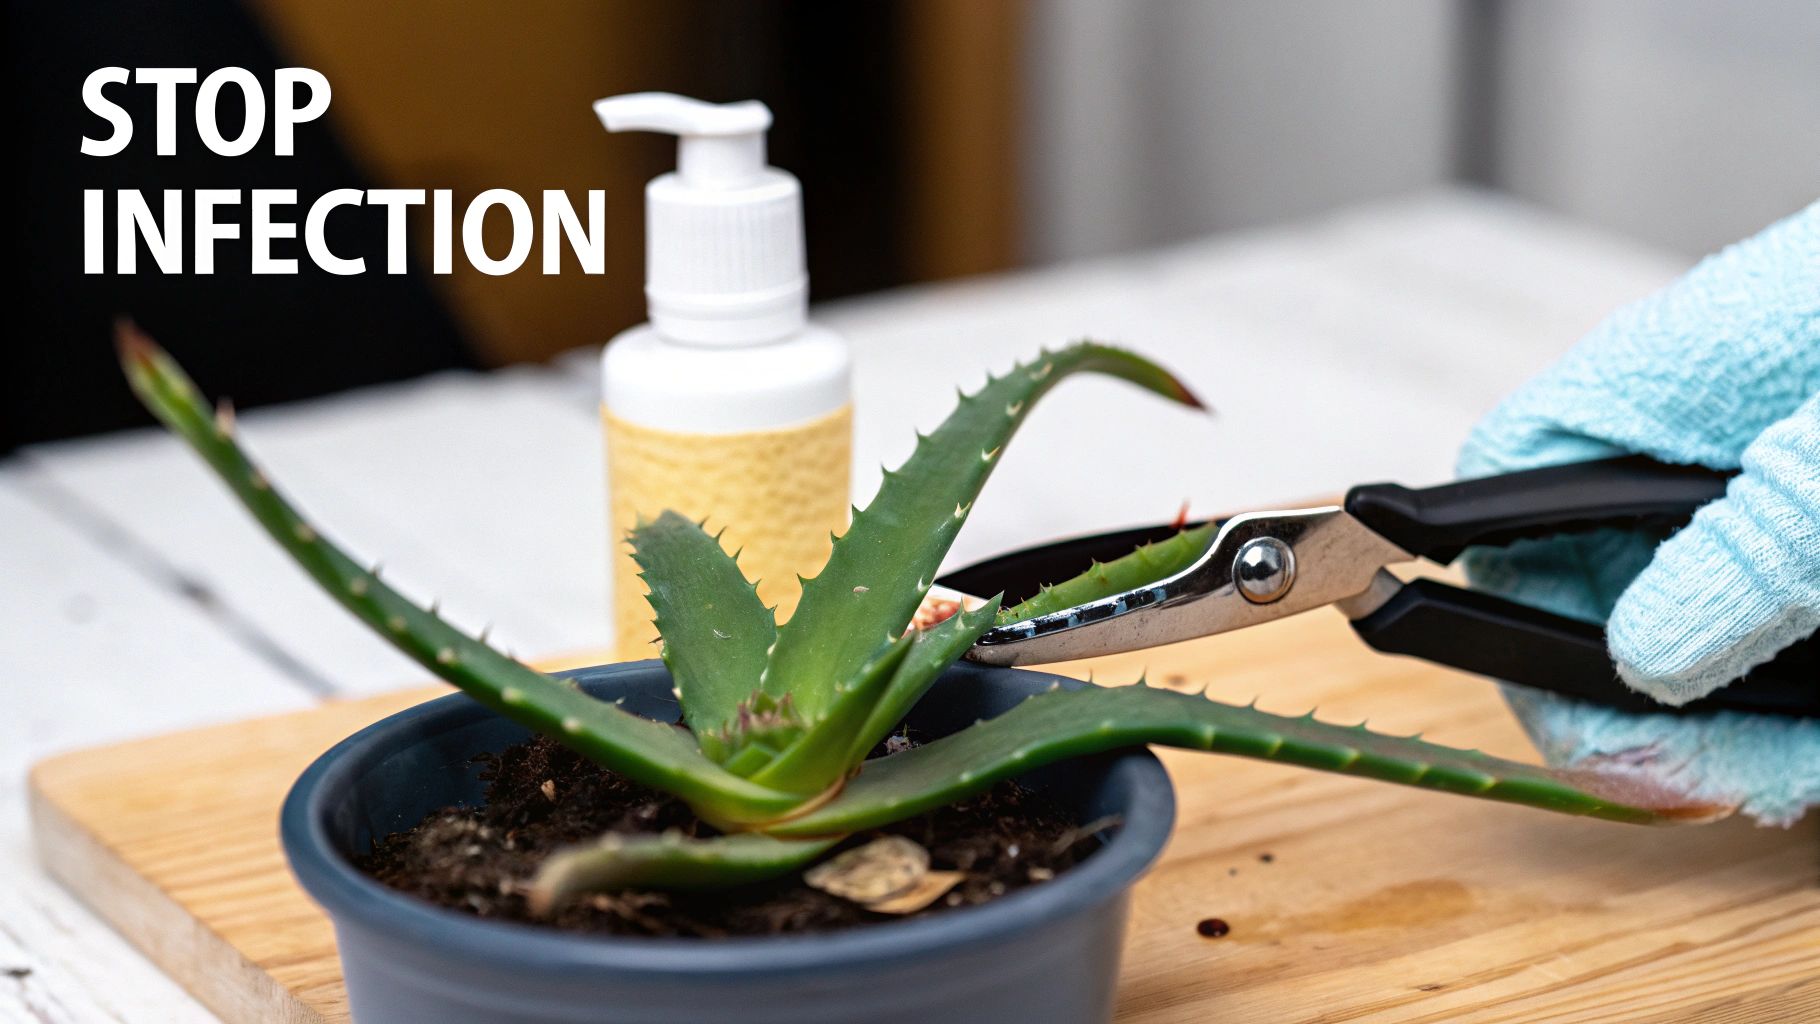
Your first job is to play defense and stop the spread. This means carefully removing any part of the plant that shows signs of infection. Pathogens are opportunistic and often spread through spores, so containment is everything.
Here’s a direct, methodical approach to treatment:
- Sterilize Your Tools: Before a single cut, wipe the blades of your scissors or shears with rubbing alcohol. This simple step is crucial to avoid accidentally smearing the infection onto healthy tissue.
- Remove Infected Leaves: Snip off any leaves with those sunken, bordered spots. Make a clean cut at the base where the leaf meets the main stem.
- Dispose of Debris Properly: Whatever you do, don't toss the infected leaves in your compost bin. Seal them in a bag and put them in the trash to prevent spores from finding a new home in your garden.
After you've surgically removed the sick parts, you can apply a treatment. A natural fungicide like neem oil is a fantastic, safe option for home growers. Just mix it according to the directions on the bottle and spray the entire plant. Be sure to get the tops and undersides of all the remaining leaves.
Pruning infected leaves isn't just about making the plant look better. You are physically removing the source of the fungal spores. This is the single most important thing you can do to stop the disease in its tracks.
Preventing Future Fungal Outbreaks
Treating an active infection is only half the job. The real key to long-term success is creating an environment where fungus simply can't thrive. Most of these pathogens love damp, stagnant conditions, so a few simple adjustments can make your home far less welcoming to them.
One major threat to watch out for is Fusarium Leaf Spot. Agricultural research on Aloe vera cultivation has highlighted just how serious this pathogen can be, with some documented outbreaks showing disease incidence rates over 38%. The spots it causes are typically sunken and dark with reddish-brown edges, appearing on both sides of the leaves.
Improving air circulation around your aloe is your best defense. Give your plants some personal space—avoid crowding them together. If you can, a small fan set on low in the room works wonders by keeping the air moving and stopping moisture from settling on the leaves.
Finally, always water your aloe at its base. Pour the water directly onto the soil and do your best to keep the leaves dry. A dry leaf is a very unfriendly surface for a fungal spore trying to set up camp.
Solving Environmental Stress and Feeding Mistakes
Not all aloe vera brown spots come from watering problems or infections. Sometimes, the plant is just reacting to its environment. Things like a sudden change in light or a heavy hand with the fertilizer can leave marks on your aloe’s normally beautiful leaves.
We all know aloes love bright light, but throwing one from a dim corner straight into the intense afternoon sun is a recipe for shock. This is how you get sunburn, which shows up as bleached, tan, or even crispy brown patches on the leaves getting the most exposure. It’s pretty much the plant equivalent of us getting a nasty sunburn on the first beach day of the year.
Acclimating Your Aloe to More Light
To avoid scorching your plant, the trick is to introduce it to brighter light gradually. Don't just make a one-way trip from a low-light shelf to a south-facing window. Take your time and acclimate it over a week or two.
- Start by giving it just an hour or two in the new, brighter spot, preferably during the less intense morning hours.
- Every few days, add another hour to its sunbathing time.
- Pay close attention to the leaves. You’re looking for any signs of bleaching or scorching.
This slow-and-steady approach gives the plant time to adjust and build up a tolerance to the stronger light. Now, don't confuse this with the healthy "sun stress" that gives leaves a lovely reddish or bronze hue—that's a normal, harmless response. A damaging burn looks pale, washed out, and feels dry to the touch. For a deeper dive, check out our guide on aloe plant sunlight needs.
I've seen a lot of people make the mistake of placing an aloe right up against a drafty window in winter or next to a heating vent. Those extreme, rapid temperature swings can really shock the plant, causing brown spots and tissue damage. Consistency is key, so aim for a stable environment.
Avoiding Fertilizer Burn
Another common culprit behind those brown, crispy leaf tips is over-fertilizing. Aloes just aren't heavy feeders. Pushing too much plant food on them leads to a salt buildup in the soil, which can literally burn the roots. Those dried-out tips are often the first sign that something’s wrong below the surface.
When it comes to feeding your aloe, always remember that less is more.
- Choose the right food: Stick with a balanced fertilizer made specifically for succulents and cacti.
- Dilute it properly: Always dilute the fertilizer to half-strength, or even quarter-strength, of what the bottle recommends.
- Time it right: Only feed your aloe once or twice during its active growing season in the spring and summer. Never fertilize a plant that's dormant or already stressed.
If you think you might have overdone it with the fertilizer, you'll need to flush the soil. Just take the pot to a sink and run lukewarm water through it for a few minutes. This process washes out the excess mineral salts, giving the roots a clean slate and stopping any more browning.
Your Proactive Plan for a Healthy Aloe Plant
Honestly, the best way to handle aloe vera brown spots is to stop them before they even start. It's all about shifting your mindset from "fixing problems" to "preventing them." A simple, consistent care routine is your best defense, letting you meet your aloe's needs before it has a chance to complain.
The absolute cornerstone of this strategy is nailing the "soak and dry" watering method. You have to let the soil dry out completely—and I mean all the way through the pot. Then, and only then, you give it a thorough drenching until water streams out of the drainage hole. This perfectly mimics the downpours aloes get in their native desert environment, hydrating the roots deeply without leaving them sitting in a swamp.
Choosing the Right Foundation
Believe it or not, your pot and soil choice can make or break your success. Always, always pick a pot with good drainage holes. Terracotta is a personal favorite because it's porous and helps wick moisture out of the soil, which is a huge plus.
You'll want to pair that pot with a gritty, fast-draining cactus or succulent mix. This ensures that any excess water has a quick escape route, which is your number one defense against the dreaded root rot.
A simple habit that saves a lot of headaches is a quick weekly inspection. Just take a minute to look your plant over. Check under the leaves, around the base where the leaves meet the soil, and at the very tips. Catching one little suspicious spot early is a breeze compared to fighting a full-blown infestation or infection later.
One of the biggest mistakes I see people make is misting their aloes. I know it comes from a good place, but you're just creating a humid, damp surface on the leaves—the perfect invitation for fungal diseases. Always keep the leaves dry and water the soil, not the plant.
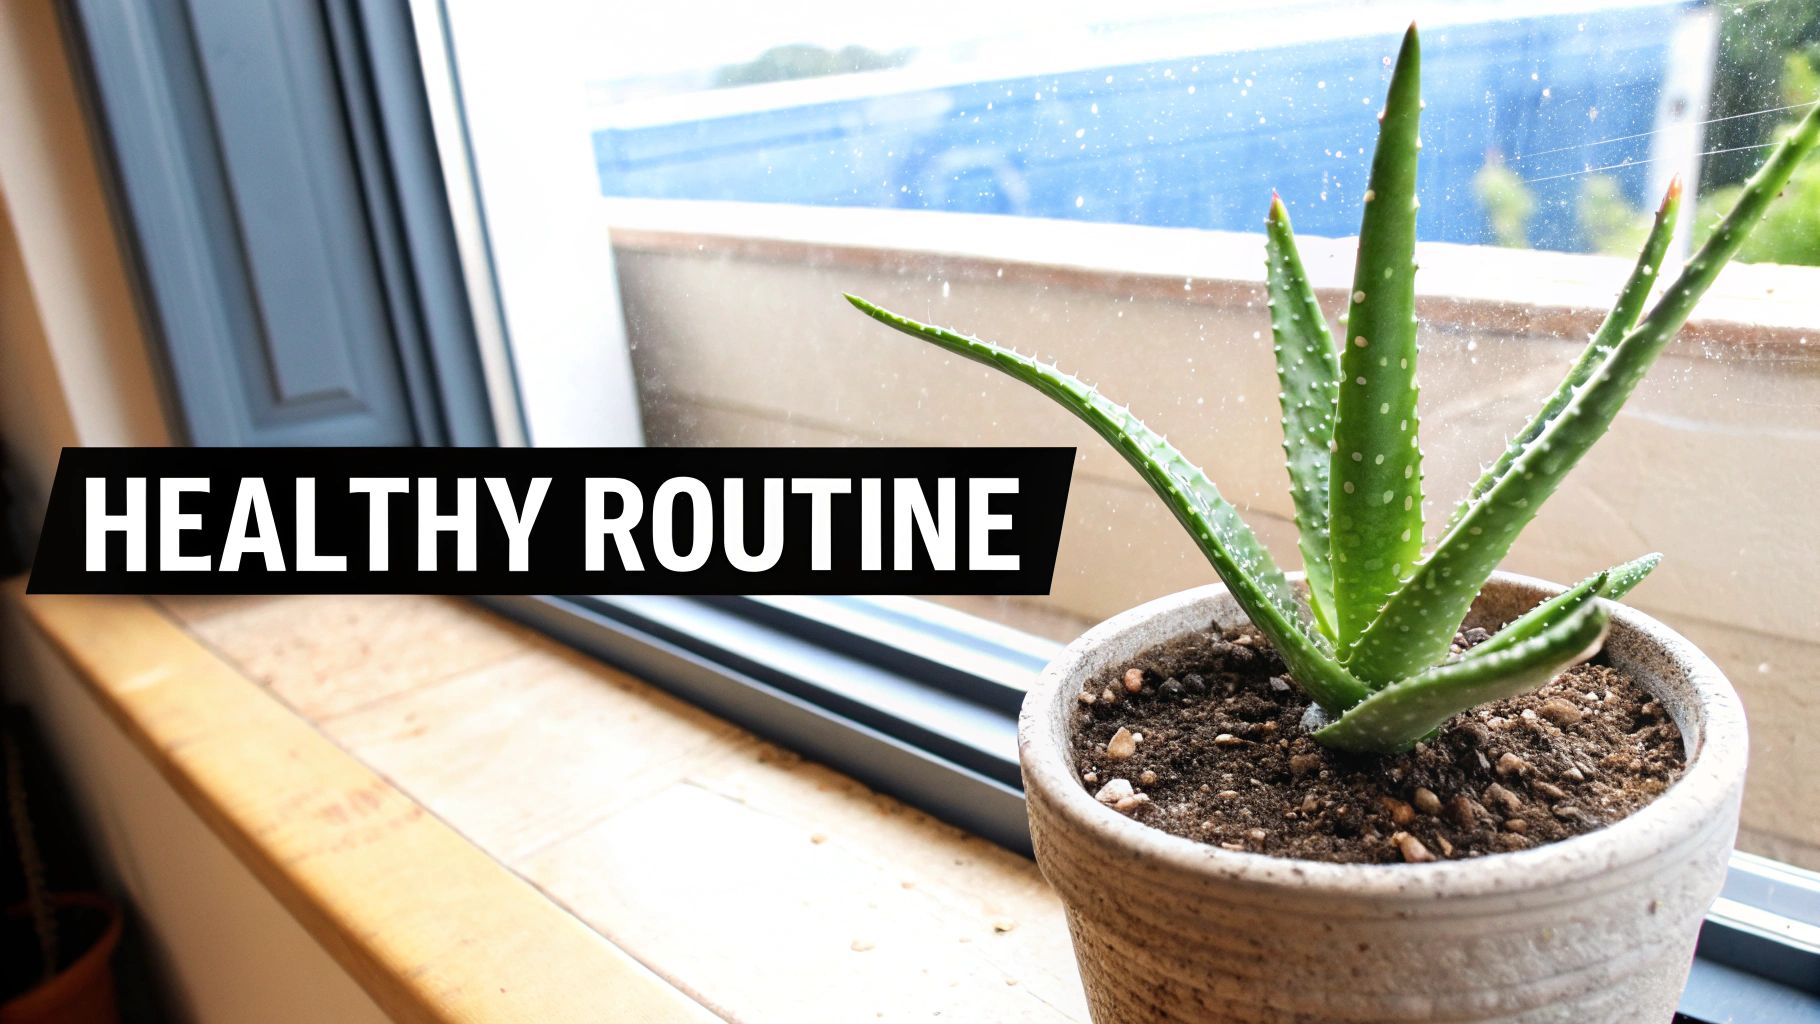
Finding the Perfect Spot
Finally, let's talk about location. Your aloe needs a home with plenty of bright, indirect sunlight. Think a few feet back from a sunny south-facing window. That spot is usually just right.
Too much direct, harsh sun will scorch the leaves, but a dark corner will make it stretch out and look weak. Finding that "Goldilocks" zone where the light is just right is fundamental to a happy plant.
Your routine doesn't need to be complex. Just focus on these key pillars, and you'll create a stable, healthy environment for your aloe. If you want to dive deeper into day-to-day care, our comprehensive guide on aloe vera plants care is an excellent resource. This proactive approach will keep your aloe looking vibrant and healthy for years to come.
Got More Questions About Aloe Vera Brown Spots?
Even with the best care plan, sometimes things go wrong, and you're left scratching your head. Let's dig into some of the most frequent questions we hear from aloe growers about those pesky brown spots. Think of this as your go-to troubleshooting guide for getting your plant back on track.
Can I Still Use the Gel if a Leaf Has Brown Spots?
I'd play it safe and avoid it. While you could probably get away with cutting around a tiny, dry spot from a simple bump or scrape, you should never harvest gel from leaves with soft, mushy, or spreading brown areas.
Those symptoms scream "rot" or a possible fungal issue, and you have no way of knowing if it has compromised the whole leaf. It's just not worth the risk of putting that on your skin. When it's time to harvest, only use leaves that are plump, firm, and a healthy, uniform green.
What’s the First Thing to Do for Soft, Mushy Brown Spots?
Move fast. This is the classic, unmistakable sign of root rot, and every second counts. The very first thing you need to do is gently take the plant out of its pot to get a good look at the roots.
You'll know healthy roots when you see them—they’re firm and white. Rotted roots, on the other hand, will be brown or black, feel slimy, and might even have a swampy smell.
- Grab a sterile pair of scissors or shears and meticulously snip away every single piece of rotted root. Be thorough.
- If there's a good chunk of healthy root system left, let the plant sit out in the open air for about a day. This lets the cuts dry and form a callus.
- Repot your aloe in a container with great drainage using fresh, completely dry succulent soil.
- Here's the crucial part: Do not water it for at least a week. Giving the roots this dry period is essential for them to heal and avoid another round of rot.
When you see those soft, mushy brown spots, your immediate thought should be "root rot." Delaying your response by even a few days can be the difference between a successful recovery and losing the plant entirely.
Why Are the Tips of My Aloe Leaves Turning Brown and Crispy?
This one usually comes down to three common culprits: underwatering, a salt buildup in the soil, or fertilizer burn.
First, check your watering habits. Is the soil bone-dry for long stretches? If so, your aloe is probably just thirsty and needs a good, deep drink.
Another thing I see all the time is a mineral buildup from tap water, especially in areas with hard water. Those excess salts can literally burn the sensitive leaf tips. Switching to filtered, distilled, or even collected rainwater can make a huge difference.
Finally, think about when you last fertilized. It’s easy to overdo it, and too much fertilizer causes chemical burns on the roots that show up as brown, crispy ends. If you think this might be it, you can flush the soil by letting water run through the pot for several minutes to wash out the excess.
Don't forget that fungal diseases can also be aggressive. For instance, Alternaria leaf spot is a major problem for aloe plants globally. In some field studies, untreated plants saw disease index rates as high as 73.33%. This just goes to show how important it is to deal with any suspicious spots right away. You can dive deeper into these findings and treatments for aloe diseases in this detailed study.
At The Cactus Outlet, we're all about providing healthy, top-quality succulents and cacti that are set up for success in your home. Check out our collection of beautiful aloe vera plants and start your journey with a plant that's ready to thrive. Visit us today at https://www.cactusoutlet.com.