
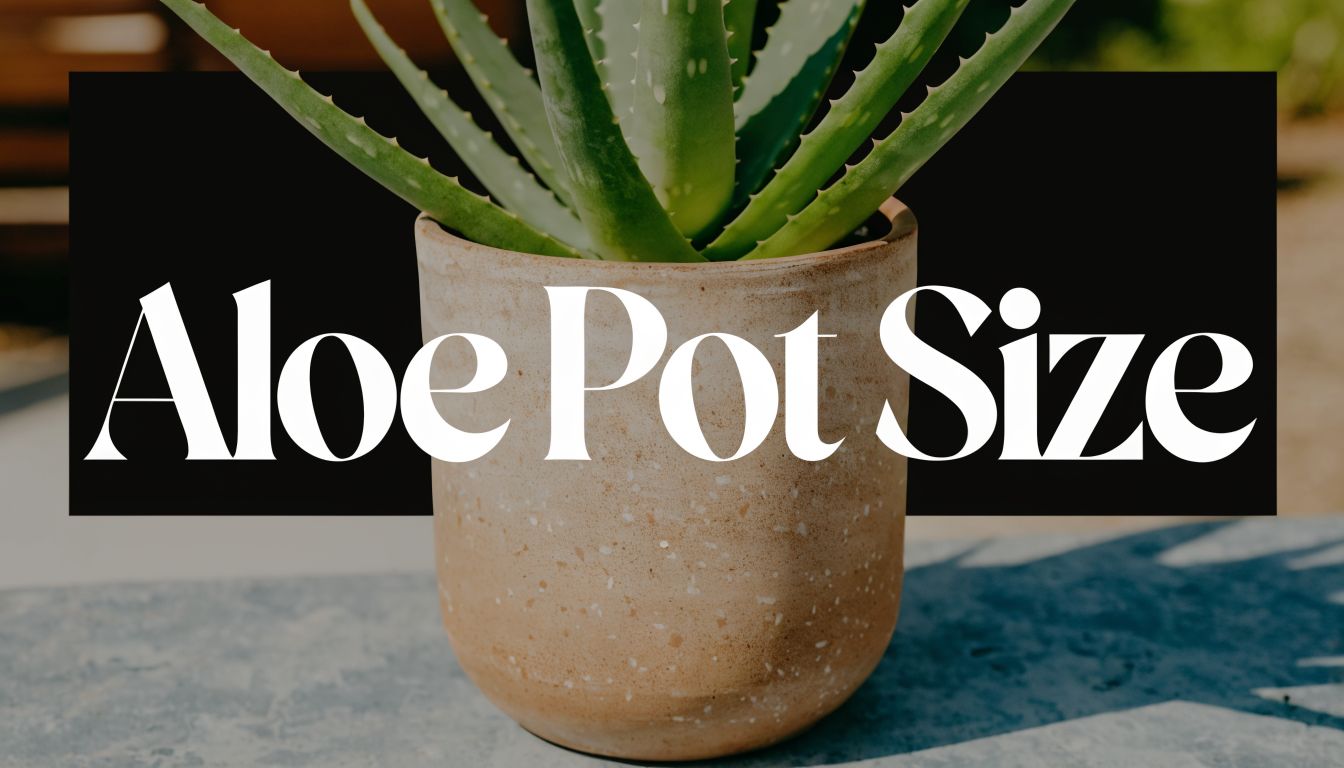

An aloe vera pot should be 1 to 2 inches wider than the root ball and about as deep as the root system needs, because aloe prefers a slightly snug container. For mature plants, that usually means a pot with enough depth for the taproot, with 6 to 8 inches minimum depth for larger specimens.
If you're standing over a nursery pot right now wondering whether to move your aloe into something much bigger, pause. That instinct causes more losses than people expect. Aloe vera doesn't reward extra soil, oversized containers, or decorative pots without drainage. It rewards restraint.
I see this most often with larger aloes. A small starter plant is easy to judge. A mature aloe with a broad rosette, offsets pushing at the rim, and a heavy top is different. People either leave it cramped too long, or they move it into a pot that looks proportional above the soil line but is far too large below it. Both choices create problems, but the oversized pot is the one that usually kills the plant.
Why Your Aloe Vera Pot Size Matters More Than You Think
Aloe potting mistakes usually begin with good intentions. Someone buys a healthy aloe in a nursery pot and thinks, "I'll give it room to grow." So it goes into a large decorative container with a lot of fresh soil. For a few weeks, it still looks fine. Then the lower leaves soften, the center loses firmness, and the roots start failing in wet soil that never dried fast enough.
That pattern is common because pot size controls moisture more than is commonly recognized. A larger pot doesn't just hold more soil. It holds more wet soil around roots that don't need it. Aloe wants a root zone that dries on a reasonable schedule, not a reservoir.
The opposite mistake happens too. An old aloe sits in the same pot for too long, roots circle tightly, pups crowd the base, and watering runs straight through without rewetting the mix well. Growth slows, the plant can become unstable, and nutrition becomes harder to manage.
Practical rule: For aloe, the right pot is rarely the one that "looks nicest" with the plant. It's the one that matches the root system closely enough to dry properly and support the plant's weight.
For larger specimens, especially the kinds collectors and designers buy for patios and entryways, the pot also becomes part of the plant's structure. If the container is too light, too shallow, or too wide for the wrong reason, the aloe can rock after repotting and never settle well.
What works is simple. Measure the root ball. Respect the depth. Keep the fit snug. Then choose a pot material that helps, not fights, your watering habits.
The Golden Rules for Sizing an Aloe Vera Pot
Aloe sizing gets trickier the moment the plant stops being a small windowsill succulent. A young aloe can tolerate a little imprecision. A mature specimen with a heavy rosette, offset pups, and real weight cannot. Pot it too large, and the extra soil stays wet longer than the roots can use. Pot it too shallow, and the plant rocks in the container every time you move it or water it.
The baseline rule for aloe vera plant pot size is still useful. Choose a pot about 1 to 2 inches wider than the current root ball. Alibaba Plant Wiki's aloe vera pot sizing guide also points out that mature plants do better with at least 6 to 8 inches of depth, which matches what growers see in practice once aloes gain size and top weight.
Start with the root ball, not the leaves
Leaf spread misleads people. Aloe foliage often extends well beyond the part of the plant that needs support and soil contact.
Slide the plant out and inspect the root mass first. If the roots fill the pot, circle densely, or push the plant upward, size up modestly. If the root ball is still compact and the mix is draining well, a bigger decorative pot is usually a mistake.
A snug fit helps aloe dry at the right pace. That matters more than giving the plant "room" it cannot use yet.
Width and depth solve different problems
Width controls how much soil surrounds the root ball. Depth affects anchoring, especially on larger aloes with a broad crown. Many generic guides treat those as the same decision. They are not.
For smaller plants, being slightly conservative on width usually works well. For mature plants, depth becomes part of the support system. I see this often with specialty aloes sold in nursery cans. The buyer focuses on diameter, then sets a heavy, top-wide plant into a shallow bowl. It may look balanced on day one, but after watering the plant shifts, roots break their new contact with the mix, and the aloe never settles properly.
Use this chart as a practical starting point, then adjust for root density and top weight.
| Plant Diameter | Recommended Pot Diameter | Recommended Pot Depth |
|---|---|---|
| 4 to 6 inches | 5 to 6 inches | 5 to 6 inches |
| 7 to 9 inches | 7 to 8 inches | 6 to 7 inches |
| 10 to 12 inches | 8 to 10 inches | 7 to 8 inches |
| Over 12 inches | Up to 12 inches | 8+ inches |
What changes with big, mature aloe plants
When dealing with a larger aloe, the simple "go up one size" rule starts to break down. Pot size is not just about root room; it is also about stability, drying speed, and how much unused mix sits under and around the root ball.
In the trade, smaller indoor aloe often comes in 4-inch or 6-inch nursery pots. Larger patio-sized plants may arrive in 1-gallon or 5-gallon containers. That does not mean the next step is a much larger show pot. For a substantial specimen, I usually check four things before choosing the next container:
- Root ball firmness: A tight, solid root ball can move up slightly without trouble.
- Top-heaviness: A broad rosette often needs more depth and a heavier pot, not more width.
- Pup crowding: A clumping aloe may need division, or it may need a wider footprint if you want to keep the colony together.
- Old soil condition: Compacted, tired mix is a reason to repot even when the current pot diameter is still close.
For larger specimens from specialty growers like The Cactus Outlet, the primary risk is often excess soil volume, not lack of space. A decorative planter that looks proportional to the leaves can leave too much wet mix around a relatively compact root system. That is how large aloes get into trouble after repotting.
If you want a broader comparison of container shapes and styles that work for succulents, our guide to the best pots for cactus and succulents covers the practical trade-offs.
A mature aloe usually performs better in a pot that fits the root ball closely and supports the plant's weight than in a large planter full of unused soil.
One rule that always applies
Every aloe pot needs drainage holes. A perfectly sized container still fails if water collects at the bottom and the root zone stays wet for days.
Choosing the Best Pot Material for Drainage and Health
Aloe owners usually focus on diameter first. Material often decides whether that pot is forgiving or risky.

Two pots can hold the same plant and need very different care after watering. That difference gets sharper with larger, mature aloe vera plants. A big rosette in a light pot tips more easily, and a large root ball sitting in slow-drying soil stays wet longer than many growers expect.
Terracotta
Unglazed terracotta is still the safest default for aloe. The walls dry faster than plastic or glazed ceramic, which gives the root zone more air and shortens the time the mix stays damp.
For mature plants, weight matters as much as breathability. A heavy terracotta pot helps anchor a broad aloe that wants to lean toward the light or wobble after repotting. That extra stability is one reason we use heavier pots for larger specimens at The Cactus Outlet instead of judging by looks alone.
Terracotta does have a trade-off. It dries fast, especially in hot rooms, bright patios, or windy spots, so watering may need to happen a bit sooner in summer.
Glazed ceramic
Glazed ceramic works well for growers who water carefully and want a cleaner finished look indoors. It is usually heavy enough to support medium and large aloes, which solves part of the stability problem.
The downside is slower drying. That matters most when the plant is oversized for its root system, which is common with mature aloes that have a lot of leaf mass but a fairly compact root ball. In that case, glazed ceramic can hold moisture around unused soil longer than the plant can use it.
Choose glazed ceramic when you want weight and appearance, but keep the pot tightly matched to the root mass and make sure the drainage hole is large enough to clear fast.
Plastic and resin
Plastic and resin are practical. They are lighter, cheaper, and easier to move, which makes them useful for temporary housing, patio rotation, or anyone who needs to shift a heavy plant without a struggle.
They are less forgiving for aloe. The pot wall does not help moisture leave the mix, and a large aloe in a light plastic container can become top-heavy fast. I see this problem most often when a grower picks a wider plastic pot to steady a mature plant, then ends up with too much wet soil around roots that did not need the extra space.
If you use plastic, keep the fit tight, use a fast-draining mix, and watch stability before you water.
For a broader side-by-side look at shapes, weights, and drainage behavior, see our guide to pot options for cactus and succulents.
For large aloe vera plants, the best pot material is the one that keeps the mix drying at the right pace and keeps the plant upright without surrounding the roots with excess soil.
A Step-by-Step Guide to Repotting Your Aloe Vera
Repotting goes smoothly when the plant is dry enough to handle and the new container is ready before you start. Most damage happens when people improvise halfway through.

Signs your aloe is ready
You don't need to repot on a schedule. Repot when the plant gives you a reason.
Watch for these signs:
- Roots at the drainage hole: the plant has filled the container.
- A top-heavy lean: the pot no longer balances the plant well.
- Pups crowding the rim: the base has become congested.
- Water behavior has changed: water runs through too fast or the old mix has compacted badly.
The repotting sequence
-
Gather the new pot and fresh mix.
Have the new container ready before removing the plant. Use a fast-draining succulent or cactus mix. -
Loosen the aloe from its current pot.
Support the base, tip the pot, and slide the root ball out gently. If it's stuck, tap the sides rather than yanking the leaves. -
Inspect the roots.
Remove loose old soil. Any mushy or collapsed roots should be trimmed away with a clean blade. -
Prepare the new pot.
Add enough mix at the bottom so the aloe sits at the same planting height it had before. Don't bury the crown deeper than it was.
Here is the process in video form if you prefer seeing the rhythm of the work before doing it yourself.
-
Set the plant in place.
Center it. On a large aloe, rotate the heaviest side so the plant sits naturally over the middle of the pot. -
Backfill around the root ball.
Fill the sides and firm the mix lightly. You want contact around the roots, not densely packed soil. -
Leave space at the top.
Keep some room below the rim so future watering doesn't spill immediately over the edge. -
Wait briefly before watering if roots were disturbed.
If you trimmed damaged roots or handled the root mass aggressively, give the plant a little time to settle before the first watering.
For growers who also work with columnar cacti or mixed succulent containers, this repotting guide for cacti covers many of the same handling principles.
What helps large aloes settle faster
Large aloes are awkward because the leaves shift your grip and the top can torque the root ball. A few practical habits help:
- Use the pot itself as support: don't carry the plant by the leaves.
- Work on the ground or a bench: avoid balancing a heavy specimen mid-air.
- Stabilize temporarily if needed: if the plant rocks after repotting, brace it until the roots anchor.
- Keep the crown exposed: buried crowns stay damp and decline fast.
Common Potting Mistakes That Can Harm Your Aloe
Aloe usually declines in the pot long before it looks sick on top. The leaves may stay green while the root zone stays too wet, the base sits too deep, or a heavy rosette keeps shifting and tearing new roots.

Overpotting
Symptom: lower leaves soften, yellow, or collapse after repotting.
Cause: the pot holds far more damp mix than the root mass can use.
Solution: shift the plant into a closer-fitting container with open drainage and fresh fast-draining soil.
This is the mistake I see most with larger aloes. Growers buy a much bigger pot to avoid repotting again, but a mature aloe does not reward that shortcut. Extra soil volume dries slowly, especially around the outer root ball, and the plant spends too long sitting in moisture instead of re-establishing.
A pot that's too light for the plant
Large aloe presents a second problem that small-houseplant guides often miss. The pot can be the right width and still be wrong if it does not have enough weight to hold the plant steady.
A broad, mature aloe puts a lot of force on the container every time you move it, water it, or brush past it. If the pot rocks, the roots rock too. That repeated movement breaks fresh root contact and slows establishment. For bigger specimens, I would rather see a slightly snug heavy pot than a roomy lightweight one that tips easily.
Burying the crown too deep
Symptom: the base stays damp and starts to soften.
Cause: soil is piled against the crown or lower leaves.
Solution: reset the plant so the base sits at the same level it did before.
This often happens after backfilling a tall plant that wants to lean. Adding more soil around the base may make it look stable for a week, but it creates a damp pocket where aloe is most likely to fail.
Using the wrong drainage setup
A drainage hole does not help if it is blocked by decorative stone, packed soil, or a saucer that never gets emptied. Cachepots cause the same problem when water collects at the bottom and the grow pot sits in it.
Use a pot that drains freely, then let it drain fully after watering. For indoor setups, a saucer is fine if you empty it.
Ignoring early root rot signs
If the plant feels loose at the base, smells sour, or shows soft tissue near the crown, do not wait for the whole plant to collapse. Unpot it, inspect the roots, and correct the container setup right away. If those symptoms are already showing, this guide to aloe vera root rot and recovery will help you sort out what can still be saved.
One more mistake deserves mention. Growers often focus on width and forget soil depth. A big aloe in a shallow pot can look fine on day one and still fail because the root system never gets enough vertical hold. For mature plants sold by specialty growers, the safer choice is often a pot that gives the roots enough depth to anchor without surrounding them with a huge mass of wet soil.
Frequently Asked Questions About Aloe Potting
How should I pot aloe pups
Pot pups separately once they have enough structure to handle on their own and can be removed without tearing the base apart. Use a small pot that fits the young root system closely. Don't start a small pup in a large container just because you want it to "grow into it."
Are self-watering pots good for aloe vera
Usually, no. Aloe prefers a drying cycle, and many self-watering systems work against that. If you want a modern alternative, fabric pots are a better fit in some setups. Martha Stewart's succulent potting article notes that fabric pots can reduce root rot risk by up to 40% compared to plastic because air-pruning improves root conditions.
That doesn't make fabric the default answer for every aloe. It makes it an option worth considering if you struggle with moisture retention in plastic.
How do I keep a large aloe from falling over
Use a heavier pot, not just a wider one. Terracotta helps because the base weight counters the top-heavy rosette. Set the plant in the center, use enough depth for anchoring, and brace it temporarily if the root ball was disturbed.
Can I keep multiple pups in one larger container
Yes, if you're growing a clump and not trying to maximize speed from each individual pup. The trade-off is airflow around the base and slower drying if the group becomes crowded. For shared containers, stay disciplined about spacing and don't let dense growth force you into an oversized wet pot.
If you're shopping for a larger aloe or replacing a flimsy nursery setup with something more stable, The Cactus Outlet offers large aloe and other succulents in sizes that suit real container growing. It's a practical place to compare mature specimens, especially if you're planning around patio containers, collector pieces, or larger design installs.