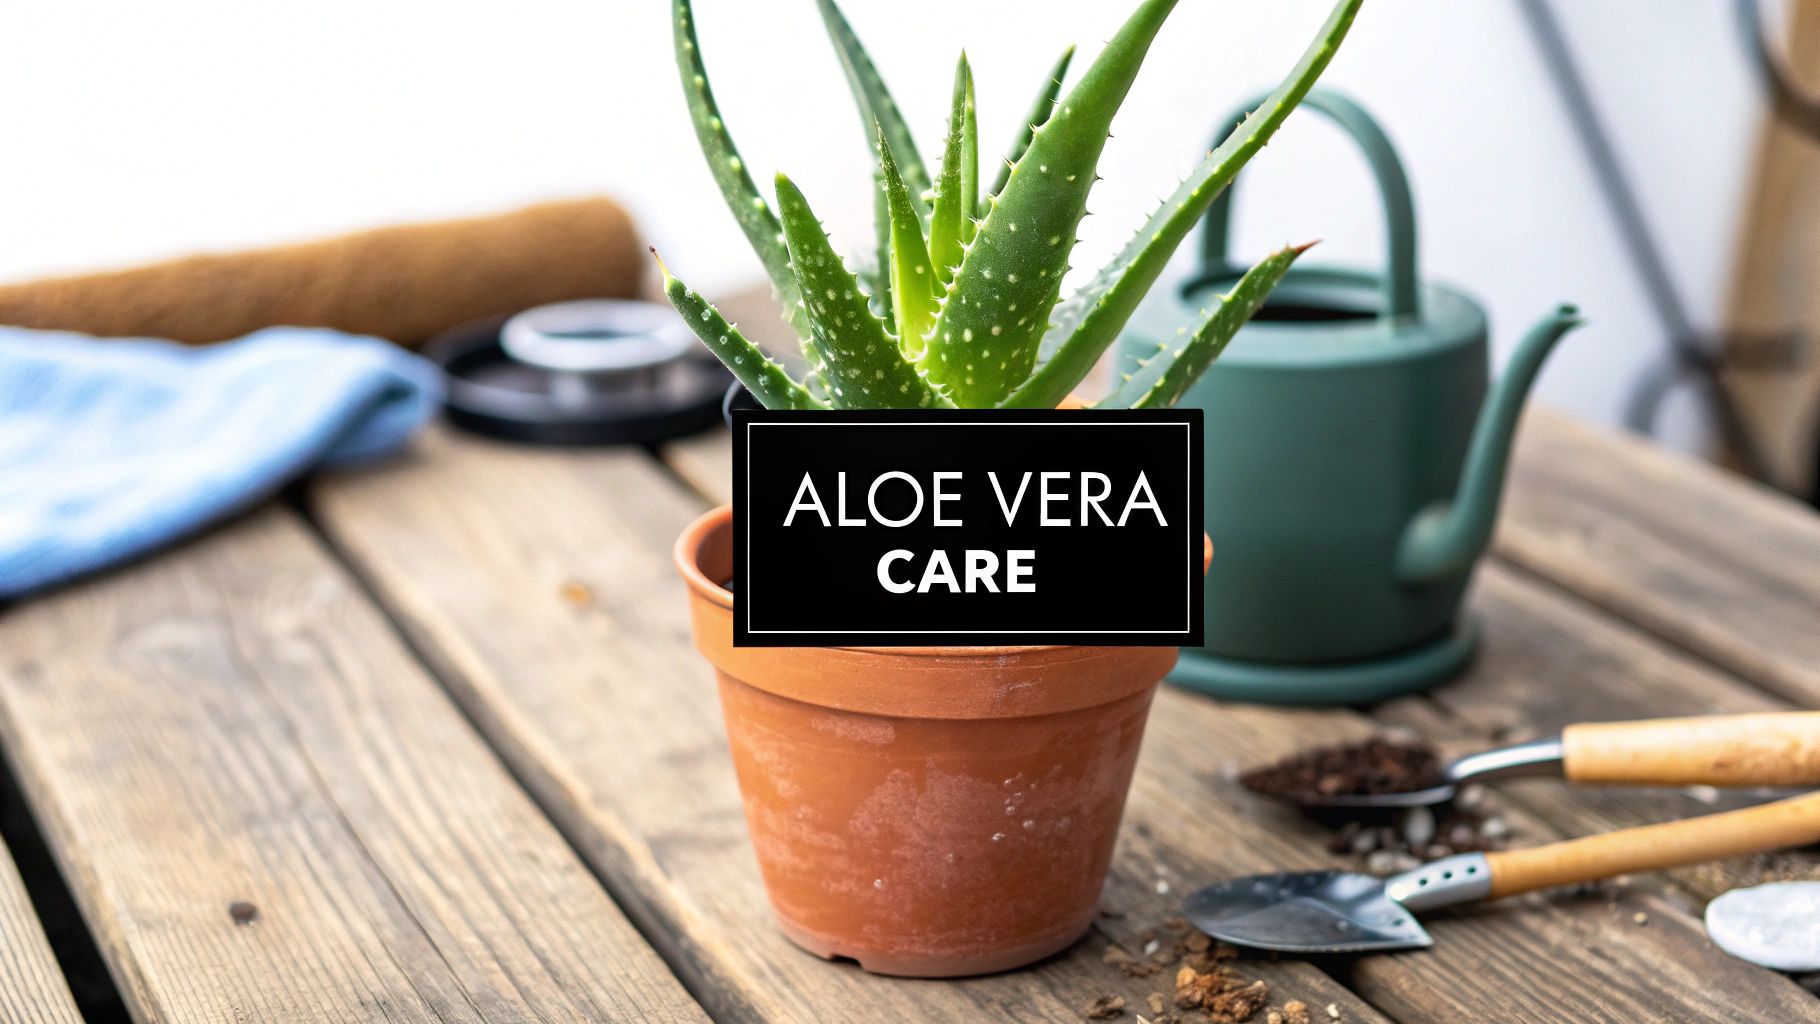

When it comes to keeping an aloe vera plant happy, it really boils down to getting four things right: light, water, soil, and temperature. Find that sweet spot, and your plant won't just survive—it'll absolutely flourish, pushing out those thick, healthy leaves we all love. It’s a lot more intuitive than you might think once you get the hang of its needs.
Your No-Nonsense Guide to a Thriving Aloe Vera
Let's cut to the chase and talk about what actually works for taking care of aloe vera. I've seen so many people, especially those new to houseplants, get tripped up by this seemingly simple succulent. You follow the generic advice, but you're still stuck with yellowing leaves or a mushy base, and it's just plain frustrating.
The real secret isn't some complicated trick; it's about remembering where this plant comes from. Think of your aloe as a desert native, built to handle intense sun and long dry spells. That's why the most common mistake is actually giving it too much attention, especially with the watering can. These guys genuinely prefer a bit of neglect.
The Foundation of Great Aloe Care
To get you started on the right foot, let's go over the core principles of aloe vera plants care. Once you nail these, you'll feel confident looking after your plant.
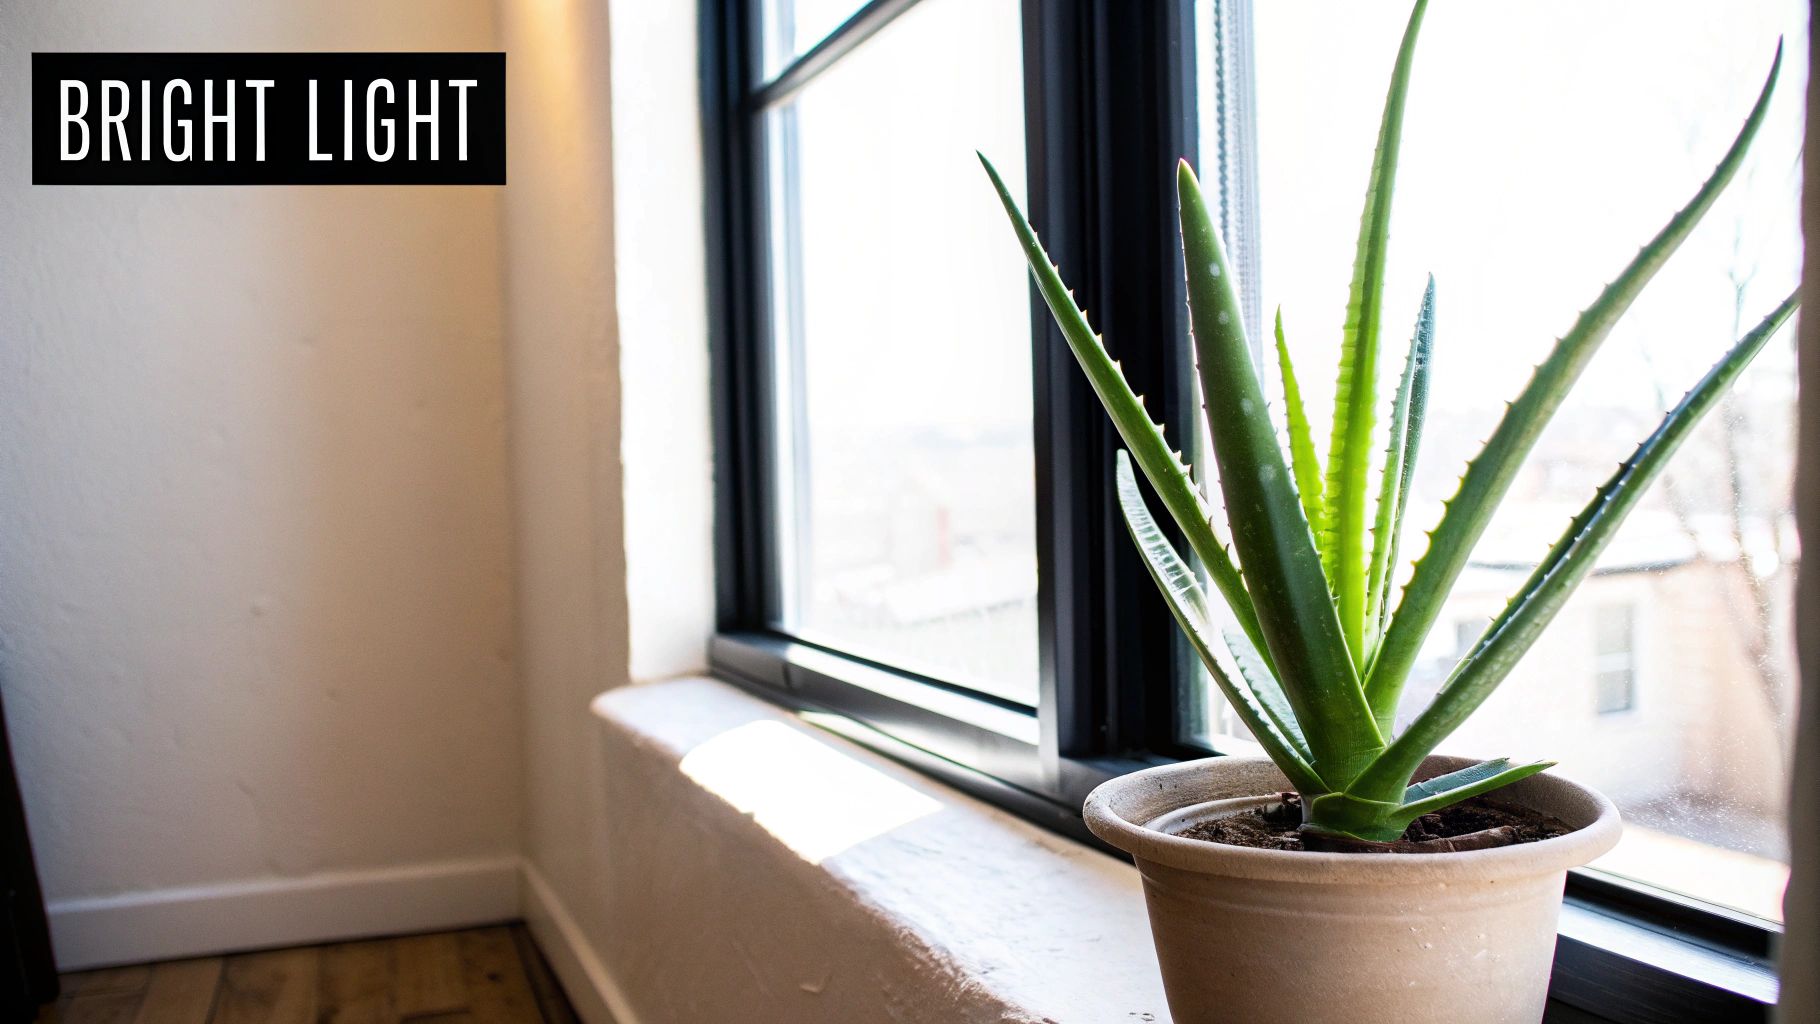
- Finding the Right Light: Your aloe craves bright, but indirect, sunlight. Stick it right in a blazing hot, south-facing window, and you'll likely see its leaves get scorched and turn a stressed-out reddish-brown. I find that an east-facing window, where it can soak up some gentle morning sun, is just about perfect.
- Watering the Right Way: This is where most people go wrong. Overwatering is the number one killer of aloe plants, period. Your new mantra should be the "soak and dry" method. Give it a deep watering until you see water run out the drainage hole, and then—this is the important part—let the soil dry out completely before you even think about watering it again.
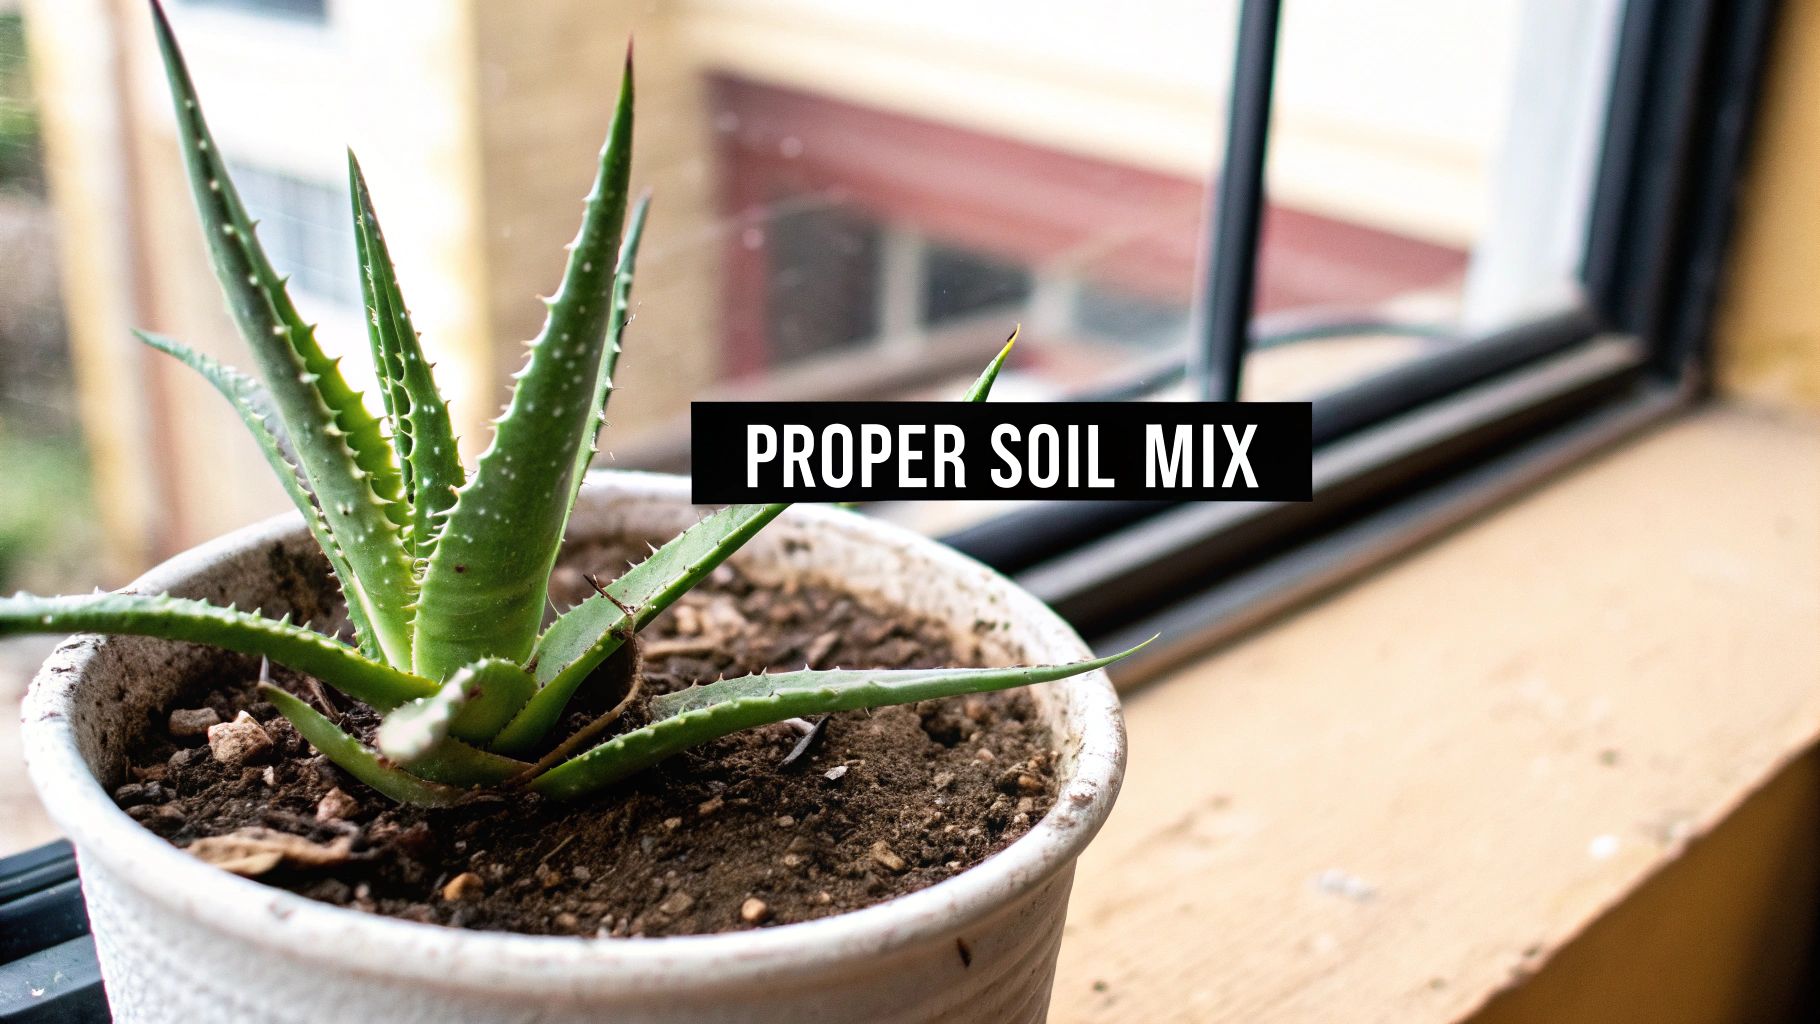
- Building a Good Base: That all-purpose potting soil you have lying around is a no-go. It holds onto way too much water for an aloe's liking. You need a gritty, well-draining soil mix, like the kind made specifically for cacti and succulents. This keeps the roots from sitting in a bog and rotting.
- Temperature and Humidity: Good news here: aloes are pretty comfortable in the same temperatures we are. They’re happiest between 55 and 80°F (13-27°C). They also couldn't care less about humidity levels, which makes them fantastic houseplants for most homes.
At the end of the day, success with aloe vera plants care is all about creating the right environment. These succulents need about 6–8 hours of indirect sunlight to prevent them from getting weak and "leggy." They also thrive in porous, well-draining soil with a pH between 6.0 and 8.5. As these plants have grown in popularity, it's interesting to explore the data on aloe vera cultivation and see how these care needs drive the market.
Aloe Vera Care Quick Reference
Here’s a simple cheat sheet to help you remember the most important points for keeping your aloe in top shape.
| Care Factor | Ideal Condition | Common Mistake |
|---|---|---|
| Light | 6-8 hours of bright, indirect sunlight daily. | Placing in direct, harsh sun, which scorches leaves. |
| Watering | Water thoroughly, then allow the top 2-3 inches of soil to dry out. | Watering too frequently, leading to root rot. |
| Soil | Fast-draining cactus or succulent mix. | Using standard potting soil that retains too much moisture. |
| Pot | Terracotta or a pot with excellent drainage holes. | Using a pot without drainage, trapping water at the roots. |
| Temperature | Happy in average room temperatures (55-80°F). | Exposing the plant to frost or sudden temperature drops. |
| Fertilizer | Feed a balanced liquid fertilizer (diluted) once in spring. | Over-fertilizing, which can burn the roots and leaves. |
This table is a great starting point, but always remember to observe your own plant—it will give you the best clues about what it needs.
Getting Light and Water Just Right
When it comes to keeping an aloe vera happy, getting the light and water situation right is more than half the battle. So many people either love their plant to death with the watering can or unknowingly scorch it with intense sunlight. The real secret is to think like a desert—bright but not brutal, with long dry spells followed by a deep, soaking rain.
Sunlight is basically your aloe's fuel. If it doesn't get enough, you'll see the leaves get pale and start stretching out, looking thin and leggy as they desperately reach for a light source. But put it in the path of a relentless, direct sunbeam—like right up against a hot, south-facing window—and you’ll stress it out. The leaves will tell you they're unhappy by turning a sickly yellow or even a reddish-brown. That's a plant sunburn.
Finding the Ideal Sunlight Exposure
You've probably heard the term "bright, indirect light" a million times. It sounds a bit vague, but it's simple to spot in your own home. It’s basically any spot where you could comfortably read a book all day without turning on a lamp, but where the sun isn't directly blasting your plant's leaves for hours.
Here’s how that usually plays out in a typical house:
- East-Facing Window: This is often the money spot. Your aloe gets a nice dose of gentle, direct morning sun that won't do any harm.
- South or West-Facing Window: These spots get some serious heat in the afternoon. You can absolutely use them, just pull the plant back a few feet from the glass. Tossing a sheer curtain up can also do the trick, diffusing that intense light perfectly.
- North-Facing Window: Honestly, this usually isn't enough light for an aloe to really thrive. It might hang on for a while, but you'll likely see that weak, stretched-out growth over time.
Your plant will tell you if it's happy. Healthy aloe leaves are a rich, vibrant green and point upwards with confidence. For a deeper dive, check out our guide on aloe plant sunlight requirements for more placement ideas.
Mastering the Art of Watering
If you remember only one thing about watering aloe, let it be this: When in doubt, wait. The number one killer of these succulents is overwatering. It leads to the dreaded root rot, where the plant's roots literally turn to mush because they've been sitting in a bog.
The best way to water is using the "soak and dry" method. You’re just recreating that natural desert cycle of a long drought followed by a massive downpour.
My Go-To Method: I give my aloe a really thorough drink, letting water run all the way through the pot and out the drainage holes. Then—and this is the important part—I let the soil get completely, bone-dry before I even think about watering it again.
For you, this might mean watering every two weeks in the summer and maybe only once a month during the winter when the plant is just chilling. The key is to ditch the schedule and water based on the plant's actual needs. The easiest test? Stick your finger about two inches down into the soil. If you feel even a hint of moisture, walk away and check again in a few days.
What Changes Your Watering Routine?
Of course, no two homes are the same, and several things will affect how thirsty your specific plant gets. Getting a feel for these variables is what separates a good plant parent from a great one.
| Factor | How It Affects Watering |
|---|---|
| Pot Type | Terracotta is porous and breathes, so soil dries out much faster. You'll water more often than with a plastic or glazed ceramic pot. |
| Season | Plants are busiest in spring and summer, so they'll need more water. In the winter, they're dormant and need way less. |
| Humidity | If you live in a dry climate (or your furnace is always on), soil will dry out fast. In a humid bathroom, you'll barely have to water. |
| Pot Size | A tiny pot holds less soil and dries in a flash. A huge pot can hold onto moisture for a surprisingly long time. |
A quick note on water quality: if your tap water is particularly hard or chlorinated, your aloe might appreciate a filter. Some people find that using carbon water filters can make a difference for really sensitive plants. Ultimately, though, the best skill you can develop is learning to read your aloe's cues. Firm, plump leaves mean it's well-hydrated. Thin, slightly curled leaves are its way of telling you it's getting thirsty.
Creating the Perfect Soil and Potting Mix
A happy aloe vera starts from the ground up—literally. The entire health of your plant really hinges on the environment you create for its roots. Getting the soil and pot right is probably the most critical part of aloe vera plants care, and it's honestly where I see most people go wrong.
The number one mistake? Grabbing any old bag of potting soil. That stuff is designed to hold moisture for thirsty houseplants, which is the exact opposite of what your desert-loving aloe needs. It’s a fast track to soggy roots and the dreaded root rot.
Why Standard Soil Is a No-Go
Regular potting mix is packed with organic material like peat moss that acts like a sponge. While that’s fantastic for a fern, it creates a dense, swampy mess for an aloe. The roots can’t breathe. This constant dampness literally suffocates the roots, stopping them from taking up nutrients and causing them to rot away.
Remember, an aloe's roots are built for gritty, sandy soil that drains in a flash. The goal is simply to copy that natural habitat as best we can.
A classic sign you're using the wrong soil is a plant that feels wet for days after you've watered it. The top might look dry, but if you poke your finger an inch or two down, it's still damp. That's a huge red flag that your plant is in the danger zone for root rot.
Crafting the Ideal Soil Blend
The absolute best soil for an aloe is often one you mix yourself. It gives you total control over drainage and aeration. A good DIY blend lets water rush through, giving the roots a quick drink without leaving them to sit in a puddle.
Here’s a simple, foolproof recipe I use all the time:
- Two parts coarse sand: Make sure it's horticultural or builder's sand, not fine playground sand which can compact.
- Two parts standard potting soil: This gives it just enough organic matter and a nutrient base.
- One part perlite or pumice: These lightweight volcanic rocks are the champions of aeration. They keep the mix from becoming heavy and dense.
When you combine these, you get a loose, gritty medium that’s just what your aloe is looking for. If you want to dive deeper into other recipes, you can learn more about crafting the perfect succulent soil mix right here on our blog.
Of course, if DIY isn't your thing, a high-quality commercial cactus and succulent mix works great. Just take a look at it before you buy—the good ones will look and feel gritty, with plenty of visible sand, pumice, or perlite.
Choosing the Right Pot
The pot you pick is just as crucial as what you put in it. The material and, most importantly, the drainage can make or break your aloe's health.
Terracotta is the top choice, hands down. Why? It's porous. The unglazed clay lets air and moisture pass right through the walls, helping the soil dry out faster and more evenly. Think of it as an extra layer of insurance against overwatering.
Plastic or glazed ceramic pots are fine, but they trap moisture. You'll just need to be much more careful about your watering routine if you go that route.
And now for the golden rule: your pot must have a drainage hole. This is non-negotiable. Without a way for excess water to escape, even the best soil mix will turn into a waterlogged trap for your aloe’s roots.
Knowing When to Repot
Eventually, your aloe is going to outgrow its home. The good news is that they don't need repotting often—in fact, they kind of like being a little snug in their pots. But there are some clear signals that it’s time for an upgrade.
Keep an eye out for these tell-tale signs:
- You see roots poking out of the drainage hole.
- The plant looks top-heavy and keeps tipping over.
- Water seems to run straight through the pot without soaking in (this means it’s more roots than soil in there).
- The pot is crowded with tons of new pups (baby aloes).
When it's time, pick a new pot that's only about 20-25% larger in diameter. Jumping to a pot that’s way too big is a common mistake. The small root ball can't absorb all the moisture from that extra soil, which then stays wet for too long and invites rot. A slow and steady upgrade is always the safest bet.
How to Propagate Aloe Vera Pups
One of the most rewarding parts of caring for an aloe vera is watching a healthy, happy plant start its own little family. A thriving aloe will eventually send out small offshoots from its base, which we affectionately call "pups." Propagating these pups is a surprisingly simple way to get more plants for free, either to expand your collection or to share with friends.
The whole process starts with a bit of patience. I know it’s tempting to separate a pup the second you spot it, but giving it time to grow is the single most important factor for its survival. A tiny pup just doesn't have the stored energy or, more importantly, its own root system to make it on its own.
Knowing When a Pup Is Ready
Timing is everything. An aloe pup is ready for its own pot when it hits a couple of key milestones. First, look at its size—a good rule of thumb is that the pup should be at least one-fifth the size of the mother plant. This size indicates it's mature enough to be self-sufficient.
Even more critical, though, is checking for its own roots. You can sometimes give the pup a gentle wiggle to feel if it has anchored itself into the soil. The best candidates for separation look like perfect, miniature versions of the parent plant.
The Separation Process
Once you’ve picked out a strong, healthy pup, it’s time for the "operation." Your goal here is to be as clean and gentle as possible to minimize shock to both the mother plant and its baby.
- Get a Good Look: I find it’s easiest to carefully slide the entire mother plant out of its pot. This gives you a clear view of the whole root system and shows you exactly where the pups are attached.
- Find the Connection: Gently brush away the soil to expose the point where the pup connects to the main plant's root system.
- Make a Clean Cut: Using a sterilized, sharp knife or a pair of pruning shears, make one clean, decisive cut to separate the pup. Try to take as many of the pup's own roots with it as you can.
Don't panic if the pup has very few roots—or even none! It can still grow new ones. If you're new to this, our guide on propagating succulents from cuttings has some great foundational tips that also work well here.
Don't Skip the Callusing Phase
After you make the cut, the pup has an open wound. Planting it right away is a recipe for disaster, as that fresh cut is an open invitation for rot. To avoid this, you have to let the wound "callus" over.
Just set the pup aside in a dry spot with indirect light for a few days. You'll see the cut end dry out and form a hard, protective layer. This step is absolutely non-negotiable for successful propagation.
This callusing period creates a barrier that keeps moisture out of the fresh wound, which is the number one reason new aloe propagations fail.
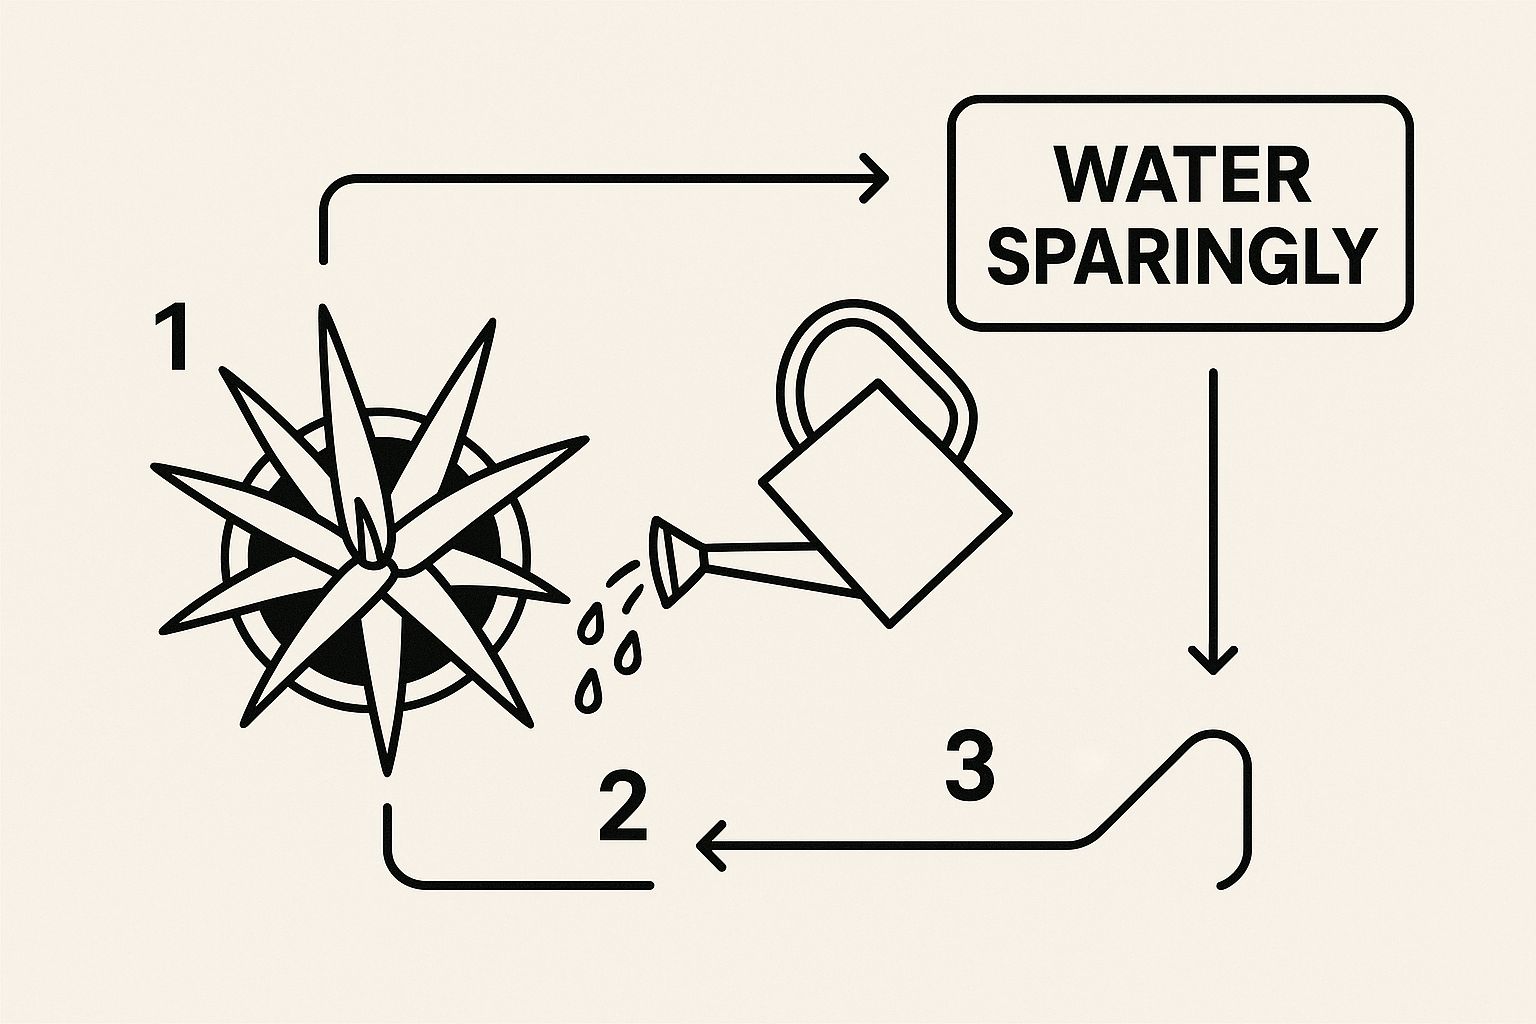
This visual is a great reminder that overwatering is the biggest threat to all aloes. It reinforces why you need to let the soil dry out for the mother plant and why it's so crucial to let new pups establish their roots without the risk of rot.
Potting Your New Aloe Plant
Once the pup's cut end has callused over nicely, it's ready for its new home.
- Pick the Right Pot: Start with a small pot, just a little bigger than the pup's base, and make sure it has a drainage hole. Terracotta pots are fantastic because their porous nature helps the soil dry out faster.
- Use the Right Soil Mix: Fill the pot with a well-draining cactus and succulent mix. Whatever you do, don't use standard potting soil—it holds way too much water.
- Plant the Pup: Settle the base of the pup into the soil, just deep enough for it to stand up on its own. There's no need to bury it deep.
- Wait to Water: This is the final, crucial step. Do not water the new pup for at least a week. This waiting period gives any new or damaged roots time to heal and settle in without being drenched in moisture.
After that first week has passed, you can give it a small amount of water. From then on, treat it just like a mature aloe plant—water it thoroughly, but only when the soil has become completely dry. Within a few weeks, you should be rewarded with new growth, the surest sign that your propagation was a success.
Troubleshooting Common Aloe Plant Problems
Even with the best of intentions, your aloe vera might hit a rough patch. Don't worry—most issues are surprisingly easy to read and even easier to fix once you know what to look for. Think of this as your aloe's first-aid guide to getting it back on its feet.
The most common problems almost always come back to the big three: water, light, and soil. Before you jump to the worst-case scenario, just take a moment to observe your plant and its surroundings. Often, a simple tweak is all it takes to turn things around.
Decoding Your Aloe's Leaf Signals
Your aloe's leaves are its main way of communicating. They’ll tell you exactly what’s going on, you just have to learn their language.
Probably the most common panic-inducing signal is seeing mushy, brown leaves. This almost always points to overwatering, which has probably led to the dreaded root rot. You might notice the base of the plant feels soft, or the leaves fall off with the slightest touch. It’s an emergency, but it’s definitely not a death sentence if you act fast.
Here’s the recovery plan:
- Gently slide the plant out of its pot and clear away all the soggy soil.
- Take a good look at the roots. Healthy ones are firm and white or a light tan. Rotted roots will be black, brown, and squishy.
- Using a clean, sharp pair of scissors, carefully snip off every single bit of rotted root. Be ruthless here.
- Let the plant air-dry out of the pot for a day or two. This lets the cuts heal and form a callus.
- Repot it in fresh, completely dry cactus mix in a clean pot with great drainage. Critically, do not water it for at least a week. This gives the remaining roots time to recover without being suffocated.
What to Do About Other Leaf Issues
Not all leaf problems mean too much water. Sometimes the issue is the complete opposite, or it’s all about the light.
Brown and Crispy Leaf Tips If the very tips of the leaves are dry and brittle, your plant is telling you it's thirsty. It's a classic sign of underwatering. The fix is straightforward: give it a good, deep drink until water flows freely from the drainage holes. If that doesn't solve it, you might have a buildup of salts from tap water. Try switching to filtered or distilled water for a while.
Leaves Growing Flat or Spreading Out An aloe’s leaves should grow proudly upwards. If they’re sprawling out horizontally, your plant is desperately searching for more sun. It’s literally flattening itself to create a bigger surface area to catch any available light. The solution is to gradually move it to a brighter spot—just be sure to acclimate it slowly to avoid sunburn.
Reddish-Brown or Orange Leaves Speaking of sunburn, this is what it looks like on an aloe. This "stress coloring" happens when it gets too much direct, harsh sunlight. It might look alarming, but it's temporary. Just pull your plant a few feet back from the window or move it to a location that gets less intense afternoon sun. It should return to its familiar green hue pretty quickly.
A Guide to Common Problems
Figuring out what's wrong can sometimes feel like a guessing game. This quick table should help you pinpoint the issue based on what you're seeing.
| Symptom (What You See) | Probable Cause | Solution |
|---|---|---|
| Mushy, Brown, or Yellow Leaves | Overwatering leading to root rot. | Check roots, trim rot, repot in dry soil, and wait to water. |
| Dry, Crispy Leaf Tips | Underwatering or salt buildup. | Water thoroughly or switch to filtered/distilled water. |
| Flat, Outward-Spreading Leaves | Insufficient sunlight. | Gradually move the plant to a location with more bright, indirect light. |
| Red, Orange, or Brownish Hue | Too much direct sunlight (sunburn). | Move to a spot with less intense light or further from the window. |
| White, Cottony Spots | Pest infestation (usually mealybugs). | Dab with 70% isopropyl alcohol or spray with insecticidal soap. |
Remember, these are just the most common culprits. Always take a close look at your plant's environment—light, water, soil—to get the full picture.
Dealing With Unwanted Pests
While aloes are pretty tough, they can fall victim to pests, especially indoors. The most frequent uninvited guest is the mealybug. These are tiny, white, cotton-like bugs that love to hide in the nooks at the base of the leaves, where they suck on the plant's sap.
If you spot them, act fast. For a minor issue, dip a cotton swab in 70% isopropyl alcohol and just dab the bugs directly to kill and remove them. If you've got a more widespread problem, you'll want to spray the entire plant with an insecticidal soap or a neem oil solution. Make sure to get into all those tight spaces where they love to hide.
You might find it interesting that there's a huge shift toward organic aloe cultivation, all thanks to people wanting more natural products. This means farmers are ditching synthetic chemicals for natural pest control and soil enrichment. This focus on organic practices has not only led to healthier plants but has also caused major growth in the organic aloe market. You can read more about this global trend on Mordor Intelligence.
By learning to spot these common signs, you can tackle problems before they get out of hand. Your best tool is simply paying attention. A quick check-in every few days will help you keep your aloe vera healthy and thriving for years to come.
Common Questions About Aloe Vera Care
Even with the best care plan, aloes can sometimes throw you a curveball. Don't worry, it happens to all of us. Let's walk through some of the most common questions that pop up, so you'll know exactly what your plant is trying to tell you.
Why Are My Aloe Vera Leaves Turning Brown?
Seeing your once-vibrant green aloe start to turn brown is definitely cause for concern, but it's usually a fixable issue. The specific shade and texture of the browning is your biggest clue.
- Soft and Dark Brown: If the leaves feel mushy and look almost black, especially near the soil, you’re looking at a classic case of overwatering. This is a sign of root rot, and you need to act fast.
- Crispy and Light Brown: When just the tips of the leaves get dry, brittle, and light brown, your plant is thirsty. It’s either not getting enough water, or there’s a mineral buildup from tap water that's blocking absorption.
- Reddish-Brown or Orange: This is actually a tan! It’s a sign of sun stress. While aloes love sun, too much intense, direct light causes them to produce this reddish pigment as a form of protection.
To get your plant back on track, you'll need to adjust your routine. For root rot, you'll need to repot into fresh, dry soil. For crispy tips, give it a good, deep soak or switch to filtered water. And for a sunburned aloe? Just move it to a spot with a little less direct sun.
How Often Should I Fertilize My Aloe Vera?
This is one area where less is definitely more. Aloe vera plants are not heavy feeders and are quite content with the nutrients in their soil. In my experience, more aloes are harmed by too much fertilizer than too little.
Giving them too many nutrients can cause a salt buildup in the soil, which literally burns the roots and leads to weak, leggy growth instead of strong, healthy leaves.
A good rule of thumb is to fertilize just once a year in the spring, right as the growing season kicks off. I recommend using a balanced liquid fertilizer made for succulents, but make sure you dilute it to half the strength suggested on the bottle.
Never feed your aloe in the fall or winter. The plant is dormant during this time, and forcing nutrients on it when it isn't actively growing will only cause problems.
Can I Grow an Aloe Vera Plant Outside?
Absolutely! Growing aloe vera outdoors is possible, but it all comes down to where you live. These plants are native to arid climates and thrive in warm, dry conditions. They'll live happily outside year-round in USDA hardiness zones 9 through 11, where winter frost isn't a threat.
If you're in a colder zone, you can still give your aloe a little summer vacation outdoors. Just wait until all danger of frost has passed.
A word of caution: don't just plop it into the bright sun. You have to acclimate it slowly over a week or two. Start it in a shady, protected spot for a couple of hours a day, gradually giving it more sun exposure. A sudden move into direct sun will give it a nasty sunburn. And make sure its pot has excellent drainage to handle any unexpected downpours.
Is the Gel from My Plant Safe to Use?
The gel from the true aloe, Aloe barbadensis miller, is generally safe to use on your skin for things like minor burns and scrapes. But—and this is a big but—you have to harvest it correctly.
The leaf has two main components: the clear inner gel we all know and love, and a thin layer of yellow latex called aloin that sits right under the skin. Aloin can be a major skin irritant for some people and acts as a laxative if you ingest it.
Here’s how to get to the good stuff safely:
- Choose a thick, mature outer leaf and cut it from the base.
- Stand the leaf upright in a jar or glass for about 10-15 minutes. This lets that yellow aloin drain out completely.
- After it drains, rinse the leaf, slice off the spiky edges, and then fillet the leaf by slicing off the top and bottom skin.
- Scrape out the pure, clear gel, making sure to leave any yellow residue behind.
It’s always a good idea to do a small patch test on your skin first to make sure you don't have a sensitivity. Once you've got your healthy aloe plant producing plenty of leaves, you might want to try making a homemade organic aloe vera gel recipe yourself.
At The Cactus Outlet, we're passionate about helping you grow beautiful, healthy succulents. Explore our extensive collection of aloe vera plants and find the perfect addition to your home today. Visit us at https://www.cactusoutlet.com to get started.