
The secret to growing a great cactus isn't some mystical green thumb—it’s starting with the right plant in the right place. So many people fall in love with a cactus at a nursery, bring it home, and then try to force it to adapt to their environment. The real trick is to flip that script: match the cactus to the light and space you already have.
Getting this first step right is the foundation for everything else. It’s how you go from a struggling plant to a thriving one.
Finding the Right Cactus for Your Space
Before you even touch a bag of soil or a watering can, the most critical decision is picking a cactus that’s a natural fit for your home's light. This one choice separates successful cactus parents from frustrated ones. It’s easy to grab a classic desert-dweller, only to see it slowly fade in a dim living room.
Not all cacti are created equal. Their needs are baked in from millennia of evolution in habitats ranging from scorching, sun-blasted deserts to the dappled light of tropical forest canopies.
The sheer variety is part of what makes them so popular. The global cactus market was valued between USD 3.86 billion and USD 5.18 billion in the early 2020s and is only expected to grow. That boom means you have more options than ever, but it also makes it crucial to know what you’re buying.
Desert Cacti vs. Jungle Cacti
The two big families you need to know are desert cacti and jungle cacti. Their care couldn't be more different, and it all comes down to where they come from.
-
Desert Cacti (Xerophytes): These are the ones everyone pictures—the Saguaro, Prickly Pear (Opuntia), and the iconic Golden Barrel (Echinocactus grusonii). They’re built for intense sun, dry air, and long periods without water. If you have a spot that gets at least six hours of direct, unfiltered sun every day, like a south-facing window, these are your guys.
-
Jungle Cacti (Epiphytes): This group includes popular holiday plants like the Christmas Cactus (Schlumbergera) and the stunning Orchid Cactus (Epiphyllum). In the wild, they grow on trees in tropical forests, getting filtered sunlight through the canopy. Direct sun will scorch them. They're happiest with bright, indirect light, making them perfect for an east-facing window or a spot a few feet back from a brighter one.
Nailing this distinction is everything. A Thanksgiving Cactus will burn to a crisp in a blazing south-facing window, while a Golden Barrel will stretch out and weaken in a north-facing room, desperately searching for light it will never find.
How to Read Your Home's Light
The best thing you can do is spend a day "light mapping" your home. Just pay attention to how the sun moves across your rooms. It’s a simple observation that pays huge dividends.
Where do the sunbeams fall, and for how long? A south-facing window is the cactus jackpot, offering intense, all-day sun. An east-facing window provides gentle morning light that’s ideal for jungle cacti. West-facing windows get blasted with hot afternoon sun, which most desert types love. And north-facing windows? They offer the least light and are generally tough for most cacti, except for a few very tolerant species.
Choosing the right cactus is less about your skill as a gardener and more about your honesty as an observer. Match the plant to the place, and you've already won half the battle.
Of course, cacti are just one part of the picture. Once you understand your light, you can start exploring all kinds of trendy houseplants to complement your interior.
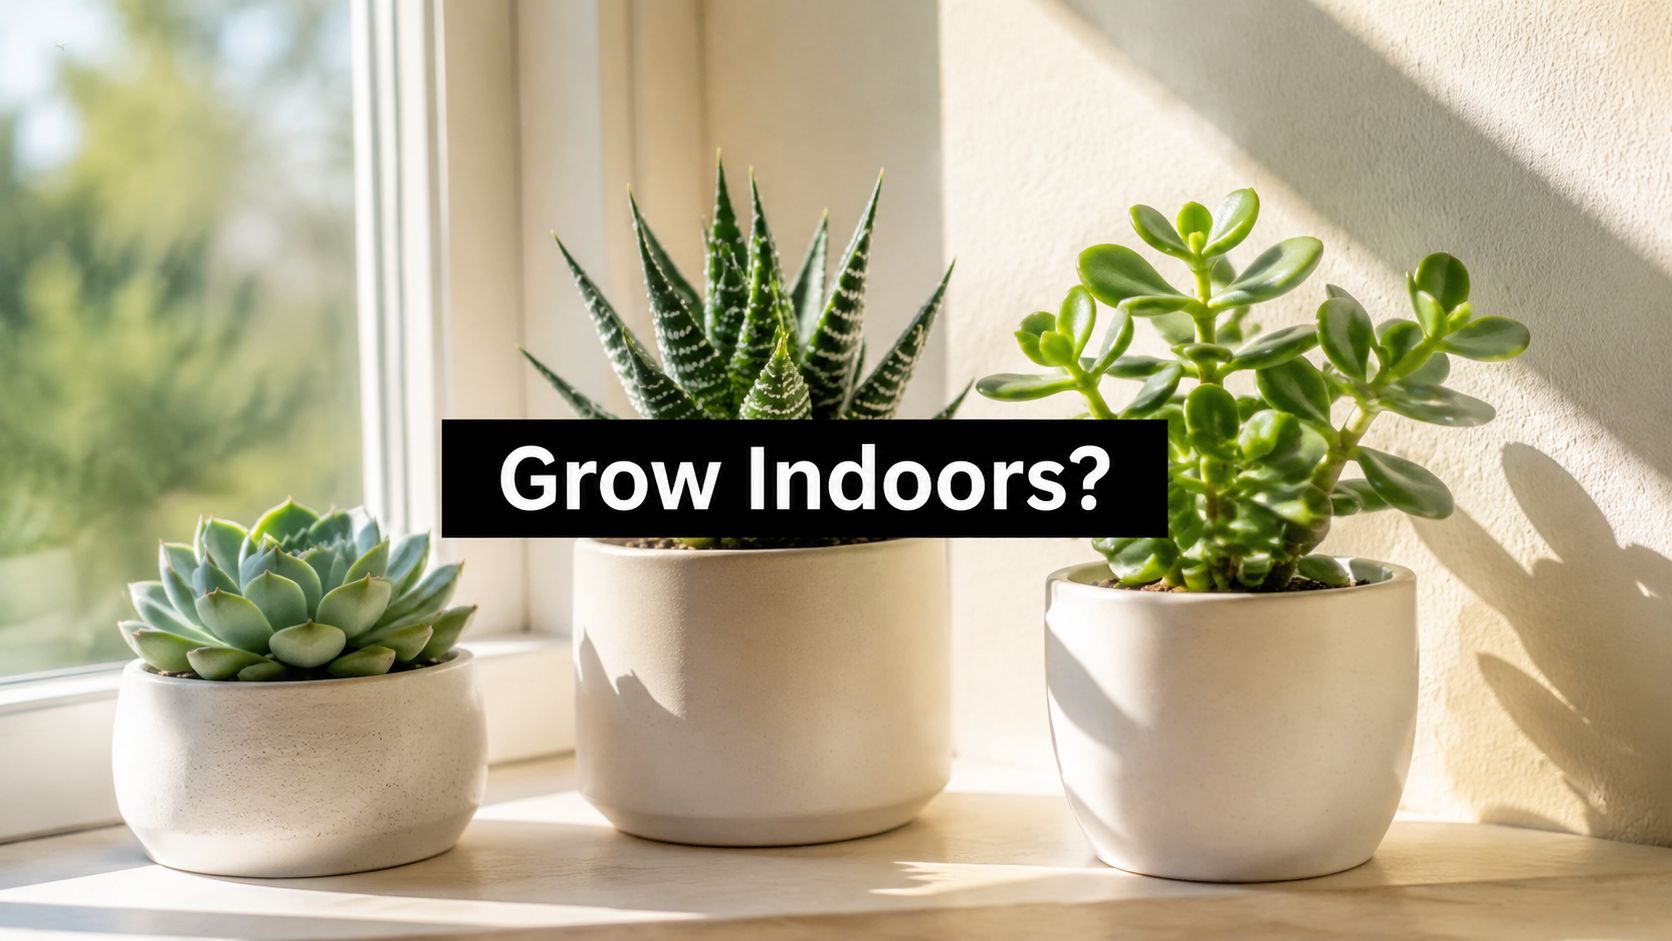
With a clear idea of your home's lighting, you're ready to find the best cactus for indoors that won’t just survive but will genuinely flourish. This is the cornerstone of a successful and rewarding cactus-growing journey.
Building the Perfect Soil Foundation
If there’s one secret to successfully growing a cactus, it’s not sunlight or water—it’s the soil. Getting the soil right is your single best defense against the number one cactus killer: root rot. While grabbing a pre-made bag of cactus mix from the store is easy, blending your own gives you total control over drainage and aeration, which is what truly makes these plants thrive.
Think of cactus roots as needing to breathe. In their natural habitats, they grow in gritty, rocky soil where water vanishes almost instantly. Standard potting soil is the opposite—it's dense, holds onto moisture, and will literally suffocate the roots. That's what leads to that dreaded mushy base and, eventually, a dead plant.
Your goal is to create a soil environment that mimics nature: fast-draining, airy, and more mineral than organic. It's a skill worth mastering, especially as more people get into the hobby. The global market for cactus products is projected to hit $7.01 billion by 2025, which shows just how many people are falling in love with these spiny wonders.
This chart shows just how fast the cactus market is growing, both globally and right here in North America.

The numbers don't lie. With this boom in popularity, knowing how to care for them properly is more important than ever.
The Key Ingredients for a Gritty Mix
A great cactus soil is all about balancing inorganic (mineral) and organic components. The inorganic stuff creates air pockets for roots to breathe and lets water drain away, while the organic matter provides a few nutrients and just enough structure.
Here are the building blocks I swear by:
- Pumice: This is the gold standard for many serious growers. It's a lightweight volcanic rock that’s incredibly porous, creating fantastic aeration without ever compacting.
- Perlite: Another volcanic glass, perlite is extremely light and does a great job keeping soil from turning into a brick. Its only downside is that it sometimes floats to the top when you water.
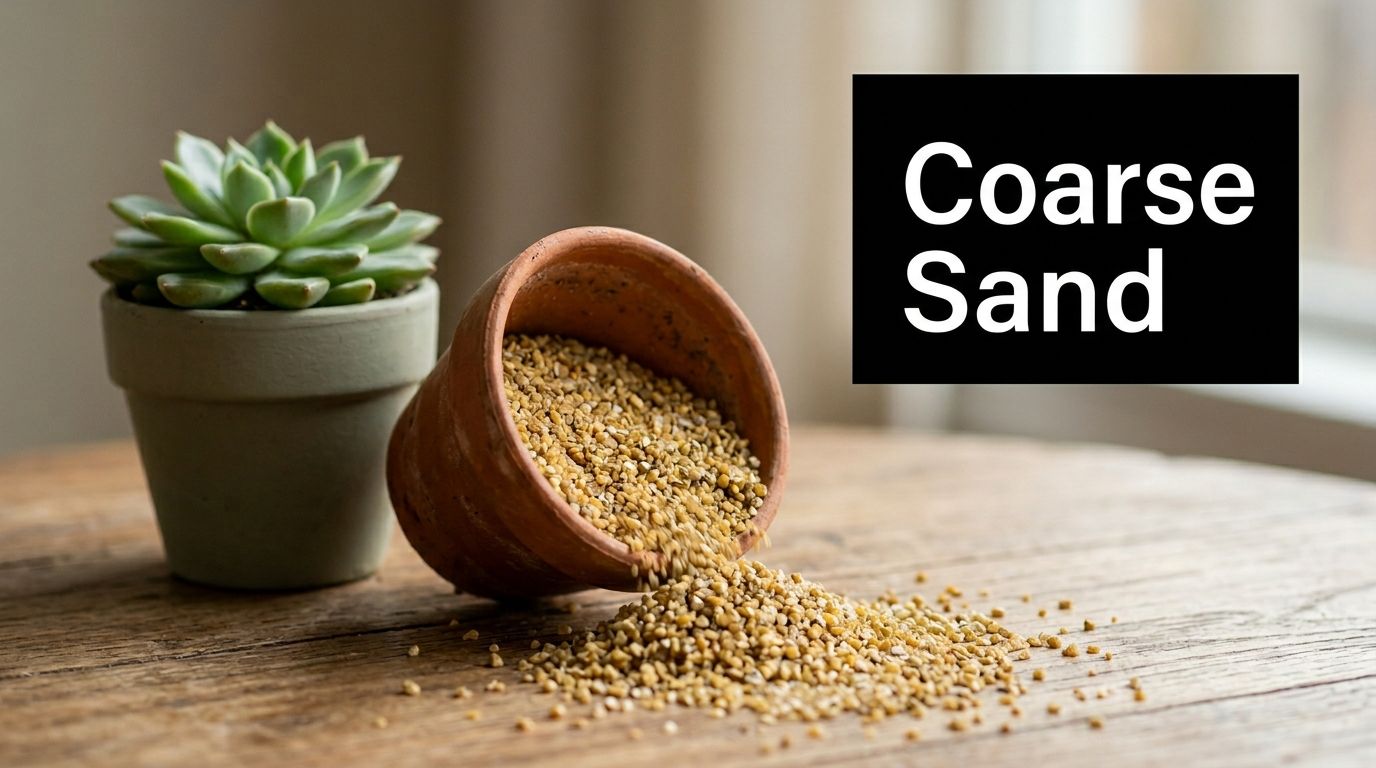
- Coarse Sand: Don't just grab sand from a playground! You need horticultural or builder's sand. Fine sand will clog up the soil, which is the exact opposite of what you want.
- Potting Soil or Coco Coir: This is your organic base. You only need a little. I prefer coco coir because it's a sustainable option and re-wets much more easily than peat-based soils if it dries out completely.
The recipe for success is simple: prioritize drainage above all else. When in doubt, add more grit. Your cactus would rather be too dry for a day than too wet for an hour.
Proven Soil Recipes for Healthy Roots
The perfect mix really depends on the type of cactus you're growing. A giant Saguaro from the desert needs a much grittier, leaner mix than a tropical Christmas Cactus that grows in a rainforest.
To give you an idea, many professional growers aim for a mix that is at least 50% mineral-based, with some commercial blends containing as much as 50–70% mineral components to prevent rot.
Here are a few trusted recipes to get you started.
Cactus Soil Mix Recipes for Different Needs
| Component | All-Purpose Mix | Arid Desert Mix | Jungle Cactus Mix |
|---|---|---|---|
| Pumice/Perlite | 2 parts | 3 parts | 1 part |
| Coarse Sand | 1 part | 1 part | 1 part |
| Potting Soil/Coco Coir | 1 part | 1 part | 2 parts |
| Orchid Bark/Charcoal | Optional | Not needed | 1 part |
These ratios are a fantastic starting point. For my big, barrel-shaped Echinocactus and Ferocactus, I lean heavily toward the Arid Desert Mix to keep them bone dry. For a deeper dive into the science behind these blends, check out our complete guide on cactus and succulent soil mix.
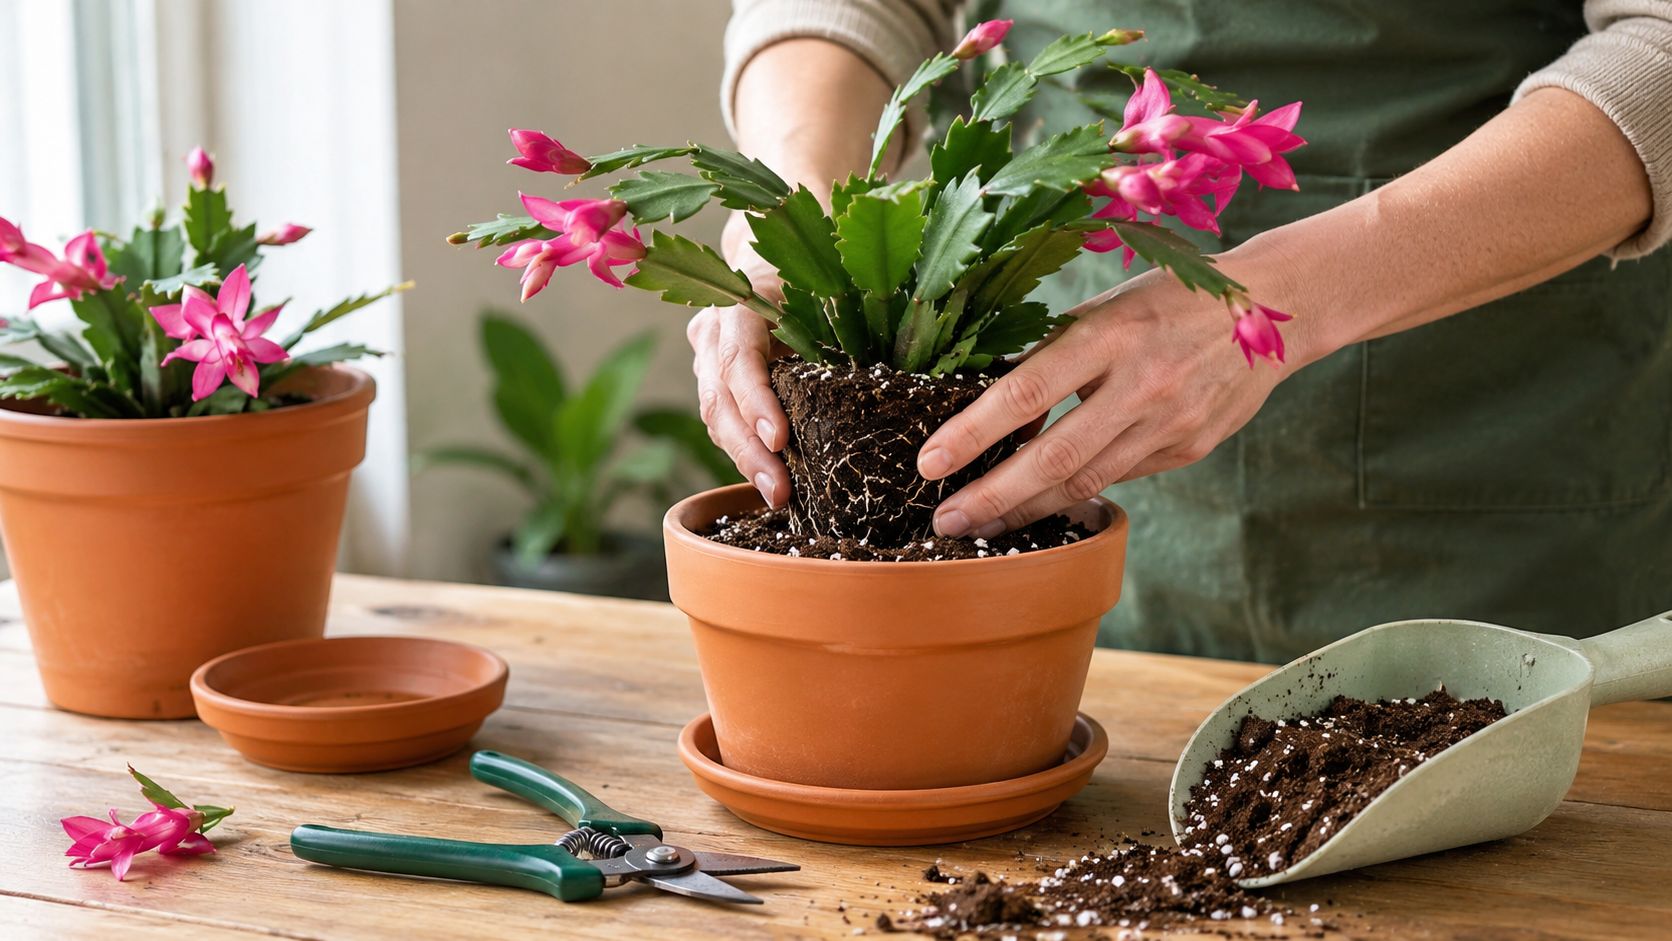
The Right Pot Makes All the Difference
You can craft the most perfect soil in the world, but it won’t matter if you put it in the wrong pot. The absolute, non-negotiable rule is this: your pot must have a drainage hole.
I almost always recommend unglazed terra cotta pots for beginners. The clay is porous, which allows moisture and air to pass through the walls of the pot. This helps the soil dry out evenly and gives you a buffer against overwatering. Glazed ceramic or plastic pots will work, but since they don't breathe, you have to be much more disciplined with your watering can.
No matter what pot you choose, make sure it has at least one good-sized hole at the bottom so excess water can escape. Your cactus will thank you for it.
Nailing the Watering and Feeding Schedule
If there's one mistake that new cactus owners make, it’s killing their plants with kindness. I’ve seen it a thousand times: people think they’re being neglectful, so they water too often. In reality, more cacti die from overwatering than from anything else. The secret is to stop thinking like a regular plant owner and start thinking like a cactus.
Cacti are masters of survival, built to withstand long, dry spells by storing water in their stems. They absolutely hate having "wet feet," and constantly damp soil is a fast track to root rot. Your goal is to copy the rhythm of their native desert homes: a thorough drenching, followed by a long, bone-dry period.
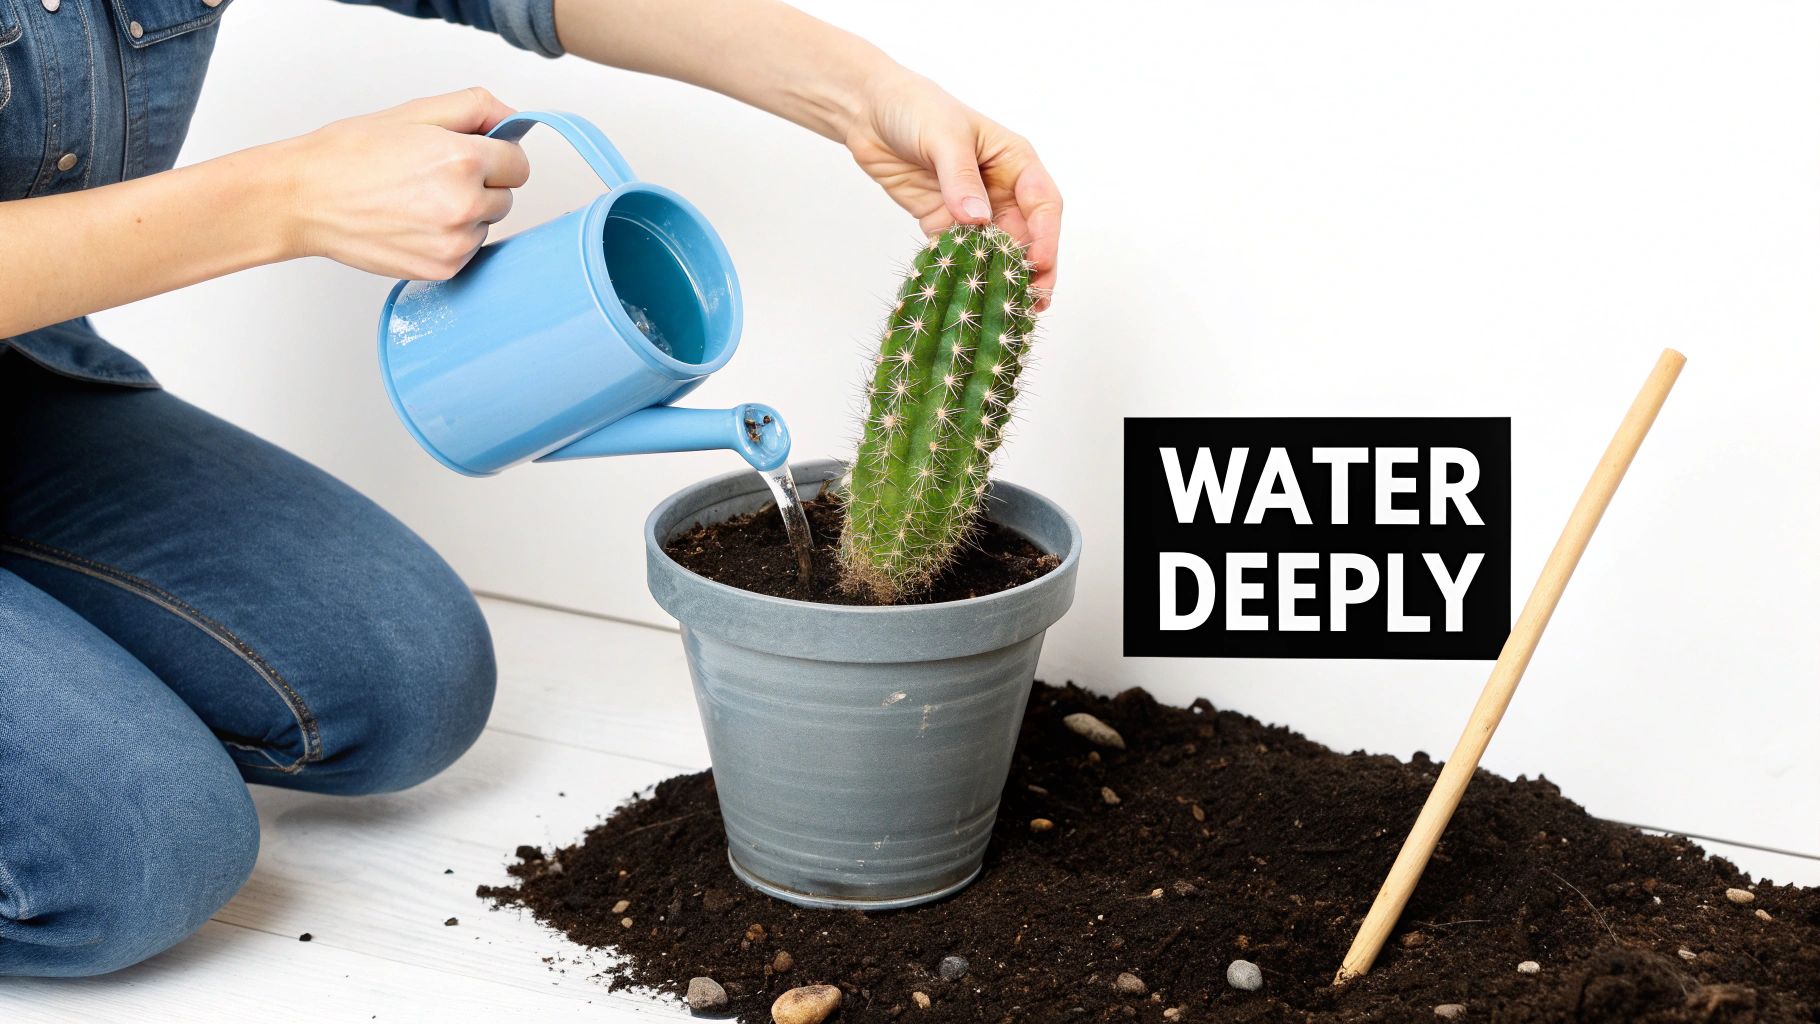
When it's time to water, don't be shy. Give the soil a complete soaking until you see water flowing freely from the pot's drainage holes. This deep watering encourages the roots to stretch down and grow strong, searching for that moisture.
Tune Into the Seasons
Forget a rigid weekly schedule. Your cactus lives by the seasons, and its needs will change dramatically throughout the year. Syncing your care routine with its natural growth and dormancy cycles is non-negotiable for a healthy plant.
In the spring and summer, your cactus is in its active growth phase. It’s busy putting out new growth, spines, and maybe even some flowers. During this time, it will need more water, but "more" is a relative term. The golden rule is to wait until the soil is completely dry all the way through before even thinking about watering again.
As fall rolls in and the days get shorter, the plant starts preparing for winter dormancy. Growth grinds to a halt. You need to cut back on water drastically during this rest period. For many of my cacti, this means I might water them only once a month—or even less—just to keep them from shriveling up.
The biggest watering mistakes happen during the transition seasons. Starting up your summer watering routine too early in spring or carrying it too late into fall will almost certainly lead to rot. Pay attention to the light and temperature, not just the calendar.
How to Tell When It’s Time to Water
Guessing is your worst enemy. Just sticking a finger an inch into the soil tells you nothing; the bottom of the pot could still be a swamp. You need a more reliable way to check for moisture deep down where it counts.
This is where my favorite trick comes in: the "chopstick test." It's simple. Grab a plain wooden chopstick or a bamboo skewer and push it all the way to the bottom of the pot. Leave it there for about a minute and then pull it out.
- Clean and dry? Great, it's time to water.
- Clumps of dark, damp soil sticking to it? Hold off. The soil is still wet. Check again in another week.
This little test is foolproof. It takes all the guesswork out of the equation and guarantees you're only watering when the entire root system has had a chance to fully dry out. If you want to dive deeper, we have a whole guide dedicated to the nuances of properly watering cactus plants.
The Right Way to Fertilize
Fertilizer is the final piece of the puzzle, and just like with watering, timing is everything. Cacti aren't greedy plants, so a light touch is crucial to prevent burning the roots or encouraging weak, stretched-out growth.
I always recommend a specialized cactus fertilizer. You're looking for something low in nitrogen and higher in phosphorus and potassium. Nitrogen promotes leafy green growth—the exact opposite of what a strong, compact cactus needs.
Here’s a simple feeding routine that works:
- Kick off in Spring: Start fertilizing when you spot the first signs of new growth.
- Feed Through the Growing Season: I feed my cacti about once every 4-6 weeks all through spring and summer. Always water the plant first before adding diluted fertilizer; feeding on dry soil is a surefire way to burn the roots.
- Wind Down in Fall: Stop all fertilizing by late summer or early fall. This is a clear signal to the plant that it's time to prepare for its winter rest.
Never, ever fertilize a dormant cactus. You'll just stress the plant and cause a buildup of unused salts in the soil. By following this seasonal rhythm for both watering and feeding, you’re giving your cactus exactly what it needs, when it needs it, and setting it up for a long, healthy life.
Finding the Sweet Spot for Light and Temperature
It’s easy to picture cacti baking under a relentless desert sun, but the reality for most species we grow at home is a bit more nuanced. One of the most common mistakes I see is putting a new cactus in the absolute sunniest spot you can find, which often leads to a stressed, sunburned plant. The secret to a thriving cactus is learning to tell the difference between intense, direct sun and bright, indirect light.
Your goal is to mimic, as best you can, the plant's native environment. A Golden Barrel (Echinocactus grusonii), which hails from the arid landscapes of Mexico, is going to demand a lot more direct sun than a Christmas Cactus (Schlumbergera), a jungle native that evolved under the dappled light of Brazil's forest canopies.
Getting the light right helps you sidestep common issues like scorching (when parts of the plant turn a sickly yellow or white) and etiolation. That’s the desperate, lanky stretching a plant does when it’s starved for light, making it look weak and thin. The right light is what powers healthy, compact growth.
Reading the Light in Your Home
Before you even decide where your new cactus will live, spend a day just watching how the sunlight moves through your rooms. This little bit of observation—call it "light mapping"—is the best way to figure out where your plants will be happiest.
- South-Facing Windows: This is prime real estate for true sun-worshipping desert cacti. These spots get the most intense, direct sunlight, often for 6 hours or more each day.
- West-Facing Windows: You’ll get strong, direct afternoon sun here, which can get pretty hot. Most desert types will do well, but keep an eye out for sunburn on more sensitive plants during the peak of summer.
- East-Facing Windows: Perfect for jungle cacti or even desert species that appreciate a bit of a break from the harshest sun. They offer gentle morning light followed by bright, indirect light for the rest of the day.
- North-Facing Windows: These offer the least light and are generally a no-go zone for most cacti. A cactus placed here will almost certainly etiolate and fail to thrive.
Don't forget to look outside! A big tree or a neighboring building can completely change the quality of light coming through a window. A south-facing window shaded by a large oak might actually provide the perfect bright, indirect light for a less demanding species.
Acclimating Your Cactus and Using Grow Lights
Never, ever move a cactus from a dim spot straight into intense sunlight. Its skin can burn just like ours if it isn't given time to adjust. Take a week or two to acclimate it by gradually increasing its time in the sun by an hour or so every few days.
And what if your home is just naturally dark? A good quality, full-spectrum LED grow light can be a total game-changer. Position the light 6 to 12 inches above your cactus and leave it on for 12-14 hours a day. This will give your sun-lover the energy it needs to grow properly, even in a shady corner.
Providing the right temperature is just as important as light, especially when you want to encourage blooming. Mimicking the natural shift of the seasons is the secret to unlocking your cactus's full potential.
The Critical Role of Winter Dormancy
For most desert cacti, a cool, dry rest period in the winter isn't just a nice-to-have—it's absolutely essential for triggering flowers in the spring. This dormancy period copies the temperature drops and reduced rainfall they’d experience back home.
Try to find a cooler spot for them where nighttime temperatures consistently fall to between 45-55°F (7-13°C). An unheated garage, a cool basement with a window, or even just a place near a drafty window can be perfect for this.
While the plant is in its winter rest, you also need to cut way back on watering—sometimes to as little as once a month. This one-two punch of cool temperatures and dry soil signals the plant to stop growing, conserve energy, and form the flower buds that will burst into life when spring arrives. Skip this critical cool-down, and many species will just keep putting on leafy growth and never give you a single bloom.
Solving Common Cactus Health Problems
Sooner or later, every cactus parent runs into a problem. You might spot a yellowing base, some weird white fuzz, or a pad that’s suddenly gone all wrinkly. It’s easy to panic, but don’t. Think of it as your cactus trying to tell you something. Learning to interpret these signals is a huge part of the journey, and it’s how you go from a beginner to a seasoned grower.
Most of the time, the trouble boils down to one of three things: water, light, or soil. Before you reach for a pesticide or do anything drastic, take a step back and think about your care routine. Getting to the root cause is always better than just treating a symptom.
Overwatering vs. Underwatering: Telling Them Apart
Water is, without a doubt, the number one cause of cactus drama. The tricky part is that both too much and too little water can make a cactus look sad and limp, but the feel of the plant tells the real story.
An overwatered cactus will often feel soft and mushy, especially down at the soil line. You might also see a sickly yellow or brownish color creeping up from the base. If it's really bad, the whole plant might start to lean, a sure sign its internal structure is rotting away.
On the other hand, an underwatered cactus will look shriveled and wrinkled, almost like a raisin. But when you touch it, the flesh will still feel firm, not squishy. This just means the plant has burned through its water reserves and needs a drink. It looks alarming, but trust me, this is a much simpler fix than rot.
Pro Tip: Gently squeeze the base of your cactus. Mushy and yellow means too much water. Firm and wrinkled means it's thirsty. This simple touch test is the most reliable way to know what's really going on.
Dealing with Common Cactus Pests
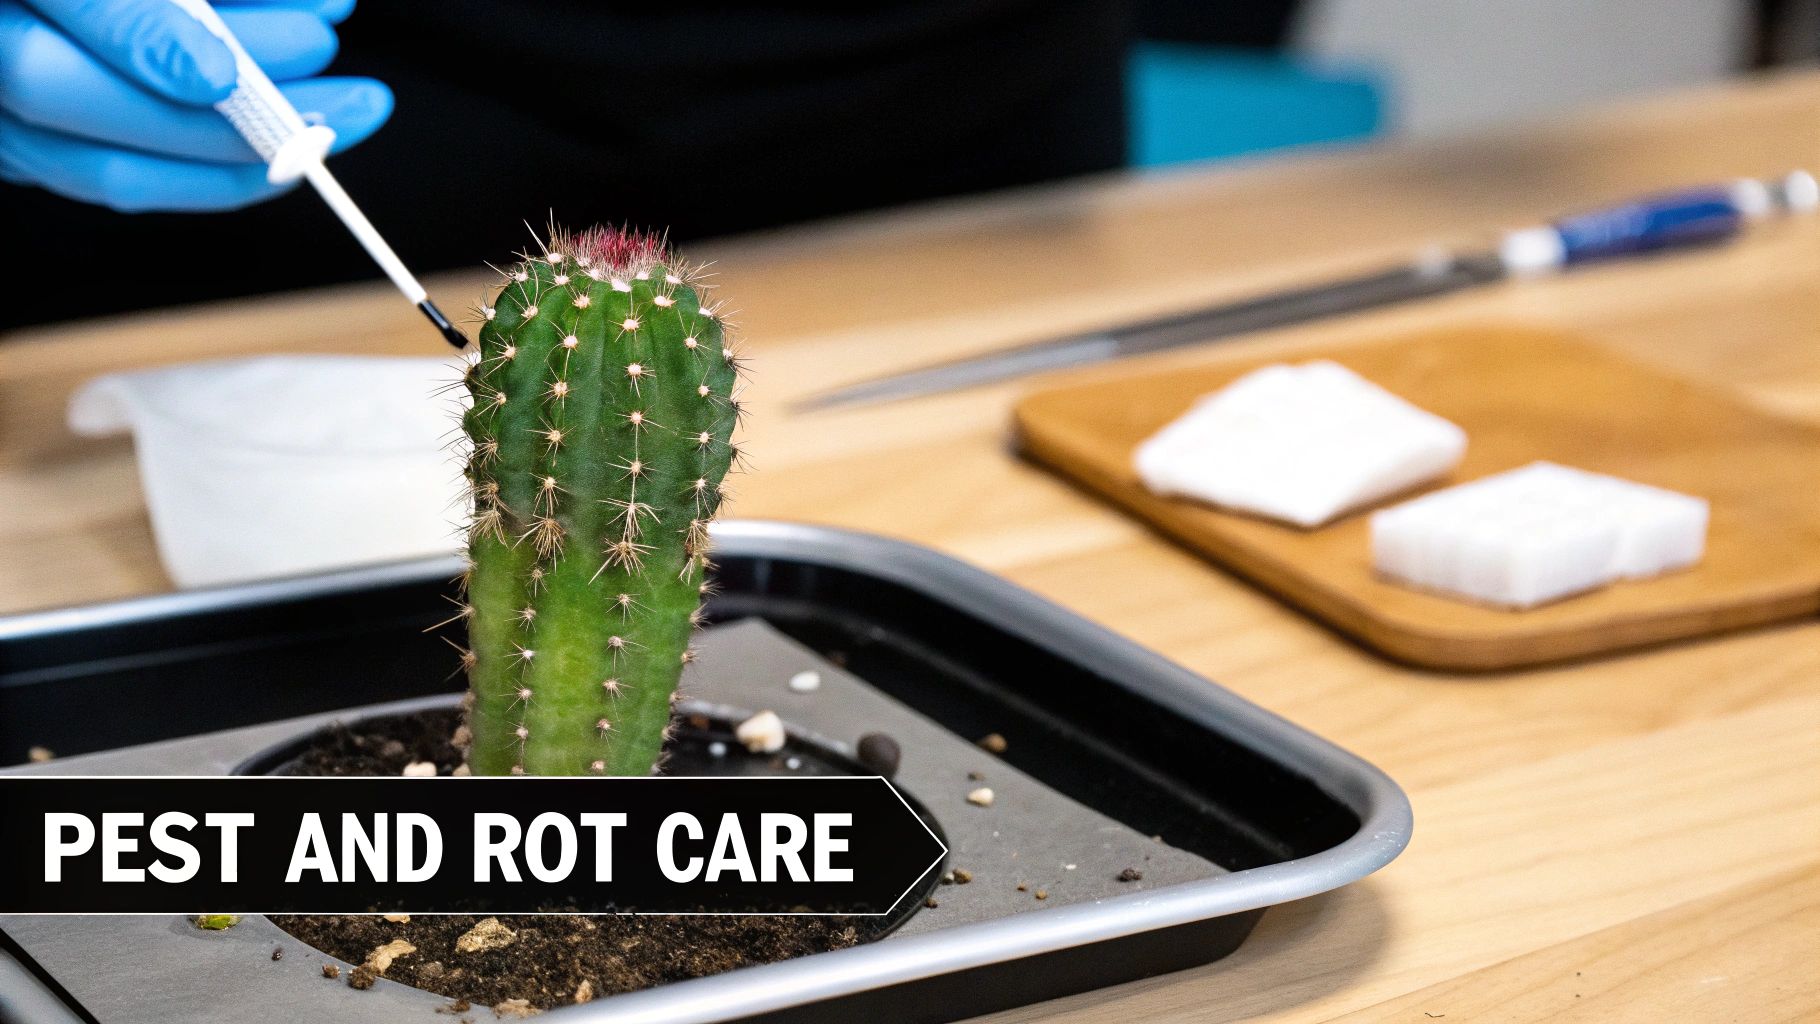
Even the toughest cacti can fall victim to pests, particularly when kept indoors. Spotting an infestation early is the key to saving your plant and keeping the bugs from marching on to the rest of your collection. The two you’ll see most often are mealybugs and spider mites.
- Mealybugs: These little vampires look like tiny bits of white cotton. They love to hide in the nooks and crannies, like where pads join the stem or deep inside a cluster of spines. They feed by sucking the life out of your plant, weakening it over time.
- Spider Mites: These guys are microscopic, so you'll likely see their handiwork before you see them. Look for fine, silky webbing stretched between the spines. They also cause a pattern of tiny yellow or silvery dots on the cactus’s skin from their feeding.
The moment you spot pests, quarantine that plant! For a small mealybug problem, I just dip a Q-tip in 70% isopropyl alcohol and dab each bug directly. The alcohol dissolves their waxy armor on contact. If you’re dealing with spider mites or a full-blown mealybug invasion, it's time to bring out the bigger guns like an insecticidal soap or neem oil spray.
To help you quickly identify what might be wrong, I've put together this quick-reference table. It covers the most common issues you're likely to encounter.
Common Cactus Ailments and Solutions
| Symptom | Likely Cause | Solution |
|---|---|---|
| Yellowing, mushy base | Overwatering / Root Rot | Stop watering immediately. If severe, unpot, trim all black/mushy roots, let callus for a week, and repot in dry soil. |
| Wrinkled, shriveled body | Underwatering | Give the plant a thorough watering, allowing the soil to soak completely. It should plump back up in a few days. |
| White, cottony spots | Mealybugs | Isolate the plant. Dab individuals with 70% isopropyl alcohol. For larger issues, spray with insecticidal soap or neem oil. |
| Fine webbing, tiny dots | Spider Mites | Isolate and spray the entire plant thoroughly with neem oil or a miticide, ensuring you cover all surfaces. Repeat weekly. |
| Leaning or stretching | Etiolation (Not enough light) | Gradually move the plant to a location with much more direct sunlight. The stretched growth won't reverse, but new growth will be compact. |
| Brown, cork-like patches | Corking (Natural aging) or Sunburn | If it starts at the base and is firm, it's likely natural aging. If it's on top and feels dry/crispy, it's sunburn; provide some afternoon shade. |
This table is a starting point, but always remember to look at the plant's overall environment to get the full picture.
Emergency Surgery for Root Rot
Root rot is the cactus killer. It's aggressive, and you have to be just as aggressive to stop it. It’s caused by fungus that thrives in soil that stays wet for too long, literally eating the roots from the outside in. If the base of your cactus is black and squishy, it’s time for emergency surgery.
Carefully slide the cactus out of its pot and wash off the soil. Healthy roots are firm and whitish-tan. Rotted roots are unmistakable—they’ll be black, slimy, and fall apart in your hands.
Grab a clean, sharp knife and start cutting. You have to remove every single trace of rotted tissue, both from the roots and the base of the plant itself. Be ruthless. If you leave even a tiny speck of rot behind, it will spread again.
Once all the black gunk is gone, set the cactus in a dry, well-ventilated spot (out of direct sun) for several days, or even a week. You're waiting for the cuts to dry and form a hard callus. After it's calloused over, you can repot it into fresh, bone-dry, fast-draining cactus mix. Critically, do not water it for at least another one to two weeks. You need to give those wounds time to heal before you introduce any moisture. It feels brutal, but this is often the only shot you have at saving your plant.
Common Cactus Questions and Expert Answers
Even with a solid care routine, cacti can sometimes do things that leave you wondering what's going on. Don't worry, you're not alone. Every cactus grower, from beginner to expert, runs into head-scratching situations. Here are some of the most common questions we get, with straightforward answers to get you and your plant back on track.
Is My Cactus Dead or Just Dormant?
This is a big one, especially after a long winter. It's easy to mistake a dormant cactus for a dead one, but there are some clear tells if you know what to look for.
A dormant cactus is just resting. It won't be actively growing, but it will still feel firm to the touch. If you were to peek at the roots, they’d look healthy and whitish-tan. Essentially, the plant is solid and stable, just taking a break.
A dead cactus, on the other hand, usually gives you a more obvious, and often mushy, signal.
- Rot: The base might be mushy, soft, or even hollow. This is a sure sign of rot, and unfortunately, there's no coming back from that.
- Dehydration: The plant could be completely dried out, feeling brittle, and looking shriveled and discolored.
If you're still on the fence, a tiny, careful scratch on the stem can reveal the truth. If you see green tissue underneath, there's still life in it. Brown or black tissue means it’s gone.
Why Is My Cactus Getting All Skinny and Stretched?
That pale, thin growth that looks like your cactus is reaching for something? That's called etiolation, and it's a plant's version of a scream for help—specifically, for more light.
When a cactus isn't getting enough sunlight, it stretches toward the nearest light source, resulting in weak, spindly growth. This new growth is not only unattractive but also structurally weak. Unfortunately, the stretched-out parts will never return to their normal, compact form.
The only real solution is to improve its lighting. Move it to a much brighter spot, like a south-facing window, or get a good quality grow light. The key is to do this gradually.
A sudden move from a dim corner into direct, intense sun will shock the plant and can cause sunburn. Acclimate it over a week or two, adding an hour of direct sun each day. New growth that appears afterward will be healthy and compact.
Can I Grow a New Plant From a Broken Piece?
Absolutely! This is one of the coolest things about cacti. A broken piece isn't a disaster; it's a fantastic opportunity to make a whole new plant for free. The process is incredibly simple, but it does require a bit of patience.
First things first: you have to let the wound heal. Place the broken piece in a dry spot with good air circulation, but out of direct sunlight. Over the next few days to a week, the raw end will dry out and form a hard, protective layer called a callus.
Once it's calloused over, you're ready to plant.
- Grab a pot with a well-draining cactus mix.
- Stick the calloused end about an inch deep into the dry soil.
- Do not water it yet! This is the most important part. Let it sit dry for at least a week, maybe two.
- After that, you can start watering very lightly and infrequently. Over the next few weeks, roots will begin to form. To check, give the cutting a gentle wiggle. If you feel resistance, you’ve got roots!
Ready to find the perfect cactus to start your growing journey? At The Cactus Outlet, we offer a huge selection of healthy, high-quality cacti delivered right to your door. Explore our collection and find your new spiky friend today at https://www.cactusoutlet.com.