
So you've decided to dive into the wonderful, rewarding world of cacti. Good choice. The secret to keeping these plants happy is surprisingly simple: think like a desert. Your main goal is to recreate their native environment as best you can inside your home. That means plenty of bright light, soil that drains in a flash, and a good, deep drink of water only when the soil has gone completely bone-dry. If you can nail those three things, you're already 90% of the way to having a thriving, healthy cactus.
Why Cacti Make Such Great Houseplants
The love for cacti as indoor plants is more than just a passing trend. There's a good reason they've stuck around. These plants are like living sculptures, bringing a unique, minimalist vibe to any room, whether it’s perched on a sunny windowsill or adding some green to your office desk. With their incredible variety of shapes, textures, and sizes, there’s genuinely a cactus out there for every style.
Beyond their sharp looks, cacti have earned a reputation for being incredibly low-maintenance. This makes them a fantastic starting point for anyone just getting into plants and wanting to build a little confidence. Their ability to forgive a forgotten watering or two is a lifesaver for busy people, frequent travelers, or frankly, anyone who is a bit forgetful.
This isn't just a niche hobby, either. The global market for cactus plants has exploded, growing from $3.86 billion in 2021 and is on track to hit $7.01 billion by 2025. You can see the full breakdown of this growing market trend on cognitivemarketresearch.com. This guide is here to help you move past the old myth that they're "unkillable" and give you the real knowledge you need to help them thrive.
The Real Secret to Success
People often say cacti thrive on neglect. That’s not quite right. The real secret isn't neglect, but rather thoughtful care that mimics how they live in the wild. They don't want to be fussed over constantly, but they absolutely need the right conditions to be happy.
The key isn't to ignore your cactus, but to understand its cycle. Cacti need periods of dryness between waterings and a dormant rest period in the winter. Respecting these natural rhythms is more important than any strict schedule.
Getting this right is what separates a cactus that's just hanging on from one that's truly flourishing.
To help you keep track of the basics, here’s a quick-reference checklist.
Essential Cactus Care Checklist
Here is a quick summary of the core requirements for growing a healthy cactus indoors.
| Care Aspect | Beginner Guideline |
|---|---|
| Light | 6+ hours of bright, indirect sunlight daily. A south-facing window is often perfect. |
| Water | Water deeply only when the soil is 100% dry. Check with a wooden skewer. |
| Soil | Use a fast-draining cactus/succulent mix. You can buy it or make your own. |
| Pot | Must have a drainage hole. Terracotta is a great choice as it helps soil dry out faster. |
| Temperature | Prefers warm temps (70-85°F) during the growing season; cooler (50-60°F) in winter. |
| Fertilizer | Feed with a diluted, low-nitrogen cactus fertilizer during spring/summer only. |
This table is your starting point. As you get to know your specific plant, you'll fine-tune these guidelines.
What This Guide Will Cover
Think of this as your complete roadmap to becoming a confident cactus parent. We're cutting through the fluff to give you practical, real-world tips on everything that matters.
- Finding the Right One: We'll go over how to pick a cactus variety that will actually be happy in your home's specific conditions.
- Potting and Soil: You'll learn how to whip up the perfect, gritty soil mix and choose a pot that sets your plant up for success.
- Day-to-Day Care: We'll dive deep into the nuances of light, water, and temperature to keep your cactus in peak health.
- Troubleshooting: Pests? Weird spots? We’ll cover how to spot common problems early and fix them before they get out of hand.
By the time you're done here, you’ll have all the know-how you need to turn your space into a thriving miniature desert oasis.
Choosing Your Perfect Cactus Companion
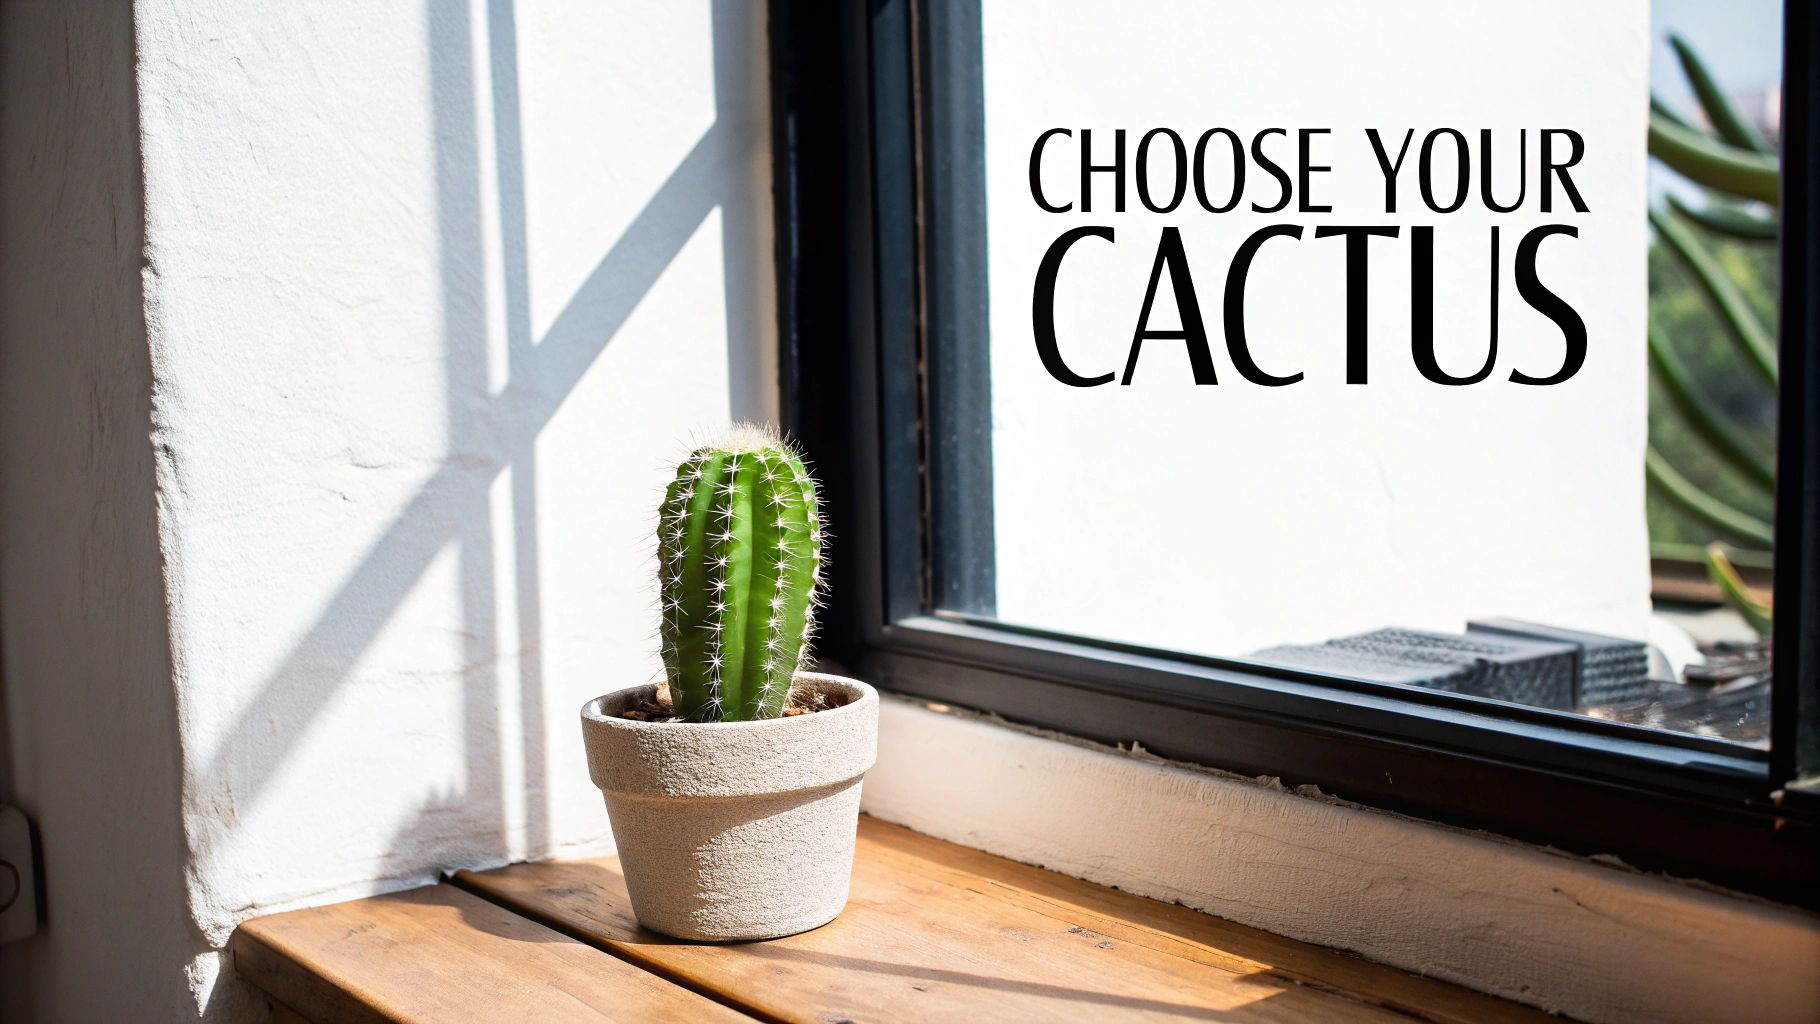
Finding the right cactus is a lot like picking a roommate—you have to make sure you're compatible. Some of these plants absolutely crave full sun, while others are much happier with the gentler light you'd find in a living room.
Getting this match right from the start is the key to a happy plant.
Popular Beginner Varieties
If you're just starting out, it's smart to begin with a cactus known for being a bit more forgiving. I always point new growers toward a few reliable classics that are tough to get wrong.
- Golden Barrel: This one is a classic for a reason. Its iconic spherical shape can handle intense light without getting sunburned, making it perfect for a bright, sunny porch.
- Christmas Cactus: Unlike its desert cousins, this one blooms in the winter and actually appreciates a bit more humidity. It's a great fit for a kitchen or bathroom.
- Bunny Ears: An adorable, spineless option that thrives in bright, but filtered, light. It’s perfect for a spot that gets good sun but isn't scorching hot all day.
- Fairy Castle: With its castle-like towers, this cactus is a conversation starter. It’s also quite adaptable to the mixed light conditions common in most homes.
I’ve seen these work wonders in real life. A friend of mine put a Golden Barrel on her sun-drenched porch, and it rewarded her with beautiful flowers in its very first summer. Another friend keeps a Christmas Cactus in her bathroom, where it happily soaks up the steam from her daily showers.
The most important takeaway here is to always match the cactus to the light you have, rather than trying to force it to adapt to a spot it won't like.
Assessing The Light In Your Home
Don't just assume a "bright room" is good enough. The quality and intensity of light can vary dramatically from one window to the next.
A south-facing window can easily scorch a cactus that prefers indirect sun, while a north-facing shelf might not provide nearly enough light for a sun-worshipper. Before you buy, spend a day observing the light in your chosen spot. Watch how it changes and whether it's direct or filtered by trees or curtains.
For example, a spot just two feet away from a western window will get much softer light at midday than a plant sitting right on the sill. This small difference can be exactly what a Bunny Ears cactus needs to thrive instead of struggle.
Picking The Ideal Shape And Size
Think beyond just survival—consider how the cactus's form will complement your space. A plant's shape can completely transform the look of a corner, tabletop, or shelf.
Tall, columnar species like the Totem Pole cactus are fantastic for adding vertical interest without taking up a lot of floor space. On the other hand, low, clumping types like some Opuntia varieties spread out horizontally, making them perfect for filling a wide, empty windowsill.
I once placed a tall Totem Pole cactus behind my sofa. It immediately became a focal point, creating this amazing mini desert skyline in my living room.
How To Evaluate Plant Health
Choosing a healthy plant from the start will save you a world of headaches later. When you're at the nursery or unboxing a new arrival, give it a quick inspection.
Look for firm, unblemished pads or ribs. Anything that feels soft or mushy could be a sign of root rot, which is often a death sentence. The skin should feel taut and springy, not puffy or wrinkled.
Also, keep an eye out for any signs of pests. White, cottony spots could be mealybugs, and any sticky residue is a red flag. A healthy, well-cared-for plant will be much more resilient to the stress of shipping and settling into its new home.
Finding Extra Resources
Your learning journey doesn't stop once you've picked out your cactus. As it grows, you'll learn more about its specific needs.
If you're still deciding what to get for an indoor space, we've put together a detailed guide. You can find more in-depth comparisons in our article on the best cactus for indoors.
One common mistake is underestimating how large a cactus will eventually get. Try to visualize its size three years from now and plan accordingly. Also, remember that some specialty or rare cacti can cost 2–3x more and will likely require more specific care.
Expect your new plant to be happy in its nursery pot for at least a couple of seasons before you even think about repotting. Making a thoughtful choice now sets you up for a rewarding experience, turning a simple plant into a flourishing, proud display.
Getting the Soil and Potting Just Right
Let's get down to the foundation of good cactus care: what you plant it in. This is where so many people go wrong, and honestly, it’s the most critical step. The health of your cactus starts at its roots, and giving them the right home is everything.
The biggest mistake I see is people grabbing a bag of regular potting mix from a big box store. That stuff is designed to hold moisture for thirsty houseplants, which is the exact opposite of what a cactus needs. For a desert plant, dense, soggy soil is a death sentence. It suffocates the roots and is a one-way ticket to root rot.
The goal is to copy, as best we can, the gritty, rocky, fast-draining soil of a cactus's natural home. Their roots need to breathe.
Mixing Your Own Cactus Soil
You can find pre-made cactus and succulent mixes, and some are decent. But mixing your own is not only cheaper but gives you total control, and I find the results are always better. You're creating the perfect balance of drainage, aeration, and just enough organic stuff to keep it happy.
Here’s my go-to, never-fail recipe. It’s simple and works for almost everything.
- Two Parts Coarse Sand: This is your drainage powerhouse. Make sure it's horticultural or builder's sand, not fine play sand, which will just turn to concrete.
- Two Parts Potting Soil: This is the nutrient base. A simple, peat-free mix is perfect.
- One Part Perlite or Pumice: These little white volcanic rocks are your aeration secret. They create air pockets, keeping the soil from getting packed down and letting the roots breathe.
Just toss it all in a bucket or on a tarp and mix it up well. When you’re done, it should feel gritty and loose. If you grab a handful and squeeze, it shouldn't form a solid clump. This mix guarantees water zips right through, preventing the "wet feet" that cacti absolutely hate.
If you want to geek out on different soil amendments, we have a whole guide on how to make cactus soil with more advanced recipes.
The key takeaway is that good cactus soil is less about "dirt" and more about creating a stable, airy structure for the roots to thrive in.
Picking the Perfect Pot
The pot is just as crucial as the soil. Let me say this as clearly as possible: if your pot doesn't have a drainage hole, don't use it. It’s not negotiable. Without a hole for excess water to escape, you’re basically setting your cactus up to drown, no matter how good your soil is.
As for the material, you can't go wrong with classic terra cotta. It's the gold standard for a reason.
| Pot Material | The Good Stuff | The Catch |
|---|---|---|
| Terra Cotta | The porous clay breathes, wicking moisture out of the soil. | Dries out very fast in hot, dry climates. |
| It's a huge help in preventing root rot. | Heavier and can break if you drop it. | |
| Plastic | Super lightweight and holds moisture longer. | Can easily lead to overwatering if you're not careful. |
| Cheap and comes in a million colors and styles. | Doesn't allow for much air exchange. |
For anyone just starting out, I always recommend terra cotta. It’s more forgiving because it naturally helps the soil dry out, giving you a buffer against accidental overwatering.
How to Repot a Cactus Without Getting Stabbed
Okay, the spiky part. Repotting can feel a bit like trying to hug a porcupine, but it doesn't have to be a painful experience. Your thin gardening gloves won't do a thing here; the spines will go right through.
Here’s the trick I’ve used for years:
- Make a Sling: Grab a newspaper and fold it lengthwise a few times to make a thick, sturdy strap. An old towel, a folded-up yoga mat, or a piece of carpet works great, too.
- Wrap and Lift: Loop your new "sling" around the body of the cactus. Now you have a handle! Use it to gently lift the plant straight up and out of its pot.
- Settle It In: Hold the cactus steady with your sling over its new pot, and use your other hand to backfill with your fresh soil mix. Once it's secure, just slide the sling out.
For smaller cacti, a good pair of kitchen tongs can also work wonders. This simple technique turns a dreaded chore into a quick, easy, and poke-free process.
Mastering the Art of Light and Water
Let's talk about the two things that trip up new cactus owners the most: light and water. Get these right, and you're well on your way. It's easy to think "desert plant" means you should just blast it with sun and forget it exists, but there's a bit more nuance to it than that.
Your cactus craves a lot of bright light—at least six hours a day is a good benchmark. But not all sunlight is the same. That intense, direct afternoon sun, like from a west-facing window, can actually scorch your plant. You’ll know this is happening if you see the skin turning yellow, white, or developing ugly brown spots. That's a cactus sunburn.
On the flip side, a cactus that isn't getting enough light will tell you, too. It will start stretching desperately towards the window, a process called etiolation. This creates weak, pale, and leggy growth that, unfortunately, you can't reverse. The plant is literally reaching for its life.
Finding the Perfect Light Balance
So, where's the sweet spot? A south-facing window is usually perfect for most indoor cacti, giving them bright, consistent light all day long. An east-facing window is another great option, offering up that gentler morning sun that’s less likely to cause scorching.
If a west-facing window is all you have, don't sweat it. You just need to soften that intense afternoon light. A sheer curtain can make all the difference. In fact, understanding the science behind light filtering curtains can help you create the perfect filtered environment your plant needs to thrive without burning.
A great rule of thumb is to watch your plant’s color. A deep, vibrant green means it's happy. If it starts looking washed out or bleached, it's probably getting too much direct sun.
Demystifying the Watering Process
Now for the big one: watering. More indoor cacti die from overwatering than anything else. It causes root rot, and once that sets in, it’s often too late. The most important thing you can do is throw away any rigid schedule, like watering "once a week." Instead, get familiar with the ‘soak and dry’ method.
It’s incredibly simple. When the soil is bone dry, it's time to water. Give the plant a thorough drink, letting water run all the way through the soil and out the drainage hole at the bottom. This ensures every single root gets access to moisture.
Then comes the critical part: let it dry out completely. I mean completely. Don't even think about watering it again until the soil is dry from top to bottom. With smaller pots, you can often just feel the weight difference. For bigger ones, stick a wooden skewer or a chopstick all the way down—if it comes out clean and dry, you’re good to go.
The infographic below shows the kind of soil mix that makes this watering method work perfectly.
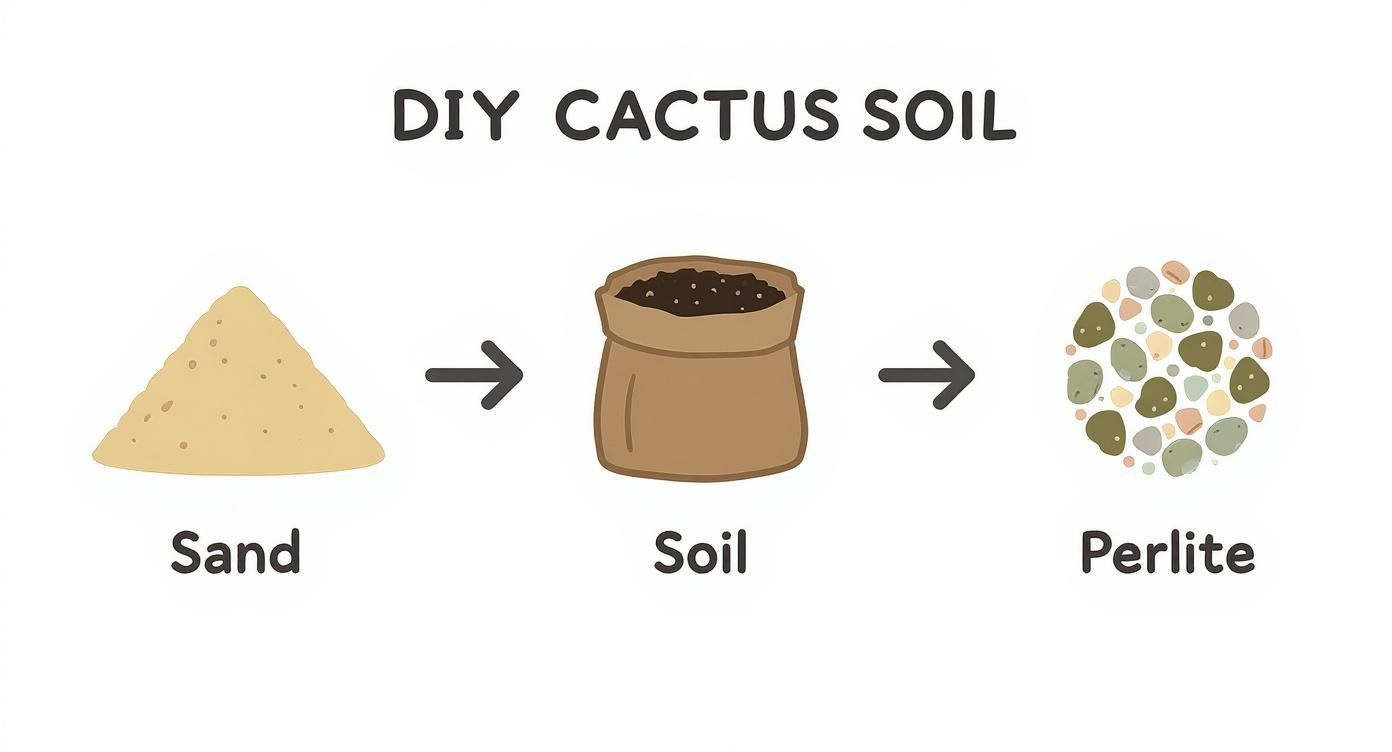
This mix of sand, soil, and perlite is what creates that fast-draining environment your cactus needs to prevent its roots from sitting in water.
How often you'll need to do this depends on a few things:
- Season: Cacti are actively growing in spring and summer and will need more water, maybe every couple of weeks. In fall and winter, they go dormant and might only need a small drink once a month, if that.
- Pot Type: A classic terra cotta pot is porous and lets soil dry out much faster than a plastic or glazed pot.
- Light and Heat: A plant sitting in a hot, sunny window will use water much faster than one in a cooler, shadier spot.
Ultimately, learning to read your plant and its soil is the real skill. It’s far better than just following a calendar. If you want to dig deeper into this, our complete guide to watering cactus plants has everything you need to know. Nailing this is what will make your cactus truly thrive.
Troubleshooting Common Cactus Problems

Even with the best intentions, things can sometimes go sideways with your cactus. But don't panic! Learning to spot trouble early is a key part of becoming a great cactus grower. Think of it less as a failure and more as your plant's way of telling you what it needs.
Most issues you'll run into stem from a few usual suspects: pests, watering mistakes, or stress from its environment. The great news is that with a little detective work, almost every problem is fixable if you catch it in time.
Identifying and Treating Common Pests
Pests are an annoyance, but they’re rarely a death sentence for a cactus. The two most common intruders you'll find are mealybugs and spider mites. They both love the exact same warm, dry conditions our cacti do, which makes regular check-ups so important.
Mealybugs look like little bits of white fluff, and they love to hide in the nooks and crannies where arms meet the main stem. They feed on the plant's sap, which can lead to yellowing and stunted growth. Spider mites, on the other hand, are tiny and hard to see, but they leave behind a tell-tale sign: fine, silky webbing between the spines.
Here’s my go-to method for getting rid of them:
- Isopropyl Alcohol: For a few mealybugs, just dip a cotton swab in 70% isopropyl alcohol and touch it directly to the pest. The alcohol instantly dissolves their waxy coating. If you're dealing with a bigger infestation, mix a 50/50 solution of alcohol and water with a drop of dish soap and put it in a spray bottle.
- Neem Oil: A diluted neem oil spray is a fantastic natural option for both pests. It messes with their life cycle and helps keep them from coming back. Just be sure to spray in the evening, as direct sun on wet neem oil can burn your plant's skin.
I once found mealybugs setting up shop on a beautiful Fairy Castle cactus of mine. A few days of carefully dabbing them with an alcohol-soaked Q-tip completely solved the problem, and the plant didn't suffer any long-term damage.
Diagnosing and Fixing Watering Issues
Without a doubt, watering is the trickiest part to get right and the source of most cactus calamities. The good thing is your plant will give you very clear signals when it's unhappy.
Root Rot from Overwatering
This is the number one killer of indoor cacti, period. If the base of your cactus is turning brown or yellow and feels soft and squishy, you're almost certainly dealing with root rot. It happens when the soil stays soggy for too long, suffocating the roots and creating a perfect environment for fungus.
You have to act fast. Gently unpot the cactus and take a look at the roots. Healthy roots should be firm and white; rotten ones will be dark, mushy, and may even fall apart. Using a sterile knife, trim away every bit of rot. Let the cactus sit out in the air for several days so the cuts can heal and form a callus, then repot it in completely fresh, dry cactus mix.
Shriveling from Underwatering
If your cactus looks wrinkled or shriveled, it's thirsty. While they are incredibly drought-tolerant, they aren't drought-proof. Shriveling is a sign that the plant is dipping into its internal water reserves to stay alive.
Luckily, this is a much easier fix than root rot. Just give the plant a good, deep drink of water, letting the excess drain completely from the bottom of the pot. Within a day or two, you should see it plump right back up.
The appearance of a cactus can tell a detailed story about its care. A plump, firm body with vibrant color indicates a happy, well-watered plant, while a soft, discolored base or a wrinkled appearance signals distress.
Why Isn't My Cactus Blooming?
It's a common frustration: your cactus looks perfectly healthy, green, and happy, but it just won't bloom. More often than not, this comes down to one crucial element—a winter rest period. Most cacti need a dormant season with cooler, drier conditions to trigger the process of forming flower buds.
To encourage your cactus to bloom, you need to mimic its natural winter environment.
- Cut Back on Water: Starting in the fall, reduce your watering schedule dramatically. Once a month is often plenty.
- Cool It Down: Find a spot for your cactus that stays cool, ideally between 50-60°F (10-15°C).
- Keep the Light: It still needs plenty of bright light, just less water and warmth.
This cool, dry rest period is the signal your cactus needs to start preparing for its spring flowering. When the weather warms and you gradually start watering more frequently, you'll have a much better chance of being rewarded with a spectacular show of blooms.
Your Cactus Care Questions Answered
Cacti are full of surprises—one moment they thrive, the next you’re scratching your head. These pointers tackle the most common headaches so you can grow with confidence.
Why Is My Cactus Turning Yellow Or Brown
Moisture imbalance and light stress are the usual suspects.
- If the base feels soft and yellow, you’re likely facing root rot from overwatering.
- Shift your cactus to bright, indirect light and cut back on watering.
- Let the soil dry out completely between drinks.
How Often Should I Fertilize My Cactus
Cacti only drink in nutrients while actively growing.
- Use a water-soluble cactus fertilizer at half strength
- Apply a low-nitrogen formula every 4–8 weeks during spring and summer
- Skip feeding in fall and winter when the plant rests
These simple tweaks keep your cactus nourished without overstressing its system.
What Is Etiolation And Can I Fix It
Etiolation happens when your cactus stretches and fades, hunting for light. It can’t reverse the stretch, but you can stop it from getting worse.
- Move your plant into stronger, filtered sunlight
- Trim off pale, spindly sections with a sterile knife
- Let the cuts callus over before expecting fresh growth
Preserving new growth requires bright, filtered light for at least 6 hours daily.
Can I Grow A Cactus From A Cutting
Absolutely—propagation is a budget-friendly way to expand your collection.
- Slice a healthy stem with a sharp, clean knife
- Dry the cutting for a few days until you see a callus
- Plant in a well-draining mix and water sparingly
- Expect roots to appear in 2–4 weeks
This hands-on method quickly transforms one plant into many.
A fun bonus fact: the global cactus products market—which includes edible cactus, cosmetics, beverages, and health supplements—was valued at approximately USD 1.12 billion in 2024 and is expected to reach USD 2.84 billion by 2035, reflecting a CAGR of about 8.8% from 2025 to 2035. Learn more about these market insights on sphericalinsights.com.
The cactus products market is on track to more than double by 2035, driven by sustainable and health-focused trends.
With these answers, you’ll feel ready to troubleshoot issues, nurture healthy growth, and even share cuttings with fellow enthusiasts.
Extra Care Tips For Growing A Cactus
- Choose a pot that complements your cactus’s size and style
- Repot with fresh soil mix every 2–3 years
- Keep windows spotless to maximize light entry
- Place a humidity tray nearby to balance dryness
- Rotate your plant weekly for even sun exposure
- Inspect the undersides of pads regularly for hidden pests
To repot safely, follow these steps:
- Loosen old soil gently with a wooden stick to protect spines
- Lift the cactus using a folded newspaper sling
- Remove debris and prune any damaged roots
- Position in fresh mix, burying only the base
- Wait 5–7 days before watering to let wounds heal
Common Mistakes To Avoid When You Grow A Cactus
- Watering on a fixed schedule instead of checking soil moisture
- Using standard potting mix that traps too much water
- Placing cacti too close to windows during heat waves
- Crowding several plants in one container, restricting airflow
- Ignoring cool winters and rest periods necessary for budding
Ready to take your cactus care to the next level? Shop a wide selection of healthy, well-packaged succulents at The Cactus Outlet.