
Getting the hang of Agave americana care is surprisingly simple once you get in tune with its tough, self-sufficient nature. The essentials are straightforward: give it plenty of direct sun, a deep watering every now and then, and soil that drains quickly to keep its roots healthy. This is a plant built to handle a little neglect, which is why it's such a fantastic low-maintenance option for so many gardens.
Understanding the Century Plant's Resilience
Before we get into the nitty-gritty of caring for your Agave americana, it helps to step back and appreciate just how resilient this plant is. Its entire biology is a lesson in survival, and that history directly tells us what it needs to thrive today. When you understand its natural strengths, you’ll feel more confident providing the right environment, because you're working with a species that’s already wired for success.
Its common name, Century Plant, gives a nod to its impressive lifespan, but its true toughness is a story told across continents. This isn't just a garden plant; it's a seasoned world traveler.
From Native Deserts to Global Landscapes
Hailing from the arid landscapes of Mexico and the Southwestern United States, Agave americana began its global journey centuries ago. It was a favorite of Spanish and Portuguese explorers, who carried it to new continents on their voyages. By the 1700s, it had already made a home for itself in the Mediterranean. Fast forward to today, and its incredible hardiness has allowed it to naturalize on six different continents—from Europe and Africa to Asia and Oceania. In some places, its adaptability has even made it a bit invasive.
This incredible journey tells you everything you need to know about its core needs:
- Drought Tolerance: It evolved in places where rain is a rare treat, so it stores water in those thick, fleshy leaves for the dry spells.
- Sun Loving: Its native home is all about intense, direct sunlight, and it needs that same light to truly flourish.
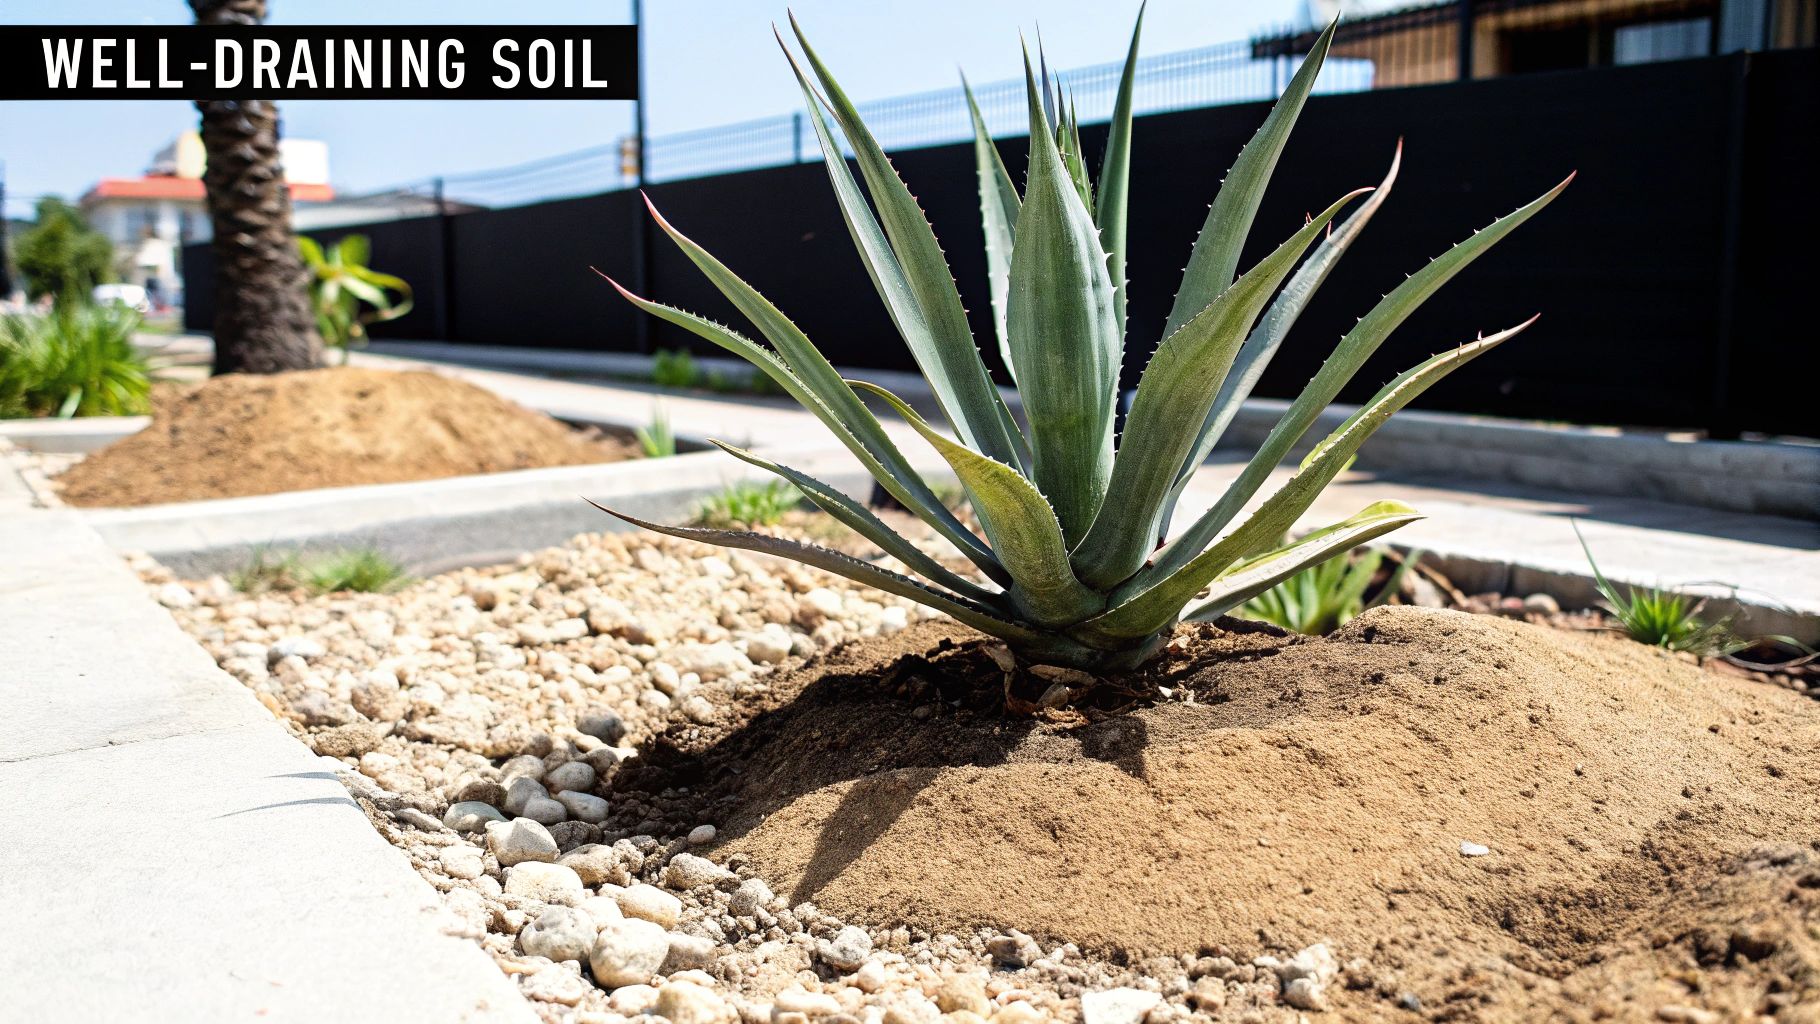
- Adaptable Soil Needs: It's not picky and can handle poor, rocky soils, but the one non-negotiable is excellent drainage.
Understanding this plant’s backstory is really the first step to growing it well. When you realize it thrives in harsh, sun-drenched landscapes all over the world, the core principle of its care clicks into place: less is very often more. You don't need to baby your Century Plant; just respect its tough, independent spirit.
Popular Varieties to Know
While the classic silvery-blue Agave americana is a showstopper on its own, several cultivated varieties, or cultivars, offer some really interesting visual twists. Knowing a few can help you pick the perfect architectural statement for your garden. If you want to go deeper, you can explore the wonderful world of agaves.
Here are a couple of popular ones you'll often see:
- Agave americana 'Marginata': This one is famous for the bold yellow or creamy-white stripes running down the edges of its leaves. It creates a fantastic, high-contrast look.
- Agave americana 'Mediopicta Alba': You can spot this variety by the wide, creamy-white stripe painted right down the center of each gray-blue leaf. It has a very dramatic, almost artistic feel.
No matter which one you choose, the fundamental care is the same. They all share that core resilience. The different looks are just beautiful variations on a very tough theme, making any of them a durable and striking addition to a landscape or a large pot.
Getting Light and Temperature Just Right
When it comes to caring for Agave americana, you have to think like the sun. This plant doesn’t just like sunlight; it’s hardwired to thrive in it. Getting the light and temperature right is all about mimicking the arid, sun-drenched landscapes it calls home, whether it's in a pot on your patio or a massive specimen in your garden.
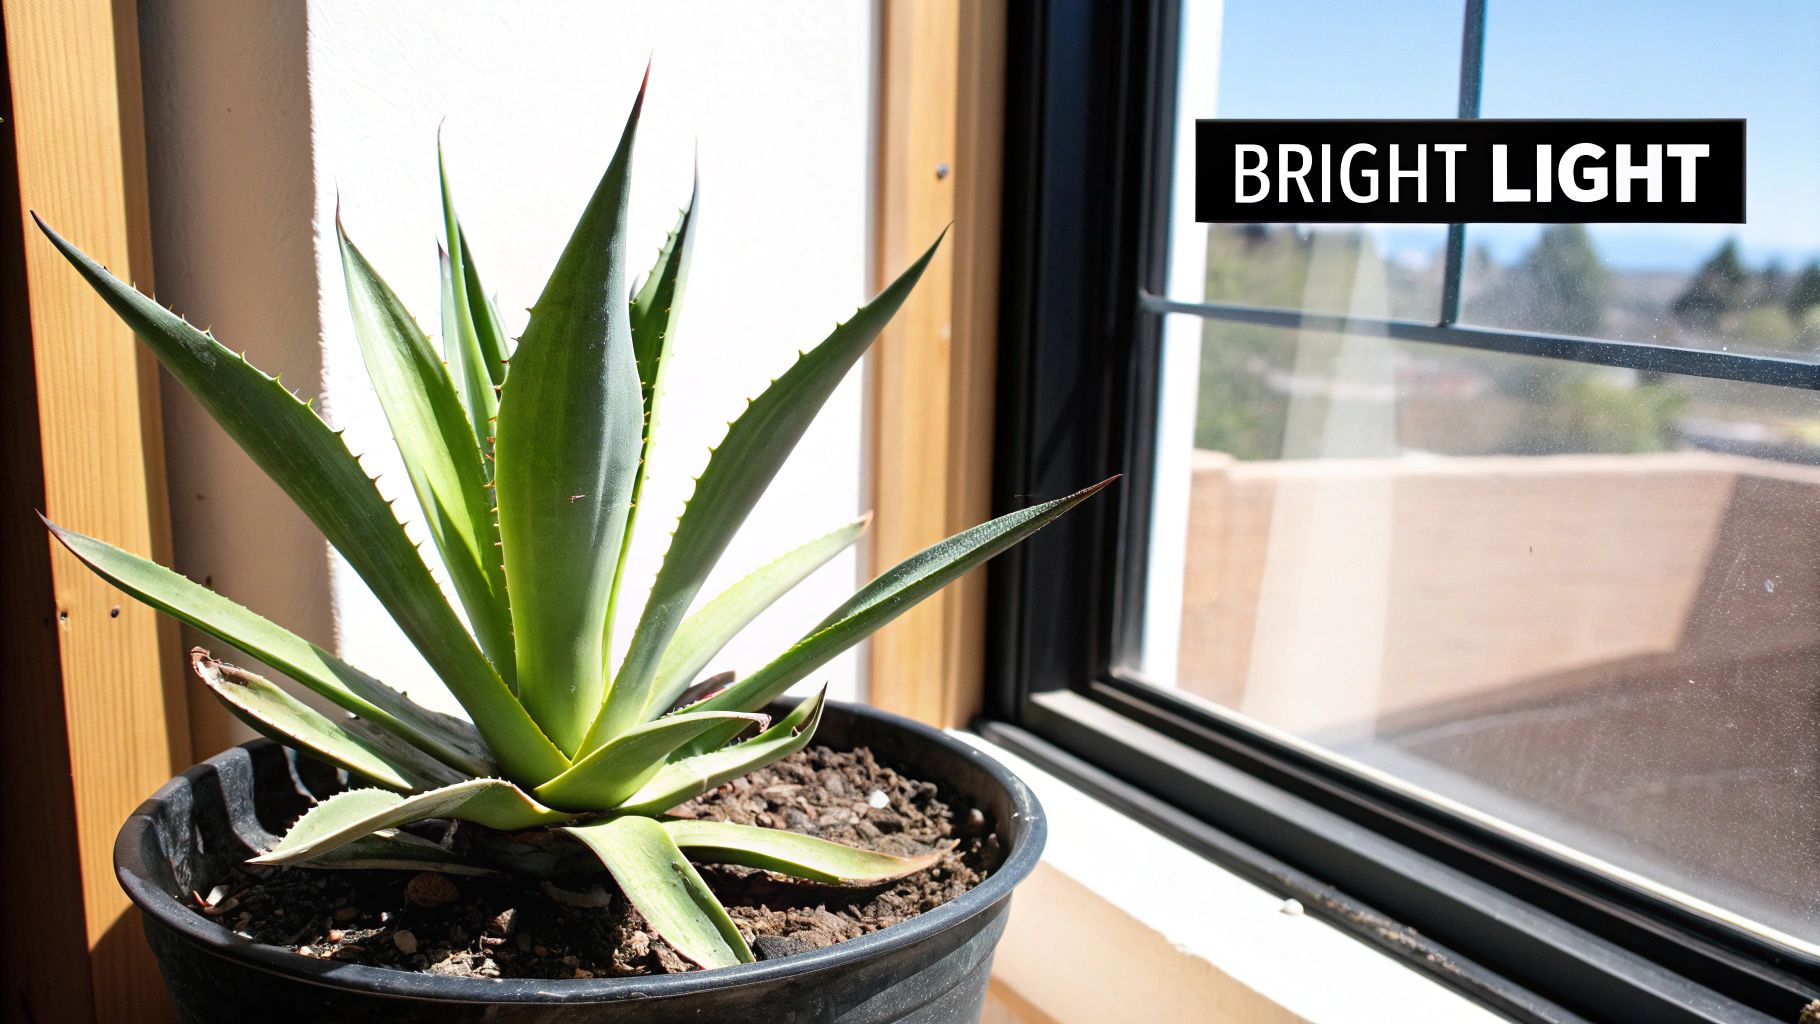
This means you’re aiming for at least six to eight hours of direct, unfiltered sunlight every day. Anything less, and the plant will start to show you it's unhappy.
Reading Your Plant's Light Signals
The good news is that your agave will tell you exactly what it needs if you just learn to read its signals.
The most common problem is etiolation, which is a direct result of too little light. You'll see the leaves start to stretch out and get longer, becoming a pale, washed-out green. The plant is literally reaching for more sun, and its tight, symmetrical rosette shape will start to look loose and spindly. If you see this, it's a clear sign to find a much sunnier spot, and fast.
On the flip side, even a sun-worshipper like this can get a sunburn. This typically happens when you move a plant from a shady spot directly into intense sun without giving it time to acclimate. The damage shows up as ugly brown or white patches that look and feel crispy. Those spots are permanent scars, so it’s all about prevention.
Smart Outdoor Placement
For agaves planted in the ground, picking the right spot from the get-go is everything. In most climates, a spot with full, all-day sun is perfect. This gives the plant all the energy it needs to build its impressive structure and deep color.
However, if you live in an intense desert climate—like Arizona or parts of inland California where summers routinely push past 100°F (38°C)—a little afternoon shade can be a lifesaver. The punishing midday sun can be a bit much. Planting it where a tree or a building can cast a shadow during the hottest part of the day will prevent scorching.
A key takeaway for agave growers is that "full sun" means different things in different places. The full sun in a mild coastal region is a world away from the intensity of full sun in the low desert. Always watch your plant and be ready to adapt based on your specific conditions.
Growing Agave Americana Indoors
I'll be honest: growing a happy Agave americana indoors is a major challenge. The biggest hurdle is light. A typical north-facing window just isn't going to work.
If you’re determined to try, here's what you absolutely must do:
- Location is everything. It needs to be right in front of your sunniest, south-facing window to get as much direct light as possible.
- Supplement with a grow light. Natural light alone is almost never enough inside. A good full-spectrum LED grow light is a smart investment to keep it from getting leggy. Hang the light 12-24 inches above the plant and leave it on for 10-12 hours a day.
Surprising Cold Hardiness
While we think of it as a desert plant, Agave americana is surprisingly tough when it comes to cold. It’s generally considered hardy in USDA zones 8-11 and can handle short dips down to around 15°F (-9°C) once it's well-established. Keep in mind that younger, smaller plants are always more tender.
This isn't just anecdotal, either. Field studies have shown just how adaptable this species is. For example, research conducted near Maricopa, Arizona, demonstrated that A. americana not only survived on minimal rainfall but also showed better cold tolerance during winter frosts than other agave species. You can read more about these fascinating agave adaptability findings.
If an unusually hard frost is in the forecast, you can easily protect your plant. For garden plants, cover them with a frost cloth or an old blanket, making sure the cover reaches the ground to trap warmth. For potted agaves, the solution is even simpler: just move them into a garage or onto a covered porch until the cold snap passes.
The Secrets to Perfect Soil and Watering
If there’s one area where you can truly set your Agave americana up for success, it’s with its soil and watering routine. Think of them as two sides of the same coin—the right soil mix makes your watering strategy practically foolproof. On the other hand, getting them wrong is a constant battle against root rot, which is the number one killer of these otherwise resilient plants.

The whole philosophy boils down to one simple idea: copy its native desert environment. That means creating a home where water vanishes quickly, ensuring the roots never have to sit around in dampness.
The 'Soak and Dry' Watering Method
First things first, throw out any idea of a strict watering schedule. The absolute best way to water your Agave americana is using the soak and dry method. It’s just what it sounds like. You give the soil a complete drenching until water pours out of the pot's drainage holes, then you let it go completely bone-dry before even thinking about watering it again.
So what does that look like in practice? A potted agave might need water every two weeks during a summer heatwave, but that could stretch to once a month—or even less—during its winter dormancy. The only way to know for sure is to check the soil yourself. Stick a finger a couple of inches deep. If you feel even a hint of moisture, wait longer. Trust me, overwatering is a much bigger threat than letting it get a little thirsty.
The most common mistake I see is people giving their agave small, frequent sips of water. This bad habit encourages a weak, shallow root system and keeps the top layer of soil damp—a perfect invitation for fungus and rot. Deep, infrequent soaks are the real secret.
Crafting the Perfect Soil Blend
Using standard potting mix straight from the bag is a recipe for disaster. That stuff is engineered to hold onto moisture, which is the exact opposite of what your agave wants. Excellent drainage isn't just a suggestion; it's a requirement.
Luckily, whipping up a superior mix at home is easy. Here are a couple of my go-to recipes:
- Beginner's Simple Mix: Just combine one part regular potting soil with one part perlite or pumice. This two-ingredient blend is a huge step up and dramatically improves drainage.
- Enthusiast's Gritty Blend: For the ultimate drainage, I like to mix one part potting soil, two parts coarse sand or poultry grit, and two parts perlite or pumice. This creates an incredibly airy, fast-draining medium that agaves absolutely love.
Nailing the soil composition is just that important. For a deeper dive into creating the perfect base, this guide to cactus and succulent soil is an excellent resource.
Of course, the perfect soil needs the perfect home.
Choosing the Right Pot for Drainage
The pot you choose is just as critical as what you put in it. Always, always pick a container with at least one big drainage hole at the bottom. Terracotta or other unglazed ceramic pots are fantastic choices because the porous material breathes, helping moisture evaporate right through the sides and drying the soil out faster.
If you're looking for containers that are both functional and fit your aesthetic, you can find some great innovative outdoor flower pot ideas that will keep your plant happy and healthy.
Here are a few common potting mistakes to sidestep:
- No drainage holes: This is the fastest way to kill your agave, full stop.
- Gravel at the bottom: It’s an old myth that this helps drainage. It actually does the opposite, creating a "perched water table" that keeps the roots sitting in a soggy zone.
- A pot that’s too big: A container that's way too large for the plant holds excess soil, which in turn holds excess moisture for too long. Stick to a pot that’s just a little bigger than the current root ball.
To give you a quick cheat sheet, here's a simple table summarizing the key points for watering and soil.
Agave Americana Watering and Soil at a Glance
This table provides a snapshot of the essential do's and don'ts, helping you avoid common pitfalls and keep your agave thriving.
| Care Aspect | Best Practice | Common Mistake to Avoid |
|---|---|---|
| Watering Technique | Soak the soil completely until water drains out, then allow it to dry out entirely before watering again. | Giving small, frequent sips of water, which leads to weak, shallow roots and encourages fungal growth. |
| Soil Composition | Use a gritty, well-draining mix. A 50/50 blend of potting soil and perlite/pumice is a great start. | Using standard potting soil, which retains too much moisture and inevitably leads to root rot. |
| Pot Selection | Choose a terracotta or unglazed ceramic pot with large drainage holes. | Using a pot without drainage or adding a layer of gravel at the bottom, which impedes drainage. |
| Pot Size | Select a pot that is only slightly larger (1-2 inches wider) than the plant's root ball. | Planting in a container that is too large, as the excess soil will stay wet for too long. |
By pairing a gritty soil with the right pot and a sensible watering method, you create a self-sustaining system that works with the plant, not against it. Get these fundamentals right, and you'll find caring for this stunning plant is surprisingly simple.
A Sensible Approach to Feeding Your Agave
When it comes to caring for Agave americana, it's easy to overthink feeding. Let's be clear: these plants are tough. They evolved in lean, rocky soils and are built to thrive on very little. If your agave is planted in the ground, it will most likely find all the nutrients it needs without any help from you.
Potted agaves, however, are a different story. The finite amount of soil in a container gets depleted over time, with nutrients washing out with every watering. For these plants, a little strategic feeding during the growing season can make a real difference, encouraging more robust growth and vibrant color.
Choosing the Right Fertilizer
Step away from the all-purpose plant food. Agaves have specific needs, and grabbing the wrong bottle can cause more problems than it solves. High-nitrogen fertilizers, for instance, are a big no-no. They'll trigger a flush of weak, soft growth that makes the plant floppy and far more vulnerable to rot and pests.
What you want is a fertilizer made specifically for cacti and succulents. Look for a balanced, low-nitrogen liquid formula. A good N-P-K (Nitrogen-Phosphorus-Potassium) ratio to aim for is something like 5-10-5 or a similar blend where the first number (nitrogen) is relatively low.
The Best Time to Feed Your Agave
Timing is everything. Agaves do almost all their growing in the spring and summer. That's your window.
- Growing Season (Spring/Summer): This is the only time to feed. The plant is actively pushing out new leaves and expanding its root system, so it can actually use the nutrients.
- Dormant Season (Fall/Winter): Put the fertilizer away. The plant's metabolism slows to a crawl, and adding nutrients it can't absorb will just build up in the soil and risk burning the roots.
Think of fertilizing as a gentle nudge, not a big push. For a potted agave, a single, well-timed application in the spring is often all it needs for the entire year. With agaves, more is definitely not better.
Application: Liquid vs. Granular
You've got two solid options for delivering nutrients, and the best one for you really just comes down to personal preference.
The key with liquid fertilizers is to dilute them to half the strength recommended on the package. This is crucial for avoiding root burn. Apply it just once in the spring, right after you've given the plant a normal watering. This provides a quick, easily absorbed boost.
Slow-release granules are the "set it and forget it" alternative. You just sprinkle the recommended amount on top of the soil at the start of spring. Every time you water, a small amount of nutrients will be released over the next few months.
How to Spot Over-Fertilizing
Your agave will tell you if it's getting too much food. The most obvious sign is unnaturally lush, floppy, or weak-looking leaves. The plant will lose its tight, structural rosette and look soft and leggy. This kind of growth is fragile and basically an open invitation for pests and disease.
If you see these signs, stop fertilizing immediately. The best next step is to flush the pot with plain water a few times to help wash out the excess nutrient salts from the soil.
Multiplying Your Agave: A Guide to Propagating Pups
One of the best parts of growing Agave americana is how easily you can make more of them. The mother plant is what we call monocarpic, which is a fancy way of saying it flowers once in its life and then dies. But long before that dramatic finale, it sends out little clones of itself from the base. We call these "pups" or offsets, and separating them is the easiest, most reliable way to keep the family line going.
Working with pups ensures you get a perfect copy of the parent plant. It's a simple process, but a little know-how about timing and technique makes all the difference in helping these new plants thrive. Before you know it, you'll have an endless supply for your garden or to give away to friends.
This image shows the main ways you can propagate an Agave americana, and you can see why dividing the offshoots is the go-to method.
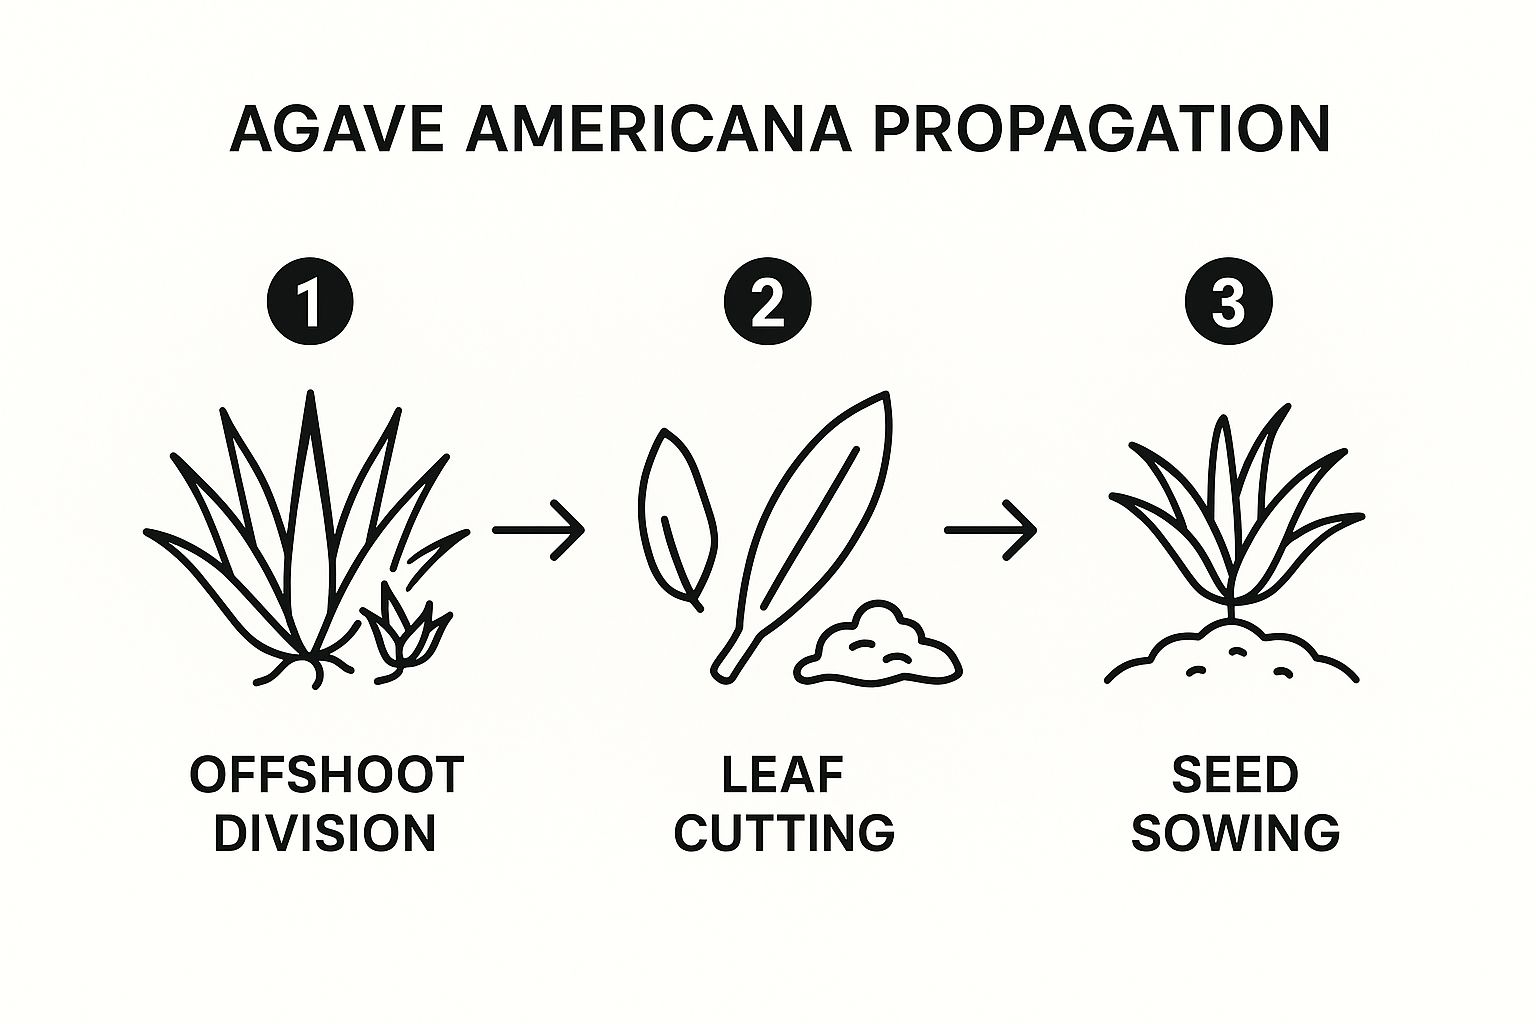
Sure, you can try growing from seed or leaf cuttings, but separating a pup is the most direct path to a healthy new agave.
Knowing When to Make the Cut
This is where a little patience pays off. It’s tempting to snatch a pup the moment you see it, but you need to let it get big enough to survive on its own. I always wait until a pup is at least four to five inches across and has started to develop its own little root system.
A pup that size has enough stored energy to handle the shock of separation. If you take one that’s too small, it just won’t have the resources to establish itself, and its chances of survival plummet.
Pro Tip: The best time to separate pups is in the spring or early summer when the plant is actively growing. This gives your new offset plenty of time to get its roots established before things slow down for the winter.
The Right Way to Remove a Pup
Once you have a pup that's ready to go, the actual removal is pretty straightforward. You'll just need a clean, sharp tool—a hori-hori knife, a sturdy trowel, or even a small, sharp shovel does the trick.
- Expose the Connection: Start by gently clearing away soil and rocks from the base of the pup. You’re looking for the thick runner, or stolon, that connects it to the mother plant.
- Make a Clean Cut: Slice right through the stolon, getting as close to the parent plant as you can. This leaves a smaller wound on the main agave and usually gives the pup a piece of the root to start with.
- Lift it Out: Carefully dig around the pup and lift it from the soil. Try to be gentle—those new roots are delicate!
Don't Skip This Step: Callusing
Once the pup is free, fight the urge to pot it up right away. That fresh cut is an open wound, and it needs to dry out and form a callus to prevent rot. This is a non-negotiable step for success.
Just set the pup somewhere dry and shady with good airflow for a few days, maybe even up to a week. You’ll know it’s ready when the cut end is dry and hard to the touch. This simple pause is a cornerstone of propagating all kinds of succulents, a technique you can learn more about in this guide on propagating succulents from cuttings.
Potting Up Your New Agave
Now that your pup is callused, it’s ready for its new home. Grab a small pot with great drainage—just a bit bigger than the pup's base is perfect. Fill it with the same gritty, fast-draining soil mix you use for your mature agaves.
Settle the pup in, planting it just deep enough so it can stand up on its own. Here’s the key: don’t water it for the first week or two. This forces the plant to send out new roots in search of moisture. After that, you can start watering lightly, using the same "soak and dry" approach you use for the big ones.
Dealing with Common Agave Pests and Problems
Even a plant as tough as Agave americana can run into trouble now and then. The good news is that most issues are pretty straightforward to fix once you know what to look for. While this agave is famous for being resilient, there's one major villain to keep on your radar, plus a few minor annoyances and environmental hiccups.
https://www.youtube.com/embed/uxY5213CP30
The real secret to keeping your agave healthy and looking its best is catching problems early. A quick look-over every couple of weeks is all it takes to spot the first signs of trouble before they turn into a full-blown crisis.
The Dreaded Agave Snout Weevil
If there's one pest that can truly ruin an agave lover's day, it's the agave snout weevil (Scyphophorus acupunctatus). This isn't your average leaf-chewing bug. This beetle attacks the very heart of the plant, turning its dense core into a foul-smelling, mushy mess from the inside. The worst part? You often don't see the damage until it's far too late.
The first clue is usually subtle—you might see the lowest leaves wilting, or maybe the whole plant is starting to lean. That's a bad sign. It means the core is already compromised. The adult female weevil drills a hole right at the plant's base to lay her eggs, introducing bacteria that kickstarts the rotting process.
When it comes to this pest, prevention is everything.
- Go Systemic: The most effective defense is applying a systemic insecticide drench in the spring. This will protect your agave through the entire growing season.
- Keep it Healthy: A happy, vigorous agave is way less appealing to weevils. Stick to a good watering schedule and make sure it's getting enough sun to keep it strong.
- Inspect Newcomers: Before you introduce a new agave to your collection, give it a thorough once-over for any signs of weevil damage.
If you even suspect a snout weevil is at work, you have to act fast. Drenching the soil and the base of the plant with an appropriate insecticide might save it, but only if you catch it early. Sadly, once the core turns to mush, there’s no bringing the plant back.
Tackling Mealybugs and Scale
Besides the notorious weevil, you might occasionally spot more common succulent pests like mealybugs and scale. These sap-suckers are much less of an immediate threat, but they can weaken your plant over time and leave behind ugly marks if you let them get out of hand.
Mealybugs show up as little white, cottony clusters, usually tucked away deep where the leaves join the stem. Scale insects are a bit sneakier, appearing as small, hard brown bumps that latch onto the leaf surfaces.
Getting rid of them is pretty simple:
- For a minor infestation, just dip a cotton swab in 70% isopropyl alcohol and touch it directly to the pests. The alcohol dissolves their waxy, protective coating on contact.
- If you're dealing with a bigger invasion, spray the whole plant down with insecticidal soap or neem oil. Be sure to spray into all the tight crevices. You'll likely need to repeat this weekly for a few weeks to catch all the pests as they hatch.
Fixing Problems with Its Environment
Sometimes, the problem isn't a bug at all. More often than not, if your agave looks unhappy, it’s an issue with its growing conditions—and these are usually the easiest fixes.
Root Rot: This is, without a doubt, the number one killer of agaves. It's always caused by too much water or soil that doesn't drain well. You'll know it's rot if the base of the plant feels soft and the lower leaves are turning yellow and mushy. The only cure is to stop watering immediately. If it's in a pot, repot it into a much grittier soil mix. For garden plants, you'll need to amend the surrounding soil to improve drainage.
Sunburn: See any bleached-out white spots or crispy brown patches on the leaves? That's sunburn. It happens when the plant gets hit with intense, direct sun it isn't used to. The scarred tissue won't heal, but you can easily prevent more damage. Either move the plant to a spot with some afternoon shade or, if you're moving it into a sunnier location, acclimate it slowly over a week or two.
Your Agave Questions, Answered
Even with the basics down, a few common questions always seem to surface when you're growing Agave americana. Let's tackle those lingering uncertainties head-on with some quick, practical answers.
How Often Should I Really Water My Agave?
The simple answer is: water it deeply only when the soil is 100% dry to the touch. Forget about a strict calendar schedule.
In the heat of summer, a potted agave might need a good soak every few weeks. Come winter, that can easily stretch to once a month or even every other month. The only way to know for sure is to stick your finger deep into the soil. If there's any moisture, wait.
Is the Century Plant Actually Dangerous?
Yes, you need to handle this plant with respect. The sap is packed with tiny, sharp crystals that can cause a nasty skin rash, a form of contact dermatitis. And don't forget those formidable spines at the tip of each leaf—they are needle-sharp and can inflict a painful puncture wound.
Always, always wear heavy-duty gloves and eye protection when you're pruning, repotting, or just moving your Agave americana. It's a beautiful plant, but your safety comes first.
Can I Grow Agave Americana Indoors?
You absolutely can, but there's one non-negotiable condition: light. Lots of it.
Your agave needs several hours of direct, bright sun every single day to thrive. The ideal spot is right in front of a south-facing window where it can soak up the strongest rays. If your home doesn't have that kind of light, you'll need to invest in a quality full-spectrum grow light to prevent it from getting weak and stretched out.
Ready to bring this stunning architectural plant into your own garden? At The Cactus Outlet, we have a fantastic selection of healthy, high-quality Agave americana and other unique succulents. Come explore our collection and find the perfect statement piece for your space.